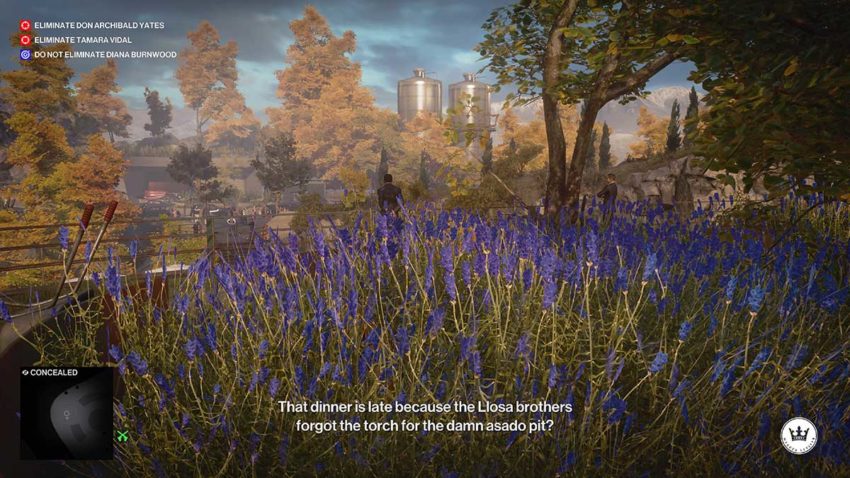
Mendoza is one of the more difficult locations to complete the Sniper Assassin challenge in. This is because other NPCs almost always surround both targets. In the guide, we’ll show you how to get around that, and complete the location with a Silent Assassin rank and unlock the Sniper Assassin challenge in the process.
Pick your loadout
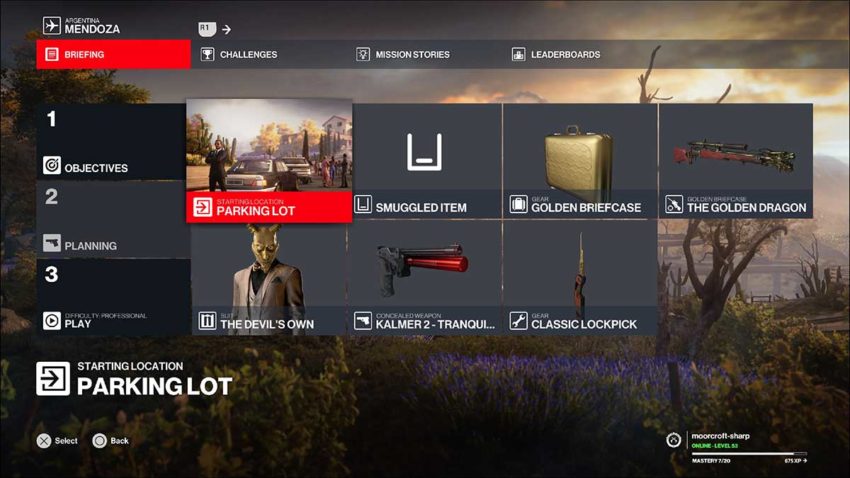
The loadout we’ve picked above is quite specific, but there are alternatives. The one thing you’ll definitely need is a sniper rifle with suppression. The one we’ve got is unlocked by completing The Lee Hong Derivation. Of course, you’ll need a briefcase and a snazzy outfit too. The ones we’re using are unlocked by completing The Asmodeus Waltz. You will also need a lockpick for this run to work.
While we’ve chosen to go in with a tranquilizer gun, it’s not essential. It just makes one small part of the run a little less risky. Any silenced pistol will do in its place.
We’ve chosen the Parking Lot spawn point because it’s the only one close to the entrance that allows you to choose your own loadout.
Step 1 – Get to the party
The first target we’re going to take down is Tamara Vidal. She’s going to head into the party with Dianna, and since we’re staring in the Parking Lot, we can’t follow them because we don’t have an invitation.
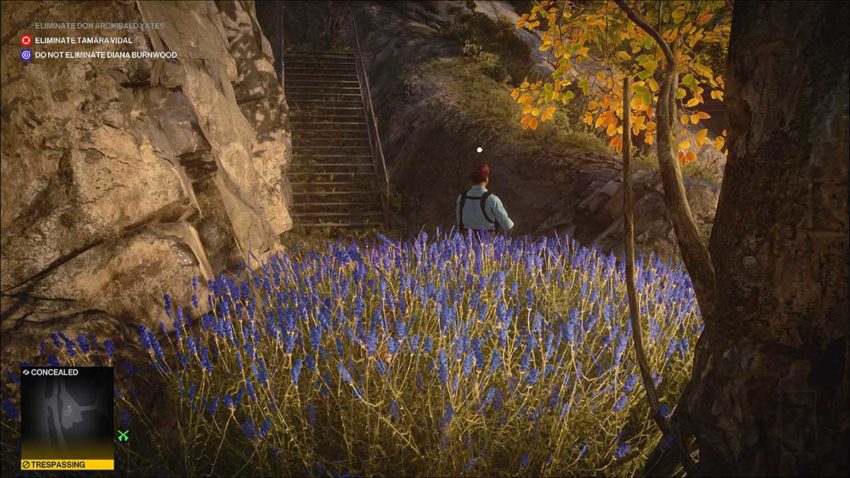
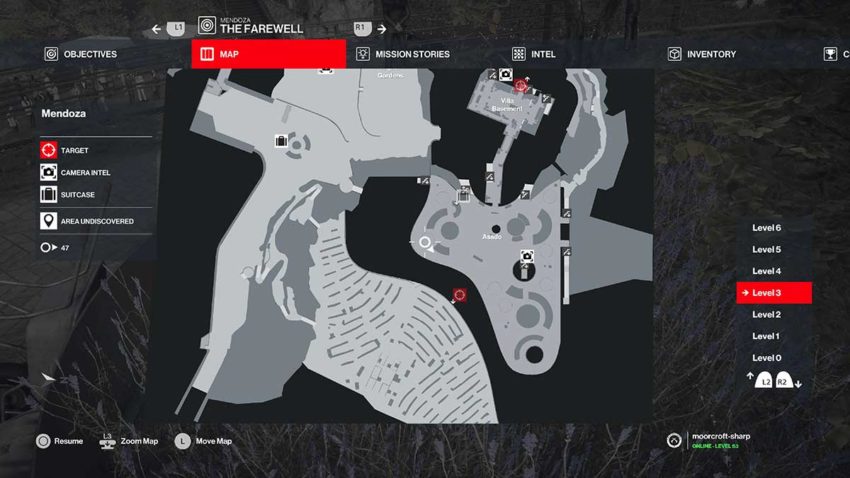
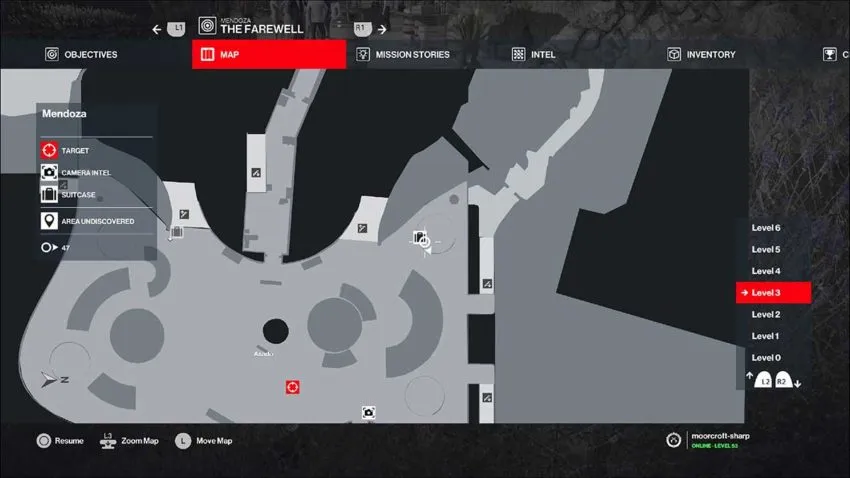
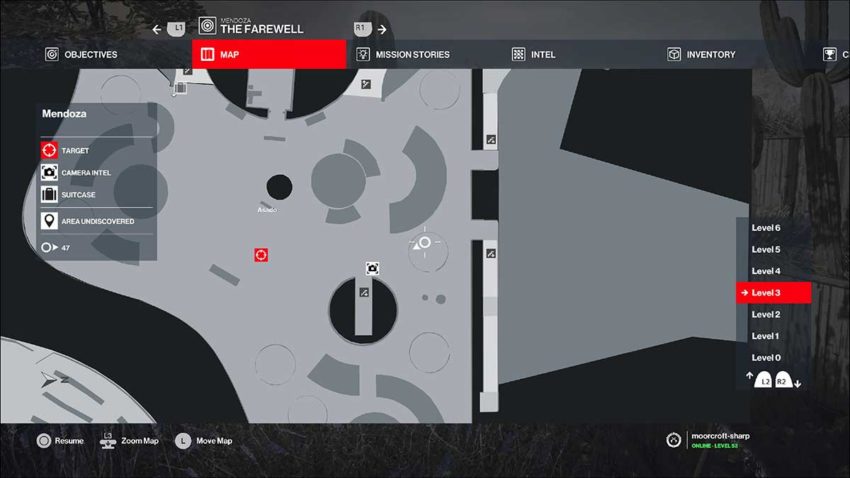
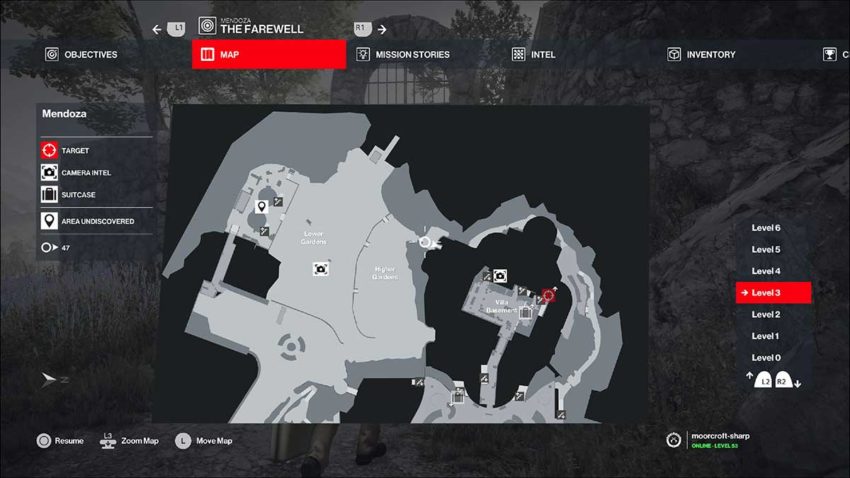
To access the party, we need to drop down the cliff edge in the image below. It’s just to the right at the back of the Parking Lot.
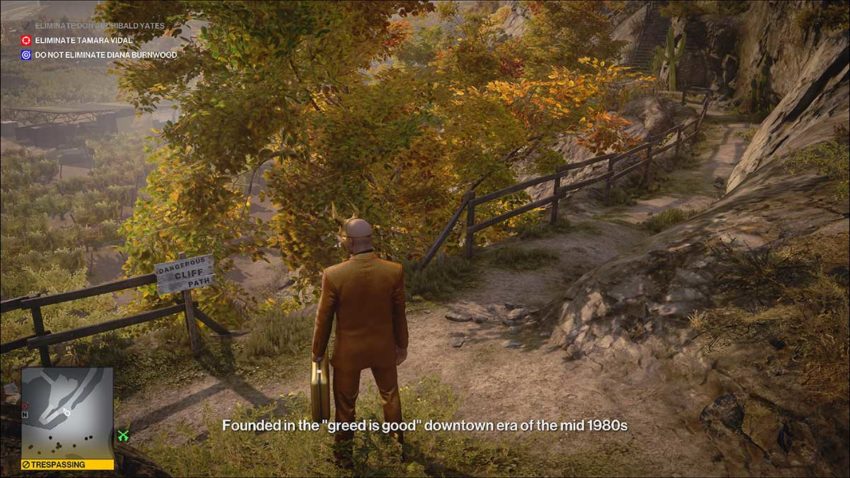
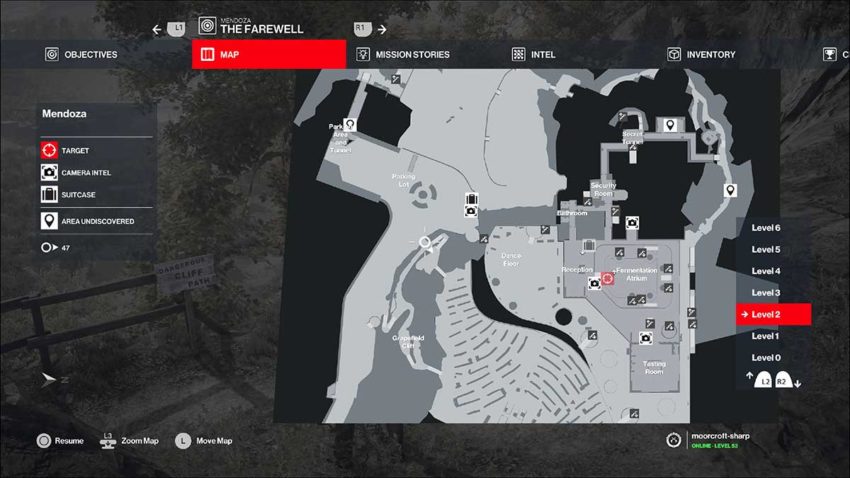
Below is a map reference for this location.
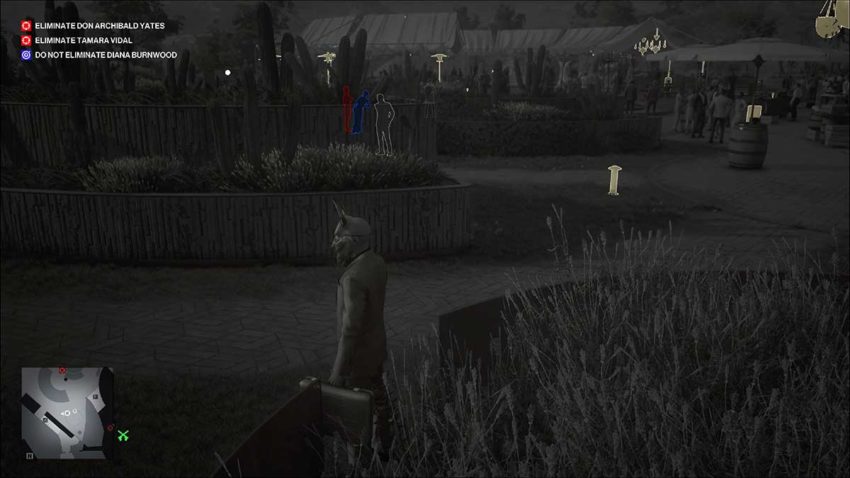
Drop down both ledges and land in the lavender at the bottom. There’s a guard here, but he won’t see you as long as you keep your distance behind him. You need to subdue him and hide his body in this lavender. Don’t forget to pick up his weapon and hide it in here too. Guards will patrol the area, and we don’t need them discovering him.
Use instinct to track the guards at the bottom of the staircase to the right of this position. When they walk away, sneak down the stairs and turn left at the bottom. You need to get to the railing and vault over it.
Once you’re over the railing, you can relax a little. Agent 47 won’t be trespassing here. Now you need to head up the first staircase you come across to get into the party.
Once you’re up them, you can head inside and find your way up to the rooftop. That’s where we’ll be ambushing Tamara. We like to go all the way through the main building and take the staircase at the back because you can pass by the vomiting NPC.
Step 2 – Set the scene
Once you’re on the rooftop, you need to head to the small circular garden at the front of the party. There are many of these in the area, so we’ll be providing map references for each one.
See below for the map reference for this garden.
Now, throw your briefcase at the edge of this small garden. It’ll distract the guard closest to you and draw him in. Hide right at the edge of the entrance to the garden, and subdue the guard as soon as he’s close enough. Then, hide his body deeper in the garden, and do the same with the weapon he’ll have dropped.
Tamara and Dianna will spend quite a long time downstairs before they come up here. While you’re waiting, head over to the next garden at the back of the party. A waiter is leaning against the wall of it. Subdue him and hide his body in the thick lavender.
Below is a map reference for this location.
Now head back to the first circular garden, where you took out a guard, and wait for your target to come closer. This will take about 10 minutes, and she’ll circle the party first.
Step 3 – Close in and strike
Once Tamara Vidal and Dianna are hanging out on the balcony close to this garden, one of the bodyguards will come and lean on the garden you’re hiding in. Use the briefcase to draw them in through the entrance once again. Subdue them as soon as possible, and hide their body and their weapon.
If you try to subdue them while they’re leaning over the rail, someone might notice. Our way avoids any unnecessary gunfire.
Now you need to move quickly back to the second garden you were in earlier. This is the one that you subdued a waiter in. Wait until Tamara moves closer to the back of the party. When she does, her bodyguard will move past her and station himself near this garden.
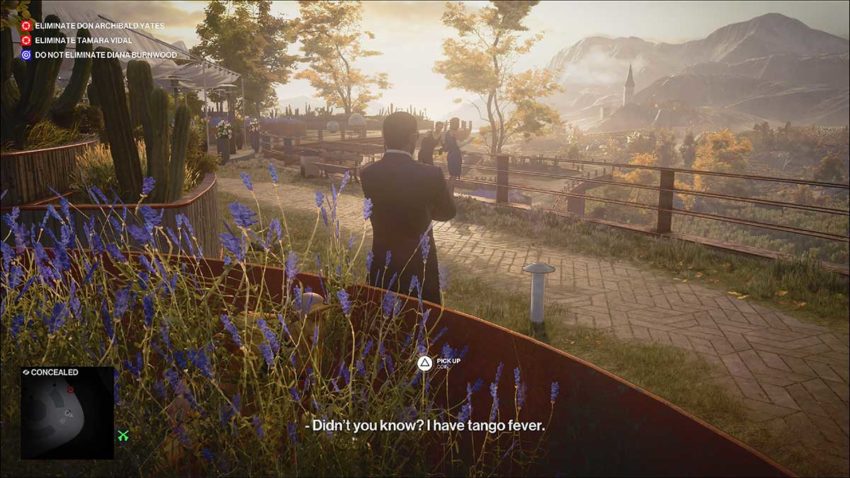
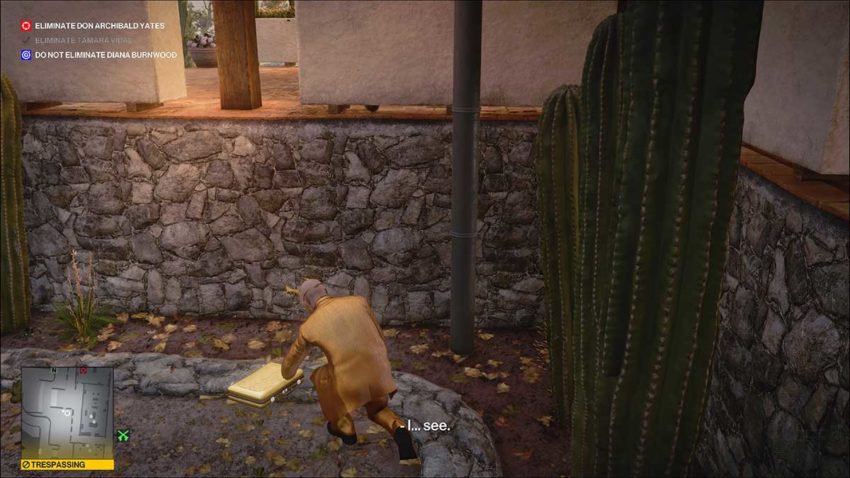
Throw your briefcase on the wall in the image below. This will distract him and bring him over here.
As soon as you’ve done this, pick up the briefcase and run to the third and final garden that’s left of this area.
Below is a map reference for this final garden.
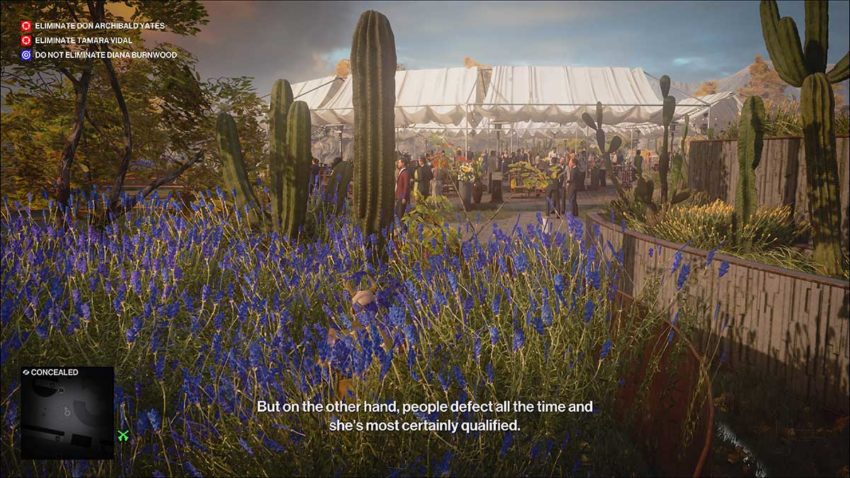
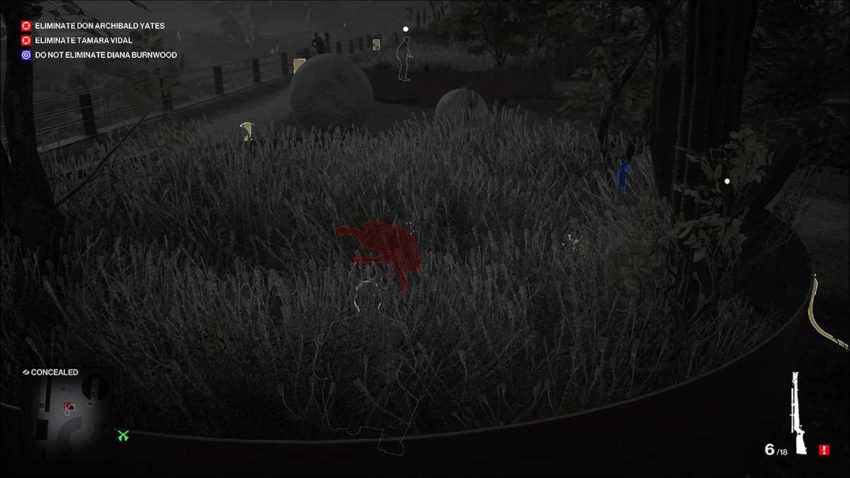
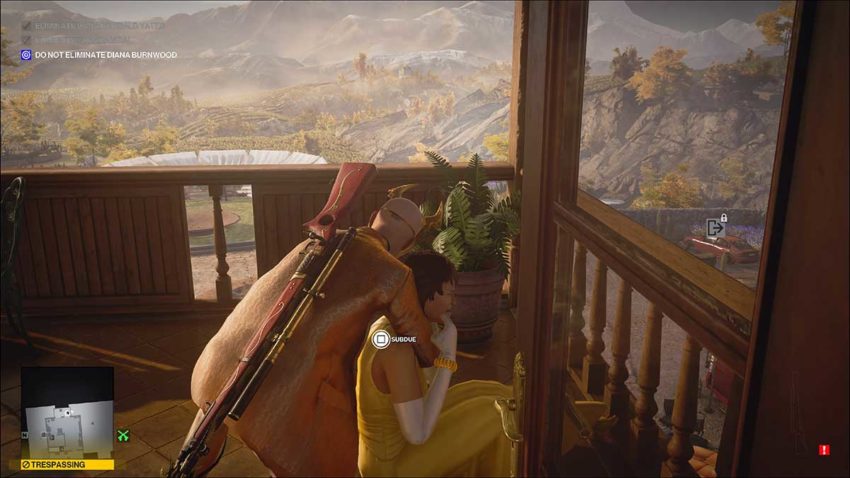
Tamara will now pass this garden without her bodyguard. Throw your briefcase at the cactus. This will distract her and draw her in. When she gets close to the entrance, subdue her and pull her in. Drag her deeper into the garden to be safe.

Now, you’ve got your target just sitting at your feet, waiting to be hit with a bullet from a sniper rifle. Take out your sniper rifle, wait until no one will see you, and then quickly shoot her.
Put the gun back in the briefcase and head back to the Parking Lot.
Step 4 – Reach Don Archibald Yates
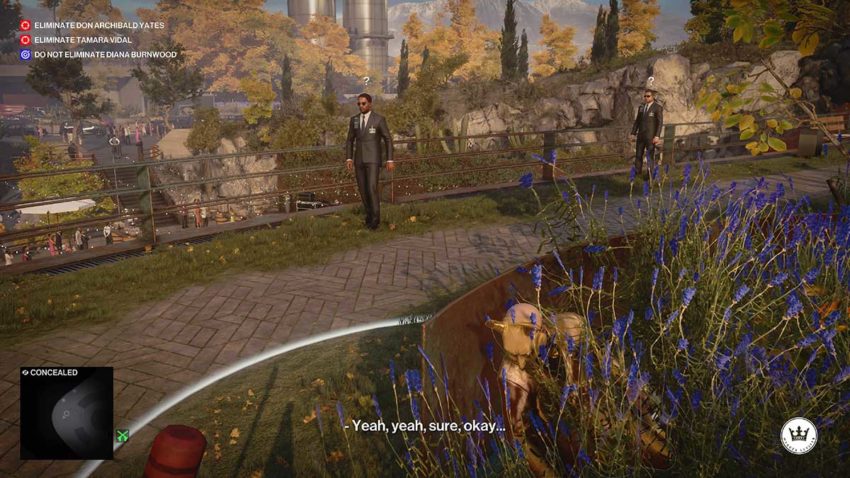
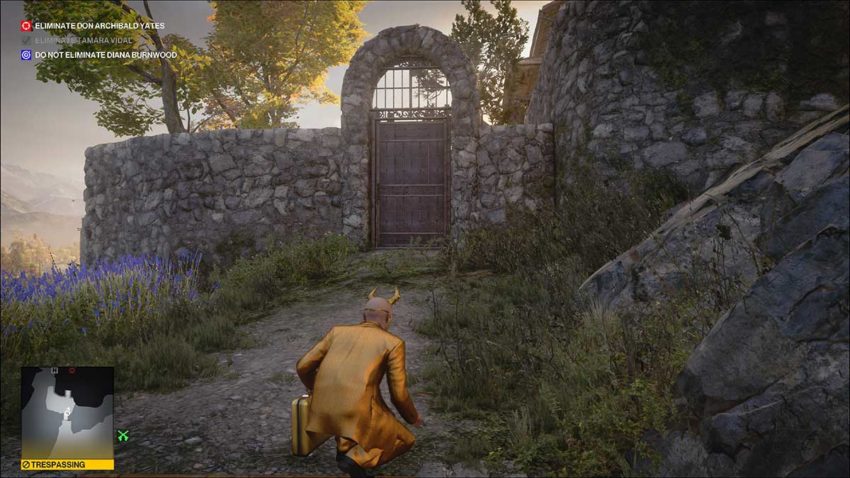
Now that you’ve dealt with one target, it’s time to pick off the other. Don Archibald Yates should be hanging out in his villa on the hill right about now. To get there, we need to sneak past the two guards in the Parking Lot in front of the field of lavender.
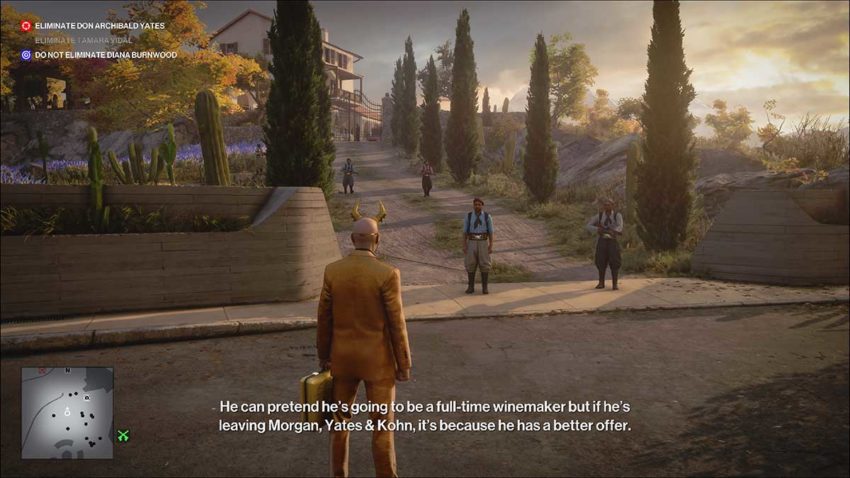
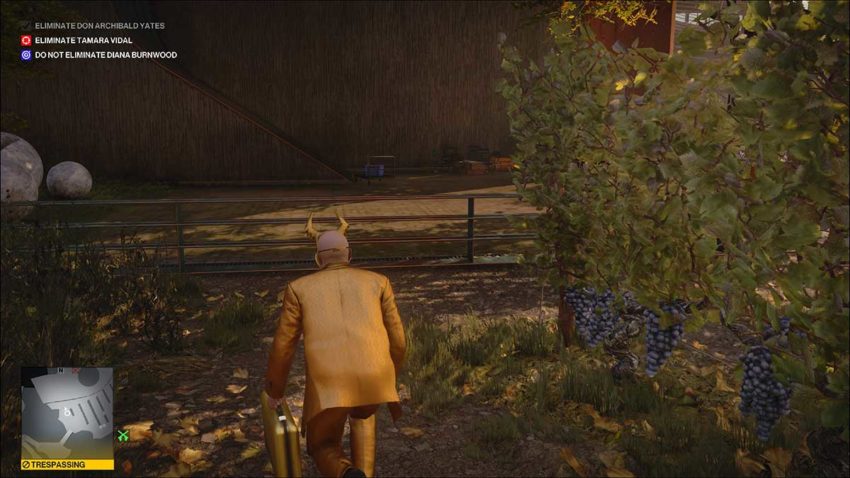
To do this, you need to crouch and run around the well to the left of them. It’s a tight move to pull off, and sometimes they will see you. Make a save before you attempt this because it’s where you’ll have the most trouble. Once you’re through, you’ll be in a literal field of cover.
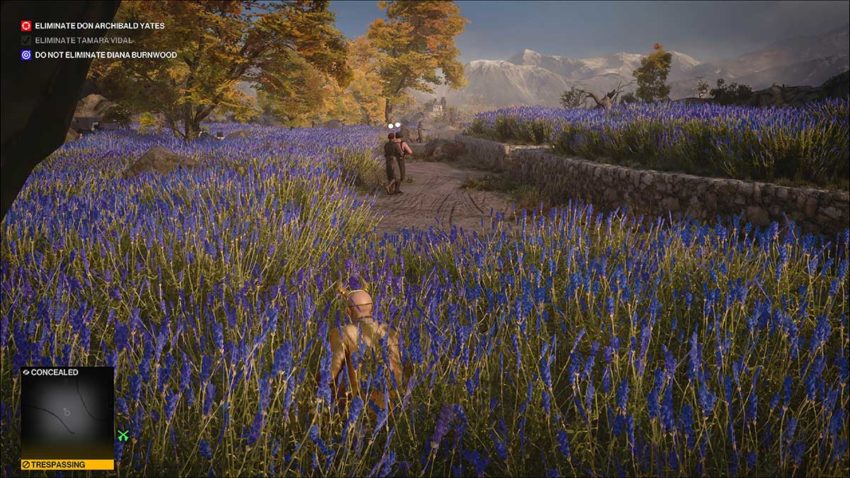
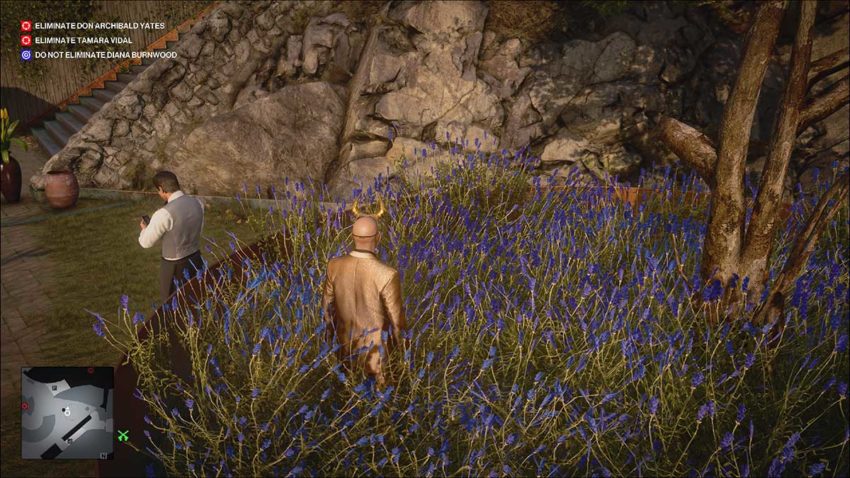
From the position in the image above, you need to head to the back right corner of the field. Watch for when the guards aren’t looking, and move through the lavender to avoid being seen. At the back of the field, there is a locked door.
Below is a map reference for this door.
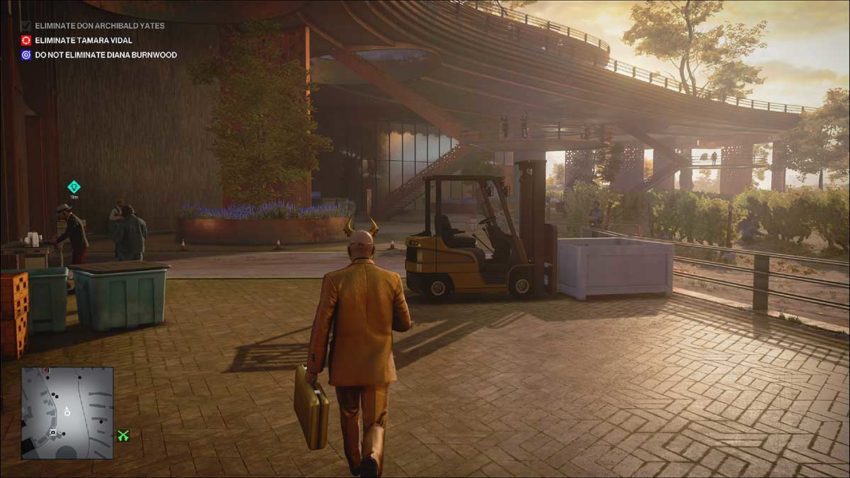
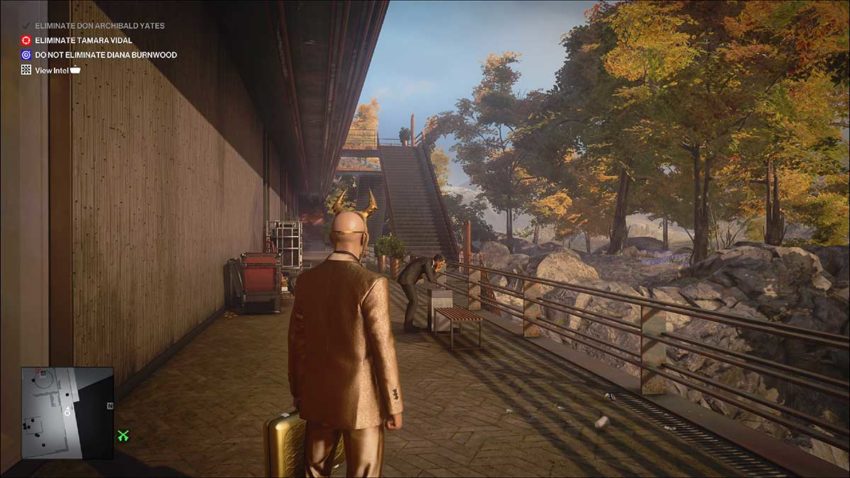
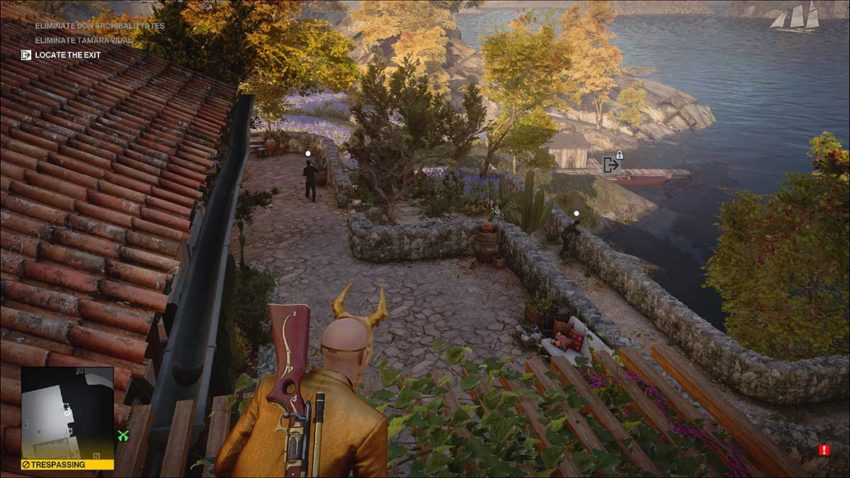
Use the lockpick to open this door. Check with instinct where the guards beyond it are before you go through. There should be two leaning against the wall to the left.
You need to sneak past the guards and go up the steps behind them. Then turn left at the top of those steps and make for the drainpipe on the villa. Once you’re there, get your sniper rifle out of the briefcase.
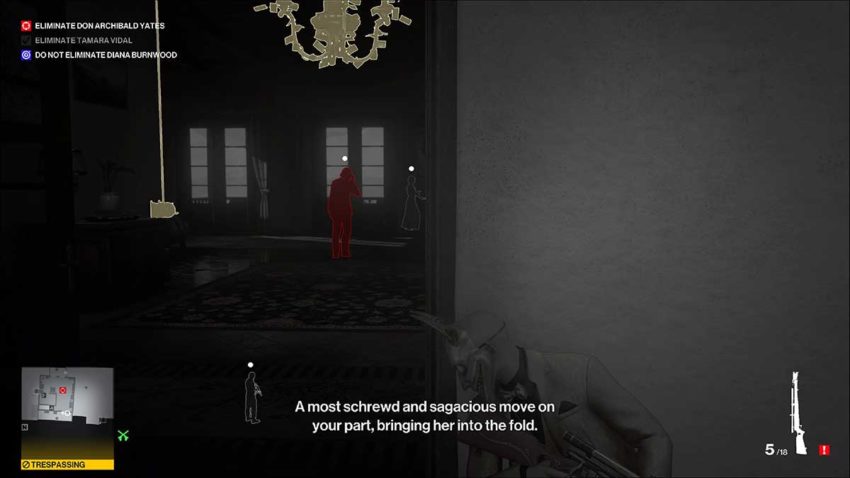
Climb up the drainpipe and wait for your target to come upstairs. You can access the room he’ll come into by vaulting the balcony on the left of this roof. However, Yates’ wife will also be in the room.

Once he’s entered the room, he’ll take a phone call, and his wife will have a short smoke on the right-hand balcony. Vault over the left balcony and lean against the wall. Open the door here and shoot your target before he can see you.
As soon as you’ve shot Yates, get through the room and subdue his wife. You can hide both of their bodies in the wardrobe in this room. If you don’t subdue her in time, she’ll notice you and ruin your Silent Assassin rank. The reason we brought the tranquilizer gun is for subduing her if things go south. You can shoot her from the rooftop if necessary, but this first method is much easier.
Step 5 – Exit
Once you’ve secured the bodies, hope back out onto the root and slide down the drainpipe. Put your sniper rifle back in the briefcase and pick it up. Now you can head back to the Parking Lot the same way you came from. Be careful to watch the patrolling guards near the villa as you leave though.
When you near the parking lot, you can vault over the wall instead of sneaking past the guards again. All that’s left to do is find an exit.
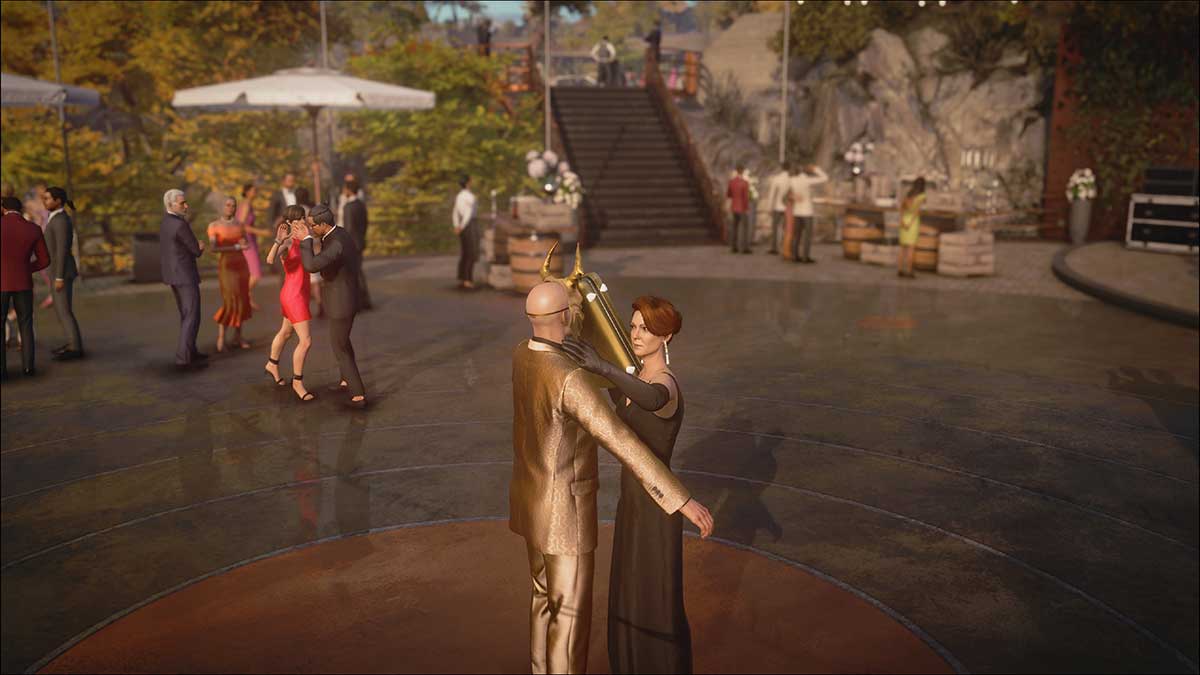
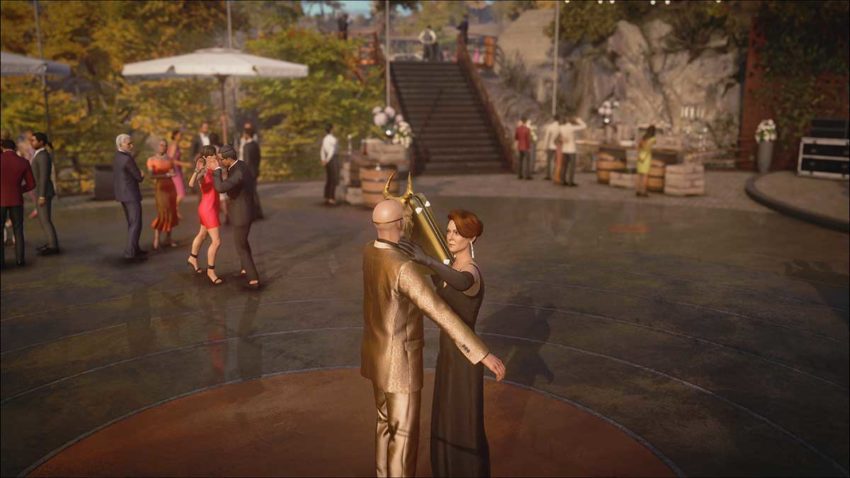
Our favorite exit is the dance with Dianna. Sneak back into the party the way you did at the beginning of this mission. Then you can find Dianna and witness the most awkward dancing you will ever see.


Published: Feb 17, 2021 09:17 am