The Lee Hong Derivation may be the most complex Escalation in Hitman 3 so far. The Percival Passage took off the training wheels and pushed players to find the best route through a location, but now timing comes into play in this Escalation. In this guide, we’ll walk you through all three levels of The Lee Hong Derivation Escalation and give you some tips to help make it slightly more manageable.
Step 1 – The core trio
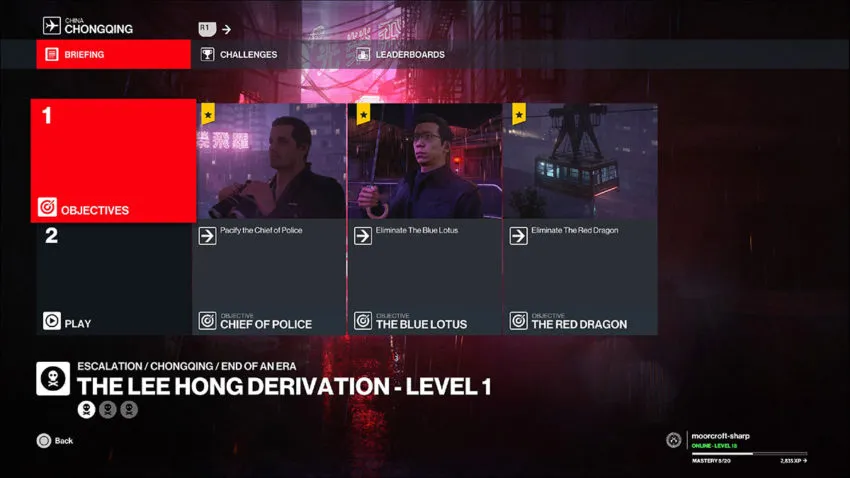
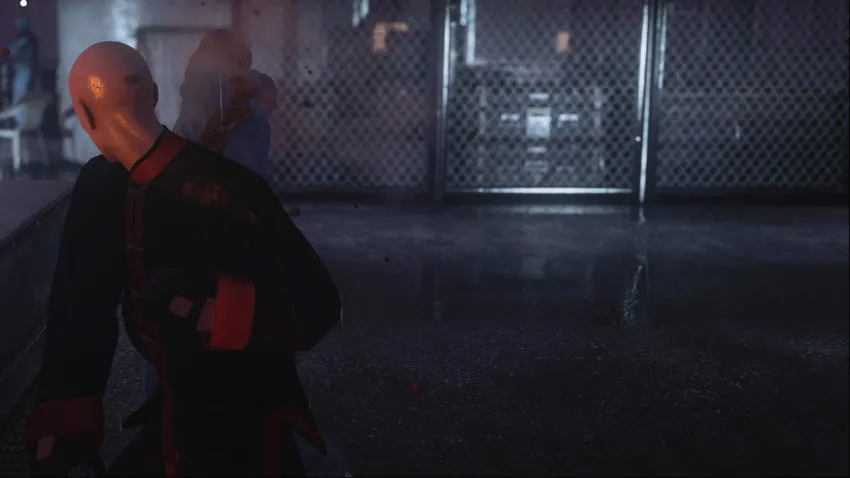
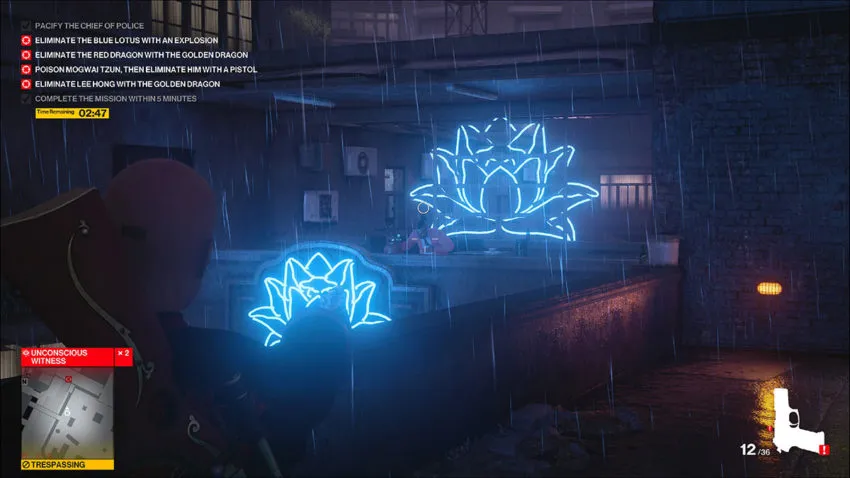
The first level of this Escalation requires you to pacify the Chief of Police, kill The Red Dragon, and kill The Blue Lotus with an explosion.
Your starting location is very convenient. From there, you need to move left and over the railing, across a small walkway, over the wall, and all the way to the break in the wall on the far side.
Here, you can grab the ledge and shimmy along to the right until you reach a drainpipe. Climb up it.

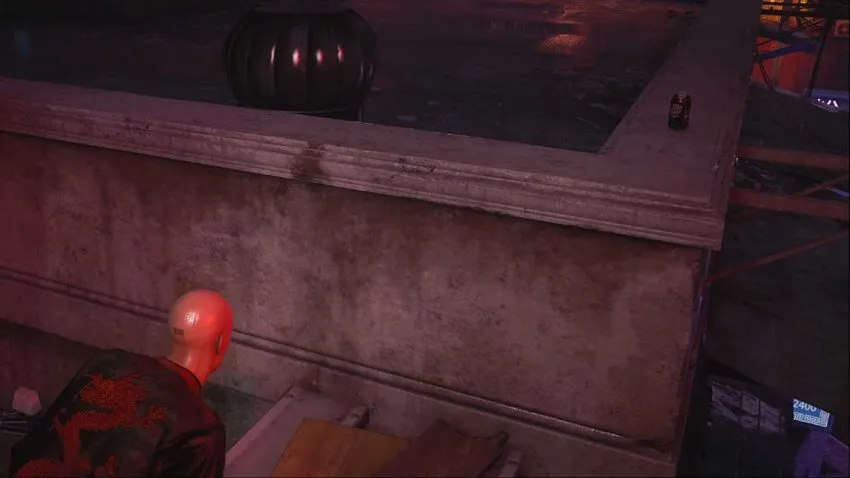
At the top of this ledge is a walkway where one guard will move towards you. Wait for him to do so. You can take this guard out and hide his body in a nearby trunk. Just make sure his friend doesn’t notice. With him gone, it’s time to head across another walkway. It’s directly opposite the trunk you’ve just stored a body in. Be sure to grab the crowbar on the box before you go.
Now it’s up another ledge to see the Chief of Police.
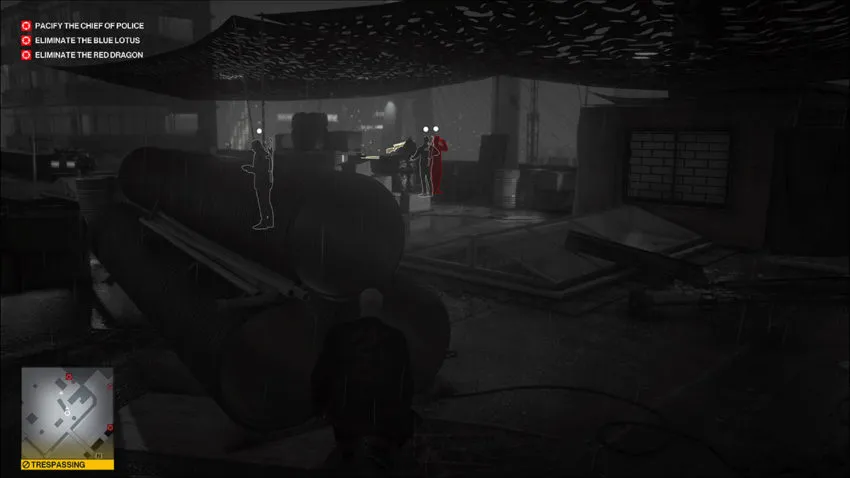
At this point, there are two possibilities. First, the Chief of Police will be standing on his own, and the other two guards will be together. Second, one guard will be on his own, and the other with the Chief of Police. Either way, this next bit is easy.
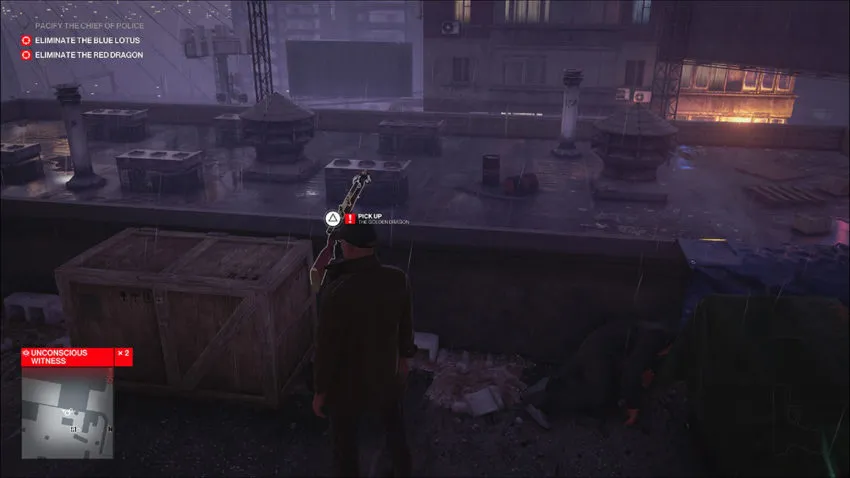
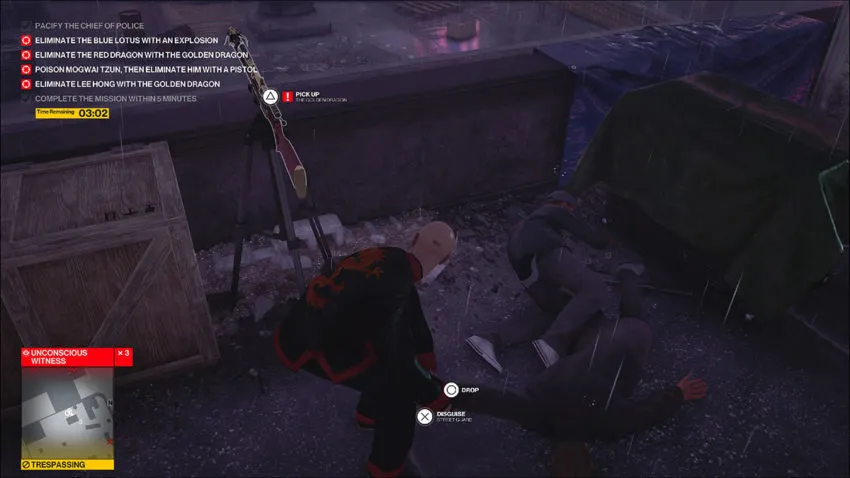
Sneak up to the guard(s) on the left first. Knock them out with the crowbar, and then do the same to the Chief of Police. From here, you’ll want to hide the Chief of Police’s body to avoid anyone waking him up. You don’t need to kill him, though.
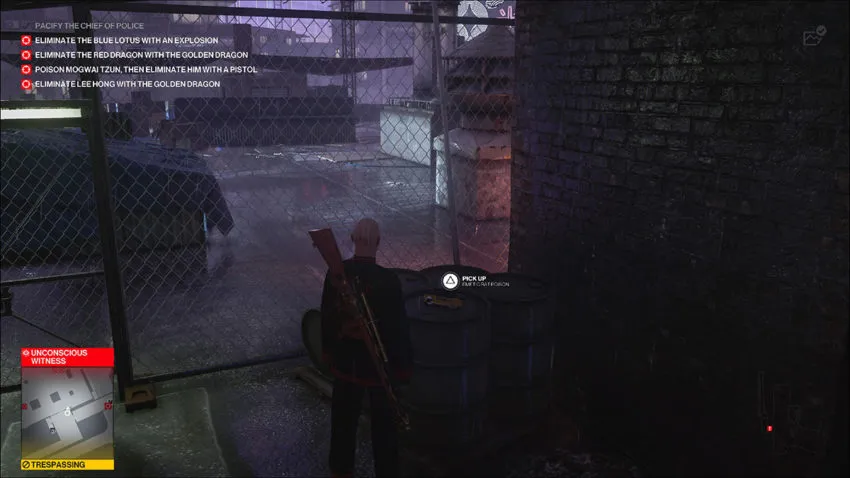
That’s one target down, now grab the sniper rifle that’s begging to be used and head back the way you came.
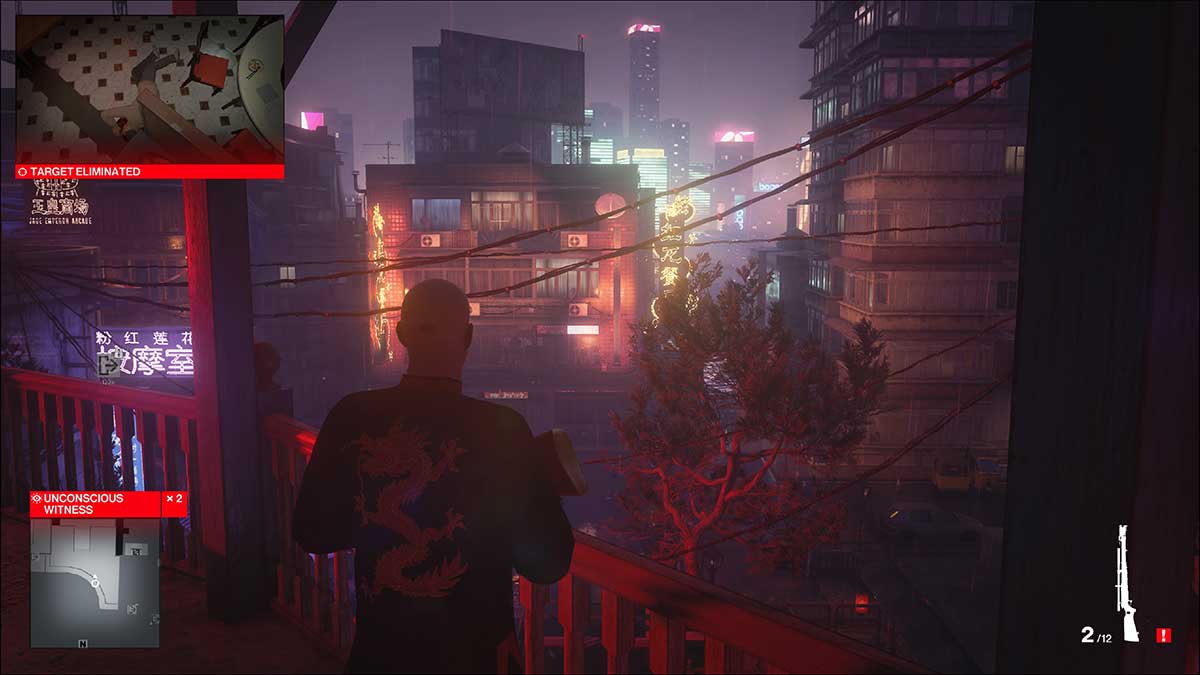
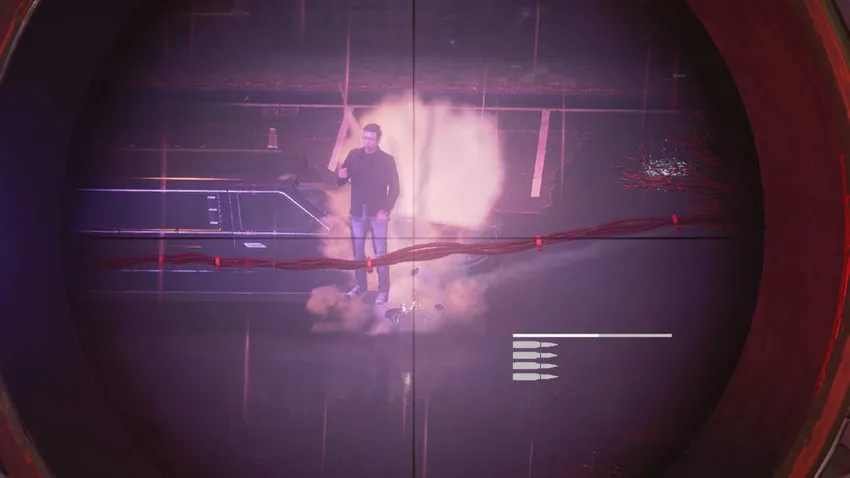
Follow the exact path you took to get up here all the way back to your starting position. The next target is The Blue Lotus. He will keep walking up to the limo that’s parked in the street. If you aim with the sniper rifle and look at the front wheel, you’ll see an object in its center. Wait until the target is close, then shoot it. This will cause an explosion that will kill the target.
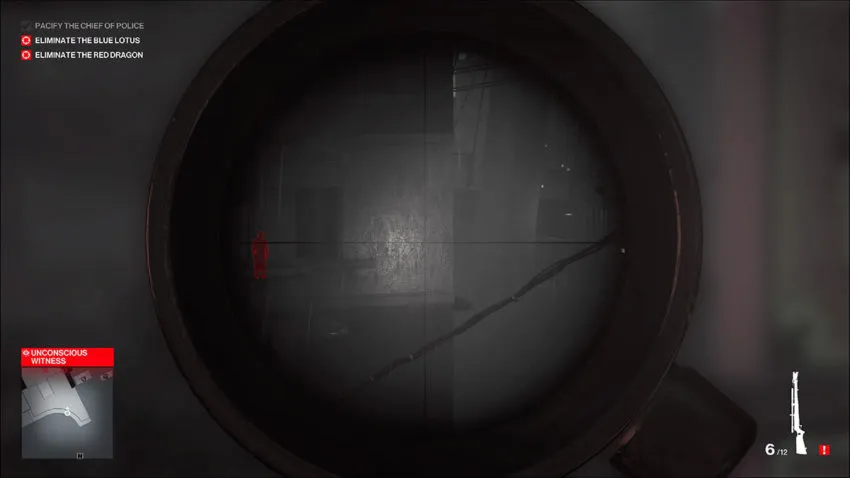
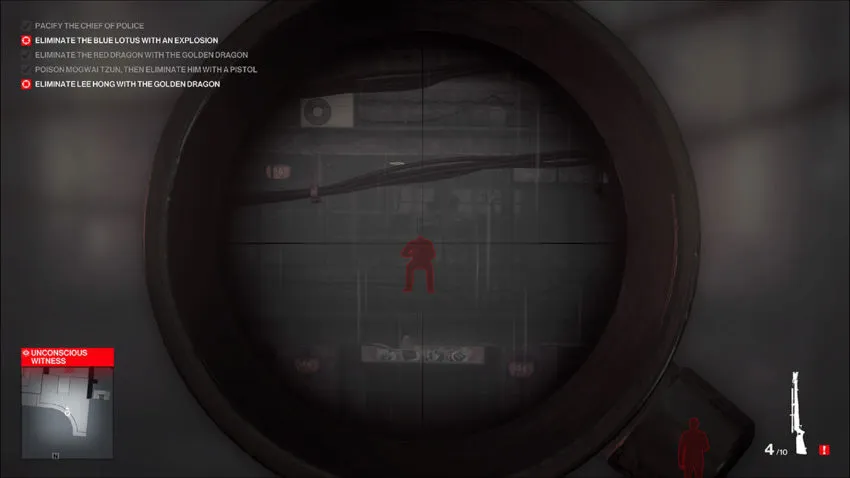
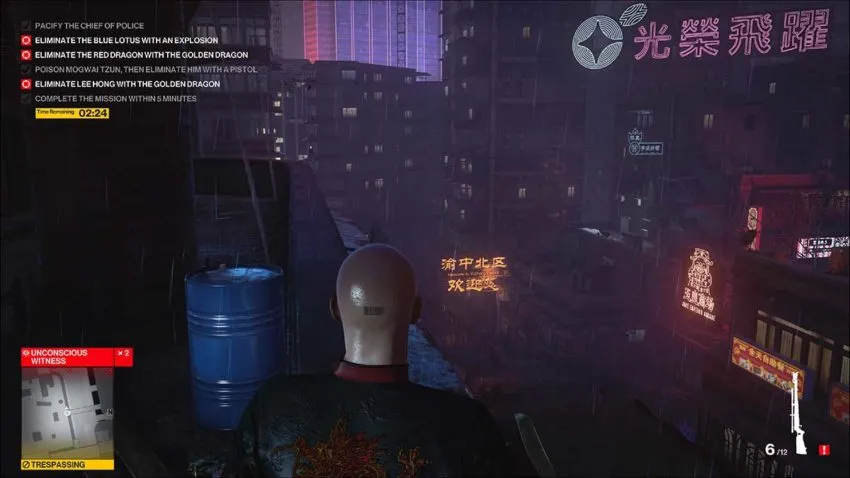
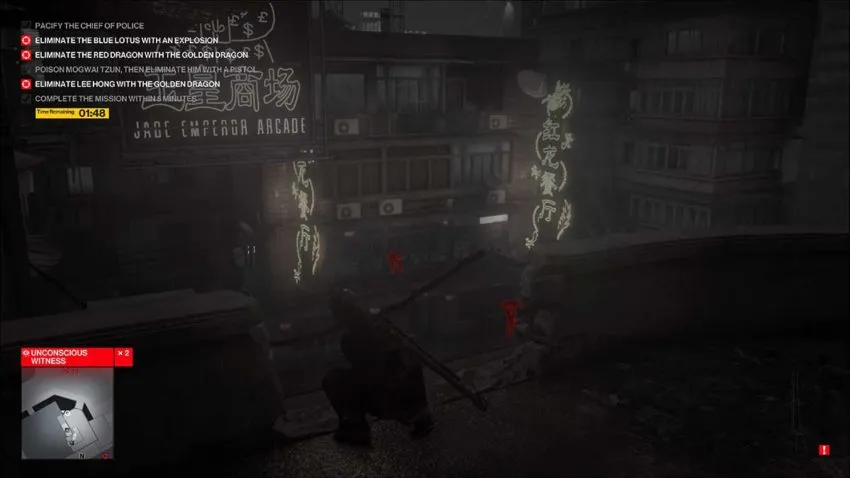
The final target is in a cable car and has been riding up and down the entire time. You can easily shoot him from your starting position here. Wait for the cable card to come past the gap in the buildings to your right, and shoot him through the glass.
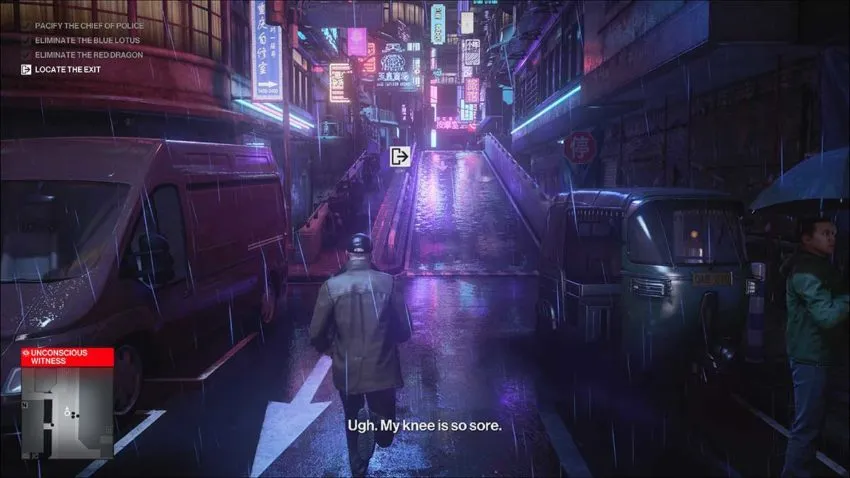
With that done, it’s time to escape. Ditch the snipe rifle and make your way to an exit. No one will have seen you, so you can take your time and use whichever exit you want.
Step 2 – Make it complicated
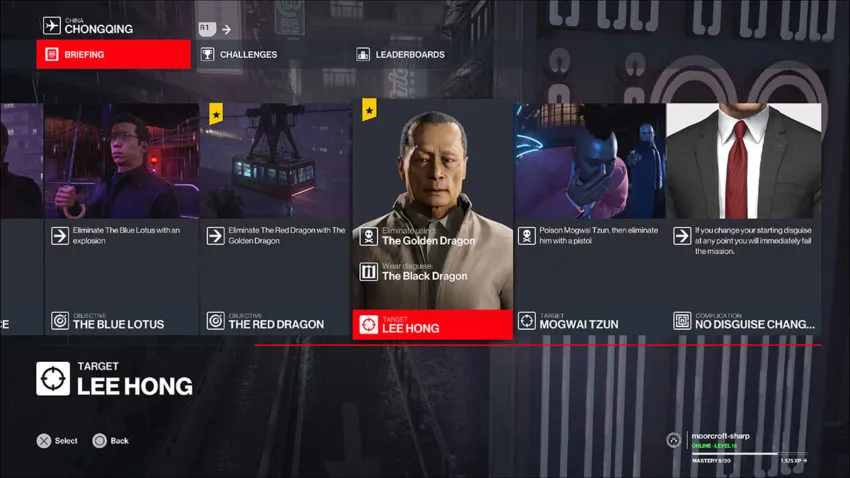
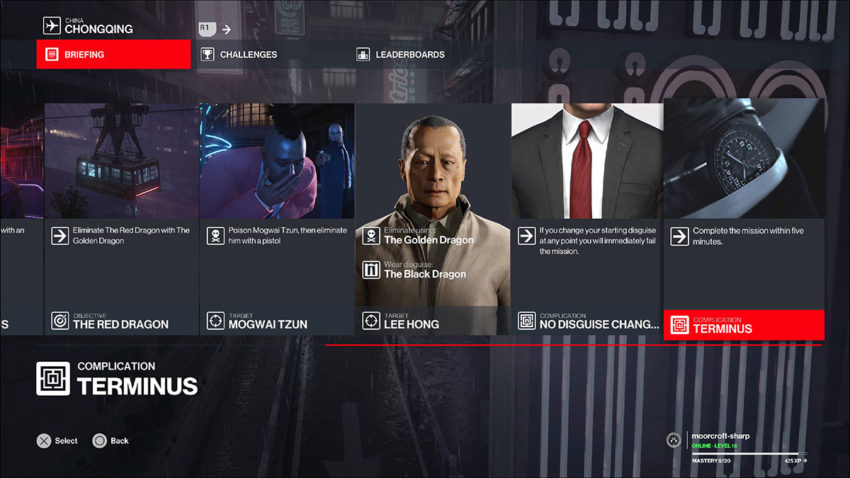
At level 2, this Escalation throws a lot at you. The first three targets are the same, except now you have to kill The Red Dragon using The Golden Dragon snipe rifle. If you change your disguise at any point, the Escalation is failed. There are also two new targets—first, Mogwai Tzun, who you must poison and then kill with a pistol. Second is Lee Hong, who you need to kill with The Golden Dragon while wearing your starting disguise.
The start of this level is the same as level 1. Take the same route up until the second rooftop, where the first guard needs to be dealt with. As soon as you’ve scaled the drainpipe, pick up the brick at the top of the ledge. Now use this to take out the guard. While hiding his body, make sure you pick up his handgun. Take the crowbar and head up to the next rooftop.
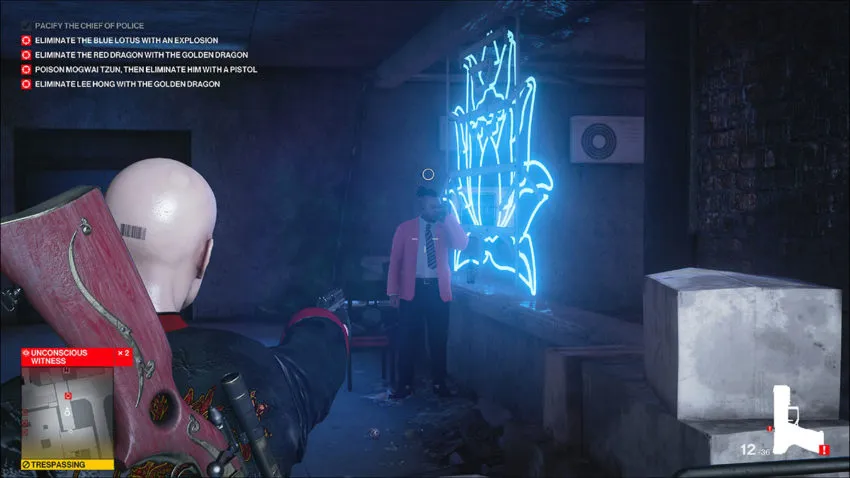
Use the crowbar to take out the Chief of Police and his fellow guards just like you did in level 1. Hide his body, grab the sniper rifle, and now turn around and focus on Mogwai Tzun. You’ll be able to see him on the walkway, either looking into the distance or eating a meal.
With the crowbar still in hand, move to the gates to the right of where you can see Mogwai Tzun. Be careful to avoid the hovering security cameras by staying out of the green area on the floor. Break open the gates, and grab the rat poison sitting just inside this area to your left. Now break open the blue doors, and you should see Mogwai Tzun.
The key here is to wait until Mogwai Tzun starts to walk towards the edge of the walkway and peer over it for a few seconds. As soon as he moves, start sneaking towards his table. You should have enough time to poison his food and sneak away.
Wait for the poison to kick in once Mogwai Tzun takes a big mouthful of it. You’ll be able to tell it has because the reticule over his head will become a thin white circle. As soon as this happens, use the handgun you picked up earlier to shoot him in the head. If you do this in the walkway, you’ll draw the attention of nearby guards, so run away as soon as he’s dead.
Now it’s time to head all the way back to where you started. Instead of killing The Blue Lotus or The Red Dragon right away, focus on Lee Hong. He’s eating some food in the restaurant just above where The Blue Lotus is standing. You can shoot him through the glass using The Golden Dragon.
Use the sniper rifle and kill The Blue Lotus with an explosion again. You can kill The Red Dragon as he passes by in his cable car too. Once more, there’s no rush here. Drop the weapon and find an exit you like to end level 2. Enjoy the spare time you have while it lasts.
Step 3 – You have five minutes
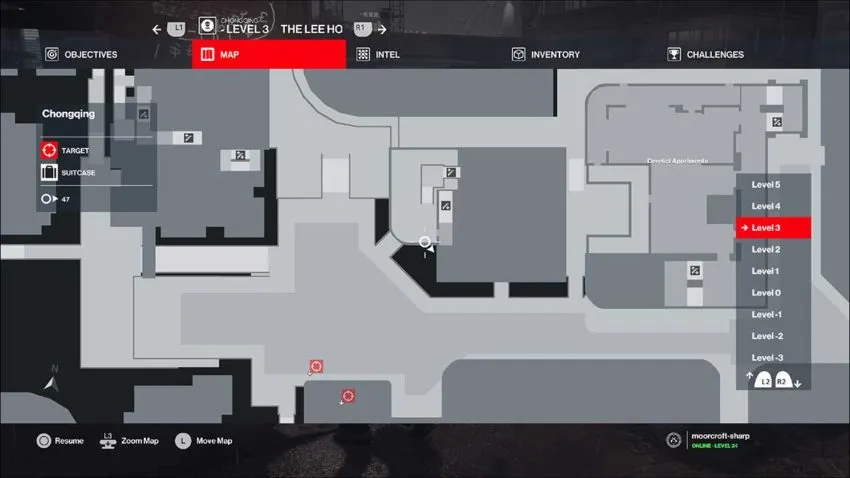
Level 3 is the same as level 2, but you need to complete all tasks and escape within five minutes. We’ve worked out the optimal way to deal with every target and get out of Chongqing in time. To do this, you will need to follow the path you’ve been taking through levels 1 and 2. The order in which you take out your targets has changed, though.
From your starting position, follow the same path as you did in level 2. Take down the first guard and steal his handgun. Don’t forget the crowbar. Once you’re on the same rooftop as the Chief of Police, move to poison Mogwai Tzun first.
Break through the gate, take the poison, get through the next set of doors, and poison the food. Now you need to sneak out, equip the crowbar, and take down the Chief of Police and his two guards. Hide the body, take the sniper rifle, and then head back to check on Mogwai Tzun.
He should be poisoned by now, and you can shoot him in the head from the broken wall that you climbed up to get here.
Now turn around and look towards the gap in the buildings where The Red Dragon passes by in his cable car. If you’re on time, he should be about to pass through. Use the sniper rifle to shoot him through the windows. If you don’t manage to make the shot, you’ll get a second chance later. As soon as he’s either dead or out of sight, start heading back to your starting location.
Move all the way back along your path until you reach the broken wall where you had to drop down and grab the ledge. There are two guards posted on a small stairwell nearby, so stay out of their sightline and pull out your sniper rifle.
As you’ll see, you can shoot and kill both Lee Hong and The Blue Lotus from here. Kill Lee Hong first since he’ll run away if you trigger the explosion below to kill The Blue Lotus.
With those two targets dead, you’re almost done. Don’t worry; you’ll still get a second chance at The Red Dragon. From this rooftop, there’s a doorway into an apartment building. Head inside and all the way downstairs.
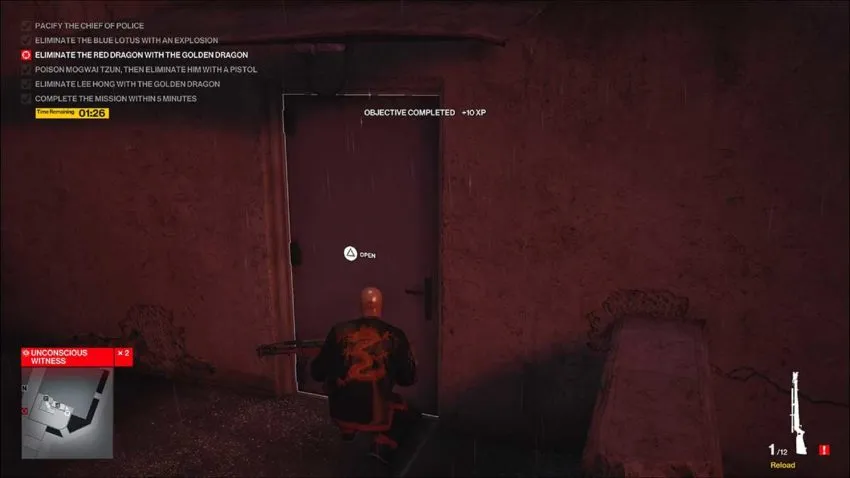
From here, our guide varies depending on whether or not you killed The Red Dragon earlier. If you did, drop the sniper rifle and run outside to find the closest exit. You’ll need to run left and up the road to the motorbike.
If you didn’t kill The Red Dragon earlier, use the crowbar to take out the civilian at the bottom of the apartment building. The explosion will have drawn out all the guards, so you can equip your sniper rifle and wait for The Red Dragon to cruise by.
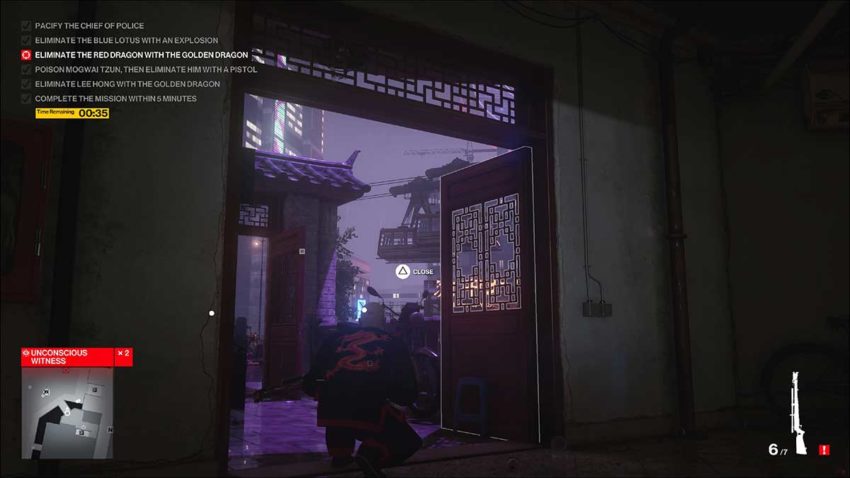
You can open the building’s doors and get a great view of where the cable cars pass by. Use this opportunity to shoot and kill The Red Dragon. If you don’t, you’ll have to restart the Escalation. If you do, run left and up the road to the exit, we outlined earlier.


Published: Jan 29, 2021 12:00 pm