A Message Delivered is one of the main quests in the Assassin’s Creed Valhalla and Odyssey crossover story. To start it, you need to complete Not All Treasure Should be Found. The quest will then be automatically assigned. This guide explains how to complete the quest to prevent you from getting stuck in your journey for truth.
Step 1: Visit the Overgrown Ruins
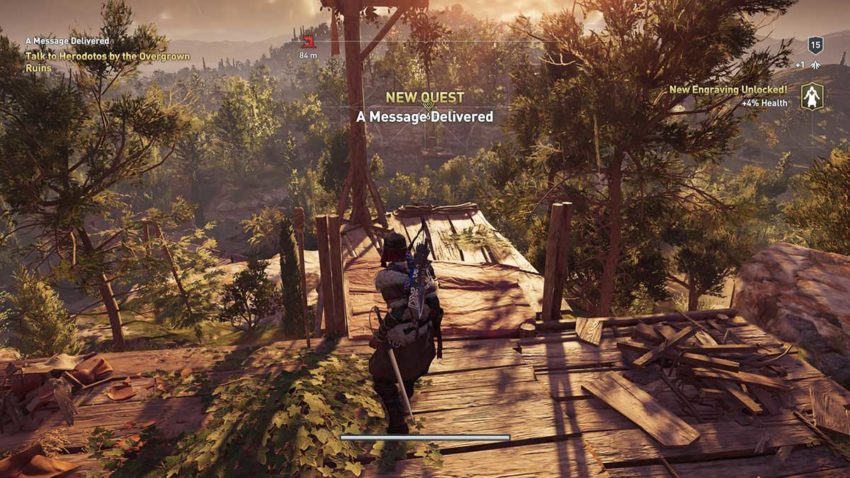
The first part of this quest requires you to visit Herodotos in the Overgrown Ruins. You’ll get a quest marker for this, so all you need to do is follow it. Along the way, Kassandra will start to hear Alethia’s voice, giving you a hint at what’s to come. After meeting with Herodotos and Barnabas, Kassandra feels a pull towards a new location.
Step 2: Head to the Tomb of Phaiax
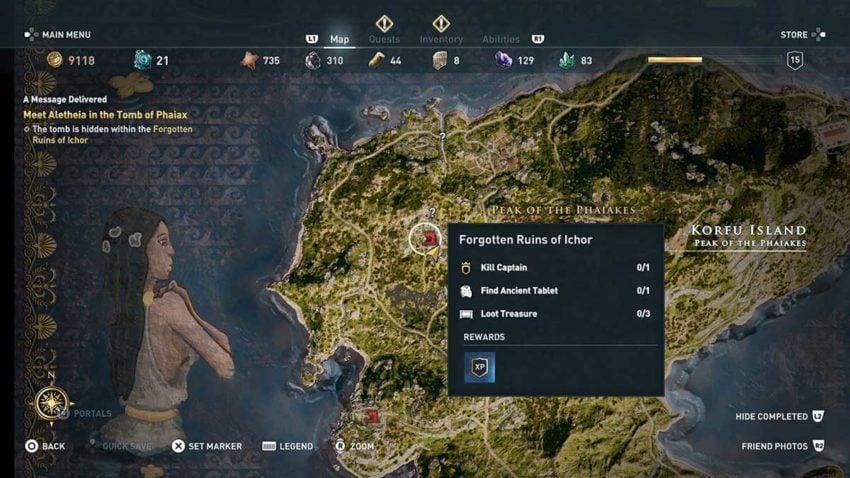
Your next destination is a hidden one. You need to get to the Tomb of Phaiax but have to get there through another location, the Forgotten Ruins of Ichor. This location is towards the Peak of the Phalakes. On the map, you can see that it’s directly to the left and slightly below those words on the map.
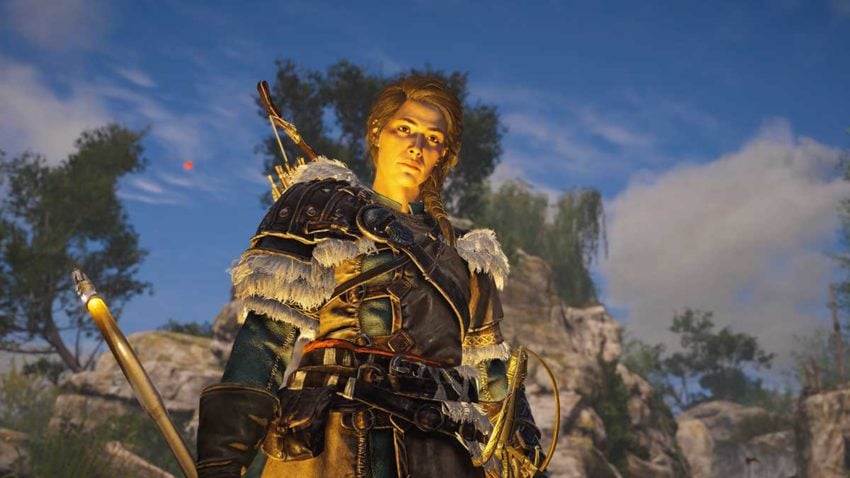
For reasons you’ll understand if you’ve completed each quest so far, Kassandra’s abilities are now gone. As such, she’s far less capable in combat. However, to make up for that, you can now assassinate and instantly kill almost any enemy in the game, providing they don’t see you first. Use this to your advantage as you sneak around the Forgotten Ruins of Ichor. You’re looking for a hole in the ground that leads into the Tomb of Phaiax. It’s located at the back of this area, but it’s best to kill all the enemies first to avoid an unnecessary fight.
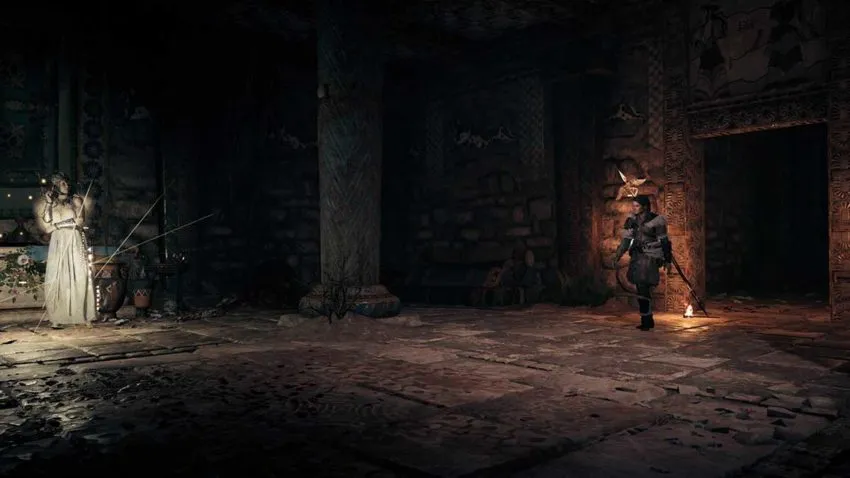
Step 3: Explore the Tomb of Phaiax

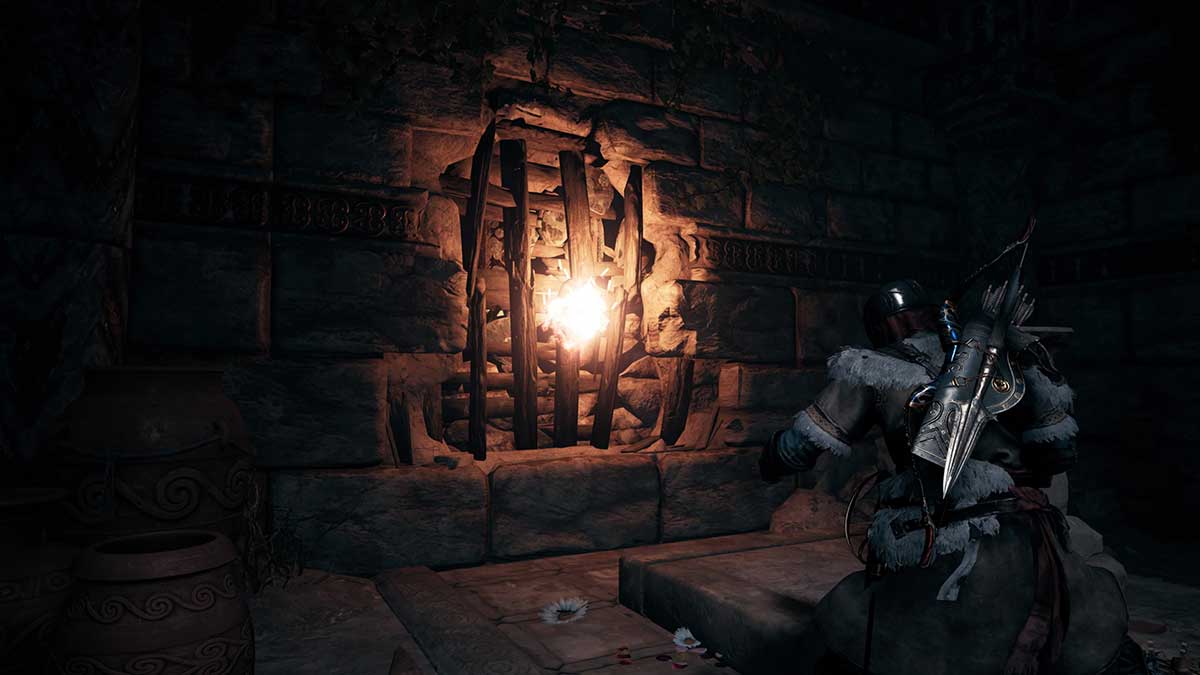
Drop down into the hole and start exploring. First, you’ll need to break through a fake wall to get inside, and then the real puzzles begin. The tomb has several routes through which you can explore, and in each, you’ll need to move obstructing shelves out of the way. It’s not clear how all of this fits together at first, but we have an easy way for you to work out how to get through with no backtracking.
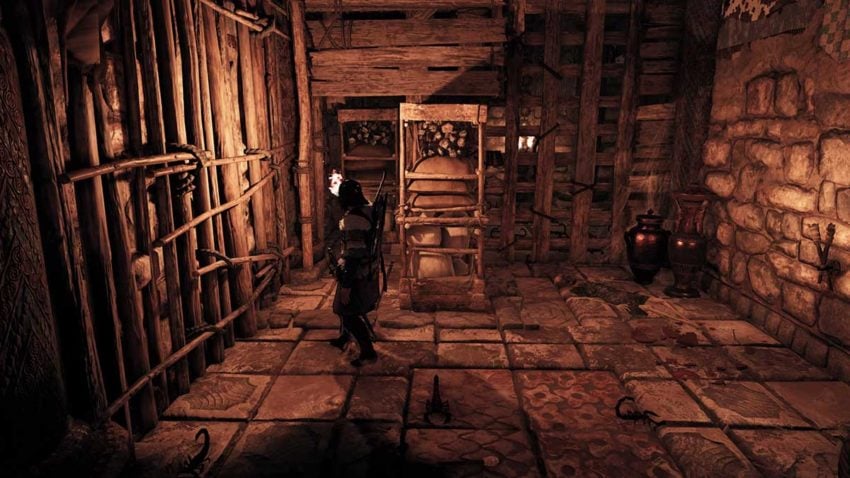
As you explore the location, find every movable object you can, and pull it out of the way. Even if you can’t do anything to move the unit behind it from that position, it’s worth moving the first one out of the way. Do this in the opening area before exploring underwater. The next area to explore starts by going underwater. The first point that you come up for air has more movable objects, so do the same thing and move them out of the way, even if you can’t open another path yet.
Now, go into the next pool of water and follow it to the next point where you can come up for air. Move the movable objects once again, and you should start to see a path forming. This path is made up of small openings at the bottom of the walls. Once you’ve successfully moved all the objects, you’ll be able to slide through and go down another set of stairs into a chamber.
Step 4: Destiny
This part of the quest is how Assassin’s Creed Odyssey links with Assassin’s Creed Valhalla. We won’t spoil it here, but this is how Kassandra learns about her destiny, and it’s how the game opens up the possibility of her being present in Assassin’s Creed Valhalla.
Step 5: Make your way to the waterfalls
The only thing left is to visit the waterfalls where Barnabas and Herodotos have been admiring nature in all its splendor. You’ll get a quest market to follow and see a short cutscene where Kassandra considers her destiny. This part of the quest is heavily linked with Assassin’s Creed Odyssey’s DLC, so if you want to avoid spoilers, you shouldn’t play this crossover content until you’ve finished it. Once you arrive at the waterfalls and let the cutscene play out, you’ll have completed the quest.


Published: Dec 15, 2021 08:15 am