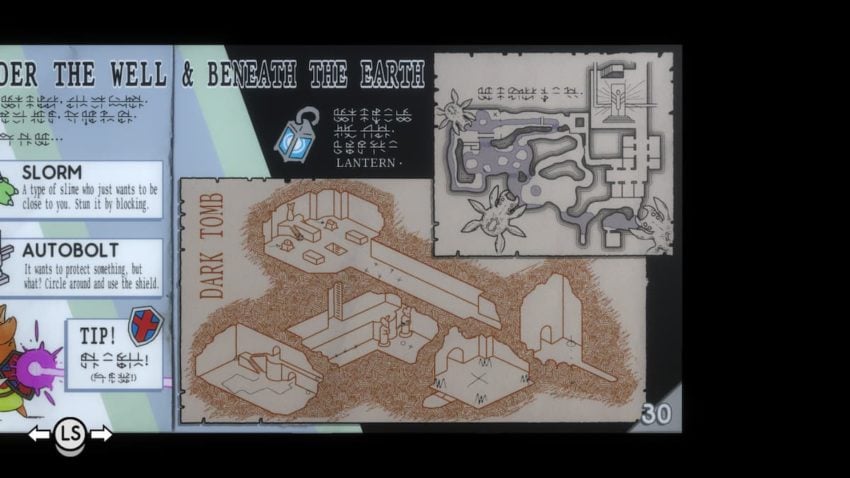
Before starting this dungeon, we highly recommend picking up the Lantern. It may be technically possible to complete the area without one, but it’s considerably more difficult. Taking on the Dark Tomb is also much easier if you refer to page 30 of the in-game manual, which is shown below.
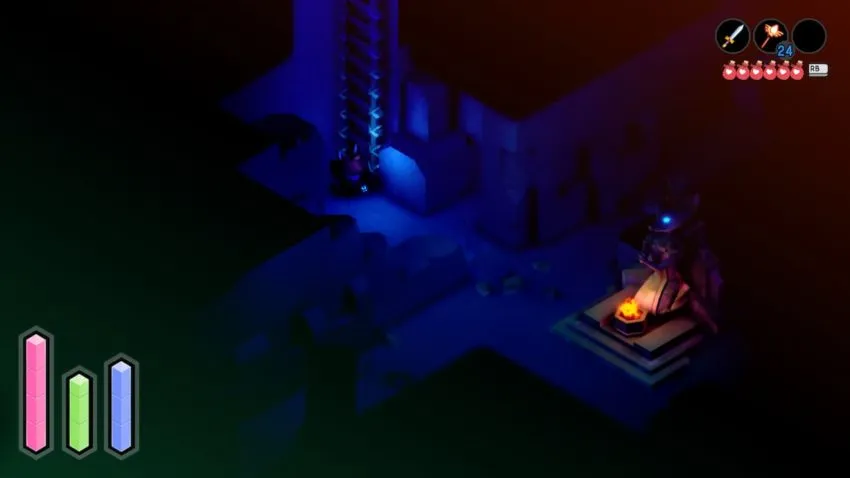
As soon as you enter this dungeon, it’s a good idea to head down the ladder that can be found to your right in the first room. This leads to an underground passage that connects to a locked gate. While you can’t unlock the gate from this side, you can take advantage of the checkpoint here.
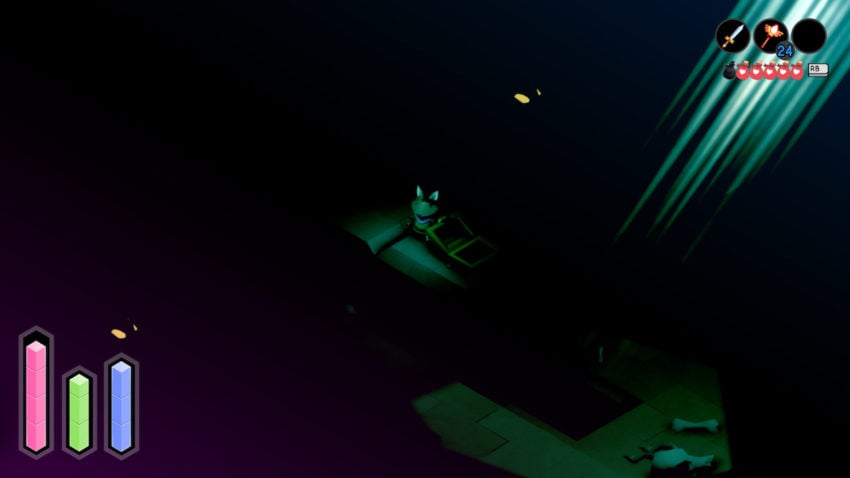
After climbing back up the ladder, head farther into the tomb, taking care to avoid the traps which are marked on your map. Also, keep an eye out for undead enemies here. They aren’t too tough, but they can take you by surprise if you aren’t watching carefully for their eyes in the dark.
Once you reach the room with the statue, find and activate the two pedestals on either side of the room. Doing this will move the platform in the middle of the room, giving you access to a ladder that will take you to the tomb’s lower level. Before climbing down, though, make sure to climb the stairs on the right side of the statue to get the treasure chest at the top.
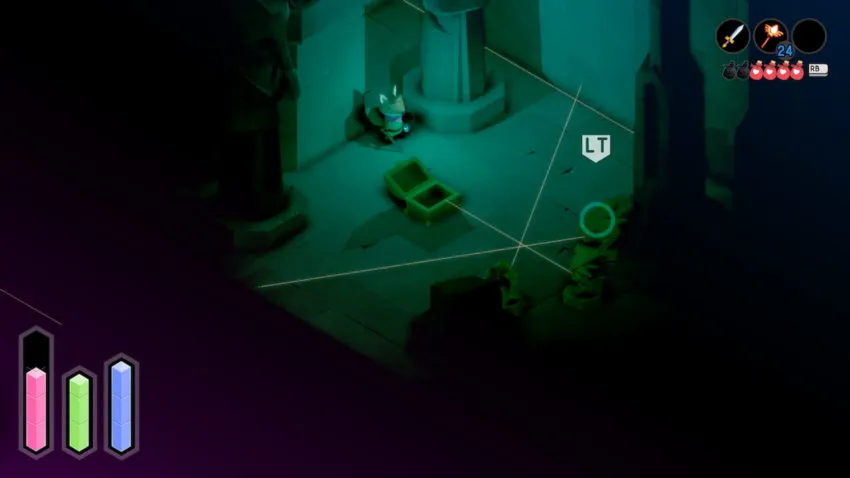
After taking this ladder, you’ll reach a long balcony area. Head left and into the door to a ledge in the next room. Once here, head down along the ledge to pick up a treasure chest and head the other way to take the stairs into the trap-filled lower level. Once here, it’s a good idea to clear the enemies before trying to do anything else. Once the room is clear, pick up the two treasure chests, one on each end. To reach the next room, follow the path notated on page 29 of the manual.
The next room is also filled with traps, but these are laser traps that will fire several shots in your direction if you trigger them. You can either choose to destroy these traps or roll through the laser, which will still trigger them, but will allow you to avoid the damage. Before leaving this room, make sure to take the hidden hallway at its upper end, which leads to a chest.
After exiting, you’ll find one more room, also littered with traps. Just work slowly and carefully here, making sure each laser trap you destroy won’t leave you vulnerable. Now all that’s left to do is to open the chest here and head out to your left, where you’ll find a very mysterious room.
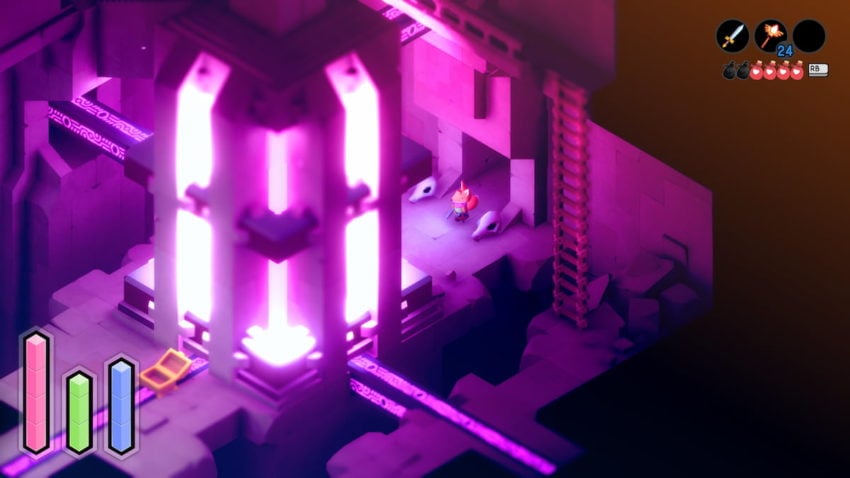
Take the path around the large glowing pillar to grab one last chest. From here, take the exit on the left side of the room to leave the dungeon.
Related: How to get the Magic Rod in Tunic








Published: Mar 24, 2022 02:34 pm