The Percival Passage is the first Escalation Contract for Dartmoor in Hitman 3. Having been eased into Escalations with The Phoenix Ascension, the difficulty is ramped up significantly here. In this guide, we’ll explain the best and easiest route through each level of this Escalation.
Step 1 – A formal affair

We were already sweating just looking at the objectives for this Escalation. There are two targets to begin with. Both are security guards somewhere in the Dartmoor location. Players must eliminate them whilst wearing the Formal Hunting Attire, and if they change disguise at any point, the mission will fail.
You’ll start at the boat for this Escalation. It’s near the greenhouse and gives you a pretty direct path to the back of the manor. Agent 47 is already dressed in the Formal Hunting Attire, so there’s no need to pick up a disguise. However, there’s nowhere that it’s acceptable to be seen in this outfit both in real life and in Hitman 3. Avoiding all NPCs is the key here.
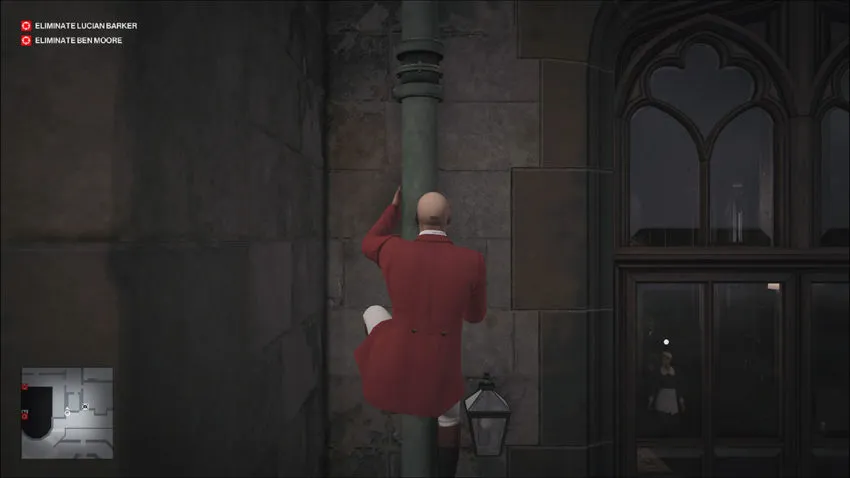
Run along the hedge maze edge towards the manor, using the bushes to hide from the patrolling security guards. Turn left at the edge of the maze and run towards the stairs leading from the garden to the manor. Climb up those stairs and head to the right of the main doors. There’s a drainpipe that you need to climb all the way up.
Climb to the left at the top of the drainpipe until you come to an open window leading to the main hall’s first floor. Enter through the window and move around the walkway, through the open door on the other side and out through the window again.
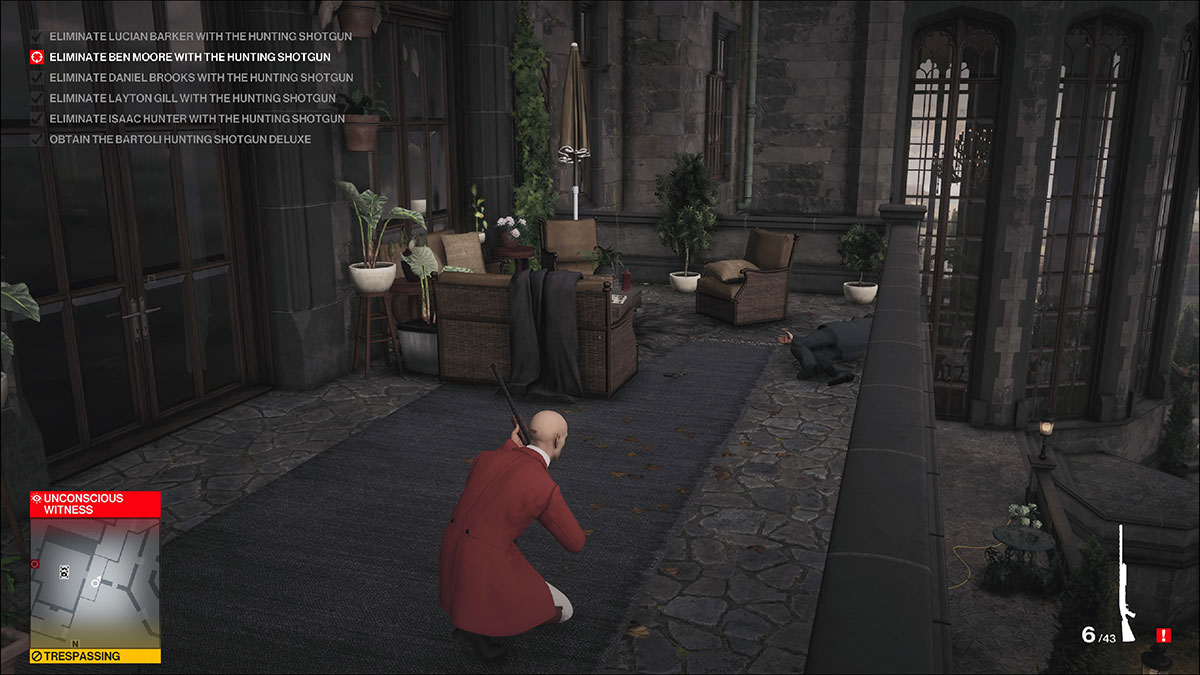
This ledge will lead you to the first target.
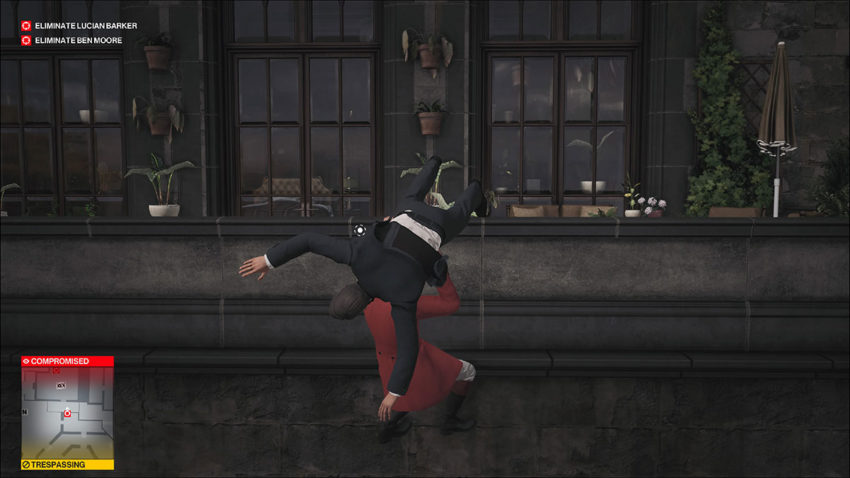
You can lower yourself and move along the ledge until you’re directly underneath the target. The best way to kill them here is to pull them over the edge and then vault onto the balcony. No fuss, no mess.
From here, it’s easier to hop over the edge of the balcony and walk around the mansion until you reach the window the next target’s patrol takes them to every 20 seconds or so. Wait until they’re at the window, and then pull them through.

With both targets eliminated, it’s time to head to an exit. Walk along the edge until you find another drainpipe. Once you’re back on the ground, there are two exits nearby. The easiest is the small wooden bridge directly opposite the balcony where the first target was standing.
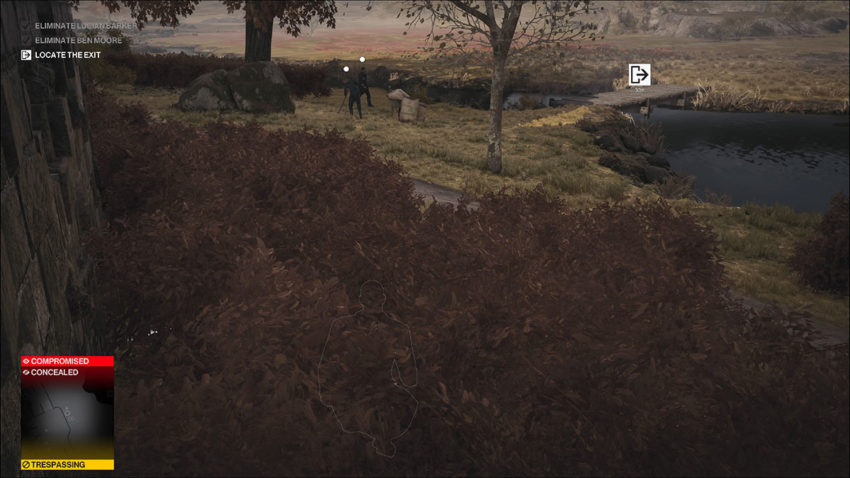
You’ll have to throw an object to distract the guard and gardener, but as long as you haven’t been seen before this point, you should be able to escape without difficulty.
Step 2 – A close shave with no evidence

The next level of this Escalation tasks you with killing the two original targets, plus a brand new one. Each must be killed with the barber razor, and all bodies, unconscious and dead, must be hidden before the mission can be completed.
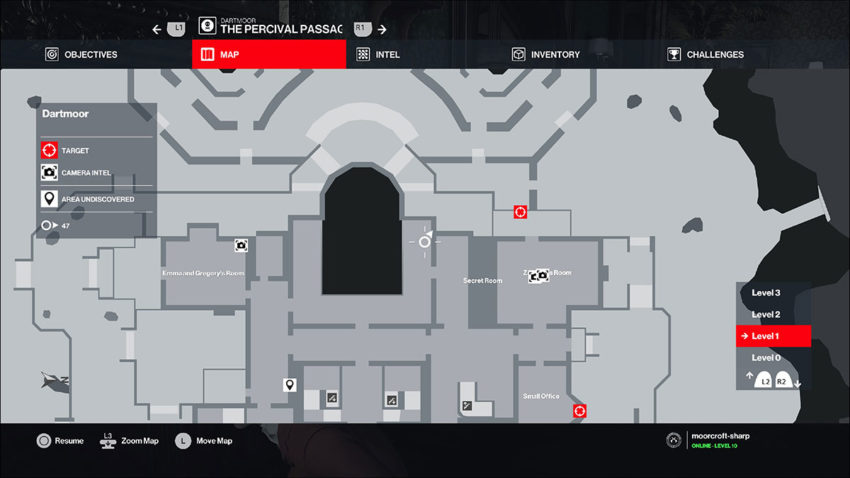
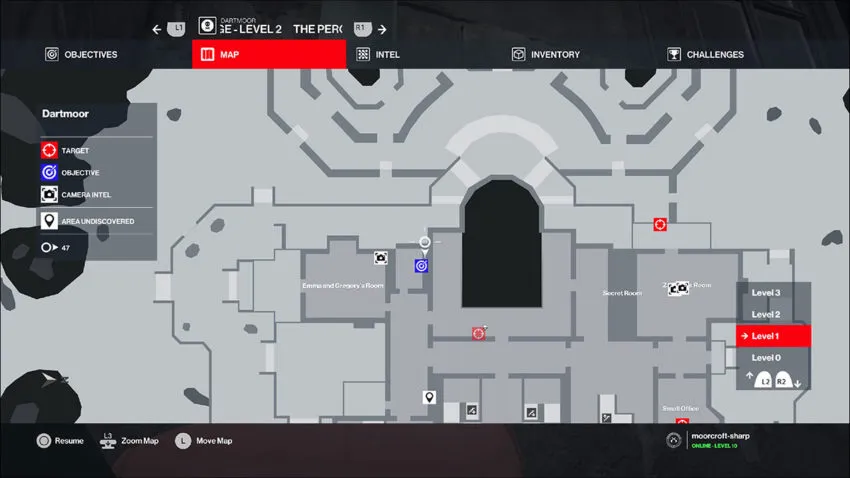
You’ll enter the mission from the same location, and the path you take here is still the same as it was for level 1. The only difference is that you need to enter the manor through the bathroom window once you’ve climbed the drainpipe. You can see this on the map because the barber razor is marked for you.
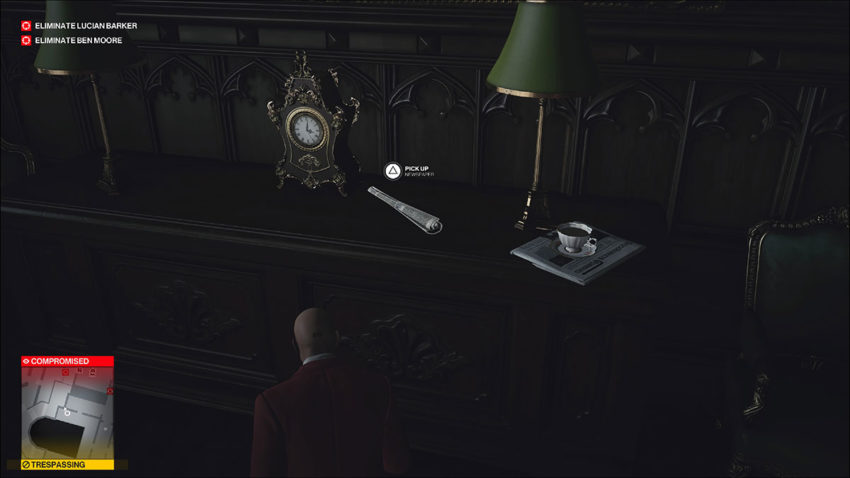
Once you’ve got the razor, head back out the window. Now follow the path to the first target as you did in level 1, but with a single exception. In the first floor walkway, there’s a newspaper on some drawers on the right-hand side. Take it before you move back out the window and head for your first target.
You can’t pull the target over the balcony this time, you’ve got to use the Barber razor. While hanging, work your way to the left-hand side of the balcony where the first target is standing. Wait until he looks away before you vault over the edge. Now all that’s left to do is equip the razor and take him down.

Conveniently, in the bedroom, there’s a wardrobe to hide the body in. Once it’s hidden, it’s time for the second target. Luckily, you can access them through the door across the hall.
The target is guarding the lawyer. Wait until they start walking away from the lawyer before you rush in. The guards shouldn’t notice you while you’re in the corridor, but stay crouched at all times to be safe.
Once you’re inside, take down the security guard with the razor while he’s staring out of the window. Then move to the lawyer and subdue him. This is where the newspaper can come in handy if the lawyer stands up and notices your take down your target first.
Store both bodies in the chest in the same room. Now it’s time for your final target. This one is up on the top floor of the manor, in Alexa Carlisle’s office. You can’t get up there from the inside unless you change your disguise, and that’s not an option, so it’s time to jump out of the window you pulled your second target through in level 1.
Walk along the ledge towards the front of the manor. It’s a bit of a long one, but it’s the best way to access your target. Once you’ve reached the main entrance of the manor, you’ll see a drainpipe. Climb it all the way up and you’ll be on the second floor.

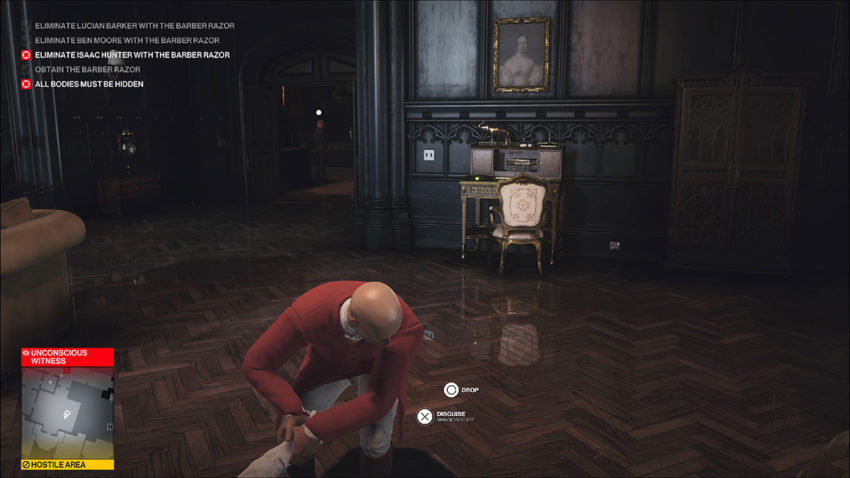
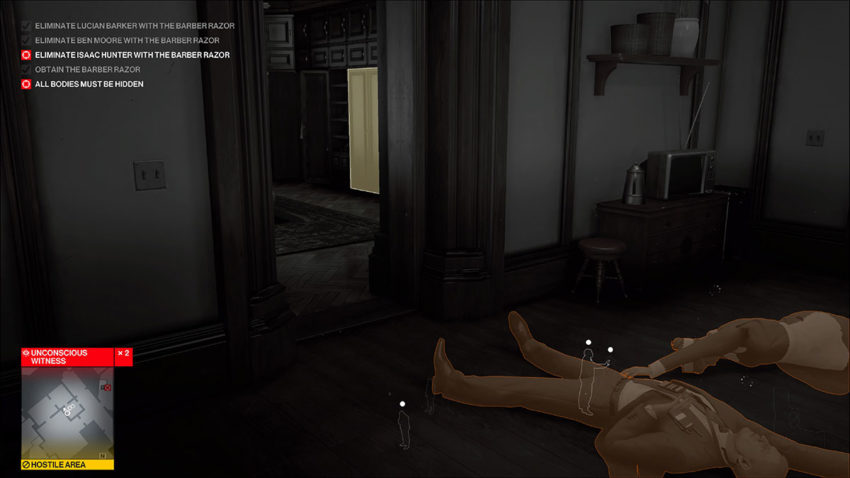
Now you need to go through Alexa Carlisle’s bedroom to get to her office, but there are two staff members in the way. Equip the newspaper and take them out as quietly as possible. It’s better to subdue the male staff member first without any weapons and reserve the newspaper for the female staff member who will probably turn to see you at some point.
You can hide the bodies in a wardrobe in the same room. Just make sure the security guard outside doesn’t see you.
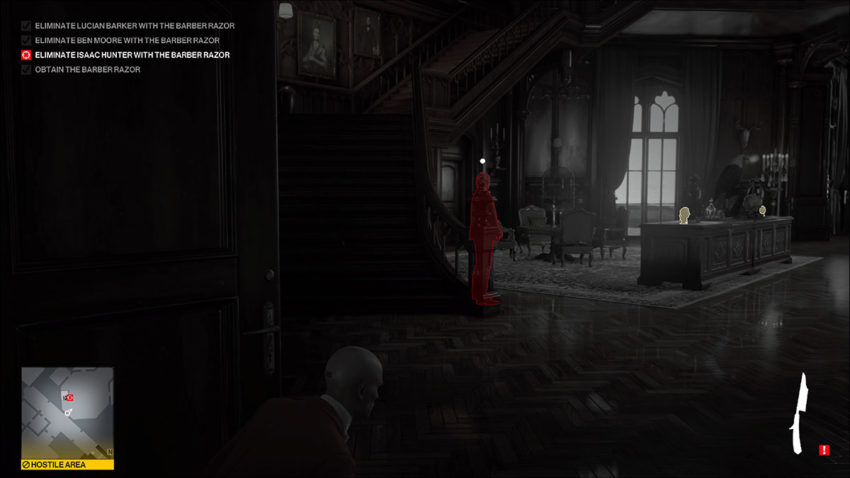
Instead of rushing through the open door, work your way through the rooms to the left to enter Alexa Carlisle’s office. You may need to throw an object to distract the security guard. If things get heated, take him and the female staff member in the hall out and hide them in Alexa Carlisle’s bedroom. There’s a second wardrobe just begging to be filled.
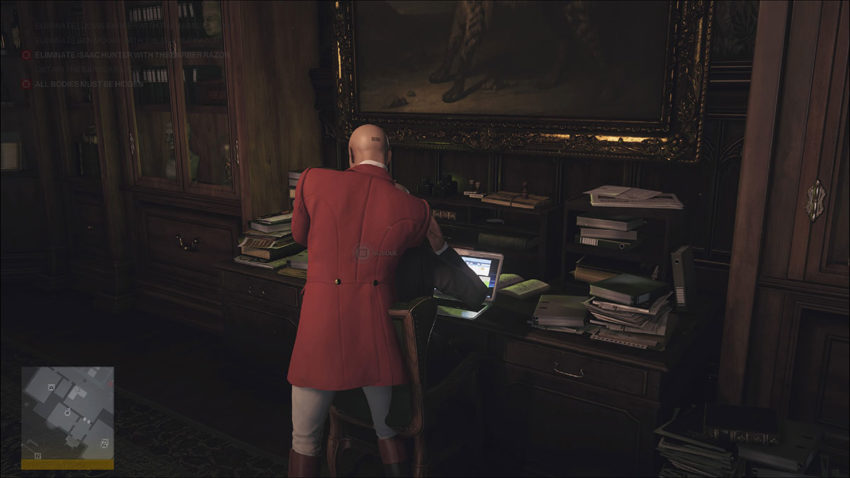
Once you’re inside the office, you can see that your target is strategically standing with his back to the staircase. It’s impossible to sneak up on him and kill him with the razor. Instead, rush him and stab him with it. While it’s much less sneaky, it gets the job done without him making any noise.
You can hide the body in a trunk under the stairs. After that, you can descend the drainpipe on the balcony and escape the same way you did in level 1.
Step 3 – 47 goes hunting

The third and final level in this Escalation adds two new targets and a complication that will fail the mission if you kill any non-targets. You must also kill every target with the Bartoli hunting shotgun.
You’ll enter the location by boat again, which is perfect. Follow the same route as you did in level 1, but make sure you pick up that newspaper. There’s no need to grab the razor. Instead of killing anyone straight away, you need to climb all the way back to where the final target was in level 2, Alexa Carlisle’s office.
Sneak along the ledges of the manor and climb the drainpipe until you’re there. If anyone notices you, make sure you subdue them and don’t kill them. There’s no need to hide bodies this time around, so keep on moving.
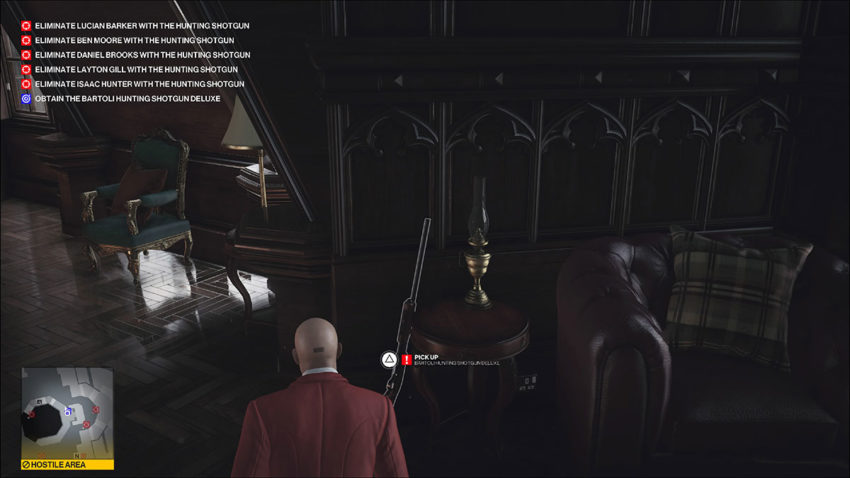
The shotgun is at the top of the stairs in the office. Once you have it, your first three targets are a piece of cake.
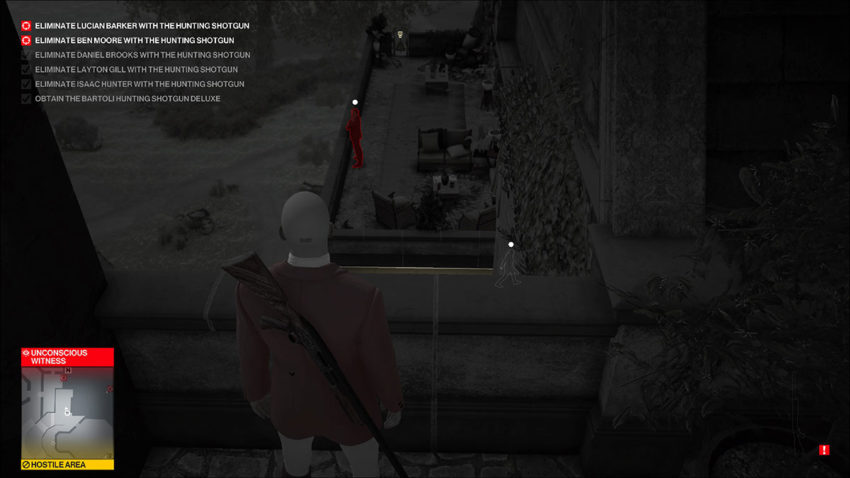
The first two targets are on the balcony outside of the office. Wait until they’re standing next to each other and blast them both. Neither will have time to react to you if you’re quick.
The noise will be enough to trigger your third target to run onto the balcony to investigate. Blow him away, and you’ll have taken three out of your five targets down in about 10 seconds.
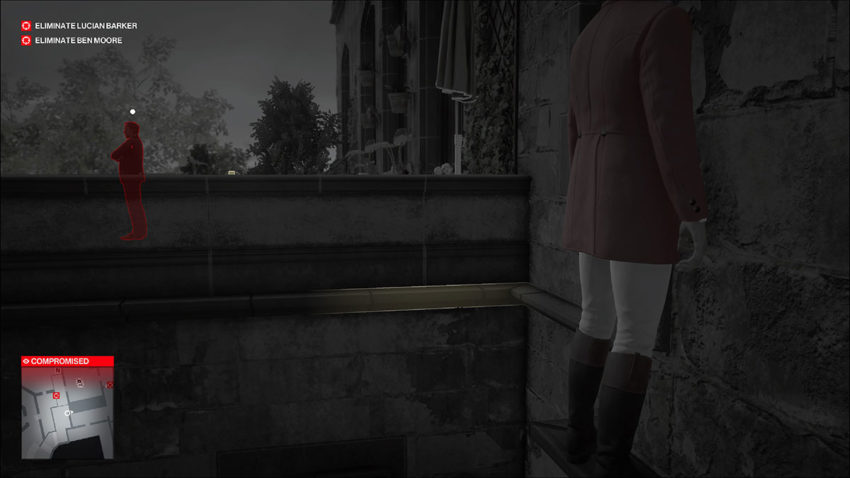
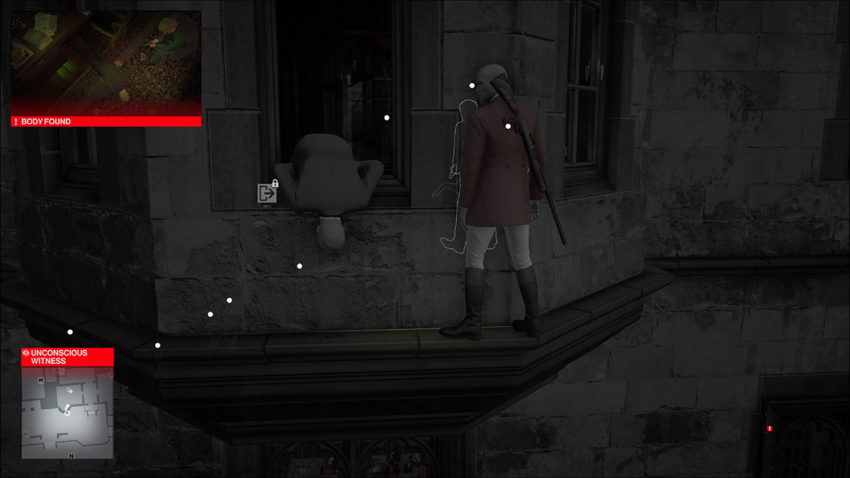
The next two targets are the same as they were in levels 1 and 2. You can actually see the first one if you look over the right edge of the balcony here.
Work your way over to him using the drainpipe and ledges, vault the balcony, and blast him away. Your next target is the trickiest.
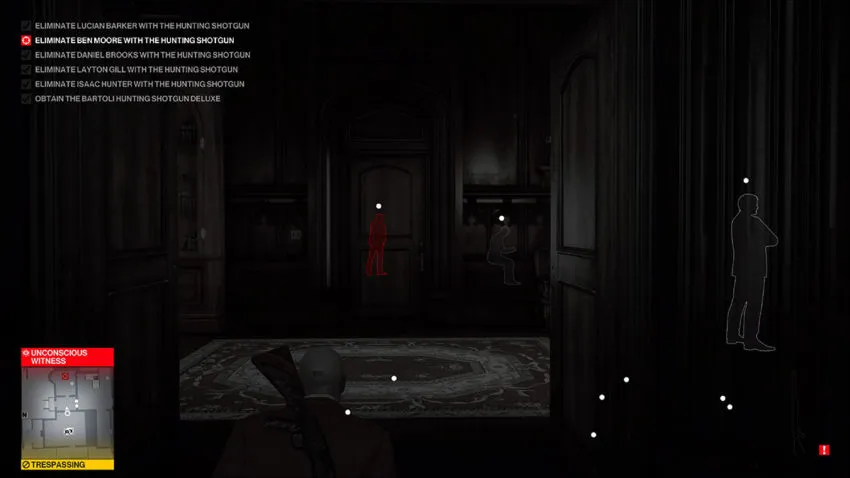
As you did in level 2, sneak across the corridor and subdue the lawyer. Now you need to blast the target with the shotgun and hop out of the window before anyone sees you.
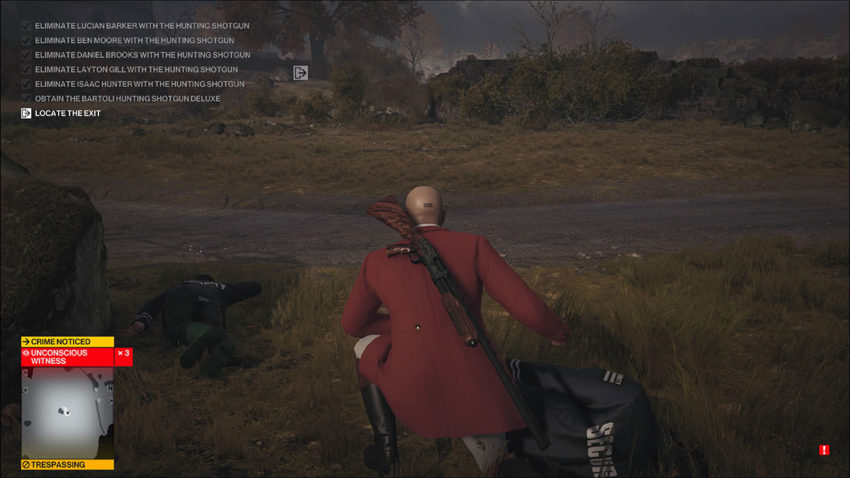
All that’s left to do is reach an exit. If you fancy a bit more of a challenge, try heading out of the main entrance to the manor along the driveway. There’s a baseball in the car park that we found to be very useful when taking down two non-targets in quick succession.


Published: Jan 25, 2021 11:00 am