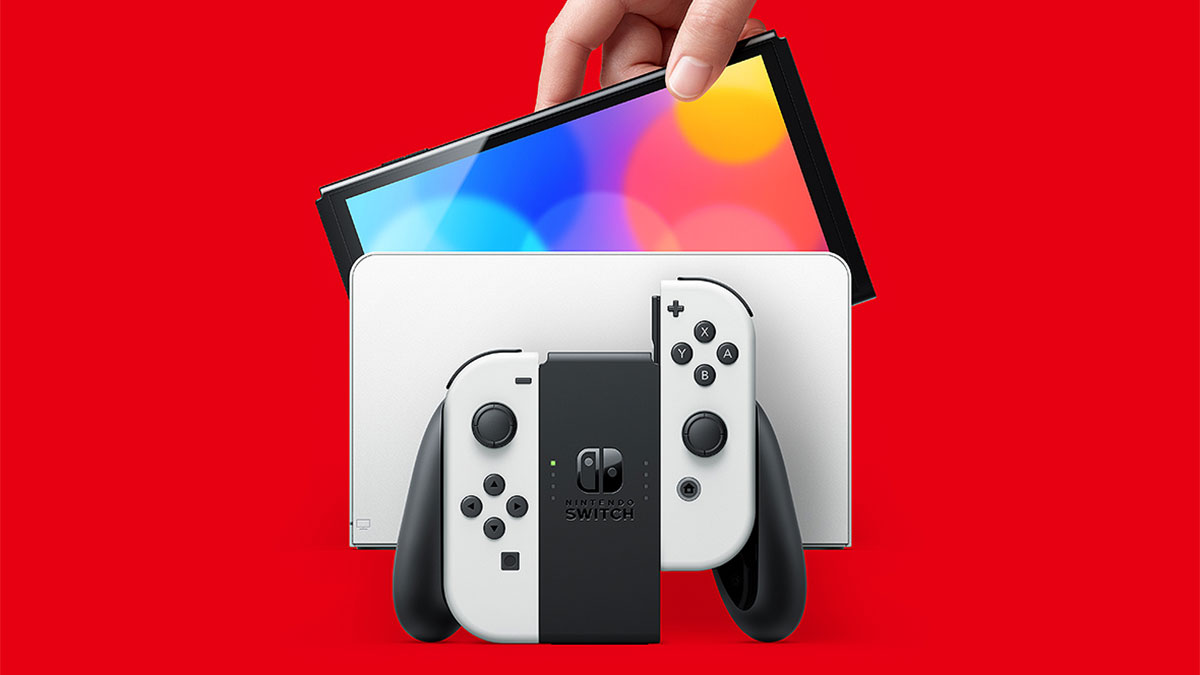
Nintendo generally does not like to allow their players to change up the game experience from the company’s original designs. When the developers set a game’s controls, they like everything to be the same. That being said, Nintendo is starting to work in more functionalities that are user-friendly and allow you to change things suited to your wants and needs. Here is how you can remap your controller on the Nintendo Switch.
How to remap your controller on Nintendo Switch
To remap your controller, your Switch must be updated at least to version 10.0.0 From the Home Screen, click on the Gear icon (system settings) and scroll down to Controllers and Sensors. You should find Change Button Mapping near the top of the menu.

Related: The 7 Best Racing games on Nintendo Switch, ranked
Once you click on it, every controller that is currently connected to the Switch will be visible on the left. Note that this only works with Nintendo first-party controllers as well as the Switch Lite. Any other controllers will not be recognized. Joy-Cons are automatically separated during the mapping process. You can click on each individual Joy-Con and set it to display horizontally for remapping it that way.

When you choose which controller to change, you will see an image displaying all the buttons on your controller, as well as Control Stick Settings in the center that allows you to switch the thumbsticks. To change buttons, select one and a menu will pop up asking which location to move that input to. Some buttons must be mapped before you can save your changes.

The moment you hit Done, your changes will take effect and you will be brought back to the controller selection screen. You will notice that underneath Change you can now reset your controller to the default layout, save the mapping for future use, or load a previously saved mapping layout.
Nintendo adding such a user-friendly option is not very common. It usually likes to keep players playing its games the way it intended, so be sure to take advantage of the new feature and game the way you want if you find any of their games to be uncomfortable.


Published: Jun 10, 2022 04:20 pm