The abstract themes and subtext of It Takes Two begin to take form in concrete gameplay mechanics in the Cuckoo Clock chapter. May, always wanting to be in two places at once to focus on career and family, gets the ability to clone herself. Meanwhile, regretful Cody gains the power to turn back time for certain objects. You get these abilities immediately upon starting the chapter — master these powers and this headscratcher of a chapter should be a breeze.
Related: It Takes Two – Rose’s Room gameplay tips and walkthrough guide
Gates of Time
Cody’s time manipulation is a simpler concept — simply hold the right trigger and then use the analog stick to scrub back and forth in a timeline. Aim at objects that appear black-and-white — scrubbing backward reverses their time flow, so objects that may be destroyed will go back to an undamaged state.
May’s cloning takes more to wrap your head around. Hold the left trigger to leave a “clone,” although this is more of a bookmark — you cannot move or control this glowing clone. Instead, you can teleport to the spot you left the clone by pulling the right trigger. Essentially, you want to use the clone to reach spots quicker.

Consider the first puzzle — use Cody’s time scrubbing to clear debris and get both characters past it. Then, have May leave a clone near the closed door ahead. Have both characters pull the levers to open the door temporarily, and then get May to teleport to her clone and past the door before it closes again.
Just remember that May’s clone will always stay in place — that means you can leave it in midair, and obstacles like moving walls and elevators will not affect its position. Take advantage of this to reach places where you otherwise couldn’t traverse to.
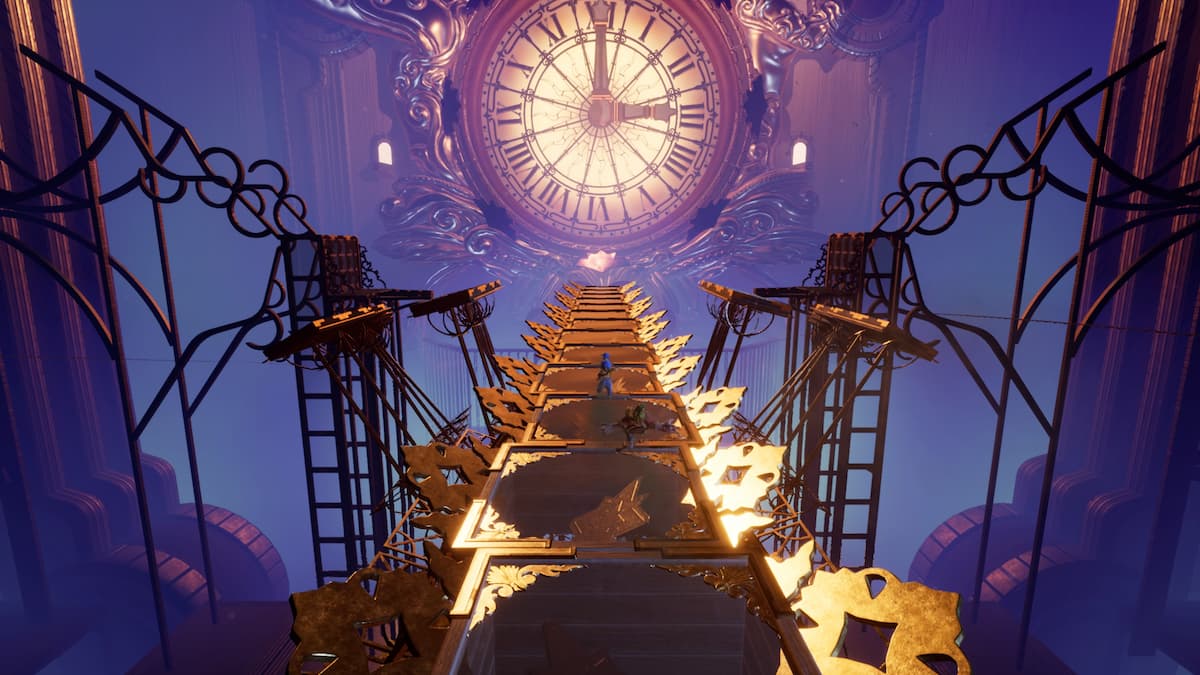
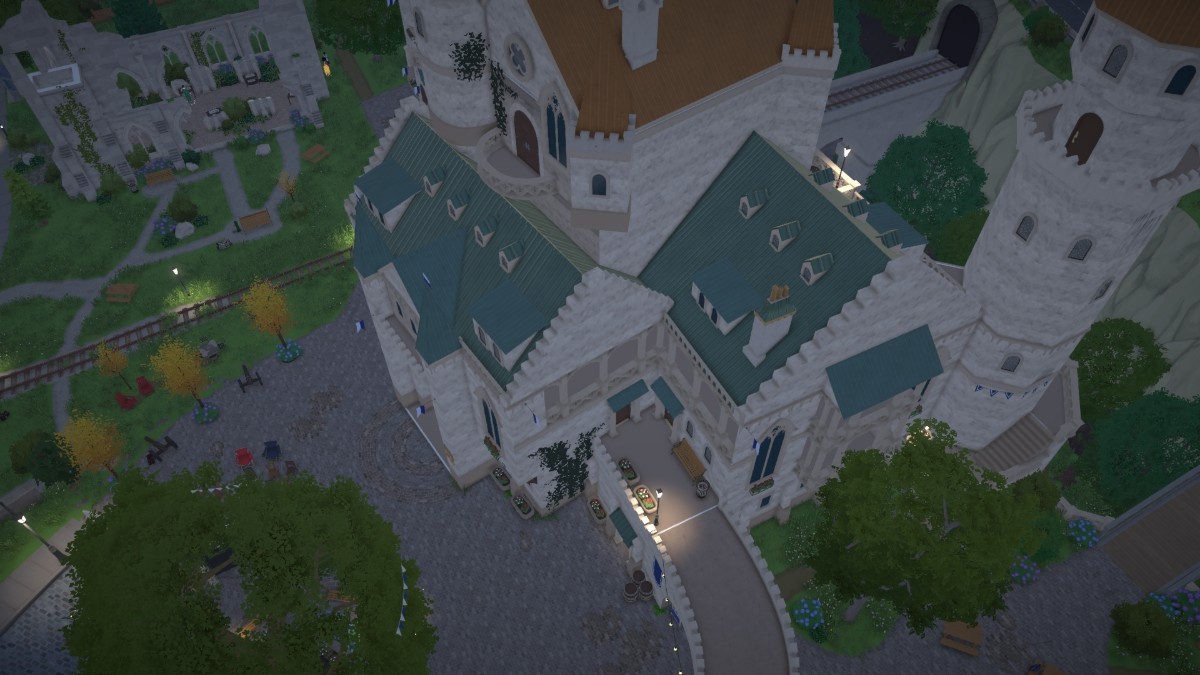
You two will have to follow wooden doll representations of Cody and May, traveling on rails and moving forward whenever you finish puzzles. You will follow them through a town where you can find two different minigames and the Zelda tribute Force Triangulated achievement. Get the wooden dolls through the town, past a burning fake fire and a drawbridge, until you get to a gate in front of an ominous clock tower. Change the clock’s time on the gate to match the clock tower, and you’re in.
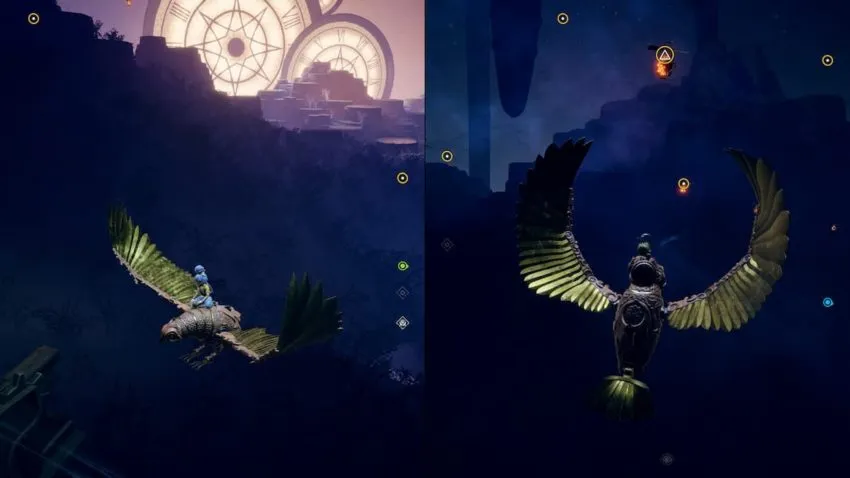
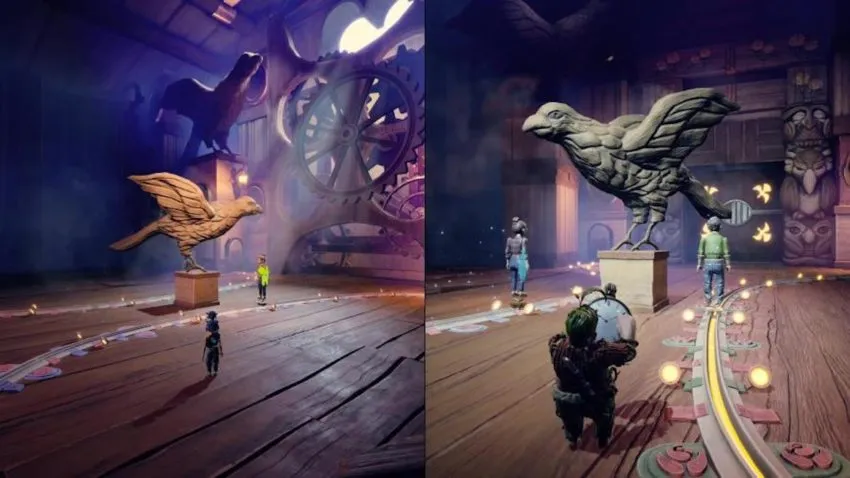
Before you enter the clock tower itself, you have to solve two different puzzles on two towers at opposite ends to get rid of a forcefield blocking you and the wooden dolls from the entrance. This sequence provides you with two birds to mount — choose which tower you want to go to first.
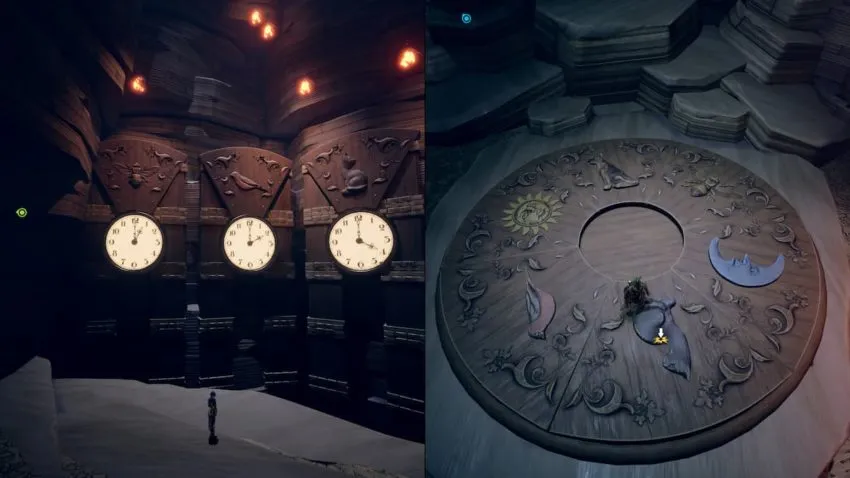
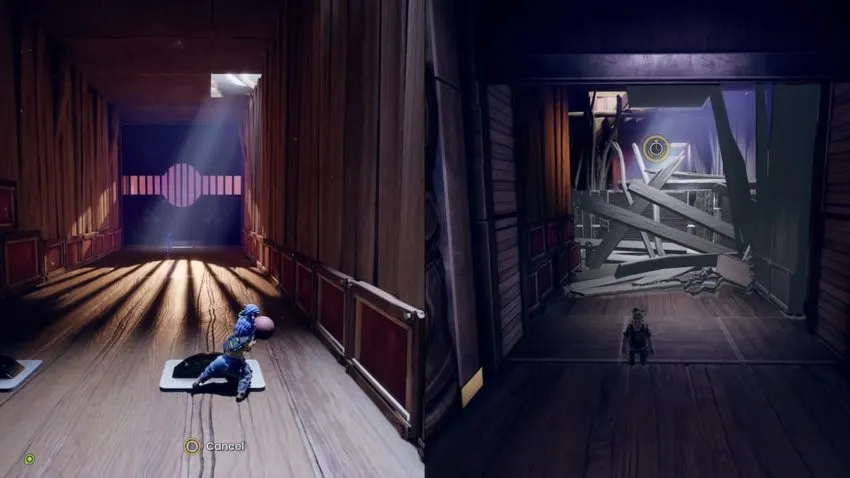
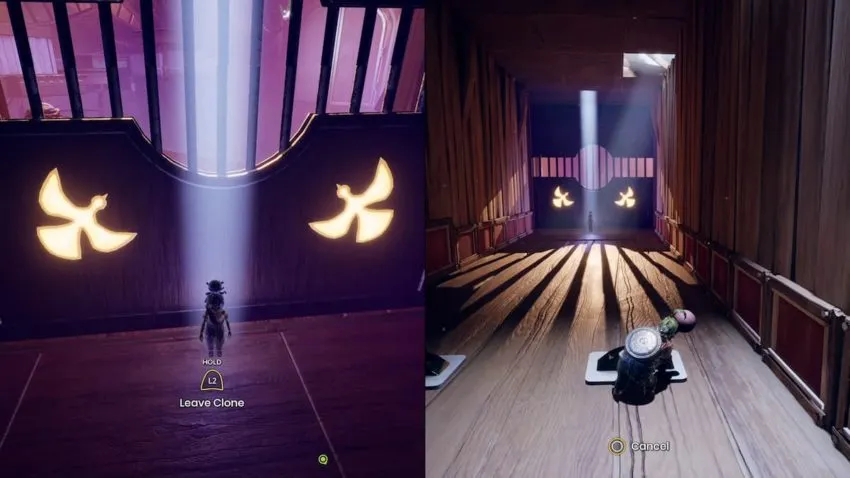
The tower on the left will take you to a closed door with mysterious buttons to ground pound in front of it. Look for a destroyed bridge and an open door to the left — Cody has to time turn the bridge for May, but it will close the door before May gets through. Turn the bridge back to its collapsed state and the door will open for May. You will see clocks corresponding with the symbols on the buttons. Have Cody ground pound the buttons in the order of what time those clocks are set to: wasp, bird, cat, moon, dog, and sun.
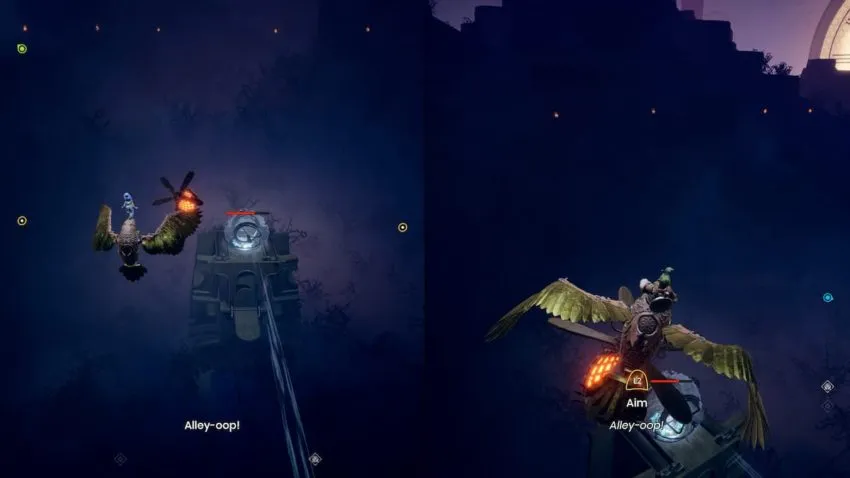
After completing the puzzle, go up the elevator and out of the tower. Mount your birds, and flying around are fireflies — pick them up in midair by flying towards them, and then bombard the tower you were just at with them with those fireflies. This will chip away damage from it, weakening the cuckoo clock’s forcefield. Upon completion, move on to the right tower.
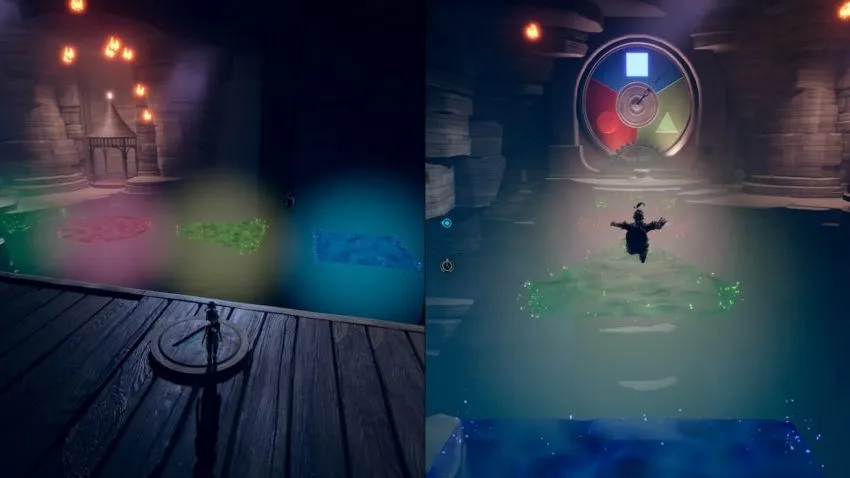
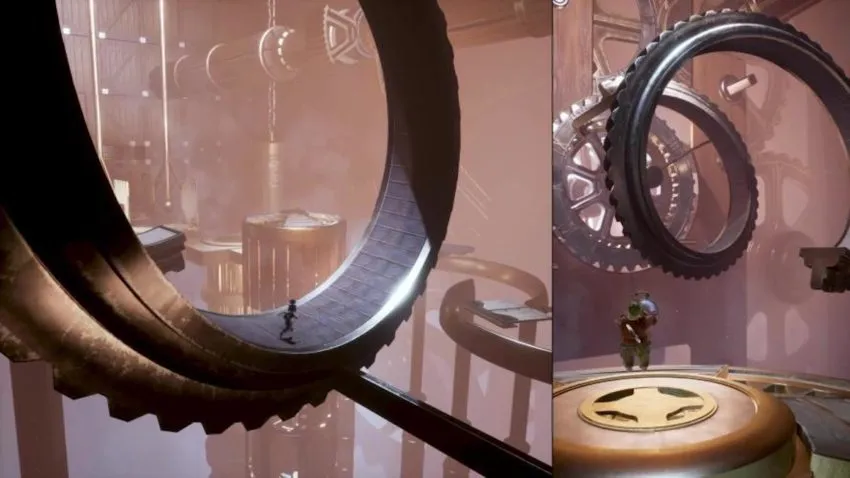
The other tower puzzle will involve some precise timing and coordination. Watch the spinner ahead, as the hand moves clockwise and determines which of the shaped platforms (red circle, blue square, and green triangle) are solid to jump on. After passing the first set of platforms, Cody needs to restore a bridge on the left to get May to some buttons. These buttons will switch out the platforms in the second set. When Cody is on the blue square, May has to turn the first red circle into a green triangle. Then, Cody jumps on the next red circle, and May turns the last green triangle into a blue square. This is easier said than done, as you have limited time to make these calls and responses.
Once you bombard the second tower with fireflies, get the wooden dolls to the front door, and wall jump pulleys on both sides to get the door open.
Clockworks

Immediately upon entering the clock tower, you will face a threat in the form of a closing wall. Before getting squished, have May create a clone. Once the wall is past the clone, teleport behind the wall and stop the wall from closing in.
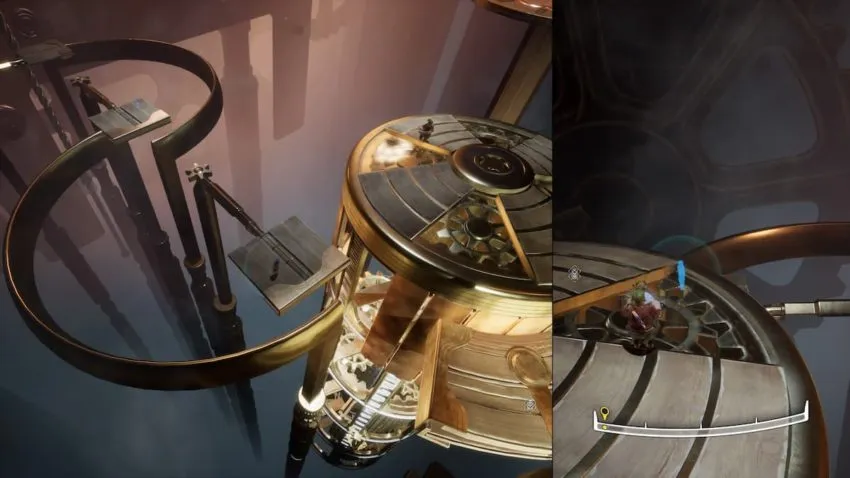
A large, imposing statue will require two keys for you to pass the next door. Rail slide to the left to reach some shifting platforms to jump on. Then, Cody will need to move some platforms on semi-circle rails for May; move the first platform for May to step on, then move the platforms back. May will have to leave a clone, and then Cody should shift the platforms forward again. This will leave a platform below May’s clone, so have her teleport there, and then Cody can move the platforms back yet again for May to move forward.
Continue this platforming with Cody’s help, remembering that you can leave clones in midair for platforms that Cody needs to switch on and off. Then, May will reach a spiral; turn it with Cody’s time tuning for May to run on, allowing her to reach the first key. Return to the statue and turn the key in its slot.

The puzzle on the right will have you grab a key from a cage. Cody has to time turn these two closing doors on the right for May to wall jump off of. Then, Cody will materialize a platform on the left for May by turning time back. Turn time forward to materialize the right platform, but this will collapse the left one. You can leave a clone above where the right one will be to make things easier.

Then, propel May forward with a launcher — she can then lower the cage, and Cody and time tune the door to unleash giant scissors, cutting the rope the cage is hanging on. Have Cody raise the cage with the time tuner, and have May make a clone below it. Lower the cage, and May can get inside the cage for the key. Leave a clone while the cage is lowered; Cody can lift the cage, and May can teleport out with the key. Bring the key back to the statue and turn it to progress.
Related: How to beat the Bull boss in It Takes Two
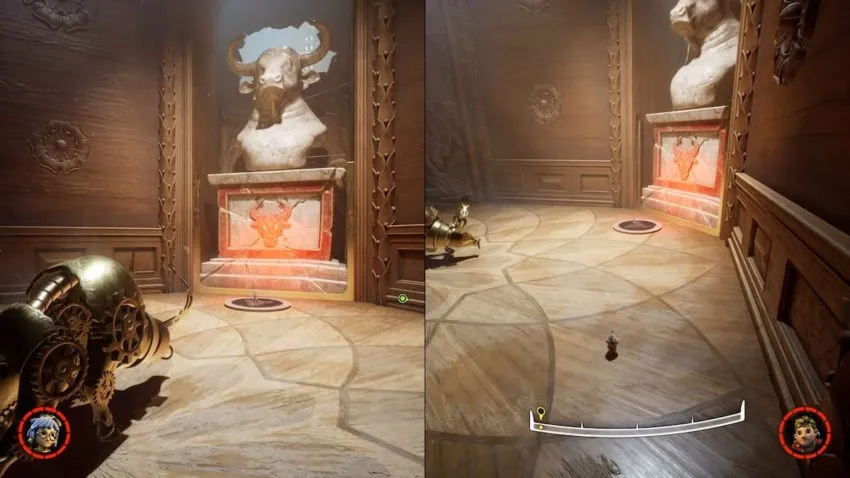
The subsequent Bull boss has no health bar — instead, you have to defeat it with three hits. Reform a button below a stone bull statue with Cody’s time manipulation; have May create a clone elsewhere in the room, and then have her stand on the button to reveal a pedestal. The Bull will then try to charge into May; teleport to the clone at the last possible moment to avoid getting hit and get the Bull to charge into the pedestal. Do this two more times to defeat the boss.
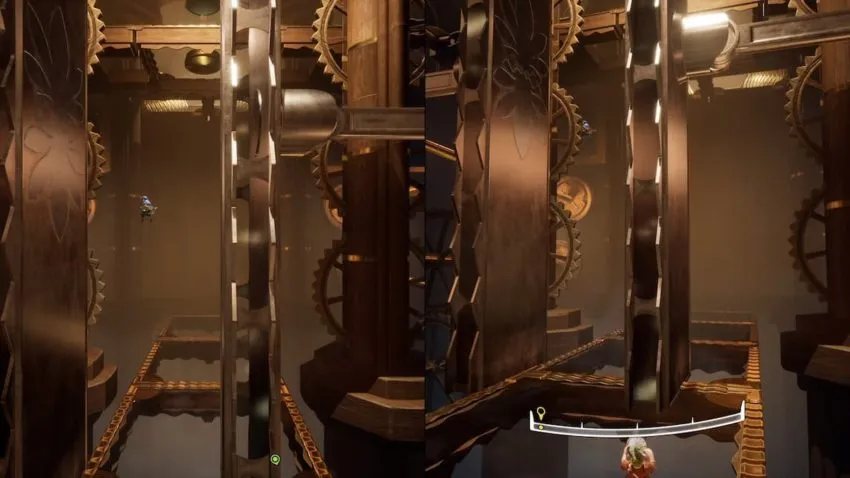
Lift the debris from the battle to create platforms for May. Then, you will reach some shifting walls. The last two walls aren’t moving, but Cody can time tune them left and right. These two walls are too far away from each other for May to wall jump off of, so Cody will have to keep shifting them to close the gap. When May jumps off the right wall, shift the left wall to the right so May can jump off of it. When she jumps off the left wall, shift the right wall to the left for the same effect. Do this repeatedly until she gets to the top. May can push down a lantern for Cody to stand on and turn it back to elevate up.
Get past a button-activated bridge by having May create a clone on the other side while Cody stands on the button; then, have May run back, stand on the button for Cody to run across, and then teleport to the clone. After this, survive an elevator that features two deadly clock hands spinning around; stay near the center and jump appropriately to survive. Then, survive an encounter with an unfriendly mechanical bird to reach the center of the Cuckoo Clock.
A Blast from the Past
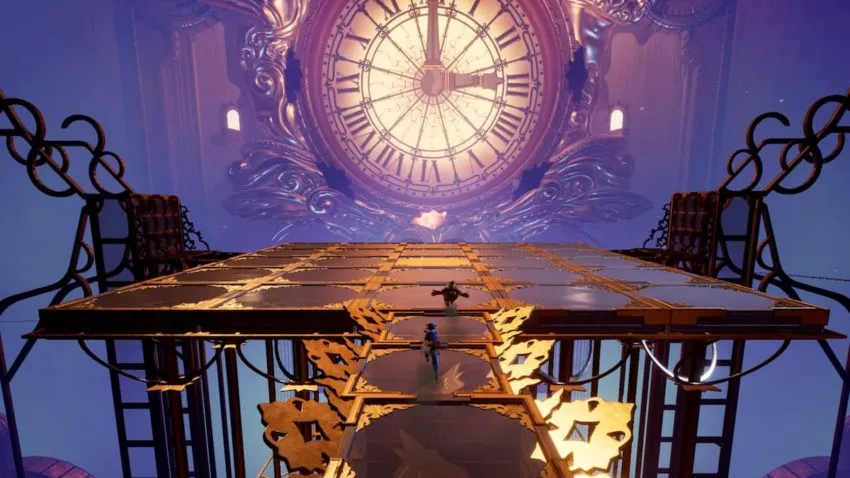
This “clocktower of doom” is a boss battle in itself. First, you will have to survive some swinging pendulums; make use of your dodge roll, but not so much that you roll off the platform. These pendulums will drop and make your platform smaller and smaller. You will then be freefalling, moving in midair to avoid damaging gears.
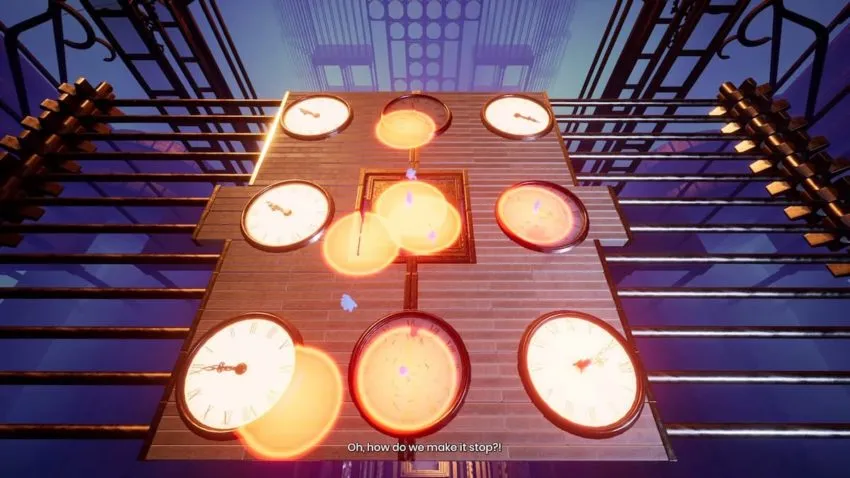
This is where it gets trippy. You will be stuck in a time loop, surrounded by eight clocks while bombs drop on top of you. In each time loop, stand near a clock so that the bombs destroy them. Then, the giant clock will explode, leaving both of you flying.
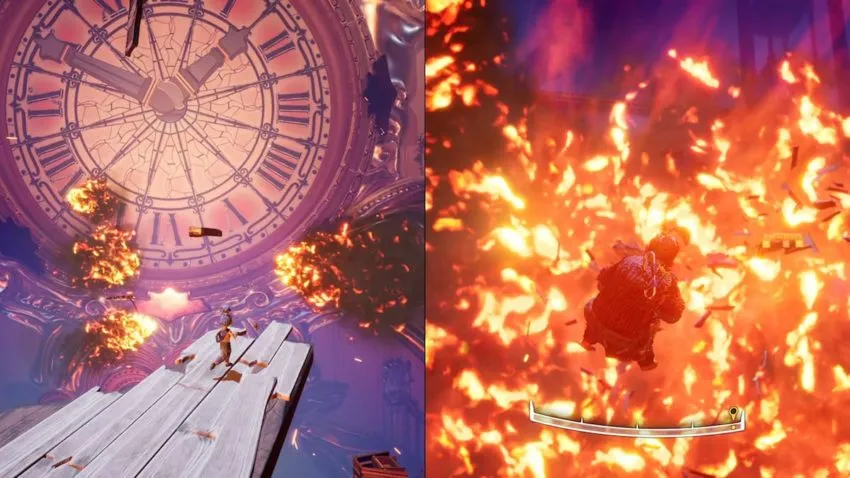
In this action movie-like sequence, Cody will have to time manipulate the flying debris for May to utilize as makeshift platforms. Get her all the way to the giant clock, coordinating, looking around at potential platforms, and looking at each other’s screens. Then, Cody will land on a clock part, flying towards the giant clock. Both of you have to make a hasty platforming escape from the exploding clock tower, and you’ll both reach your respective wooden dolls to the end of the chapter.


Published: Mar 28, 2021 04:35 pm