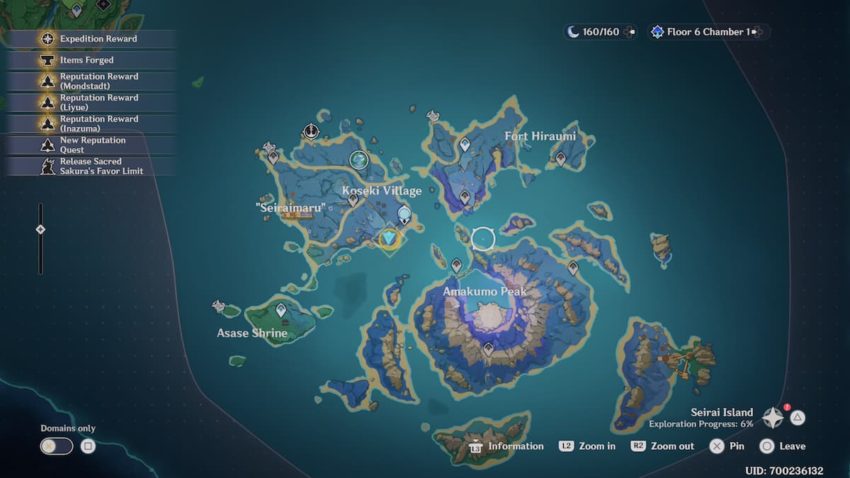
Players who visit Inazuma City after the 2.1 update can find a new quest called Seirai Stormchasers. To begin the quest, all they need to do is visit Katherine at the Adventurer’s Guild. Speak to her, and she will ask you to explore Seirai Island, one of the new locations added in updated 2.1.
Head to any location that will spawn a ship, then follow the waypoint to the island. The first thing to do here is head for the large red beam of light and activate the Statue of the Seven. Once that is complete, it is time to track down the explorers that we are here to find.
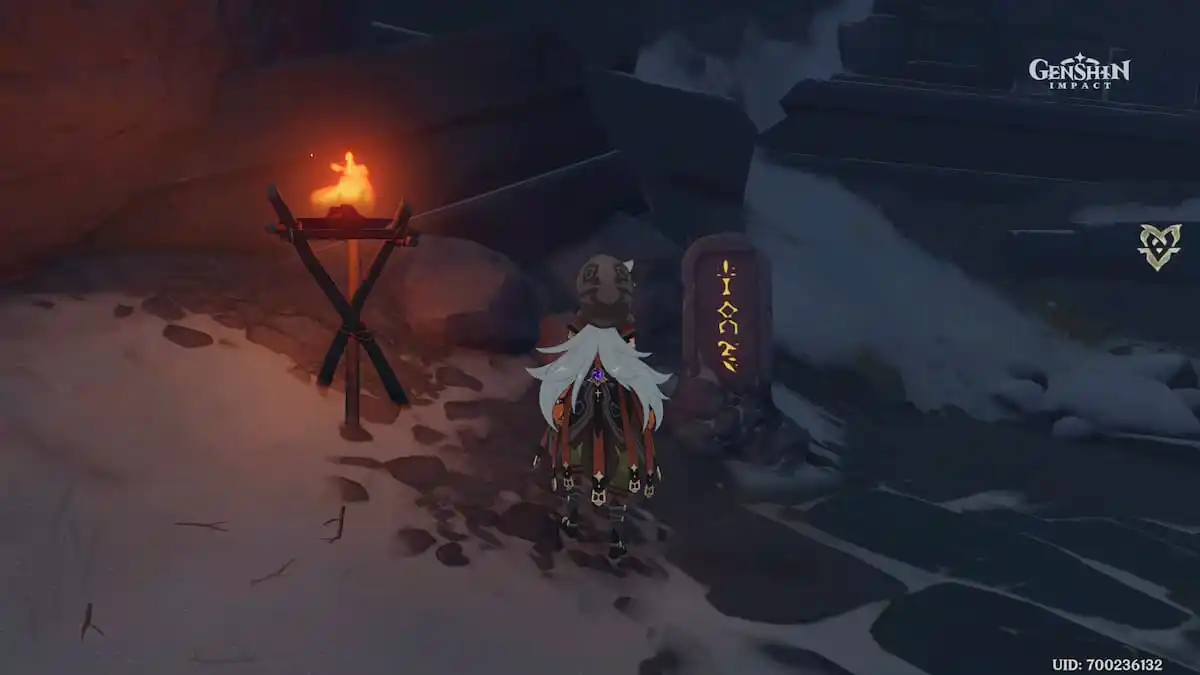
Head to the Fort Hiraumi area to find the first adventurer, then head back to the area near the Statue of the Seven at Koseki village to find the second one. Talk to them, and they will set you on a path to follow some cat prints on the ground. They move across the wooden bridge nearby and head along the island until they reach a shrine. They glow a soft green color and are quite easy to follow.
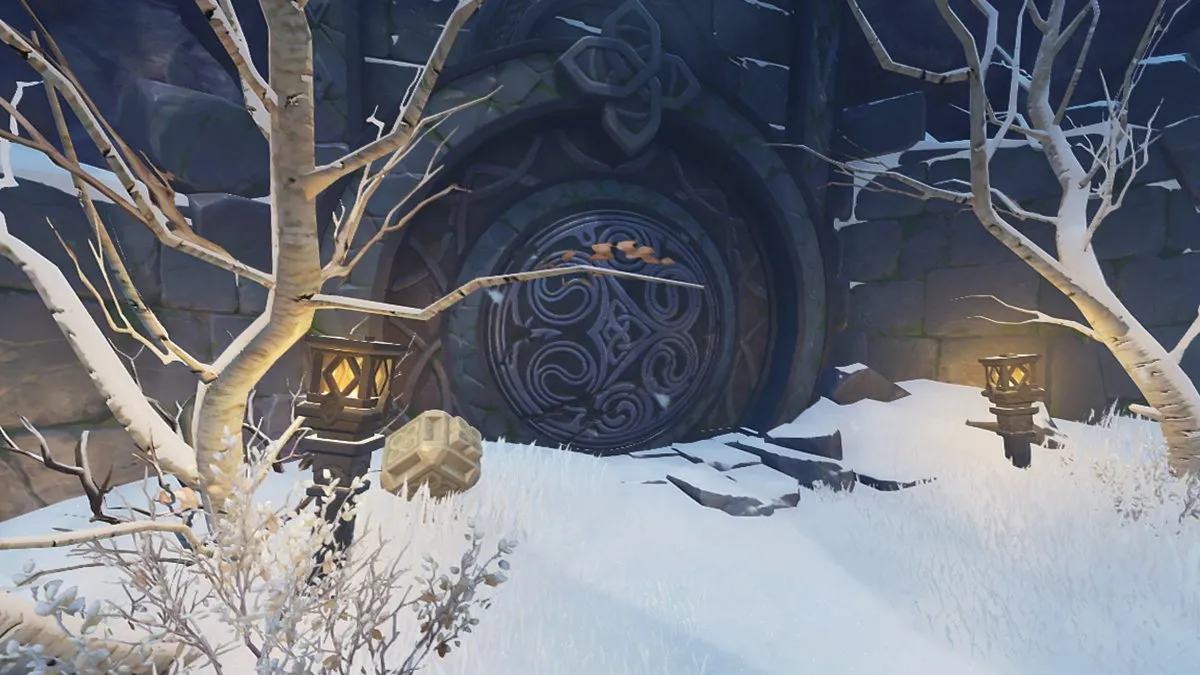
They will lead you to Asase Shrine, where you will find a talking cat by the name of Neko. Neko will ask for your help fixing the Shrine’s offering box. You will need materials, so head back to Koseki Village and talk out the Treasure Hunters there. They will give you the location of their base, where they have some supplies.
Head back toward Fort Hiraumi and take out all the Treasure Hunters at the base. When they are defeated, you can search the boxes, get the materials you need, then make your way to Asase Shrine again and fix the offering box.

First Warding Stone Puzzle
When that is done, head back to Koseki Village, and it is time to solve the first Warding Stone puzzle. Around the stone will be three poles with paper charms on them. You want the paper shrines on the Warding Stone and the charms on the poles to match up and can spin the top and bottom of the warding stone. Spin the warding stone until it matches the above image to solve this part of the puzzle. You should only need to rotate the bottom layer twice to solve it.

Second Warding Stone Puzzle
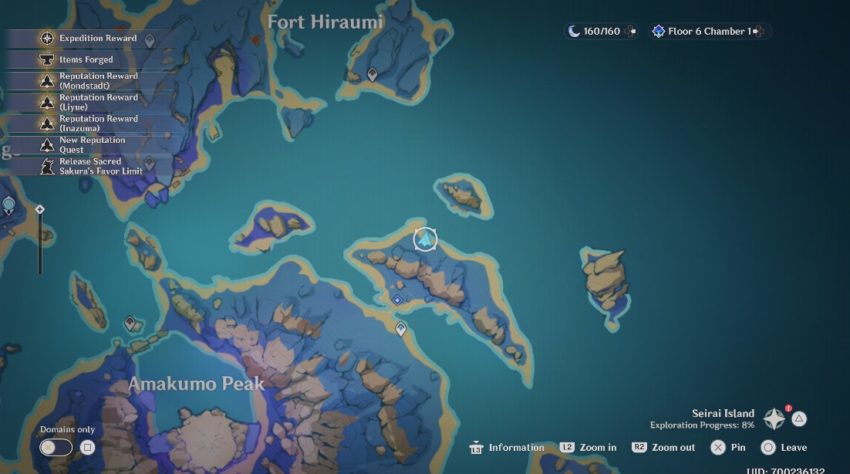
Now, make your way to the second Warding Stone that will be marked on your map to the east of Amakumo Peak. Once again, you will need to touch the three poles, but this one is a little more awkward. Two of them are near the Warding Stone, but the other is a little further west, and you will need to use a nearby Electrogranum to fly up to one of the new Electro portals, then use that to get to a floating stone with the Pole on it. The exact location of the Electrogranum is shown on the map below.
Once you touch it, head back to the Warding stone and only interact with the top layer. Just keep spinning it until you hit the right combination and the puzzle is solved. Now, go back and speak with the two adventures you found who will be near the Warding Stone.
Third Warding Stone Puzzle
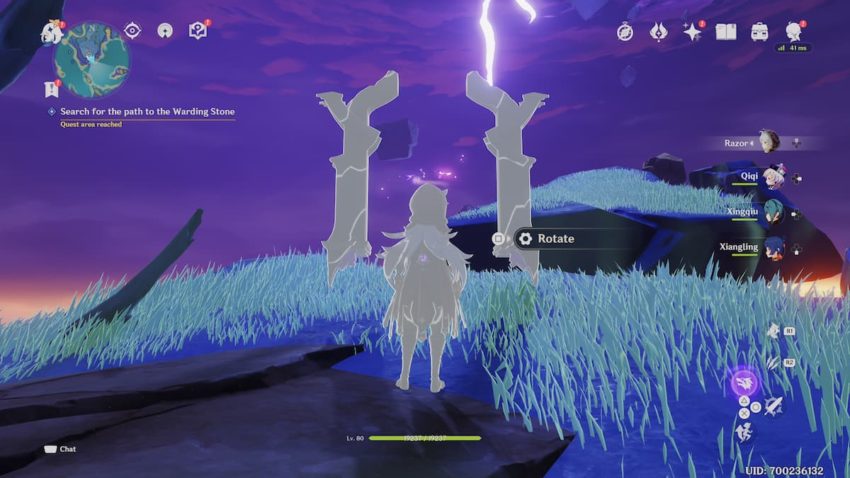
From there, go to the next waypoint. You will need to climb up to the top of a cliff, so be sure to activate the waypoint at the top of it. Now, walk over to the energy gate and speak with the adventurers. This step is quite complex, so take it slowly, and you will get through it just fine.
You need to line up the energy gate, so it matches the above because we need to get into the large floating rocks about the island. Walk through the gate, and let it send you toward the rock as shown in the picture. When you get there, hit the jump button to land on the rock.
Now you will need to use the Electrogranum that appears on the rock to climb further up. Take the first one that appears to the next platform, then take the one on the far right. On the next platform, take the one on the left. This will bring you to a platform with the first paper charm hangar. Touch it, then use the Electrogranum here to get to the next platform. On the next platform, use the Electrogranum on the left/closes to the platform ahead with the teleport waypoint on it.
Activate the waypoint, touch the second paper charm hangar, then use the Electroranum at the back of the platform. Follow the platforms to get to the last paper charm hangar, then teleport back to the platform. Now, turn the bottom layer five times and the top layer three times to solves the Warding Stone puzzle.
Fourth Warding Stone Puzzle
For the fourth puzzle, take the Electrograum close to the third Warding Stone and take the one directly ahead on the new platform. Keep following the path until you meet some broken platforms, and slowly walk along them while they reform, then take the last Electrogranum upwards to get to the final puzzle. Touch all the paper charm hangards, then rotate the top level twice, and the bottom level twice to finish the puzzle.
After that, follow the waypoint to the center and fight the Thunder Manifestation, a new boss. He is Electro-based, so set up your party as you see fit. It’s an easy enough fight, as his area of effect attacks are easy enough to dodge.


Published: Sep 1, 2021 12:53 am