Call to Arms is the second Chapter in World War Z: Aftermath Episode 6: Rome. It tasks players will escorting the group they saved in the last mission to the Vatican, where they can help to send a message to all of Rome that it’s time to stop running and finally organize the fight against the Zekes. This guide covers how to complete the mission with a few tips for each section along the way.
Step 1: Fight your way to Minerva
You start the mission in a collection of chaotic streets that you need to fight your way through until you reach Minerva. This section is relatively easy, with only a few pockets of Zekes lurking around the corners to ambush you. The most important thing to do in this section of the mission is top up your abilities, acquire health packs, and make sure you have enough ammo for your first big encounter.
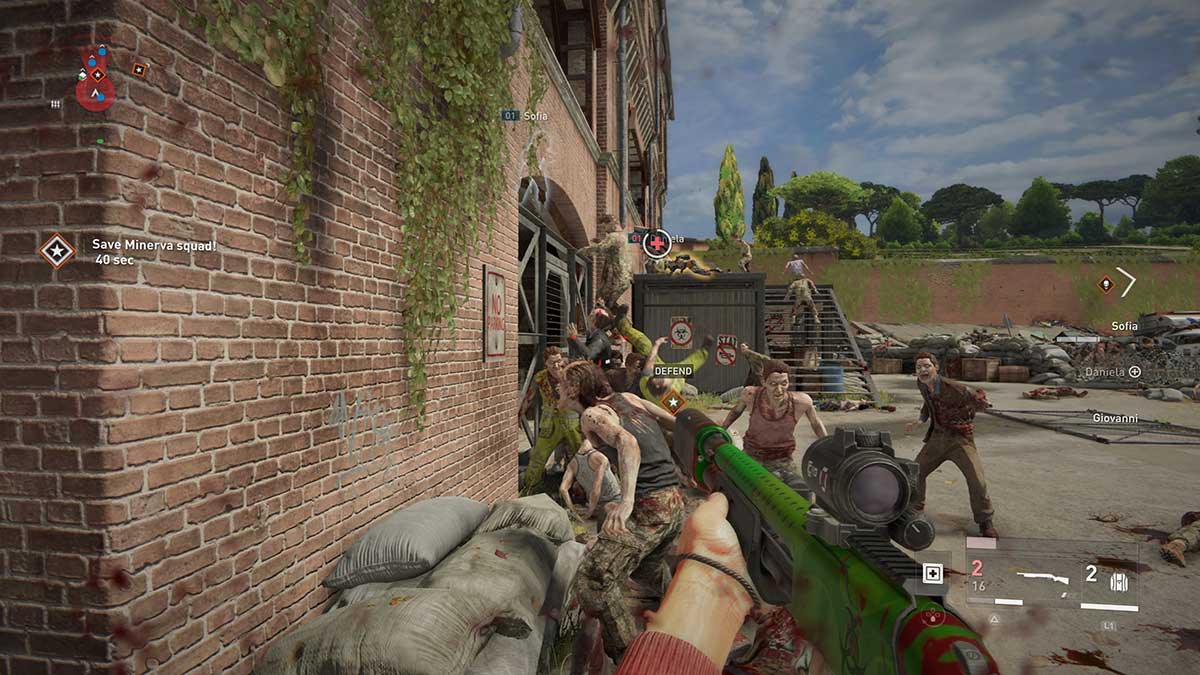
Minerva is stuck inside a garage, and you need to help them out. As you enter the area, you need to kill all the Zekes attacking the building. If they get through, the mission will be over. You need to keep on top of this for the entire encounter because if Minerva is killed, then the mission ends. Pick up as many defenses as you can find here and place them before the swarms come.
You’ll face two waves of Zekes in this location. They come from the left first, followed by the right. Use mortars to soften up the numbers as they approach, followed by mounted machine gun fire to take out as many as you can before they reach you. When they finally do get too close, keep the numbers down and make sure that you protect Minerva. Then, after two waves, it’s onto the next section.
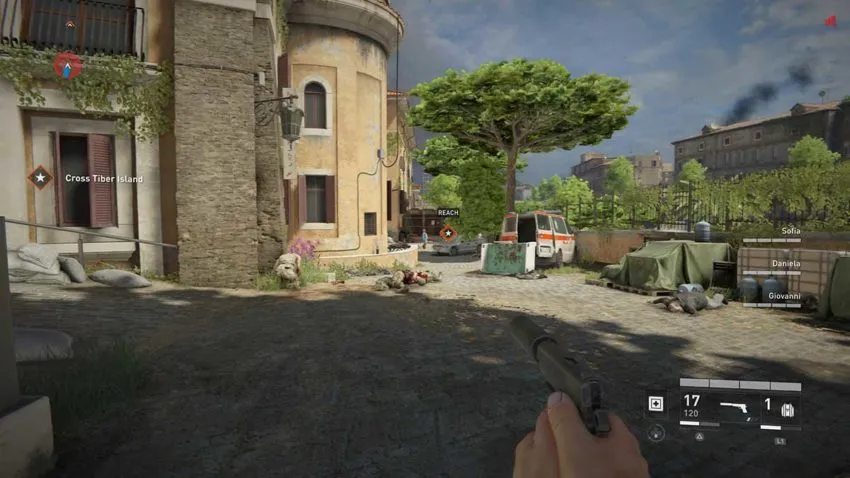
Step 2: Escort Minerva

After that first fight, you need to escort Minerva’s APC to the Vatican now. This is a journey of two stages. The first requires you to accompany the APC through a few streets until you reach a locked gate. There are minimal Zekes here, so you can take it easy. The real challenge comes in the following area. You need to go through a building and find the keycard to unlock the gate by searching bodies. Watch out for mines and automatic turrets here since both can cause a lot of issues. However, you can disarm the mines and capture the turrets if you sneak and are careful.
In this area, you’ll have a few hordes of Zekes run in and try to take you out. Fight them back and locate the keycard as fast as possible to proceed. Once you’ve found it, the APC can drive through, and you can reach the final checkpoint. The APC will drive up to a military base, the gate will close behind you, and you can enter the large building.
Step 3: Defend the base
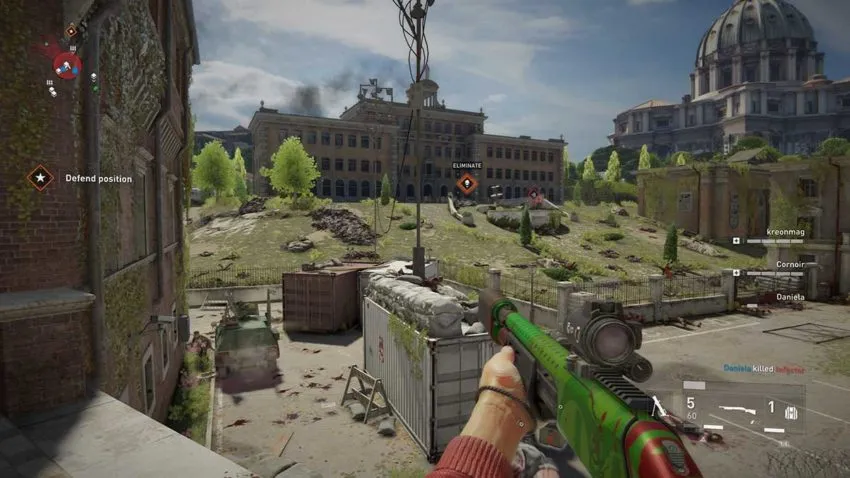
This base is massive, and it has both interior and exterior areas to worry about Zekes pouring in from. Set up all the defenses you can find and then move to the left, where the first swarm will attack. You need to kill as many Zekes as possible before they reach you. If they do, they’ll try to get into the building and attack Minerva. Keep them away, and make sure you’re always defending them, or the mission will end.
After the first wave, you’ll need to defend the APC again while it moves to a new position. Zekes will swarm in from all angles while this happens, so keep an eye out. You’ll then need to defend against another swarm, this time from the right. This swarm is massive and will destroy your team if you don’t work together and heal each other when you need it. Use all of your heavy weapons to kill as many Zekes as possible and make your life easier in the long run.
Finally, you’ll need to activate two switches and gather inside the building to send a message. Zekes will continue to swarm during this section, and they can end your mission if you’re not careful. This is the final slog against the enemy, so you need to ensure that you keep your ammo stores up between swarms and can defend and kill when required. The mission will end as soon as all teammates have gathered at the console.


Published: Sep 22, 2021 10:30 am