Holy Ground is the first Chapter of Episode 6: Rome in World War Z: Aftermath. It’s the opening mission in a brand new era for the game, tasking you with taking the fight back to the Zekes and rescuing survivors that have been trapped somewhere in the city. This guide covers how to complete the entire mission with a few tips to help you master it along the way.
Step 1: Get to the house and defend the generator
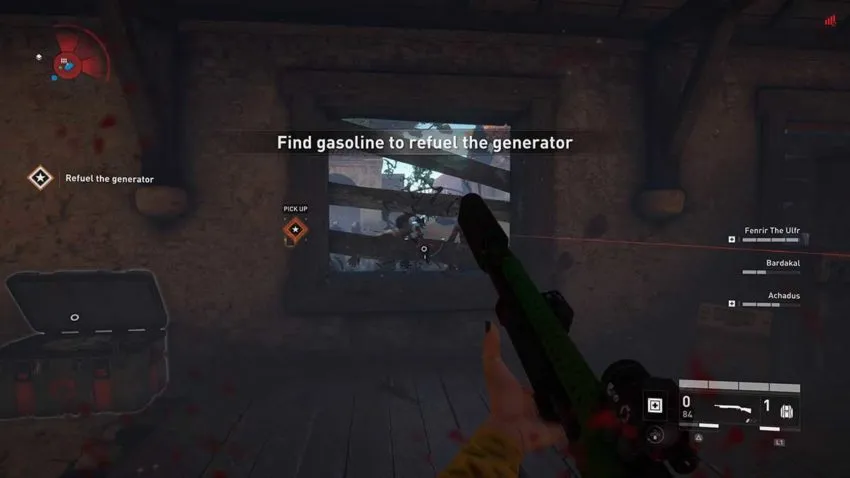
The mission opens with you in a graveyard. You need to make your way around this area and find a key to access a small building in the center. Once there, you’ll find an NPC attending to a generator. You need to defend them while they run the generator and open up a path into the catacombs below so you can all escape.
This encounter is the easiest in the mission. You can barricade the openings to the house to provide some level of protection against the Zekes that will soon try to break their way in. However, there are two openings on the first floor that you can’t barricade, and this is where Zekes will slip in if you don’t pay attention. Post at least one player on the first floor to deal with any enemies that approach.
The generator will stop at two points during this encounter. You need to go out of the house to collect an item and get it back to the generator each time. The Vanguard is the best class for the job since they can use the Shield Charge ability to get to and from each item as safely as possible. If you don’t have a Vanguard on your team, try to clear a path and distract the Zekes so that one player can still get to these items and get the generator online again.
Step 2: Drain the catacombs
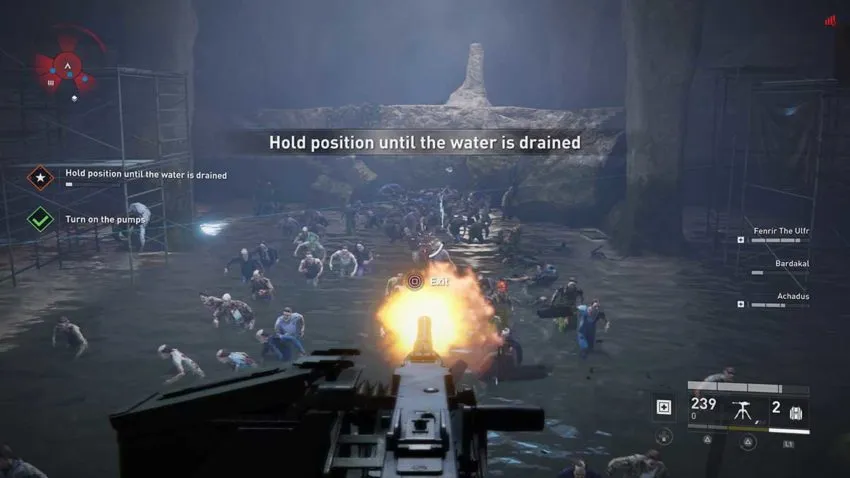
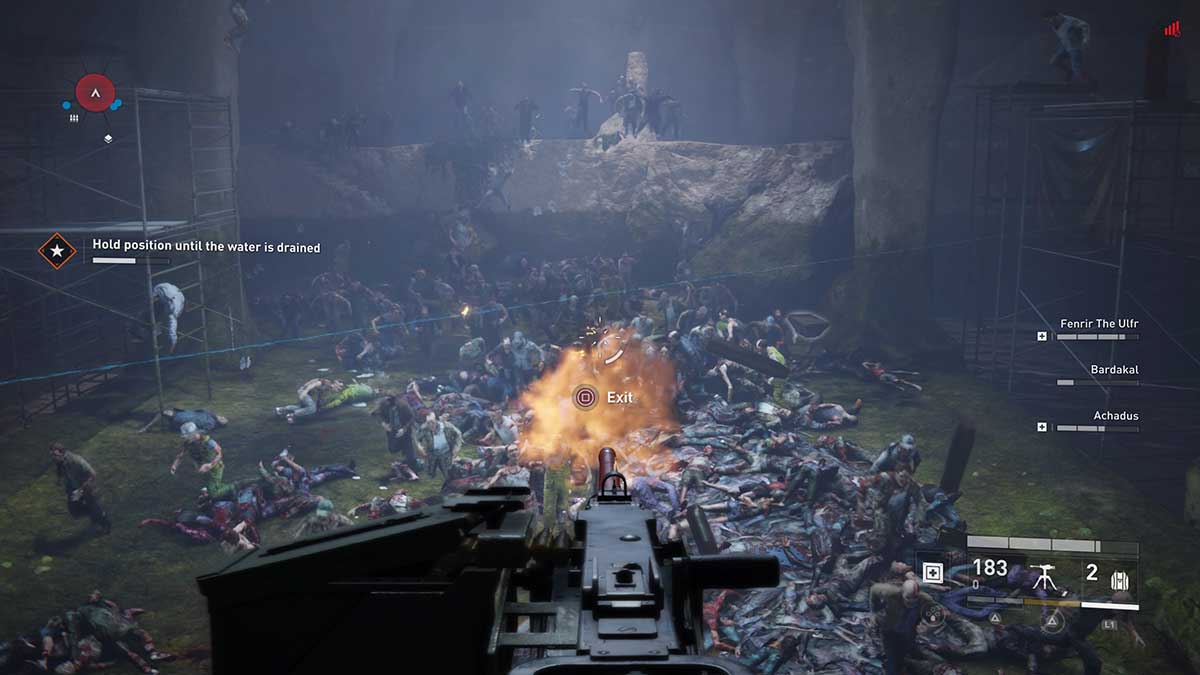
When you finally do open the catacombs, get down to them as quickly as you can. A door will close behind you to keep the Zekes out. Watch out for any lurking undead in the water as you make your way to the next encounter. You’ll find a button that activates the pumps in this area, and you need to press it so that you can wait for the water to drain. As you can imagine, this is a noisy process, so hundreds of Zekes are going to pile in and try to kill you while you wait.
Set up any defenses you have before activating the pumps. There are a couple of mounted turrets that you can use to take out a good chunk of the hordes that flow into the catacombs, but they’re not enough. Each side of the platform needs a player shooting down to keep the Zekes from climbing up. If they get up, then they’ll overwhelm you quickly. So continue to shoot the Zekes until the water has drained and you can leave.
Step 3: Rescue Minerva Squad
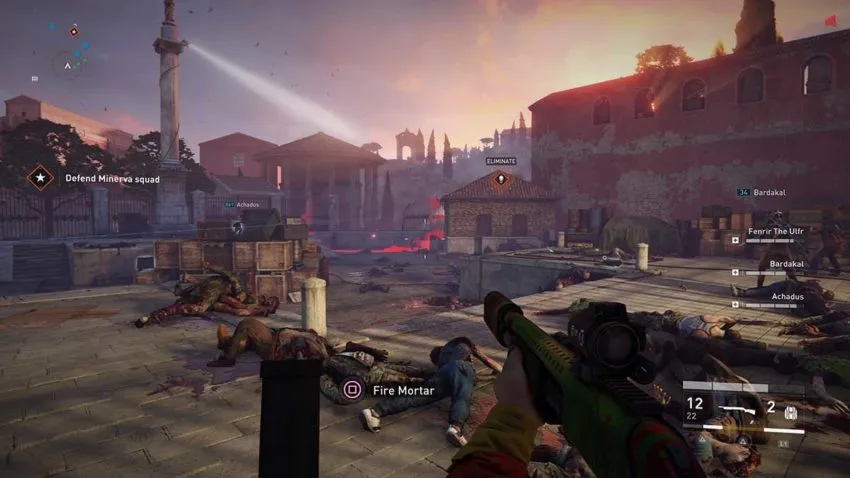
Once you’re out of the catacombs, you’ll hook up with Minerva Squad. They’re trapped inside a building with an incoming horde of Zekes only a minute away. Clear out the Zekes in the area and then set up as many defenses as you can find. There should be electrified flooring, mortars, and even some turrets that you can place. Use all the time you have to replenish your ammo and health, as well as any abilities if possible. Pick up a heavy weapon, even if you don’t plan to use it.
Once the encounter starts, you’ll need to fight the swarm on the right-hand side first. Use the mortar as the Zekes approach to soften them up before they reach you. Once the mortar is gone, start firing into the undead. You need to kill as many of them as possible before they reach you. If they do, they’ll swarm the gate near Minerva Squad, and that’s bad news.
If you see Zekes swarming Minerva Squad at any point, shoot them until they’re all gone. If Minerva Squad is overwhelmed, then the mission is over. Keep reviving each other if you spot a teammate that needs help, but Minerva Squad should be your top priority. Replenish your ammo when the first wave of enemies subsides, so you’re stocked up for the second.
After the first wave, the second wave will approach from the left-hand side. Again, use the mortar to soften the Zekes up so that as few reach you as possible. Make use of any turrets you have to kill this swarm because it’s the largest. Keep fighting with all the weapons you have, and eventually, you’ll complete the mission. There’s a short cutscene at the end, which leads into the next Chapter.


Published: Sep 22, 2021 08:31 am