Operation North Star adds the new Operator Thunderbird to Rainbow Six Siege. She’s equipped with a fantastic new gadget called the Kona Station, which will heal anyone who steps into its radius once deployed. Of course, that means that Attackers can use it just as much as Defenders, and in this guide, we’ve put together some tips to help you do just that.
It’s a trap
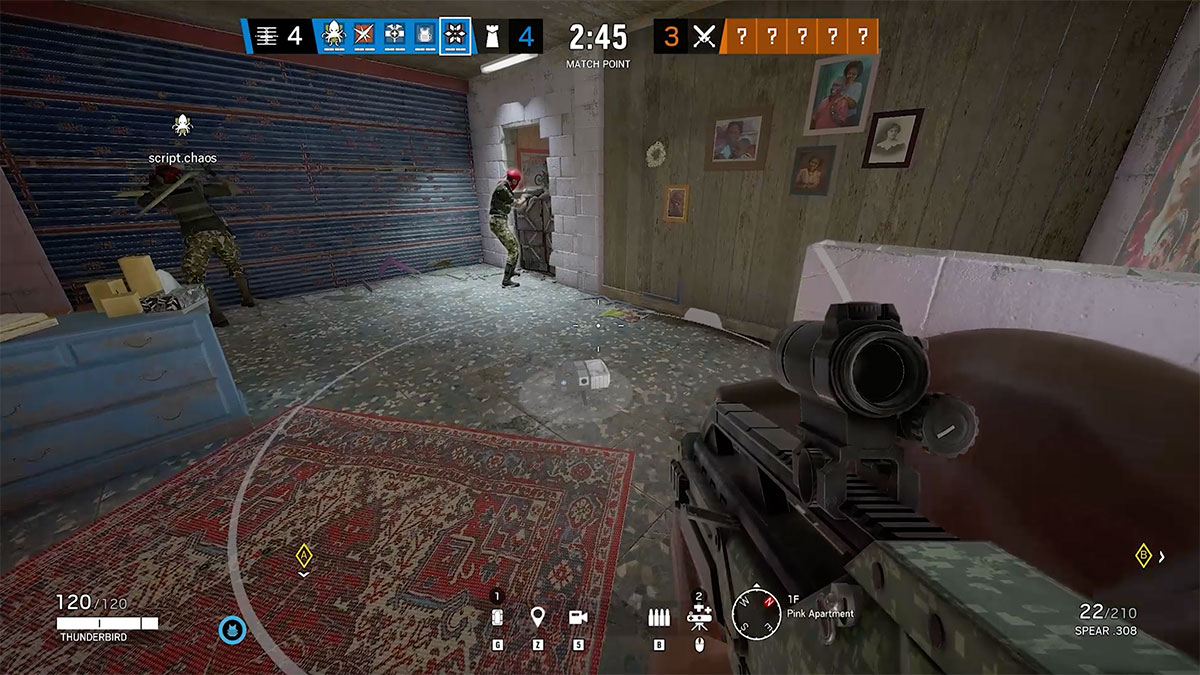
The first thing you should look for when you see a Kona Station as an Attacker is its placement. Usually, players will deploy Kona Stations near their allies, making it easy for Defenders to dip in and out of the radius and pick up a healing boost. Therefore, if you see a Kona Station sitting in the middle or corner of a room with no visible sign of protection, it’s probably a trap. The Defenders will have placed it strategically to try to coax you out of a doorway or cover and into their line of sight or an elaborate gadget-based end.
The lesson to take away here is to always scout out surrounding rooms before heading to a Kona Station. Don’t allow the Defenders to take advantage of your desperation.
Kona Station priorities
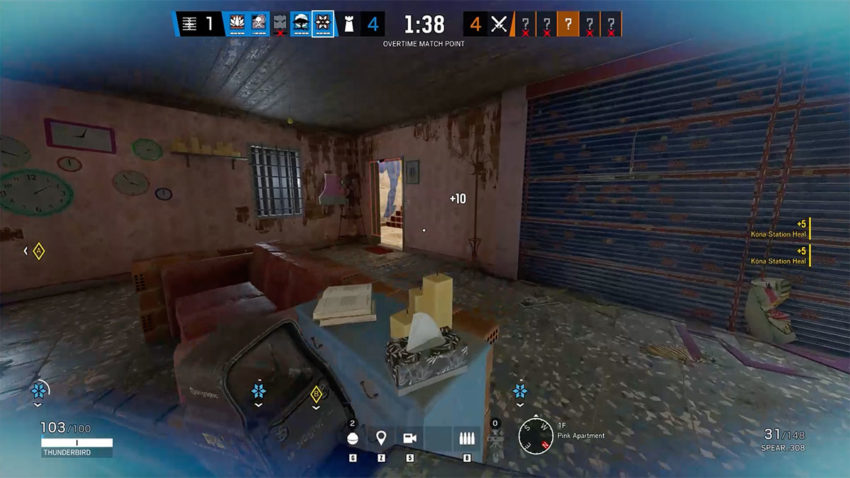
Even once you’ve captured a room and are holding it against Defenders, you need to realize that the Kona Station has its own set of priorities. Defenders will always be healed before Attackers. Within the ranks of those groups, though, it’s the player with the lowest health that will be healed first. This means that you can camp within the radius of a Kona Station and know that your teammates will be healed in an order that makes sense. However, it also means that there’s no need to camp if you’ve got enough health, so don’t dawdle if a match depends on you.
Blue indicator
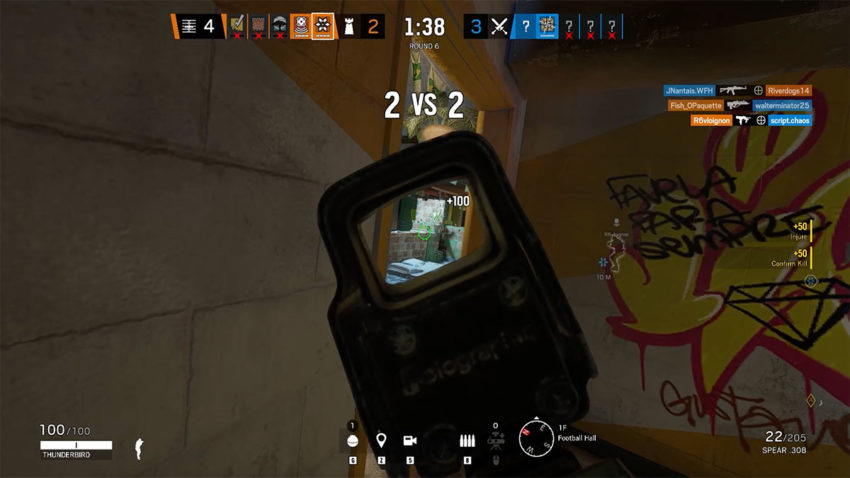
The Kona Station has a cooldown timer on it. Defenders can see this counting down, but Attackers can’t. So instead, Attackers can see a blue cone emit from the top of the device. This is the indicator for when the Kona Station is in a cooldown period. Once the indicator is gone, you can run into the radius and grab a buff to your health. You should also be aware of this indicator because you don’t need to defend the Kona Station from the Defenders whilst the blue cone is visible. No one will be able to take healing from it anyway.
Track those Defenders
Thunderbird has three deployable Kona Stations. As an Attacker, you can use any of them to track where Defenders are on a map. As you’re sneaking around trying to locate them or using a drone, you’re more likely to see a Kona Station first than you are a Defender. Keep an eye out for the devices, and you’ll know roughly where your enemies are holding up. With that information, you can move around them and take them out in ways they aren’t expecting.
Capture or destroy?

This last point is a decision you’ll have to make in every match where Thunderbird is present. Kona Stations are, first and foremost, a healing focal point for Defenders. As an Attacker, you can deal a massive blow to your enemies by throwing a grenade at the device and destroying it. Even if the Defenders move away, they’ll be one Kona Station down.
However, Kona Stations can be useful to your own team. If you capture one, you’ll be able to heal against anything the Defenders have set up and potentially avoid your own death by reviving within its radius. Be smart and coordinate with your team on how you use these devices. If you’re fast, there probably won’t be time to take advantage of them. If the match drags out, though, a Kona Station makes life much easier.


Published: Jun 14, 2021 03:00 am