Yougou Cleansing is the last step in a long series of quests in Genshin Impact that see the player working to help out a mysterious lady in a Kitsune mask to expel some congealed evil that has built up in the world.
Players will need to have complete the Strange Story at Konda, Sacrificial Offering, and Cleansing Defilement missions to get this quest. It will involve a boss fight, so make sure you are running a quality combat party with solid heals.
The first thing you will need to do is make your way to the well in Konda Village and drop down inside the cave beneath it again. Head to the main room and speak with Kazari, the Kitsune lady.
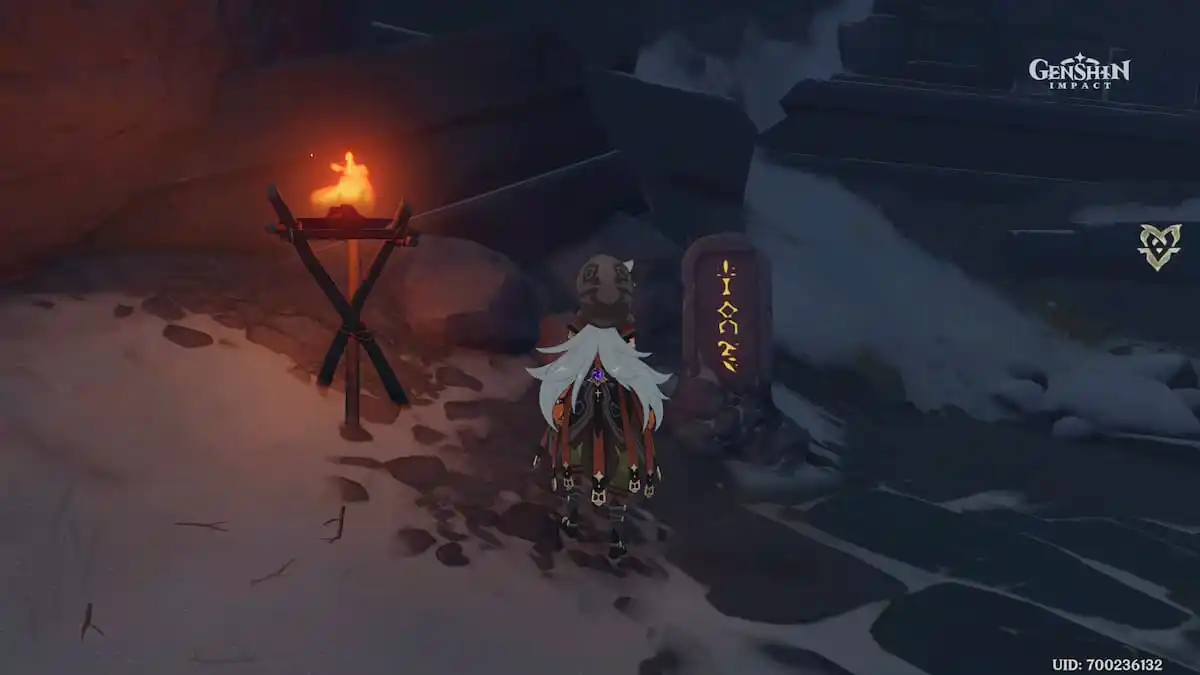
After that, you will need to make your way to Mt. Yougou. You can find Kazari about halfway up on the western side, so speak with her once more, and she will get you access to a cave below. Drop down in there and grab the first Thunder Sakura Bough that you see. It’s dangerous down here, and the environment will consistently damage you.
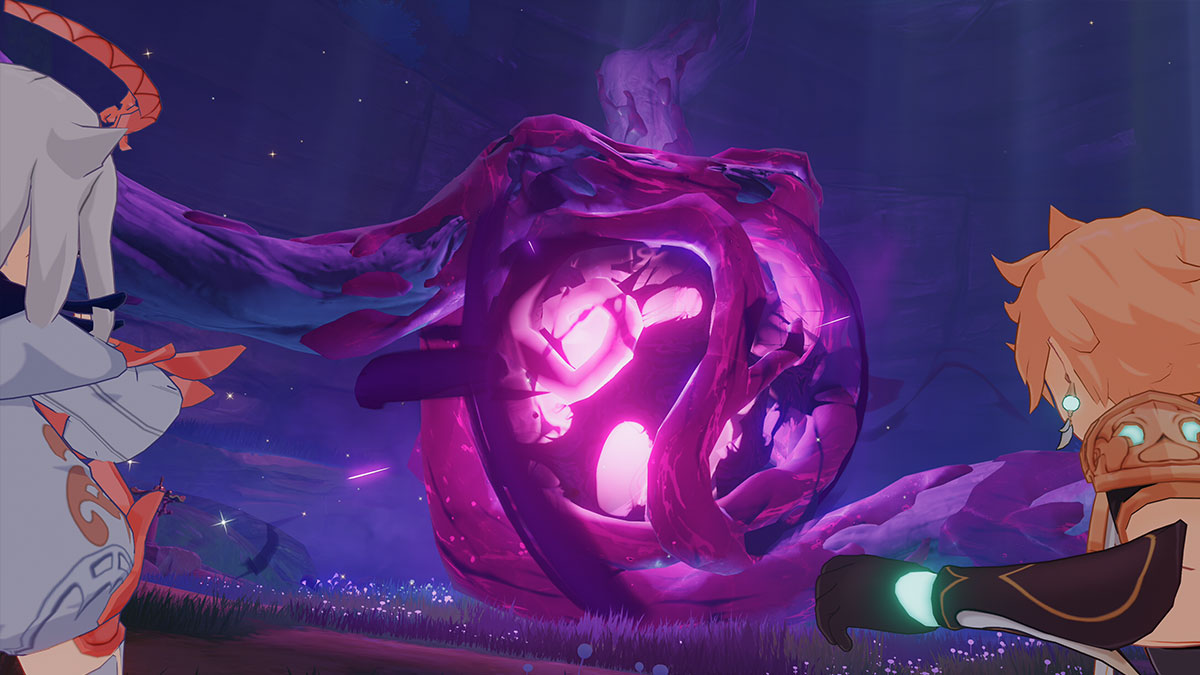
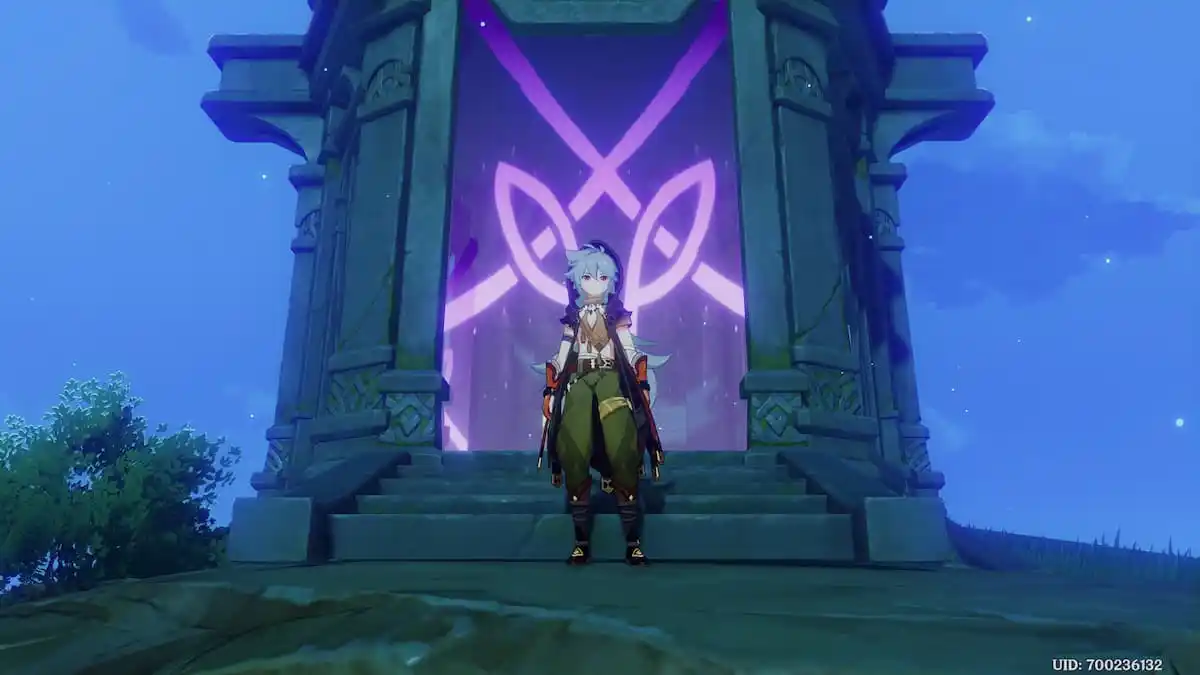
You will need to keep the heals flowing or keep your buff from the Thunder Sakura Bough up, whichever one suits your own style. Below a central enemy called a Tumor will be a mini-boss that you need to fight. When it is dead, a pattern will appear that you will need to recreate on the lanterns.
You need to follow this pattern three times in total, first fighting the miniboss, then recreating the pattern, then damage the tumor. The first two patterns are straightforward, as they are just unbroken lines that do not cross paths, moving from one lantern to the other. The last pattern is just setting the first two lanterns on the left and right to two dots and the last two lanterns in the back of the room to three dots.
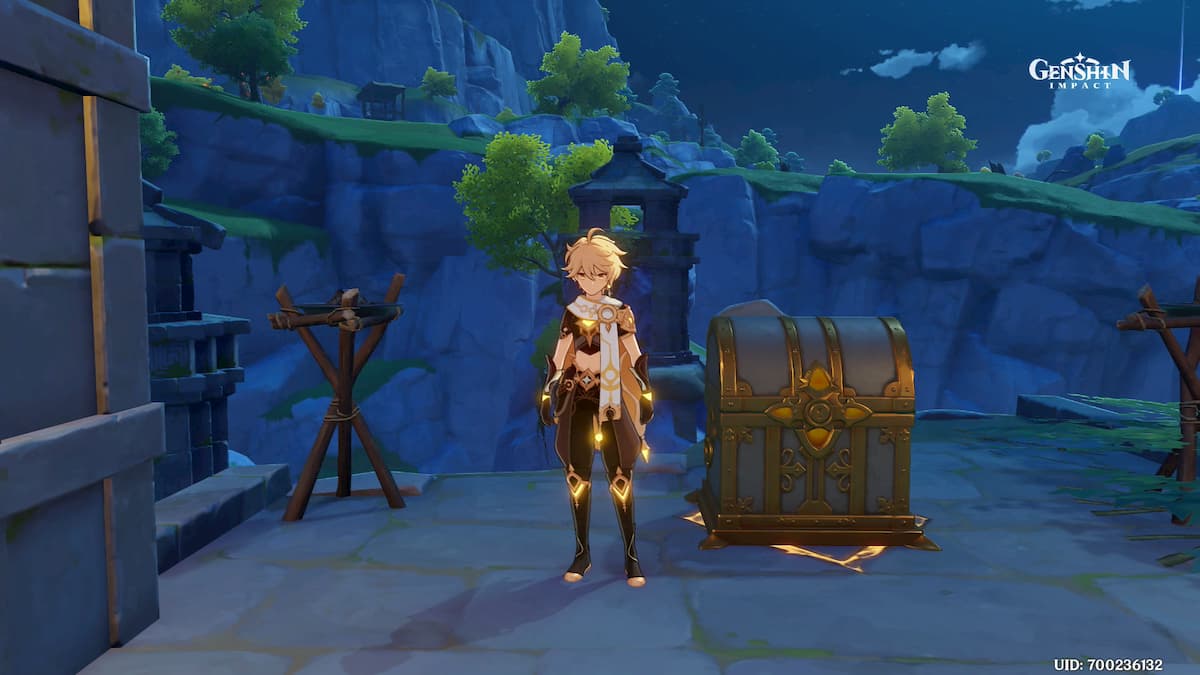
That’s all there is to it, and this will mostly boil down to your ability to tank and heal the damage that will come your way, as the Tumor is tough and outputs fairly consistent damage, even while you are fighting other things.


Published: Jul 23, 2021 03:20 pm