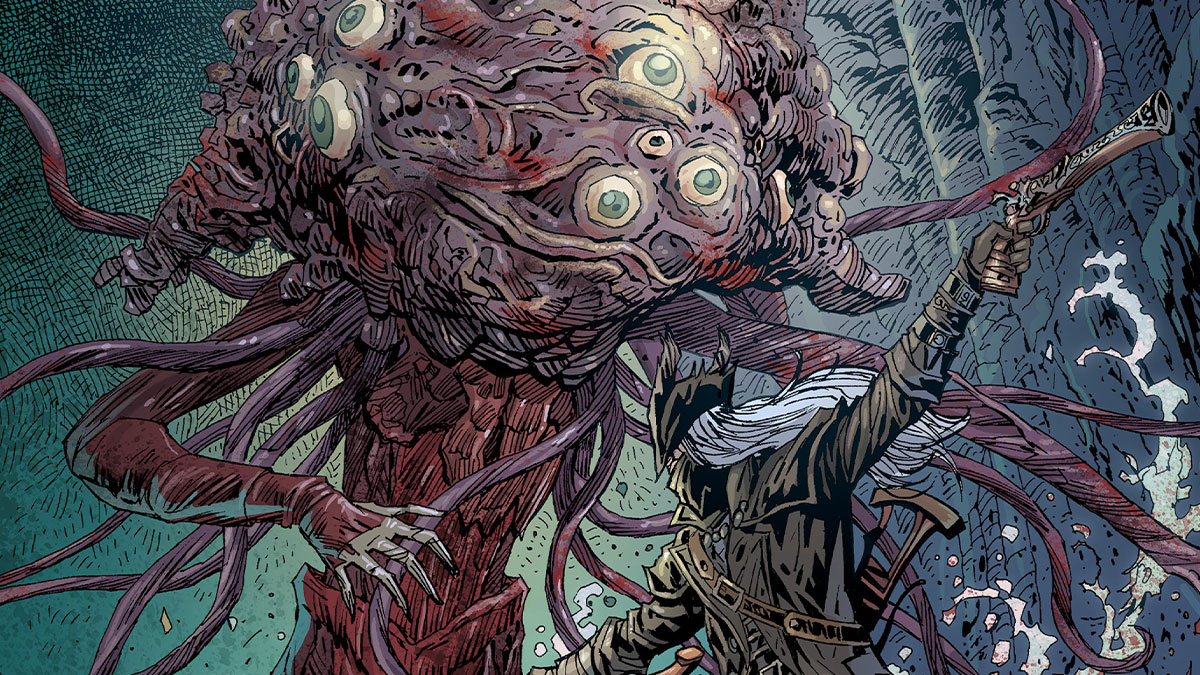
In Bloodborne Part II Walkthrough, you will have to Defeat Cleric Beast (Boss). You will encounter Cleric Beast after coming out from Hunter’s Dream. Follow these tips to defeat Cleric Beast – the first Boss in Bloodborne.
In Bloodborne Part 1 Walkthrough, after exploring the Hunters Dream you head back to the Central Yharnam to face your next challenge. There are a lot of places where you can kill a different type of enemies and gather a good amount of items. These items can be later used at Hunter’s Dreams for upgrades. Cleric Beast is the first Boss in this part you will fight, so don’t forget to upgrade your weapons and gather a good amount of Blood Echoes for your purchases.
Cleric Beast Boss Walkthrough
Cleric Beast Attack Phase:
The Cleric Beast has two phases of attacks. In the first phase, you can try targeting the limbs where you will get bonus damage. It will be tiresome but try doing that. In the second phase once his health goes below 70% it will roar and become aggressive. His attacks will be stronger and faster. He will also perform combo attack on you so be ready to dodge.
Phase 1 Attacks:
- The beast will perform a short-range horizontal arm swipe that causes low damage.
- Then he will go for medium punches into the ground with one fist and then with the other hand that will cause moderate damage.
- Next, he will try to grab you that can cause heavy damage, so try dodging it.
- Next, he will use three-hit combo with moderate damage per hit.
- Next is forward lunging with a strong horizontal swipe attack.
- And finally, it will cover itself with a red aura to recover damage limbs.
Phase 2 Attacks:
- The beast will try grabbing with two hands, that will cause a good damage.
- He will perform a stronger combo attack of three-hit with moderate damage.
- Next comes the heavy damage ground slam, that can throw you off the ground.
- Finally, the beast can perform a jump attack that can cause heavy damage.
How To Easily Defeat Cleric Beast Boss
Through the first headstone return to the Yharnam. If you had died in the clinic then you will be returned to the same place, and if you are able to manage to reach near the lantern then you will be spawning to this point. If you spawn at the clinic, you have to go out and fight with a man with an Axe on the right end. Pull out the lever that will take you up and you will get your first lantern.


After reaching the first lantern, take the path on your right. Just behind the lantern, there is a window, you can talk to a fellow outsider who will give you some info on a Pale blood. Or just ignore and you can walk towards the right side. Look for glowing lights you will get Pebble. Near coffins on the right end, there is an enemy with the blade. Kill him and ahead you will find two more. One is with wooden shield and torch. Further down there will be more, if they spot you don’t attack, go back a little on the stairs and then take down a few of them first. Turn left and keep walking till the end, you will come across a gate. Pull the lever, don’t go further left there is a strong enemy who is holding a massive blade. If you have the plan to kill it then don’t go much near, his attacks are very strong. Lure him into an open space. Next when it attacks dodge it and try attacking from the backside.

Killing Cleric Beast will reward you Sword Hunter Badge. There are many enemies on the right side, you can hunt down and gather a lot of items and Blood Vail. You can then return to Hunter’s Dream and upgrade your weapons. This will be required while facing the Cleric Beast. Once you are done having enough upgrades walk the left of the first lantern. You can check the strength of new weapons on the enemies ahead. Keep walking left, and fight with a few more. There is an also a Bell Assistance location that can offer you a big of a help in the game at a cost of 1 insight. From the left of the first lantern, you will have to go down and you will see two paths. One is another stairs on the left end side and second is a small open door.
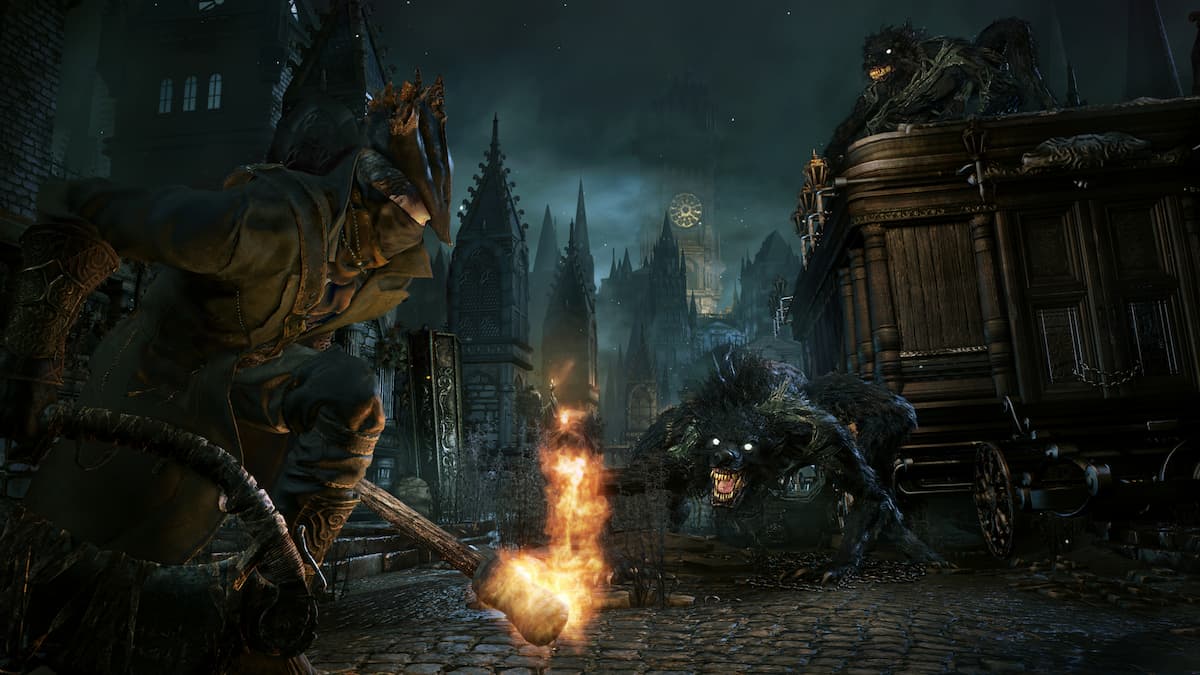
Enter that and kill an enemy inside. Next go upstairs, kill two enemies and take the door on your left. You will spot two wolves like beast ahead, the one you faced at the start of a game. The easiest way to kill them is to lure them into the building from where you exit. They won’t be able to pass the door and you can kill them one by one on the same spot. After killing them, on your left is a huge enemy with three crows. You can attack them with Molotov and attack them together. After killing them move ahead and face the Cleric beast.

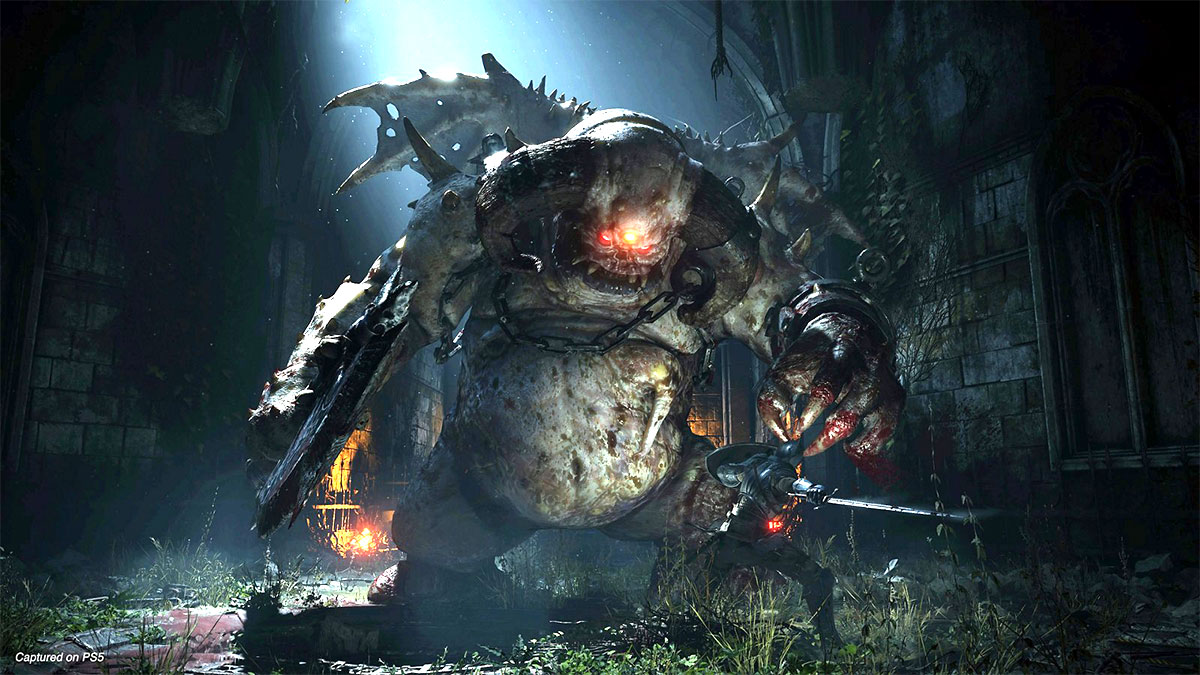
The best have a huge health bar and watch out for its jump attack. If you have some Molotov use them on the beast to cause a good damage. The beast can also recover very fast after your attack, you will have to dodge the same and then plan yours. Maintain a good distance from the beast. You will have a chance, and you can attack one part of the beast. Try to learn the beast attacks, they are mostly predictable you have to best fast on escaping them. You cause high damage by attacking the face. If you are able to manage to throw an explosive on his face you can cause him pretty high damage. After defeating the beast you will get 4,000 Blood Echoes and the Sword Hunter Badge.
With few tries, you will be able to cause high damage to the beast and it will be down. Navigate the area to gather items around. A lantern will appear a bit ahead which your game check point. This is the end of Part 2 of Bloodborne, in Bloodborne Par 3 Walkthrough, you will be meeting Father Gascoigne. For more details and updates on the game, you can also read our Bloodborne Wiki guide.


Published: Mar 5, 2018 12:03 pm