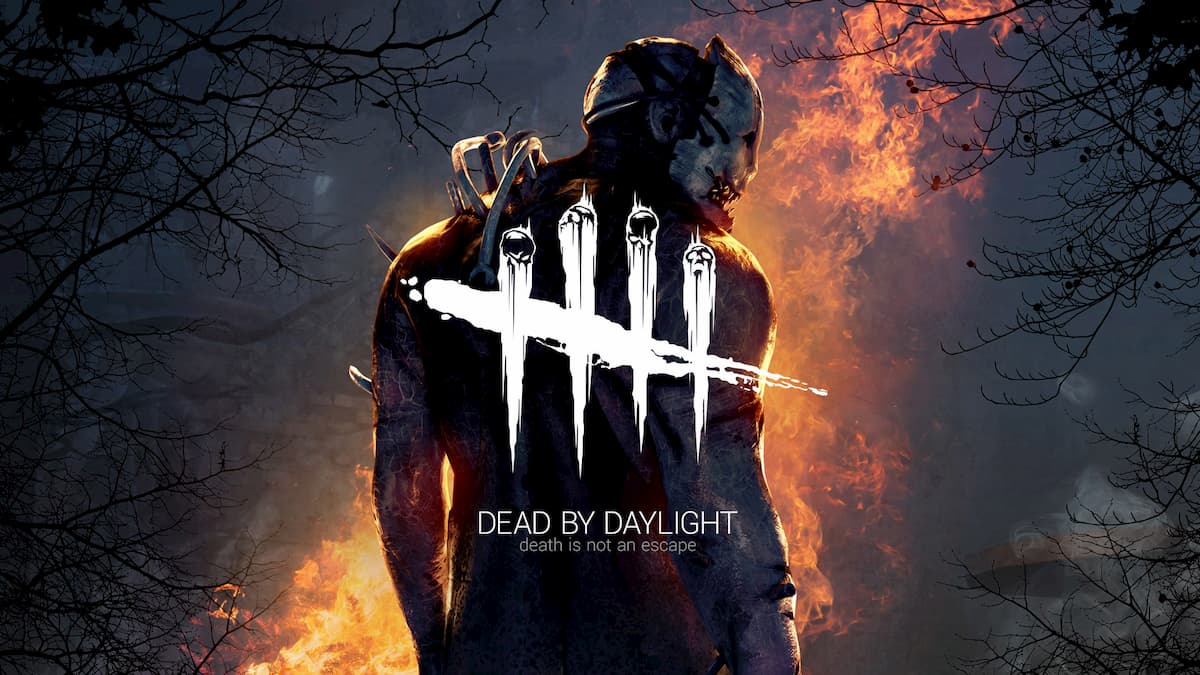
Over the course of its life, Dead by Daylight has accumulated a large variety of Killers to choose from, and it’s only going to continue to get bigger as time goes on. Each Killer has their own unique abilities that they bring to the table to terrorize the Survivors, but underneath those abilities lie the teachable perks. These perks are at first exclusive to those Killers, but after you unlock them, any Killer can obtain them in the Bloodweb.
If you are itching to get out and murder some helpless survivors in Dead by Daylight, you’re going to want to be sure to deck out your maniacal murderer with the right perks and loadouts. To get a grasp on all these killers and the perks they can offer others, check out our list below.
Related: The best Dead By Daylight Survivors for beginners
Every Dead By Daylight Killer and their shared perks
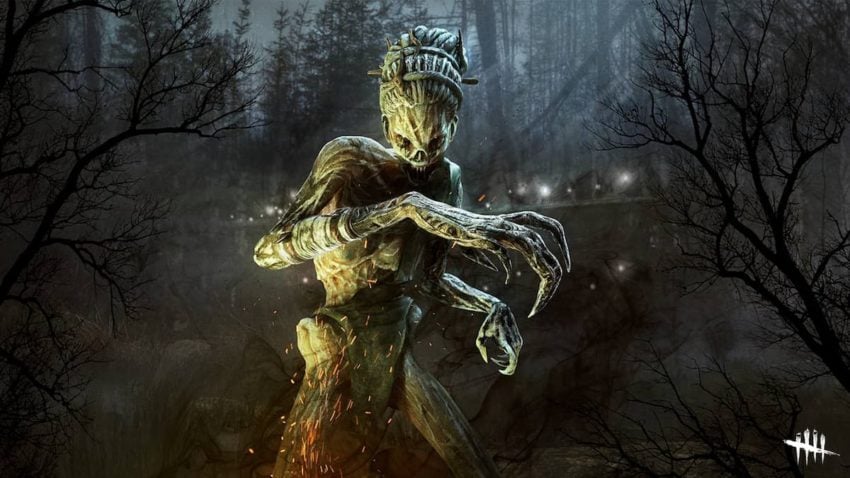
The Artist
- Grim Embrace – Once you have hooked all four Survivors at least one time the Obsession is revealed to you for five seconds and the Entity blocks all generators for 30/35/40 seconds.
- Hex: Pentimento – You can resurrect cleansed totems to get various effects.
- One totem: Decrease Survivor repair speed by 20/25/30%
- Two totems: Decrease Survivor heal speed by 20/25/30%
- Three totems: Decrease Survivor recovery speed while down by 20/25/30%
- Four totems: Decrease gate opening speed by 20/25/30%
- Five totems: Survivors can no longer cleanse totems
- Scourge Hook: Pain Resonance – Four random hooks are turned into Scourge Hooks at the beginning of the match. Every time a Survivor is hooked on one of them, the generator closest to being repaired will explode, lose 9/12/15%, regress, and reveal anyone repairing them.
The Blight
- Dragon’s Grip – After kicking a Generator, for the next 30 seconds, the first Survivor that interacts with it will scream, revealing their location for four seconds and becoming afflicted with the Exposed Status Effect for 60 seconds.
- Hex: Blood Favour – When a Survivor is hit with a Basic Attack, all Pallets within a radius of 16 metres of your location are held in place by The Entity for 15 seconds and cannot be pulled down by Survivors.
- Hex: Undying – While Hex: Undying is active, Survivors within 2 metres of any Totem have their Aura revealed for 4/5/6 seconds.
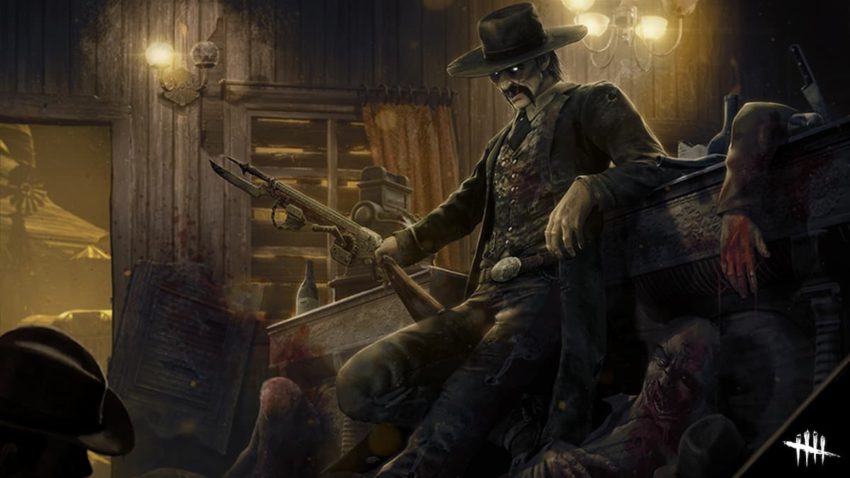
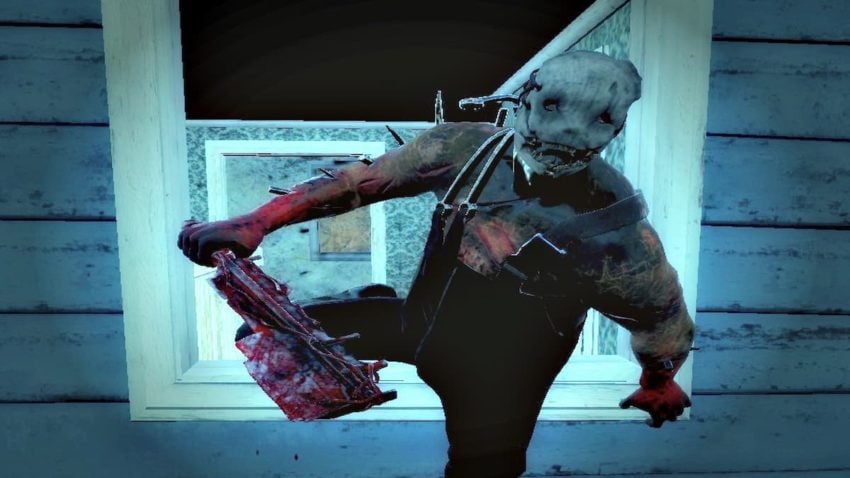
The Cannibal (Leatherface)

- Barbecue & Chili – After hooking a Survivor, all other Survivors’ Auras are revealed to you for 4 seconds when they are farther than 40 metres from the Hook. Each time a Survivor is hooked for the first time, gain a 25 % stack-able bonus to all Bloodpoint gains up to a maximum of 50/75/100 %.
- Franklin’s Demise – Your vicious Basic Attacks make the Survivors drop their Item on impact. The lost Item will be consumed by The Entity after 150/120/90 seconds if it is not picked up. Reveals Items on the ground within a range of 32 metres with a white Aura. The Aura will slowly fade to red until the Item is consumed by The Entity.
- Knock Out – Survivors put into the Dying State by your Basic Attack are not revealed to other Survivors when those are standing outside of a range of 32/24/16 metres. For the next 15 seconds, the dying Survivor is affected by the Blindness Status Effect and crawls 50 % slower.
The Cenobite (Pinhead)

- Deadlock – When the Survivors complete a generator, the next generator that is closest to being repaired will be blocked for 20/25/30 seconds. You can see its aura during this time.
- Hex: Plaything – When there is at least one dull totem left in the match, Survivors that are hooked for the first time are Cursed and Oblivious until that totem is cleansed. For the first 90 seconds, only that affected Survivor can clean the totem and they can see its aura within 24/20/16 meters.
- Scourge Hook: Gift of Pain – Four random hooks are turned into Scourge Hooks at the beginning of the match and you can see them. Any Survivor taken off one of those hooks gets Hemmorhage and Mangle until they are healed. At that point, they take a 7/8/9% action speed penalty until they are hurt again.
The Clown
- Bamboozle – Your Vault speed is 5/10/15 % faster. Performing a Vault action calls upon The Entity to block that Vault location for 8/12/16 seconds. Only one Vault location may be blocked this way at any given time. The Vault location is blocked only for Survivors.
- Coulrophobia – Survivors within your Terror Radius have a 30/40/50 % penalty to the Healing progression speed.
- Pop Goes the Weasel – After hooking a Survivor, the next Generator you damage is instantly loses 25% of its progress. Normal Generator Regression applies after the Damage Generator action.
The Deathslinger
- Dead Man’s Switch – After hooking the Obsession, Dead Man’s Switch activates for the next 35/40/45 seconds. While activated, any Survivor that stops repairing a Generator before it is fully repaired causes The Entity to block the Generator until Dead Man’s Switch’s effect ends. Affected Generators are highlighted by a white Aura.
- Gearhead – After hitting a Survivor 2 times with your Basic Attack, Gearhead activates for 20/25/30 seconds. Each time a Survivor completes a Good Skill Check while repairing, the Generator will be revealed by a yellow Aura for as long as it is being repaired.
- Hex: Retribution – Any Survivor who cleanses a Dull Totem will suffer from the Oblivious Status Effect for 35/40/45 seconds. If any Hex Totem is cleansed, including this one, the Auras of all Survivors are revealed for 10 seconds.
The Demogorgon

- Cruel Limits – Each time a Generator is repaired, all Windows and vault locations within a radius of 32 metres from the completed Generator are blocked for all Survivors for the next 20/25/30 seconds.
- Mindbreaker – While repairing Generators , Survivors are afflicted by the Exhausted Status Effect. Any existing Exhaustion timers are paused while the Survivor is repairing a Generator. After ending the Repair action, the Survivor is afflicted by the Exhausted Status Effect for 3/4/5 seconds.
- Surge – Putting a Survivor into the Dying State with a Basic Attack instantly causes all Generators within a radius of 32 metres to explode and begin regressing. Generators affected by Surge immediately lose 8% of their progress. Surge can only be triggered once every 60/50/40 seconds.
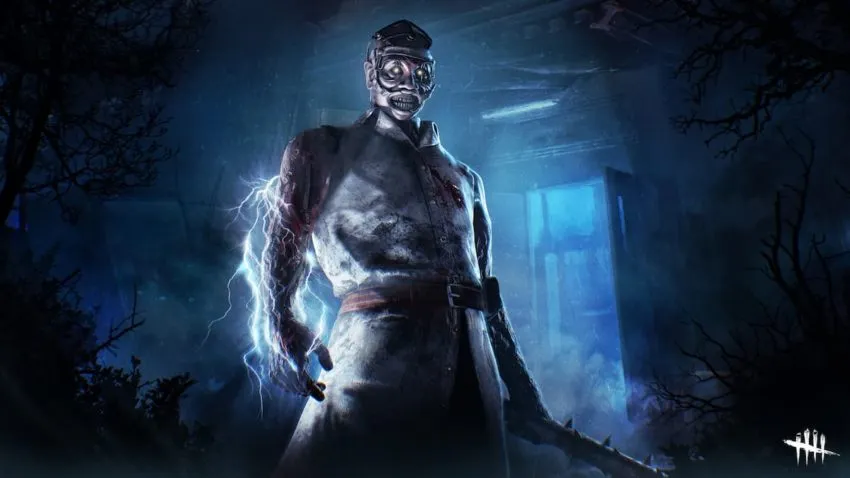
The Doctor
- Monitor & Abuse – While in a Chase, your Terror Radius is increased by 8 metres. Otherwise, your Terror Radius is decreased by 8 metres and your Field of View is increased by 3/5/10°. Field of View gains do not stack.
- Overcharge – Overcharge a Generator by performing the Damage Generator action. The next Survivor interacting with that Generator is faced with a tremendously difficult Skill Check. Failing the Skill Check results in an additional 3/4/5 % loss of progress. Succeeding the Skill Check grants no progress, but prevents the Generator Explosion.
- Overwhelming Presence – Survivors within your Terror Radius suffer from inefficiency. Affected Survivors’ Item Consumption rates are increased by 80/90/100 %.
The Dredge
- Darkness Revealed – When you search a locker, any Survivor that is near a different locker will be revealed to you for 3/4/5 seconds.
- Dissolution – This perk activates when you damage a Survivor. For the next 12/16/20 seconds, if they fast jump over a pallet while in your Terror Radius, that pallet will be destroyed. Deactivates after one pallet is destroyed.
- Septic Touch – If a Survivor tries to heal while within your Terror Radius, they will be Blinded and Exhausted. If that process is interrupted, it will linger for 6/8/10 seconds.
The Executioner (Pyramid Head)

- Deathbound – When a Survivor heals another Survivor for one Health State at least 32 metres away from the Killer, the Survivor performing the Healing action will scream, revealing their location and activating Deathbound for the next 60 seconds. During that time, the Survivor will suffer from the Oblivious Status Effect when farther than 16/12/8 metres away from the healed Survivor.
- Forced Penance – Survivors who take a Protection Hit are inflicted with the Broken Status Effect for 60/70/80 seconds.
- Trail of Torment – After kicking a Generator , you become Undetectable until the Generator stops regressing or a Survivor is put into either the Injured State or the Dying State by any means. During this time, the Generator’s Aura is revealed in yellow to all Survivors. Trail of Torment can only be triggered once every 80/70/60 seconds.
The Ghost Face
- Furtive Chase – When your Obsession is hooked, Furtive Chase receives a Token, up to a maximum of 2/3/4 Tokens. Each Token decreases your Terror Radius by 4 metres while in a Chase. When a Survivor rescues the Obsession from a Hook, the rescuer becomes the Obsession. You lose all Tokens if the Obsession is sacrificed or killed. You can only be obsessed with one Survivor at a time.
- I’m All Ears – Any Survivor performing a rushed action within 48 metres from your location will have their Aura revealed to you for 6 seconds. I’m All Ears can only be triggered once every 60/50/40 seconds.
- Thrilling Tremors – After picking up a Survivor, all Generators not being repaired by Survivors are blocked by The Entity and cannot be repaired for the next 16 seconds. Affected Generators are highlighted by a white Aura. Thrilling Tremors can only be triggered once every 100/80/60 seconds.
The Hag
- Hex: Devour Hope – When a Survivor is rescued from a Hook at least 24 metres away, Devour Hope receives a Token:
– 2 Tokens: Gain a 3/4/5 % Haste Status Effect 10 seconds after hooking a Survivor, for a duration of 10 seconds.
– 3 Tokens: Survivors suffer from the Exposed Status Effect.
– 5 Tokens: Grants the ability to kill Survivors by your own hand.
The Hex effects persist as long as the related Hex Totem is standing. - Hex: Ruin – Whenever a Generator is not being repaired by a Survivor, it will immediately and automatically regress its Repair progress at 100/150/200 % of the normal Regression speed. Hex: Ruin affects all Generators. The Hex effects persist as long as the related Hex Totem is standing.
- Hex: The Third Seal – Hitting a Survivor with a Basic Attack while the Hex Totem is active applies the Blindness Status Effect. This effect applies to the last 2/3/4 Survivors hit. The Hex effects persist as long as the related Hex Totem is standing.
The Hillbilly

- Enduring – The duration of Pallet stuns is reduced by 40/45/50 %.
- Lightborn – Grants immunity to Blindness caused by Flashlights or Firecrackers. Survivors attempting to blind you have their Aura revealed for 6/8/10 seconds.
- Tinkerer – When a Generator is repaired to 70 %, you receive a Loud Noise notification and you are granted the Undetectable Status Effect for 12/14/16 seconds.
The Huntress
- Beast of Prey – Grants the Undetectable Status Effect after gaining Bloodlust Tier I. The Status Effect is removed once you lose Bloodlust. Gain 30/40/50 % more Bloodpoints for actions in the Hunter Category.
- Hex: Huntress Lullaby – Survivors receive a 2/4/6 % Regression penalty when missing a Skill Check while healing or repairing. Each time a Survivor is hooked, Hex: Huntress Lullaby grows in power. It affects Healing and Repair Skill Check warnings:
– 1 to 4 Tokens: Shortens the time between the Skill Check Warning sound and the Skill Check.
– 5 Tokens: No Skill Check Warning sound.
The Hex effects persist as long as the related Hex Totem is standing. - Territorial Imperative – Survivors’ Auras are revealed to you for 3 seconds when they enter the Basement and you are more than 32 metres away from the Basement entrance. Territorial Imperative can only be triggered once every 30/25/20 seconds.
The Legion

- Discordance – Any Generator within a range of 64/96/128 metres that is being repaired by 2 or more Survivors is marked by a yellow Aura. When the Generator is first highlighted, Discordance triggers a Loud Noise notification on the Generator. After the Generator is no longer within range or is being repaired by just 1 Survivor, the highlighted Aura remains for another 4 seconds.
- Iron Maiden – You open Lockers 30/40/50% faster. Survivors who exit Lockers suffer from the Exposed Status Effect for 15 seconds and their location is revealed for 4 seconds.
- Mad Grit – While carrying a Survivor, you suffer no cool-down on missed attacks and successfully hitting another Survivor will pause the carried Survivor’s wiggle timer for 2/3/4 seconds.
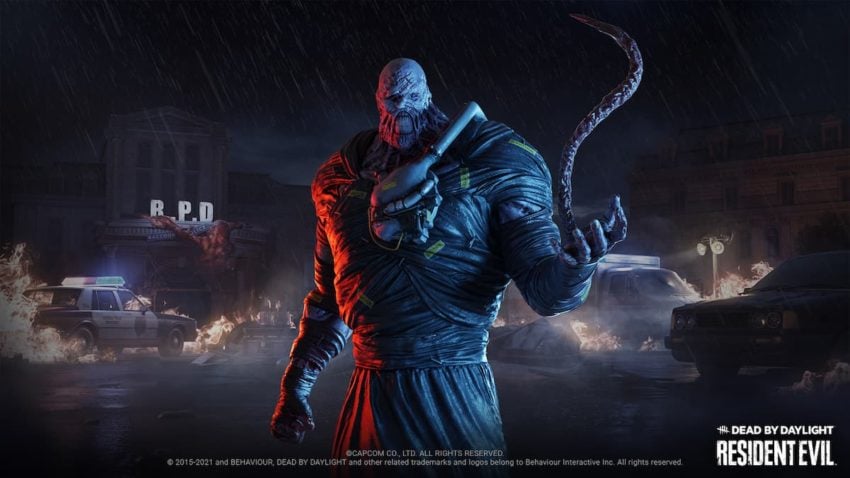
The Nemesis
- Eruption – After kicking a generator, you can see its aura in yellow. The next time you put a Survivor into the Dying State, all yellow generators will explode and begin regressing. If a Survivor is working on one of them, they will scream and be incapacitated for 12/14/16 seconds.
- Hysteria – When you put a Survivor into the Injured State, all Survivors will be Oblivious for 20/25/30 seconds. Has a 30 second cooldown.
- Lethal Pursuer – When the match begins you see all Survivor auras for 7/8/9 seconds.
The Nightmare (Freddy Krueger)

- Blood Warden – As soon as the Exit Gate is opened, Blood Warden is activated. The Auras of any Survivors located within Exit Gate areas are revealed to you. Once per Trial, hooking a Survivor while Blood Warden is active calls upon The Entity to block both Exits for all Survivors for 30/40/60 seconds.
- Fire Up – Each time the Survivors complete repairs on a Generator, Fire Up grows in power. For each Generator completed, gain a stack-able 3/3.5/4 % buff to Picking-up, Dropping, Pallet breaking, Breakable-Wall breaking, Generator damaging, and Vaulting speeds for the remainder of the Trial.
- Remember Me – Each time you hit your Obsession, you increase the Exit Gate Opening time by 4 seconds up to a maximum of 8 additional/12 additional/16 additional seconds. The Obsession is not affected by Remember Me. You can only be obsessed with one Survivor at a time.
The Nurse
- A Nurse’s Calling – The Auras of Survivors who are healing or being healed are revealed to you when they are within a range of 20/24/28 metres.
- Stridor – Survivors’ Grunts of Pain are 25/50/50 % louder and regular breathing is 0/0/25 % louder.
- Thanatophobia – or each Injured, Dying or hooked Survivor, all Survivors receive a stack-able penalty of 4/4.5/4 % to their Repair, Sabotage, and Totem-Cleansing speed up to a maximum of 16/18/20 %.
The Oni

- Blood Echo – When hooking a Survivor, all other injured Survivors suffer from the Haemorrhage Status Effect until healed and the Exhausted Status Effect for 45 seconds. Blood Echo can only be triggered once every 80/70/60 seconds.
- Nemesis – A Survivor who blinds you, or stuns you using a Pallet or Locker becomes your Obsession. Anytime a new Survivor becomes the Obsession, they are affected by the Oblivious Status Effect for 40/50/60 seconds and their Aura is revealed to you for 4 seconds. You can only be obsessed with one Survivor at a time.
- Zanshin Tactics – The Auras of all Pallets, Breakable Walls, and Vaults are revealed to you within a range of 24 metres. When a Survivor is damaged, Zanshin Tactics becomes inactive for 40/35/30 seconds.
The Onryō (Sadako from “The Ring”)

- Call of Brine – After you damage a generator, it regresses at 150/175/200% speed and can see its aura. Any Survivors that do a good skill check on it will make a loud noise notification.
- Merciless Storm – When a generator reaches 90% repair, all Survivors working on it receive constant skill checks. If they miss one or stop repairing, the generator is blocked for 16/18/20 seconds.
- Scourge Hook: Floods of Rage – Four hooks are turned into Scourge Hooks at the beginning of the match and you can see them. Whenever a Survivor is unhooked from one of them, you can see all other Survivors for 5/6/7 seconds.
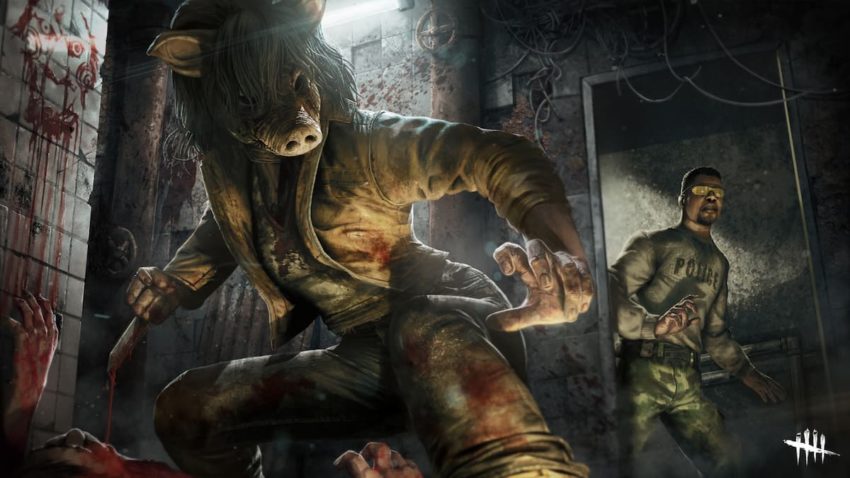
The Pig (Amanda Young from “Saw”)
- Hangman’s Trick – Your ingenious modifications to Hooks alert you of tampering. Gain a notification when a Survivor begins sabotaging a Hook.
Unlocks potential in one’s Aura-reading abilities. While carrying a Survivor, see the Aura of any Survivor within 2/4/6 metres of any Hook. - Make Your Choice -When a Survivor rescues another Survivor from a Hook that is at least 32 metres away from you, Make Your Choice triggers and applies the Exposed Status Effect on the rescuer for 40/50/60 seconds. Make Your Choice has a cool-down of 40/50/60 seconds.
- Surveillance – All regressing Generators will be highlighted by a white Aura. Once regression ends, Generators will be highlighted by a yellow Aura for 8/12/16 seconds. The Hearing distance of noises caused by Generator Repairs are increased by 8 metres.
The Plague
- Corrupt Intervention – 3 Generators located farthest from you are blocked by The Entity for 80/100/120 seconds at the start of the Trial. Survivors cannot repair the Generators for the duration Corrupt Intervention is active.
- Dark Devotion -You become obsessed with one Survivor. Hitting the Obsession with a Basic Attack causes the Obsession to emit a Terror Radius of 32 metres for 20/25/30 seconds. You are granted the Undetectable Status Effect for the duration. The Obsession hears the Terror Radius they emit for the duration.
You can only be obsessed with one Survivor at a time. - Infectious Fright – Any Survivors that are within the Killer’s Terror Radius while another Survivor is put into the Dying State by any means will yell and reveal their current location to the Killer for 4/5/6 seconds.
The Shape (Michael Myers)

- Dying Light – Your Obsession gains a 33 % Action Speed bonus to unhooking and healing other Survivors. Each time you hook a Survivor that is not the Obsession and the Obsession is alive, gain a Token. If the Obsession is alive, all others Survivors get a stack-able 2/2.5/3 % penalty to Repair, Healing, and Sabotage speed for each Token. You can only be obsessed with one Survivor at a time.
- Play with Your Food – Every time you chase your Obsession and let them escape, you receive a Token up to a maximum of 3 Tokens. Each Token increases your Movement speed by 3/4/5 %. Performing a Basic or Special Attack will consume 1 Token. Play With Your Food has a cool-down of 10 seconds. You can only be obsessed with one Survivor at a time.
- Save the Best for Last – Earn a Token for each successful hit with your Basic Attack that is not dealt to the Obsession. Each Token grants a stack-able 5 % cool-down reduction on successful attacks. You can earn up to 8 Tokens.
Attacking your Obsession will make you lose 4/3/2 Tokens. You can no longer gain Tokens if your Obsession is sacrificed or killed. You can only be obsessed with one Survivor at a time.
The Spirit

- Hex: Haunted Ground – When one of the two trapped Hex Totems is cleansed by a Survivor, all Survivors suffer from the Exposed Status Effect for 40/50/60 seconds. The remaining trapped Hex Totem immediately becomes a Dull Totem.
- Rancor – Each time a Generator is completed, the Obsession sees your Aura for 5/4/3 seconds. Each time a Generator is completed, all Survivors’ locations are revealed to you for 3 seconds. Once all Generators are completed, the Obsession has the Exposed Status Effect and the Killer can kill the Obsession.
You can only be obsessed with one Survivor at a time. - Spirit Fury – Each Pallet you break magnifies the wrath of The Entity.
After breaking 4/3/2 Pallets, the next time you are stunned by a Pallet, The Entity will instantly break it. You still suffer from the stun effect penalty.
The Trapper
- Agitation – While carrying a Survivor, your Movement speed is increased by 6/12/18 % and your Terror Radius is increased by 12 metres.
- Brutal Strength – Destroy dropped Pallets and Breakable Walls, and damage Generators 10/15/20 % faster.
- Unnerving Presence – Survivors within your Terror Radius have a 10 % greater chance of triggering Skill Checks when repairing, healing or sabotaging.
Triggered Skill Checks’ success zones are reduced by 40/50/60 %.
The Trickster

- Hex: Crowd Control – When a Survivor vaults through a window the Entity blocks it off for 14/17/20 seconds.
- No Way Out – Every time you hook a Survivor, you gain a token. After all generators are repaired and a Survivor interacts with an exit gate switch the Entity will block both switches and you will be notified. The switches will be blocked for at least 12 seconds, with a maximum of 36/48/60 seconds depending on how many tokens you got in the match.
- Starstruck – While carrying a Survivor, all Survivors are Exposed when in your Terror Radius. The effect lasts for 26/28/30 seconds after dropped or outside of your radius. This perk has a 60 second cooldown.
The Twins
- Coup de Grace – Each time a Generator is completed, Coup de Grâce grows in power. Gain 1 Token per Generator. Consume 1 Token to increase the distance of your next Lunge Attack by 60/80/100 %.
- Hoarder – Receive a Loud Noise notification for 4 seconds when Survivors interact with a Chest or when they pick up an Item within 24/36/48 meters of your location. The Trial begins with up to 2 additional Chests in the environment. The rarity of Items found in all Chests is decreased.
- Oppression – If the affected Generators are being repaired, any Survivors repairing them receive a difficult Skill Check. Oppression has a cool-down of 120/100/80 seconds.
The Wraith

- Bloodhound – Pools of Blood are shown bright red and can be tracked for 2/3/4 seconds longer than normal.
- Predator – Scratch Marks left by Survivors will spawn slightly/moderately/considerably closer together.
- Shadowborn – Your Field of View is increased by 9/12/15°. Does not stack.


Published: Jul 25, 2022 07:26 pm