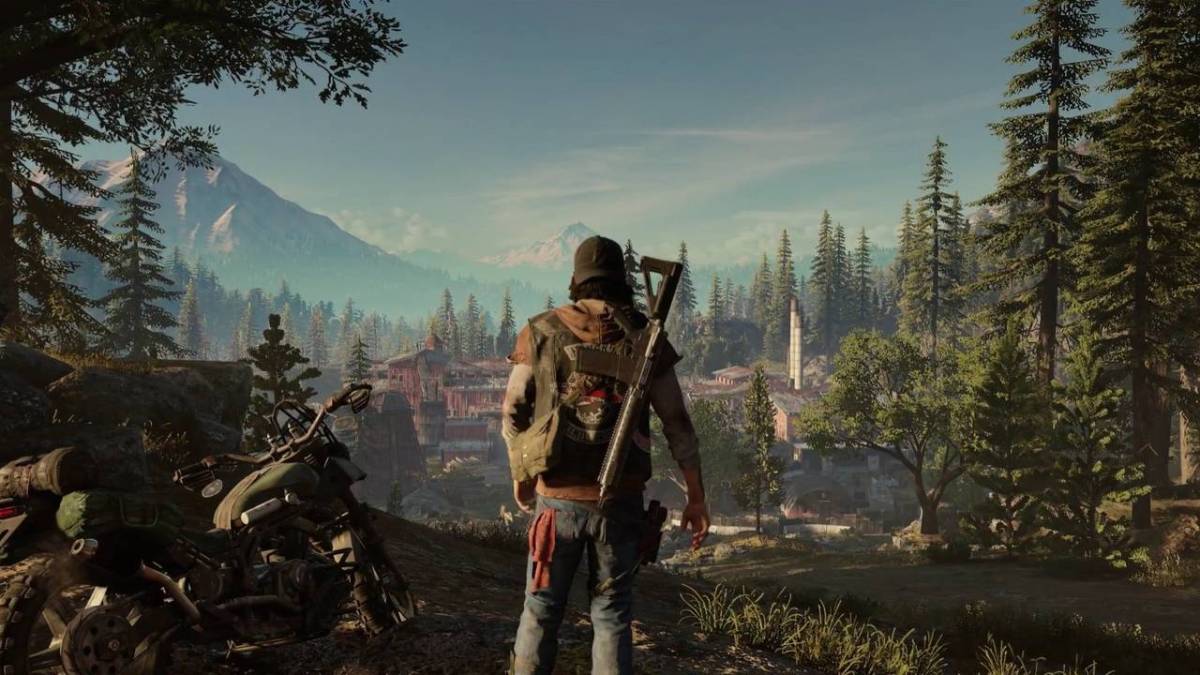
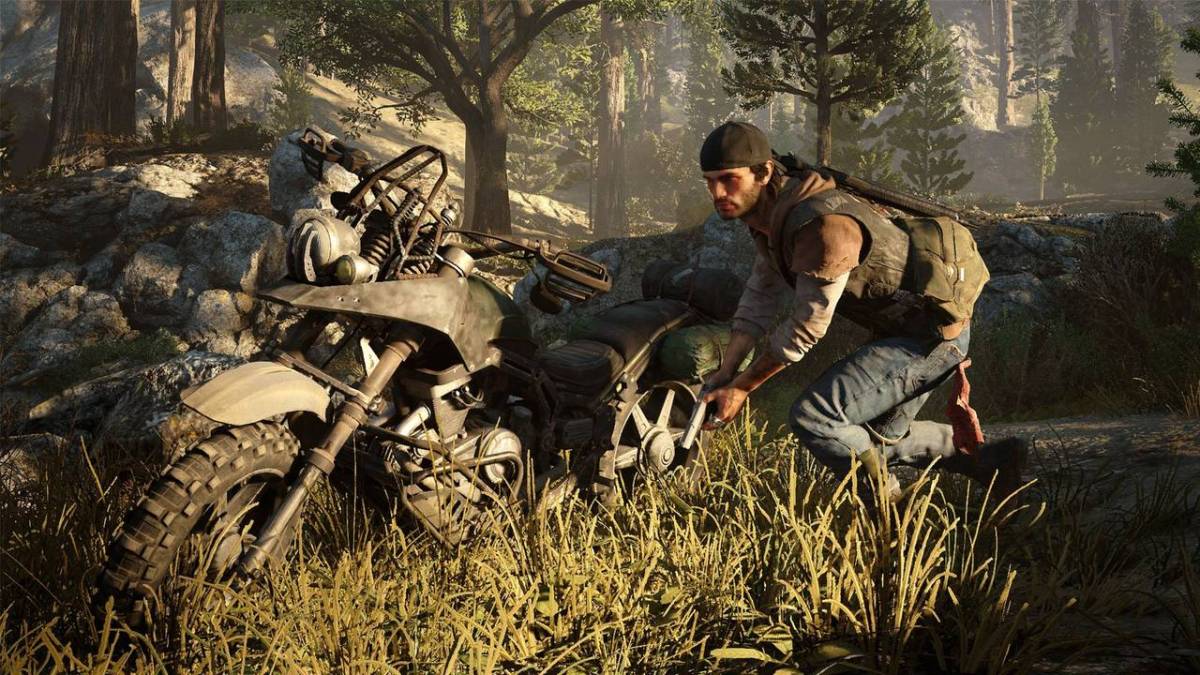
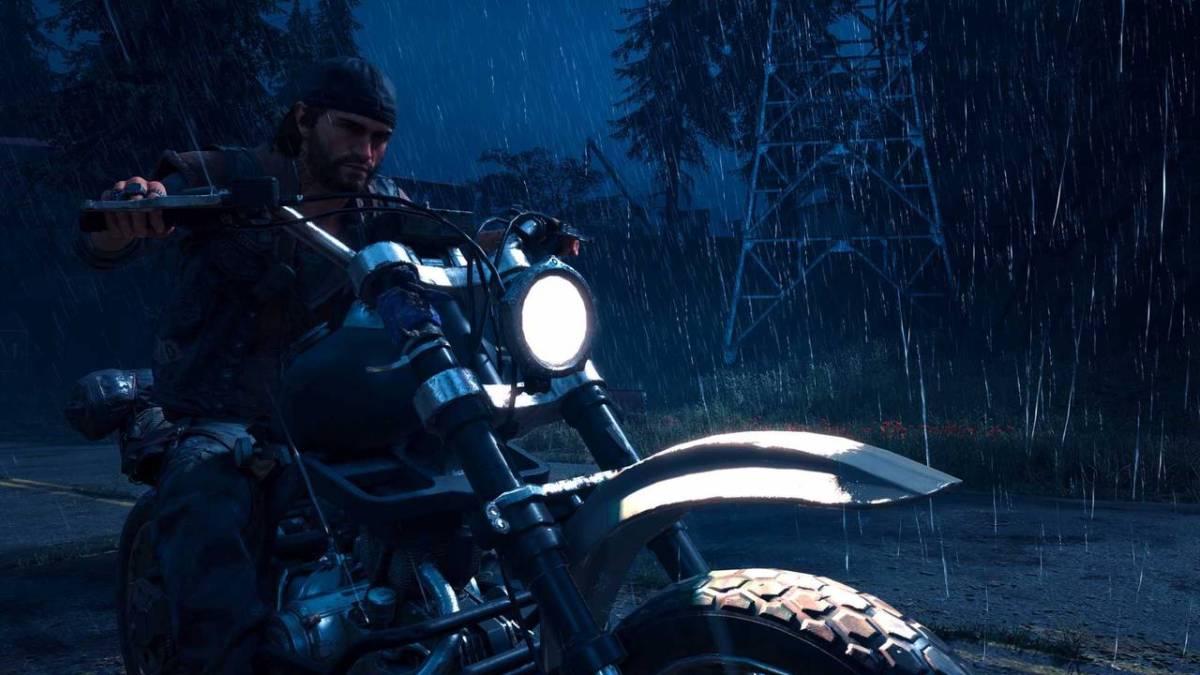
When you’re running around in Days Gone, you may feel inspired to take a moment and enjoy the gorgeous view of the great Pacific Northwest, and you can save your favorite piece of scenery with a screenshot.
Not everything in Days Gone has to feel hectic and frantic. Every once in a while, you may find a moment of peace and have an opportunity to take in the gorgeous surroundings of the Pacific Northwest. Thankfully, developers Bend Studio thought about this and have made it easy for players to capture their favorite scenes with a Photo Mode option. Here’s how you can access it, and upload your favorite screenshots.
Days Gone Photo Mode
How To Take a Picture
Taking a picture is a quick process. So, focus on framing Deacon to stand in your ideal position and line up your shot. You can take multiple pictures, so if you don’t get it right the first time, you can try again.
Once you’re ready, hit the Options button on your PlayStation 4 control to open up the main menu. From here, scroll over to Photo Mode. While you cannot move Deacon in this mode, you can change the perspective of the camera to frame your ideal shot. You can also include any number of frames, logos, and modify the way the picture looks using a range of filters.
Clean Up The Photo
Thankfully, if there are objects you do not want in the photo you do not wish to have featured, such as any of the characters, or Deacon and his motorcycle, you can take those out. You can remove them by cycling through the R1 and L1 buttons. You also use these buttons to go through the numerous frames and lens for your screenshot.
Accessing the Photo
When you’re ready to take your photo, make sure to review it to decide if it’s what you wanted to have. Take as many as you’d like until you’re satisfied. After you’ve decided if you’re going to keep it or not, you’ll have it saved to your PlayStation 4. You can share it with your friends across numerous social media platforms, or keep it for yourself. You should find it in the PlayStation menu, by tapping the PS button on your controller and find it under Photos in the main menu screen.
When To Use Photo Mode
Unfortunately, you cannot take photos during a cut scene. If you attempt to pause the game to access your photo mode in the game’s main menu, you’ll find it greyed out. You’ll have to return to your shot later on when you’re not in a cutscene.


Published: Apr 26, 2019 05:48 pm