
Whitetail Mountains Ending Walkthrough of Far Cry 5 – Whitetail Mountains is Jacob’s region, this is the final region after killing all the enemies around you will be facing the Father in the end.
After finishing Faith’s region Henbane River in Far Cry 5, you will be heading towards the final region of Jacob Seed which is Whitetail Mountain. You will have to earn around 10000 Resistance Points to face Jacob. There are around 41 missions, 4 Cult Outpost, and 10 Cult Properties.
Whitetail Mountains – Faith’s Region Walkthrough
Similar to previous regions you have to fill your Resistance meter to reach Jacob Seed and control the Whitetail Mountain region. There are many missions here, now you will be able to understand well on using Fangs on Fire and Guns on Fire. You can call for support in certain missions. This is the final part after which you will be heading to the ending boss fight.
Baron Lumbermill Walkthrough

For this mission in the Whitetail mountain Region, you have to talk to Dutch. In the map also you can view Baron Lumber Mill mission. Track the mission to start. Once you reach the mill take down the enemies there. The sniper at the tower in the center of the mill will be hard to tackle. To kill him go up from the front stairs and then jump through the window into the empty room. You can get some items here. From the door go outside, and take down the peggie out. Then return to the center and access the ramp. Take cover when you are moving ahead, as enemies are watching you from all side. Defeat all the enemies and free the hostages. Find Jess and talk to her.
A Dish Served Cold Walkthrough

After talking to Jess at the end of above mission, you will get your next one. Get a bow and follow her. She will tell you that Jacob Seed is building an army. You will have to take down a few enemies in your path before moving ahead. You will reach a camp, from the cliff Jess will tell you about your next target “The Cook”. You have to help her to take down the enemies around. You have to do this quietly and save all the hostages. After killing them all release the hostages from the cages. One of them will tell you that there are others also who are taken up towards the mountain. Follow Jess, you will be interrupted by gunshots.
You will face many enemies and hostages, take out the shooters on the top first. You have to get out all the hostages alive. Next, you have to head to the pit, follow Jess and she will tell you more about The Cook. You have to kill him, it is not easy. You have to climb towards the rocky part of the cliff and take the outer enemies first. Use a bow so that there won’t be any alarm, and once you are done killing most of the enemies kill The Cook to complete the mission. Talk to Jess.
Missing in Action Walkthrough
For this mission you will have to talk to Eli, you will find him at Wolf’s Den. Go to Visitor’s center to begin the mission. This mission has one major requirement you have to play this in Stealth mode only. But if you want you can play it in your way, however playing in stealth is recommended according to situations arriving in the game. Take one companion with you and carry a bow. The first location is Visitors Center. Eli will tell you that there are drain tunnels, you can hide and go in. There are 4 hostages in it, so staying out of the site if you want all of them to live. Passing through the tunnel you will reach the stairs of center. There are few enemies guarding ahead in front of a truck with one hostage Quietly take down the guard and free the hostage.

Other enemies are up over the stairs, go to the top of Visitors Center and look through the window. You will see another guard, kill him and rescue the hostage. Kill all the enemies inside the building you will get the third hostage. Now go down to the next building and through the window, you can find one more hostage. After this Eli will tell you to go to Hawkeye Tunnel. Follow the waypoint, you will spot a few enemies at the tunnel entrance, kill them quietly. You have to secure the tunnel and walk towards the next entrance. Rescue the hostages and kill the peggies around. After killing all the peggies in the tunnel there will be a helicopter, you can find a rocket launcher on one of the crates in the tunnel. Defeat the remaining enemies and the mission is over.
A Right to Bear Arms Walkthrough
Go to F.A.N.G Center in the Whitetail mountain region. You will have to liberate it first and then talk to Wade. He will tell you about the Cheeseburgers and this will start the quest. To begin first catch some salmon. You will get a waypoint that will lead you to the fishing spot. Catch the fish and return to Linero Building Supplies. It is a construction yard, you will have to kill a few peggies in the entrance. Kill them and then go towards the water to locate Cheeseburger. Interact and there will be a cutscene. Once it is over you will see cultist approach the yard and try to take the Cheeseburger. Defend it. This completes the mission. You can now call a Beer from Fangs for Hire.
The Prodigal Son Walkthrough

For this objective, you have to go to Fort Drubman. You can find it on the map on the east side of Whitetail Mountains. There locate Hurk Snr and talk to him to start the mission. You will be helping his son to get back his campaign vehicle from peggies. So the next guy you have to talk to his Hurk Jnr. He will take you to a watchtower, there will be few bunches of enemies in the area with a sniper. After Hurk attacks, you have to ride a zip line to reach the campaign vehicle. Keep following him. Ahead you will reach a spot with some cultist and an armored enemy. Hurk will jump in the truck, you can take the gun on the backside. There will be a helicopter coming up chasing you, so the gun will help you to destroy it. You have to protect the truck, if it is destroyed you will lose everything. A lot of enemies ATV’s and trucks will follow you, so destroy them. There will be a roadblock ahead you have to take it before other enemies reaches near you. Once you are able to reach the main road, you will spot the helicopter. After dealing with all enemies, talk to Hurk Snr.
Make Hope Great Again Walkthrough
Return to Fort Dubman, after completing Hurk’s Loyalty mission you will have to talk to Hurk Senior. He will tell you to kill some peggies. Hurk Jnr will be with you. Follow the waypoint, try going towards the cliff so that you can have a good view of enemies below. Tag all the enemies location using your binoculars. There will be a helicopter later, set Hurk to take it down using the rocket launcher. More waves of enemies will appear after a while, Hurk’s rocket launcher attack will be extremely helpful here. Once all are defeated Hurk Senior will contact you and you get the truck and Hurk Jnr as your companion.
The World is Weak Walkthrough
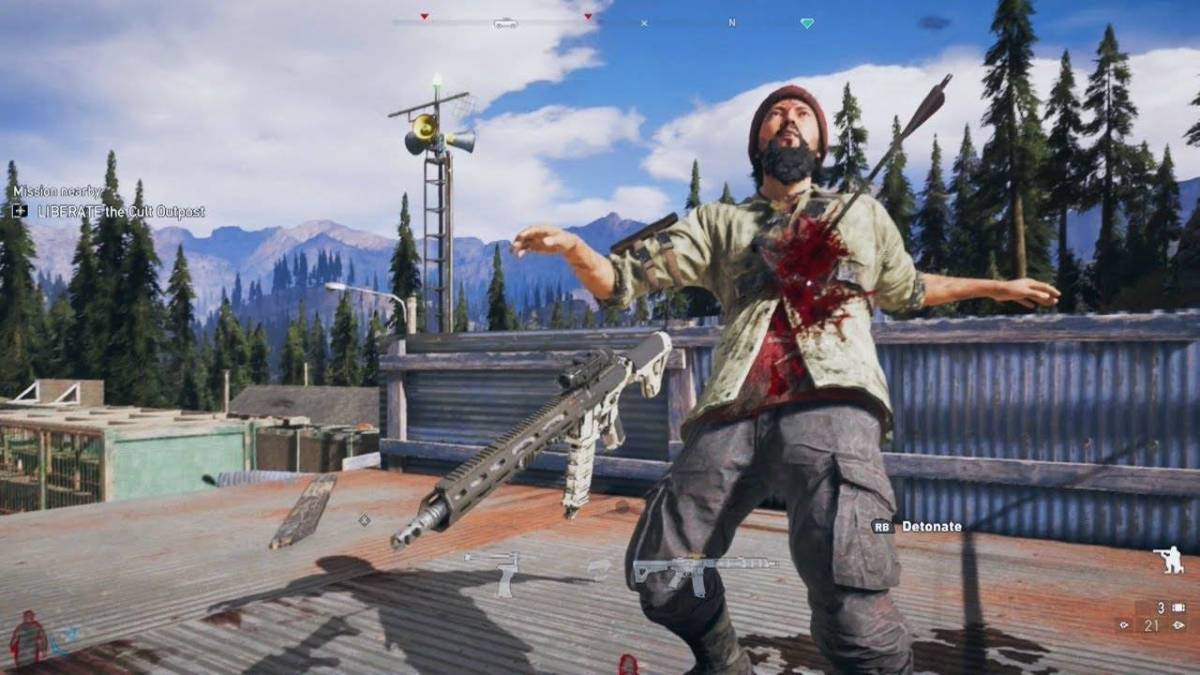
Jacob will send his hunters to capture you, this will be the beginning of this mission. After the cutscene, there will be a timer on the screen, you have to kill the target before the time goes out. You get bonus time if you get a headshot. So you get enough time to kill everyone around. There will be a weapon on the table, take and start killing. Grab the next gun, so that you won’t run out of ammo. You have to keep on doing this. There will some four enemies as you come out of the room. Two are near the high wall, one up on the balcony and another one at the higher level. You have to go straight and then turn right, there is one in front. Jump over the broken wall and then get into the next room with deer corpse on the wall, you will get a new weapon here. Now turn right at the Train graffiti and then keep moving towards the T Junction. Keep looking for the enemies in the area, you have to take another gun and head to the next large open room.

There will two more enemies at the side behind the fence, kill them and take the next gun. Take the man on the left of stairs and then go up. Jump over the gap between broken staircase, there will be another enemy on top. Next, you will have to jump at the blue ropes and get to the level of the target. Jump to the next ledge and go down towards the square tunnel. This completes the mission, you will be back at Wolf’s Den.
We Must Be Strong Walkthrough
This mission is also similar to above one but it is short. You will be once again tracked down but this time by Jacob. You will be in a cage, once again after getting up kill the targets before the time runs out. You will be running around to kill whoever you spot in your path. This will continue as you slide from the square tunnel. Grab the gun and kill the person who is walking through the doorway. There is one enemy behind the counter, and one on the right side behind couches. Kill them and move to the end. Shoot the enemy behind the cover, and then turn left. Kill four enemies in the corridor. In the next room, you will see a wolf picture, kill the enemy on right and this will complete the mission.
Gearing Up Walkthrough
To start this mission you have to go to Wolf’s Den and find Wheaty. Talk to him and start the quest. He will give you an objective to find a equipment. You will be going towards the Lookout Tower on the North West side of Wolf’s Den. After reaching there you have to first find a map that will give you the location of the cabins. Go upstairs and you will get the map on the table. Outside you can find two locations. For traveling fast you can take the helicopter. The nearest one is Cooper Cabin, once you reach the spot there will be hundreds of peggies around, kill them. At the back of the house, you will get a small brick building with blue barrels around it. Go inside and go down to the stairs. Take the yellow case and go out. Take the chopper and fly to the second cabin.

The entrance is through an underground bunker door, that is located on the side of the cabin. Get the case from the bed and you will spot a few peggies. You have to fight them as you come out. Exit the place and travel to the third cabin. You will have to face enemies at the start here. You will have to take the stash from a target, you can travel a bit ahead of the target, get down and stole it back. Return to Wolf’s Den and this completes the quest.
Sacrifice The Weak Walkthrough
In this mission, you will hear Jacob’s voice on radio and once again you will find yourself in his trap. There is a similar gameplay, you will be going through like the above two mission. Here Pratt will let you out of the cage, and there will be a cutscene. Pratt will tell you about a truck that can be used to escape. In the cutscene he will push you from a balcony and you will land on the truck.
Dinner Time Walkthrough

For this mission you will be going towards MCA Mobile Lab, look on the east side of Baron Lumber Mill in the region. Find Sarah Perkins and talk to her. If you are visiting this area for the first time you will have to take down all the enemies in this area. She will tell you to visit Breakthrough Camp to study the judges. At the location, you will have to fight off a few cultists in the area, and then you will locate three judges a little further in the camp. At the backside of camp, you will have to kill a few more of them and wait for Sarah. Find the yellow panel at the center of camp, it will open up the gate, put a dead body inside the cage to lure a judge. Hide somewhere, and once the judge enters to close the gate. Talk to Sarah Perkins and the objective is over. You will also earn Ultimate Hunter – Enhanced homeopathic.
Get Tree Walkthrough
Get to the Wolf’s Den, and locate Eli there. You will have to rescue someone. Go to the Grand View Hotel that is located in the north of the area, you have to save Briggs, if he dies the mission fails. So you have to play this mission in stealth mode. Once you reach to look for the broken door on the west side, avoid coming into enemies contact. Take down enemies quietly, go on the top floor and on the east side you can find a guard. Kill him and play the deprogramming tape. Once you play this a lot of enemies will swarm in due to the loud sound, you have to fight them off. Keep a look on Biggs also, there will be waves of enemies you will be facing here. From the balcony, you can take down who are approaching towards the cabin. There are mounted guns you can use to attack. Next, you have to take down boats and helicopters which is apparently on the lakeside. More trucks and sniper cultist will appear. You have to keep fighting unless all are gone, and then rescue Biggs to complete the mission.
Radio Silence Walkthrough
Once again get to Wolf’s Den and talk to Tammy there to start this mission. She will tell you about destroying jammers on radio towers. There will be three of them around. The first one is on the north side on a peak. Reach the peak and destroy the jammer by shooting at it. The second one is on the northeast side of the cliff over the hotel. You can get there on foot, there will be a few groups of enemies, around the tower. One enemy is having a flamethrower so approach with precaution. The final jammer will be on a track, you will get the location. You have to ambush the truck, for this either you can plant explosives in the path of the truck or you can use guns for hire to destroy the vehicles. This completes the mission.
Eviction Notice Walkthrough
Find Tammy at Wolf’s Den to start this mission. You will have to blow up a training center. You will be going towards stone ridge chalet, that is located on the south side of Wolf’s Den. You have to first mark all the enemies in the area, there will be two waypoints. In this part, you can play as you want, follow both the waypoints one by one. The first is Chosen that will be on the porch on the east of the building, and second will be inside armed with a bow. After killing Chosen, you have to head towards the next waypoint. The location of first bomb I.E.D is on the second floor located on the east of building while the second is in the basement. After placing both you get 15seconds time to escape.
Only You Walkthrough
You will hear the voice of Jacob on the radio, and you will be passed out. You will wake in a cage, and once again you will see Jacob with the music box. You will be playing a similar shooting sequence where you have around 15 seconds only. Try getting headshots to gain some extra seconds. After killing the final person you will wake up at Wolf’s Den. Wheaty will try to kill you while Tammy will stop him. She will tell you to kill Jacob or else she will kill you. Exit the den, and you will see a dark red world. You have to destroy the beacons first. The first one is on the right as you come out, destroy it. There will be judges who will attack so keep an eye around. Head to the next beacon, and you will see a weapon crate. Get some ammo from here, and there is also a sniper rifle. You can use it to destroy beacons from distance. After destroying all the beacons you will be back to the real world to face Jacob.

Before heading for your final fight, fill up your ammo and weapons. Jacob is on the top of the mountain with a sniper rifle, you have to stay hide to avoid getting killed while reaching him. When he shoots you can see the red laser, so you can dodge away. There will be cultist and judges on the mountain, you have to approach carefully. Staying in cover all the time matters a lot, so maintain a good distance. Kill him and there will be a cutscene.
Casualties of War Walkthrough

Head to Cedar Lake, and reach Jacob’s Bunker. You can take a helicopter there. As you land near the gate you will face heavy attack from the cultist. Take cover first, and slowly you have to kill down the enemies first. Clear the gate and then enter the bunker. The sniper is on the watch tower. Go down towards a locked door with Sacrifice written over it. Follow the waypoint, and you will reach a control room. Kill the enemies inside, and unlock pressure doors. Next, you have to rescue Deputy Pratt. Follow the next waypoint, and you will reach a door that will lead you to Deputy Pratt. As you open the door there will be a cutscene. After the cutscene, escape the armory, you will be making your way all the way to exit, there will be cultist in your path. There will be another cutscene once you are out.
Where It All Began:

In the cutscene, you will see the Father sobbing on his families death. You will get your final mission where you will face him. Reach the Father’s compound to start. Once you reach the compound you have to enter the Church. There will be a cutscene, you will have to two choices Resist or Walk Away.
“Resist” Good Ending:
If you choose to Resist, you will see he will spill two containers of bliss around. This will drive everyone crazy, your friends will attack you. Just attack them and they will fall, revive them and they will be on your side. You have to revive all your friends and then you have to attack the Joseph. Keep fighting and kill all the cultist. After defeating Joseph there will be a blast, you have to get into Dutch’s bunker. Drive the truck towards the waypoint. But you will pass out as the tree fall in your path. At Dutch’s Bunker, you will see the Father standing in front of you.
“Walk Away” Bad Ending:
If you choose to pick Walk Away, you will leave Hope County with your friends. While driving away from Hope County, Sheriff Whitehorse will assure to bring the National Guard. He will play a music on the car radio, Only You and things black out. This is the song Jacob used to condition his soldiers, it is assumed that it activates your violent rage and you killed everyone in the vehicle.
Secret Ending Easter Egg:
At the beginning of the game when land near the church for the first time Sheriff will tell you to handcuff the Father, you can opt to do nothing instead and all will leave the Hope County.
So this is where Far Cry 5 ends, it looks in both the endings the cult leader has a win situation. There is clear ending that shows the Father dying. For more updates on the game, you can also read our Far Cry 5 Wiki Guide.


Published: Apr 4, 2018 12:21 pm