
The Revolutionary is an Elusive Target set in the Santa Fortuna location from Hitman 2. In it, you’re tasked with taking out a general planning a coup, a dangerous man with even more dangerous guards around him. This guide explains how to complete the mission with a rank of Silent Assassin, Suit Only. We’ve double-checked the method and can confirm that it works for both the Year One and Year Two versions of The Revolutionary.
Related: How to unlock The Iridescent Katana in Hitman 3
Elusive Target warning
Every Elusive Target is made tenser by the punishment you receive for failure. If you die or fail the mission for any other reason, you’ll be locked out and unable to attempt it again until the next time it comes into rotation. With this in mind, we recommend following our route a few times without killing the target just to get used to the timings of NPCs and find the most dangerous points for you. Then, when you’re ready, you can take it on and kill the target, knowing you’re truly prepared.
Loadout for The Revolutionary
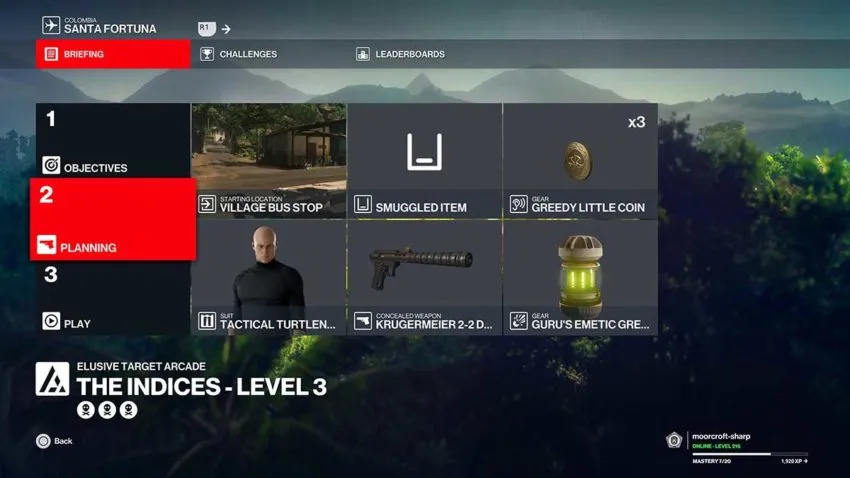
The loadout for The Revolutionary is always the same, whether you’re taking it on as part of an Elusive Target Arcade mission or on its own when it’s showcased in Hitman 3. You need a snazzy suit, we’ve chosen the Tactical Turtleneck, and the Guru’s Emetic Grenade. The best starting location to choose is the Village Bus Stop, but you can pick anywhere else if you fancy adding a little challenge to the mission.
Step 1: Find the target
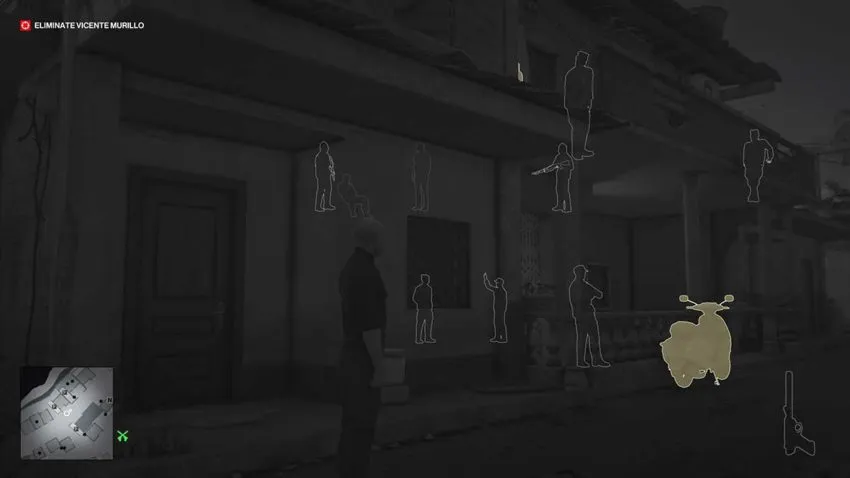
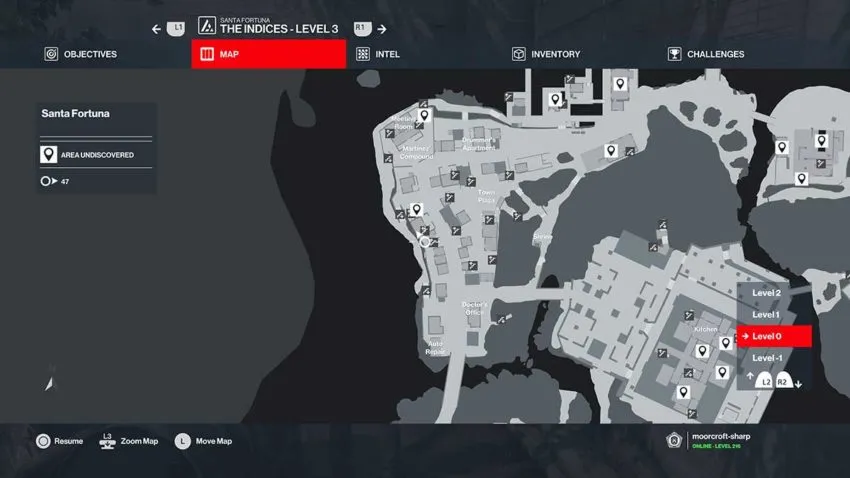
The first thing you need to do for this mission is to locate your target. The reason we recommend the Village Bus Stop starting location is that he can spawn quite close to it. There are actually three locations that the target will switch between, but the one we outline here is the easiest to use. From your starting point, turn left and run down the street. The second house you approach, the one with builders in it, should have the target inside. See below for a map reference for this building.
The target should be sitting on a chair on the first floor. He’ll be speaking to a camera, and you’ll likely hear that as you approach. If you can’t see the target in this building, restart the mission and look again. Repeat this until you find him here.
Step 2: Kill the target
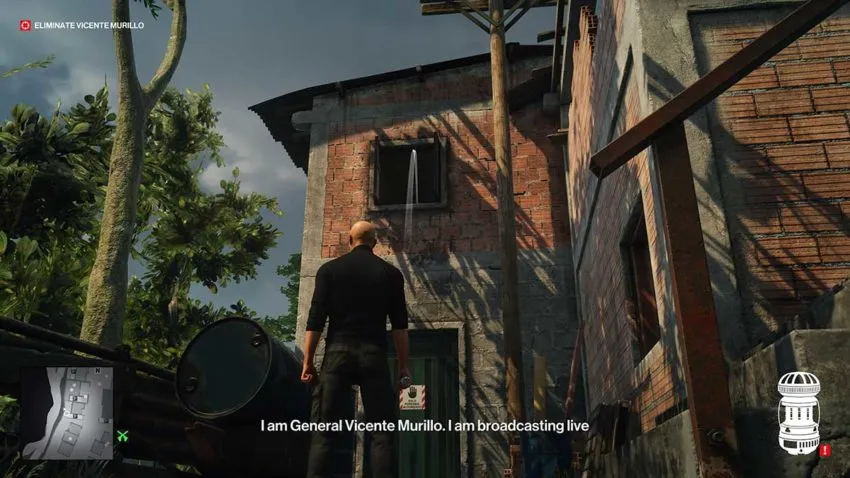
When you’ve found the target, equip your grenade and aim through the open window on the first floor. Throw the grenade inside and wait for it to go off. It should capture the target in the gas blast, but use instinct to ensure that he suddenly starts to feel ill. If not, restart and try again.
The target will walk downstairs and come outside to your location to throw up over the wall. You now have two choices. You can either wait until he comes outside, then close the door he opens and quickly push him over the wall to kill him, or you can wait for his guard to follow and take him out before killing your target. It’s safer to try to quickly kill the target and run away, but do what you’re most comfortable with. Just remember to take out the guard with a brick or another melee weapon.
After that, you can return to your starting location and use it as an exit. Completing this Elusive Target will unlock the Casual Tourist With Gloves suit for Agent 47. You can equip it from every planning screen and use it wherever you want to now.


Published: Jul 8, 2022 11:03 am