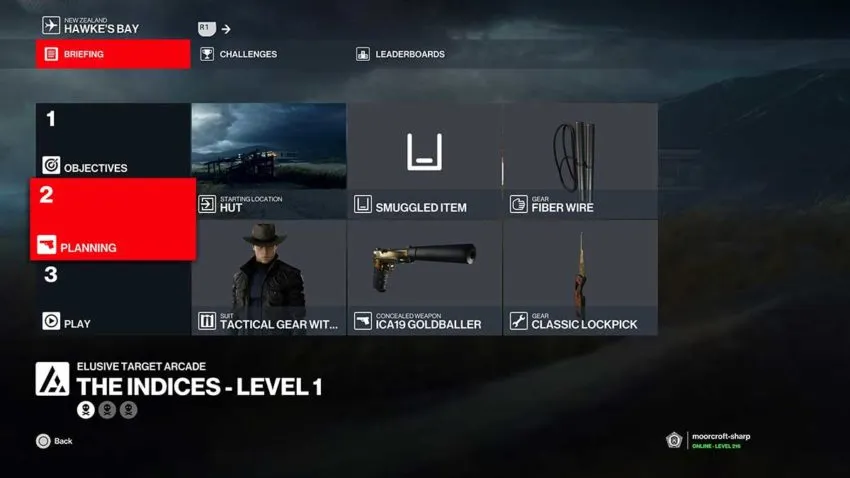
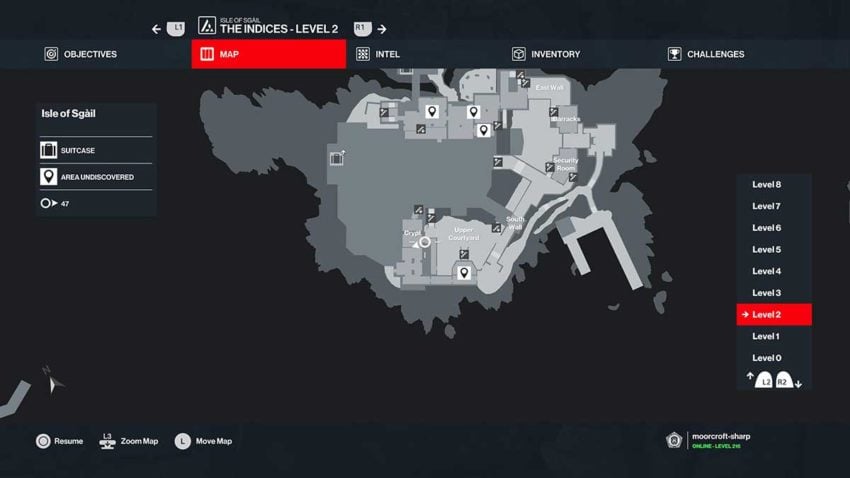
The Indicies is an Elusive Target Arcade mission in Hitman 3 that tasks you with killing three targets while adhering to additional complications. This guide explains how to complete all three levels with the rank of Silent Assassin.
Elusive Target Arcade warning
All Elusive Target Arcade missions carry a penalty for failure. If you die or fail a mission, you’ll be locked out of it for 12 hours. Therefore, we recommend following this guide a few times without completing objectives, picking up key objects or killing targets, for example, before going for a final run in which you complete them. This will help you get an idea of the danger zones in each level.
Level 1 – The Politician
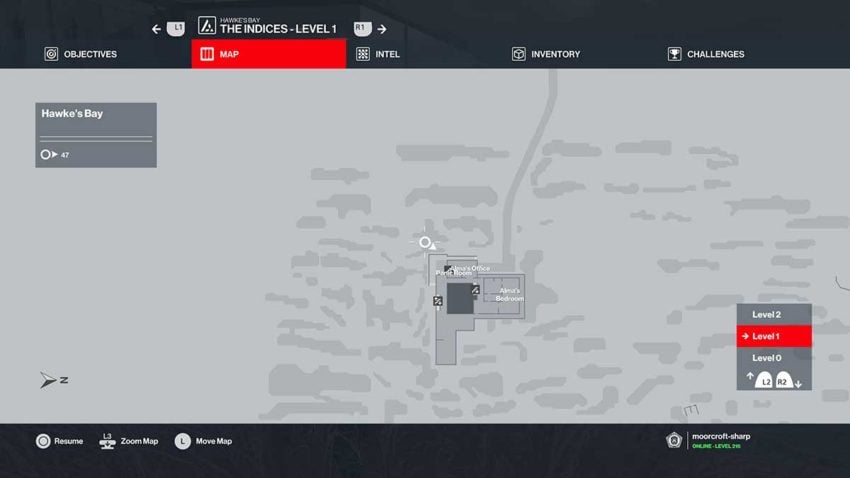
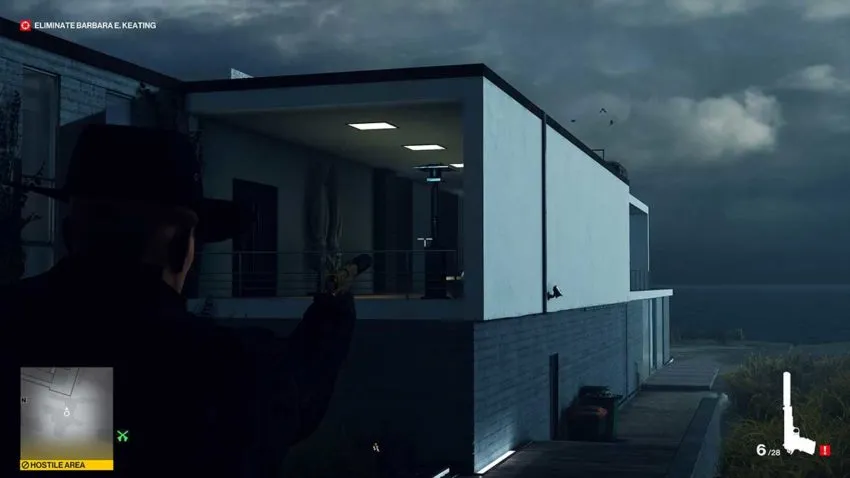
The first level of The Indicies is The Politician. You’re only allowed to pacify one NPC, but you don’t need to. This target is simple to kill, but we recommend bringing a lockpick to make life easier for yourself with a nearby exit. Head towards the house across the beach from your starting location at the hut. Watch out for the guards on your right, and then sneak through the grass as you get close. You must get around to the back corner of the house. See below for a map reference.
From this spot, you can see the camera on the side of the house and the heat lamp on the balcony. First, shoot the camera on the side of the house, then shoot the heat lamp once. This won’t destroy the heat lamp, but it will sabotage it enough to kill your target.
Wait for the guard to exit using the door under the camera because he’ll walk past your position. Then, make your way to the guard stationed at that door. Subdue him and hide his body in the nearby container. Now you can use the lockpick to get into the house through the same door and turn right to make your way to the kitchen.
Go into the kitchen and use the counter to move in cover over to the table. A set of car keys on the table allows you to use one of the cars outside of the house as an exit later. When you have the keys, return the way you came, keeping an eye out for the returning guard, and make your way into the long grass near the heat lamp again. You can now wait for your target to die and quickly leave in the car soon after.
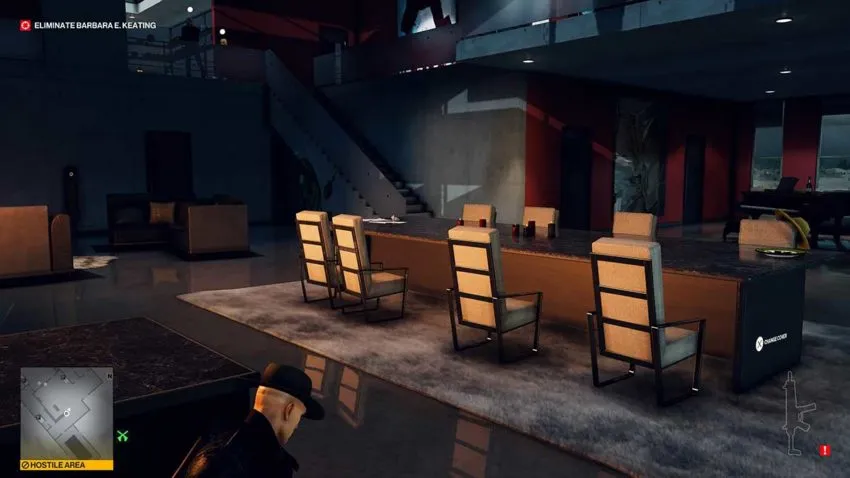
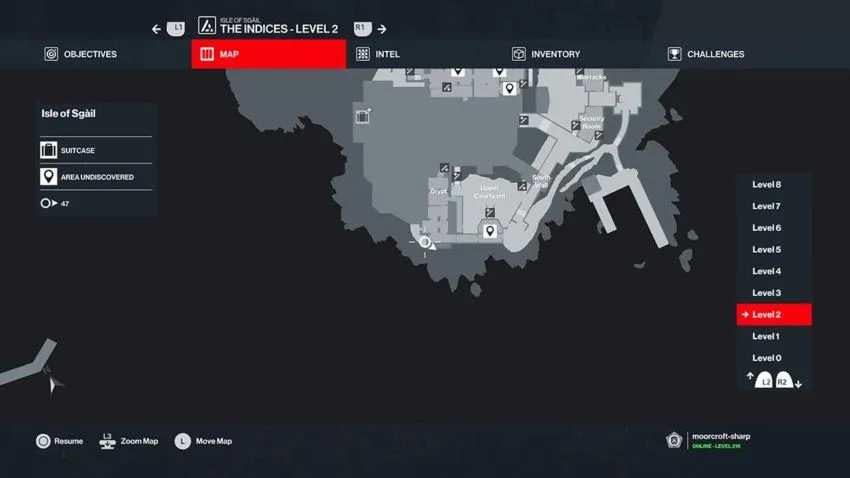
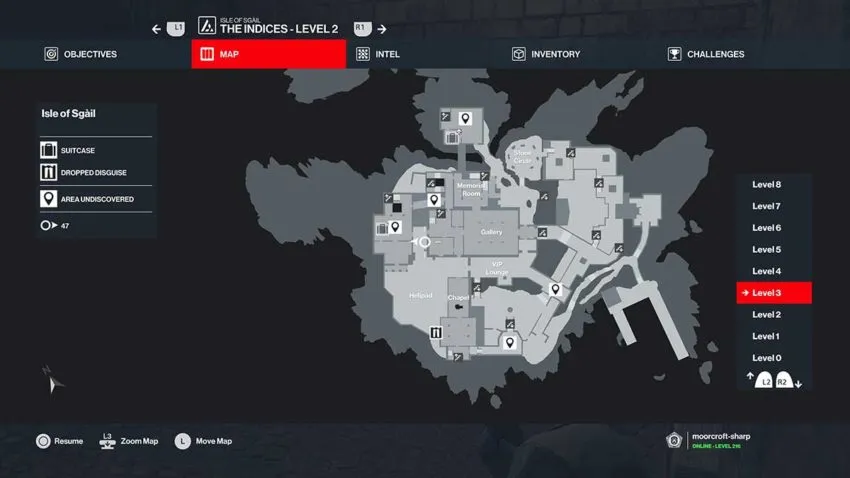
Level 2 – The Appraiser
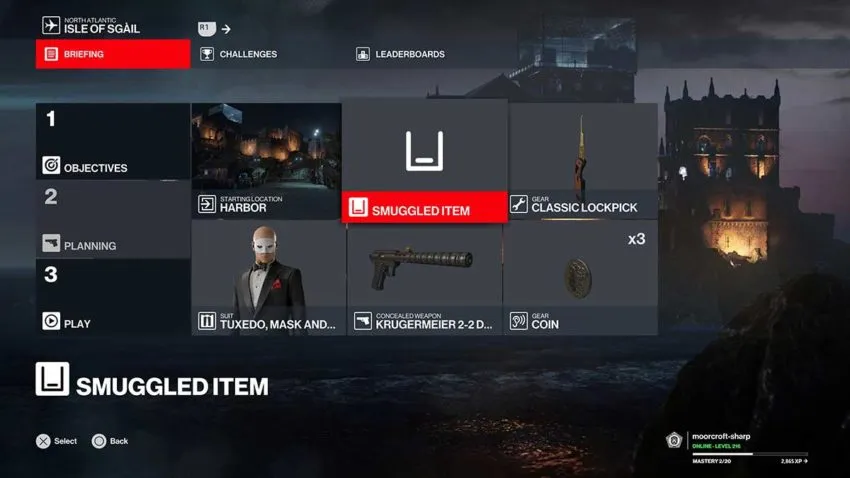
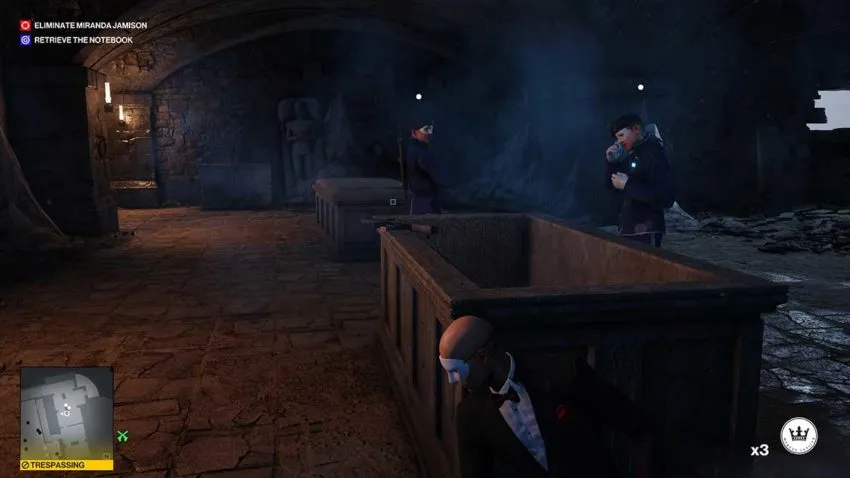
Your second target in this mission is The Appraiser. You’re still restricted to one pacification, which this route uses, but you must also pick up the book the target is keeping an eye on. This route requires a lockpick, the coin, and a silenced pistol, such as the Krugermeier 2-2 Dark.
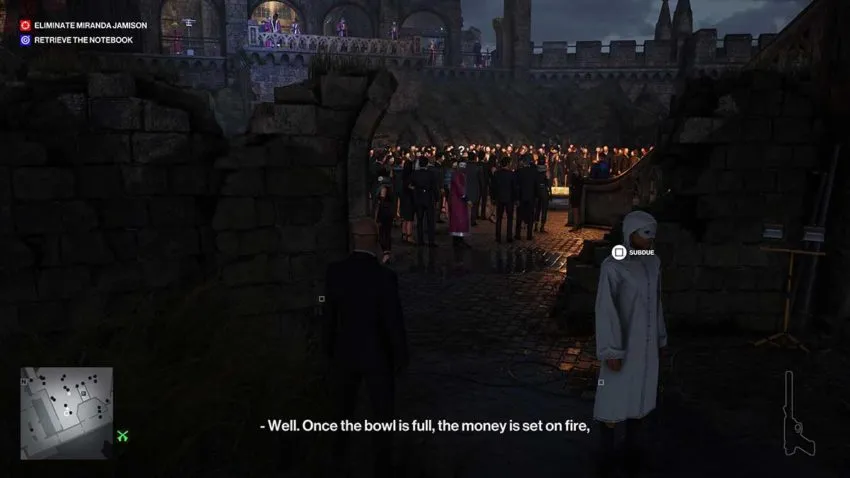
From your starting location in the harbor, head into the main party and follow the path to the large circle of people. At the back, you’ll see a man in white robes. Go to this man and then into the entrance to his right. Follow this to the right until you find a hole in the church wall. See below for a map reference.
You now need to enter the hole and turn left, but keep low. There are two guards in the next room that you need to sneak past.
Flip a coin into the back left-hand corner to distract the guards. Wait half a second before sneaking to the right and out into the tall grass. If you don’t wait, the guard on the right will catch you. Head to the left and you’ll find a drainpipe you can climb. See below for a map reference.
Climb the drainpipe and go down the stairs. Use the lockpick to unlock the first door you come to and sneak to the left of the room beyond. You need to vault through the broken window into the courtyard.

Turn off the generator here and then turn it back on. Hide in the nearby container and wait for the NPC to come and check on it. When he does, hop out and subdue him. Hide his body in the container and take his disguise.
You can now vault in through the broken window of the chapel and steal the book on the table inside. There’s one NPC who can see through your disguise, but a coin will distract her enough to give you a window to take the book. Howoever, you might want to prepare your kill first in case things go wrong and you need to restart the mission. See above for a map reference for the chapel window.
To kill your target, move to the back of this rooftop area. There’s a gas cylinder in the alleyway that you need to shoot to sabotage. Shoot the orange connector hose on the right-hand side of this cylinder to ready the trap. However, make sure that you use a coin to distract the nearby guard for long enough to allow you to do this without being spotted. See below for a map reference for this cylinder.
Once you’ve prepared the trap, grab the book and return the way you came. Your target becomes frustrated when she realizes her book is gone, and she’ll come to smoke near the cylinder. The explosion only kills her, but by grabbing the book after shooting the cylinder, you allow yourself some freedom. Return the way you came and head for the exit at the harbor.
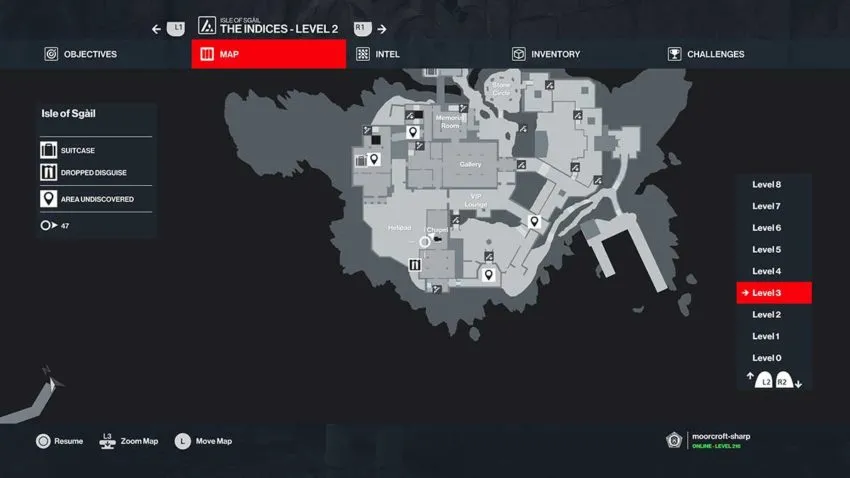
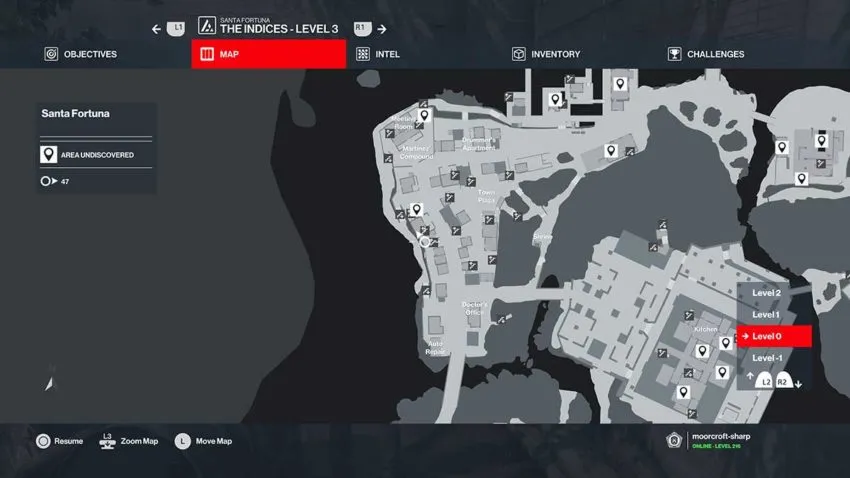
Level 3 – The Revolutionary
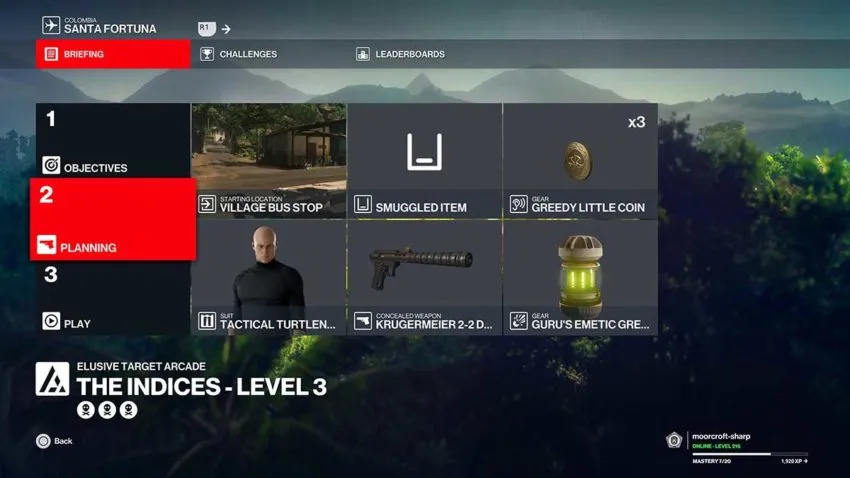
The final target for this mission is The Revolutionary. You need to bring the Guru’s Emetic Grenade for this route, but nothing else matters.
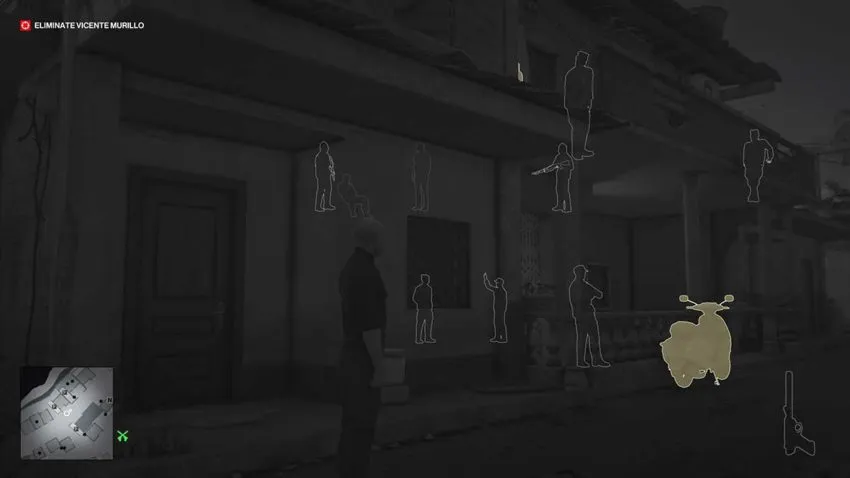
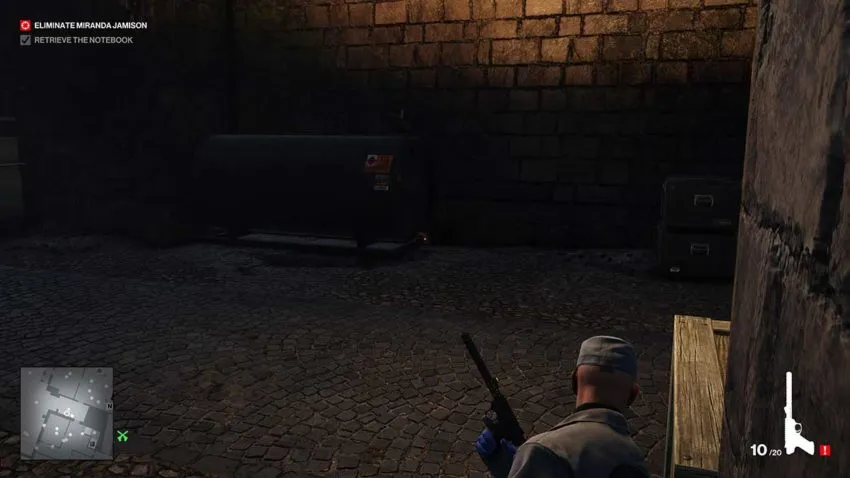
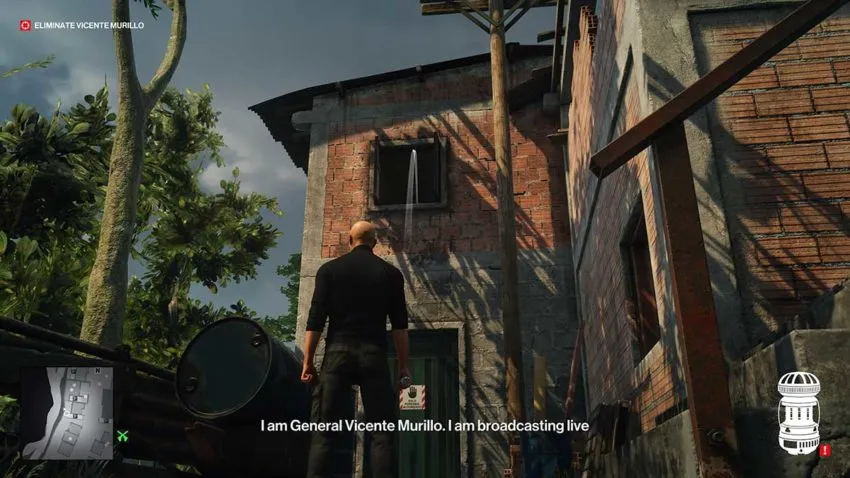
To find this target, head left down the road from the bus stop starting location. There’s a building with guards posted around it a few houses down the street. Use instinct to see if The Revolutionary is sat on a chair making a broadcast on the first floor. If he isn’t, restart the mission and check again. He has a few starting locations, but the one you need is on the upper floor of this building. See below for a map reference for this building.
When you see your target, head around to the back of the building and throw the Guru’s Emetic Grenade through the window.
This grenade will poison the target and potentially one of his guards. The target will then come downstairs to vomit over the wall in front of you. However, he brings a guard with him.
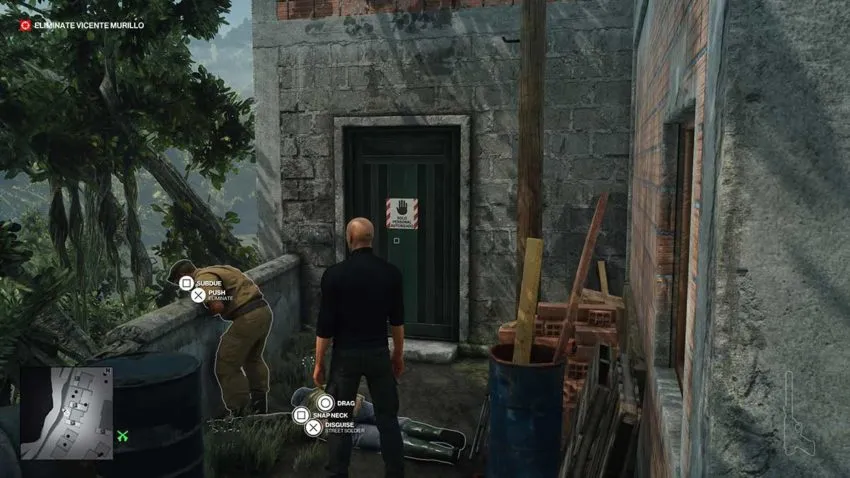
You need to subdue the guard in whatever way possible. We found that using the nearby brick worked wonders. Then, push the target over the wall to kill him and run to the bus stop to exit the mission.


Published: Apr 7, 2022 11:36 am