
The Pasquel Consortium is a new Escalation for Mendoza in Hitman 3. There are three levels to work through, each with escalating requirements that will push you beyond your limits as an ICA assassination. This one uses some of the more unique aspects of the location, meaning familiarity within Mendoza is key. In this guide, we’ll explain how to complete the Escalation with a rank of Silent Assassin, earning you the highest possible score.
Loadout
This Escalation restricts your loadout, so you’ll need to work with Agent 47’s camera and nothing else to get by. This restriction applies to all levels, so don’t get any ideas about bringing along some tools to make future levels any easier on you.
Level 1
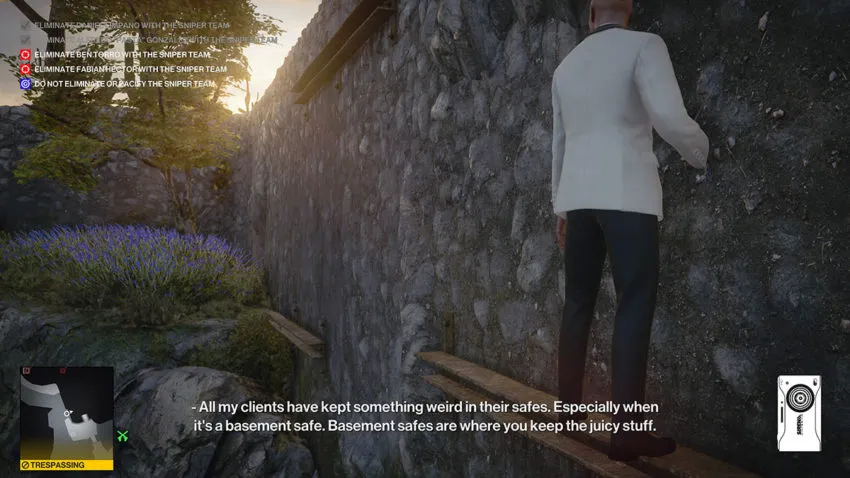
In level 1, you’re tasked with acquiring the earpiece, and you must do so without pacifying or eliminating the sniper team. These are the guards in the top left corner of the map, posted on top of the large metal structure.
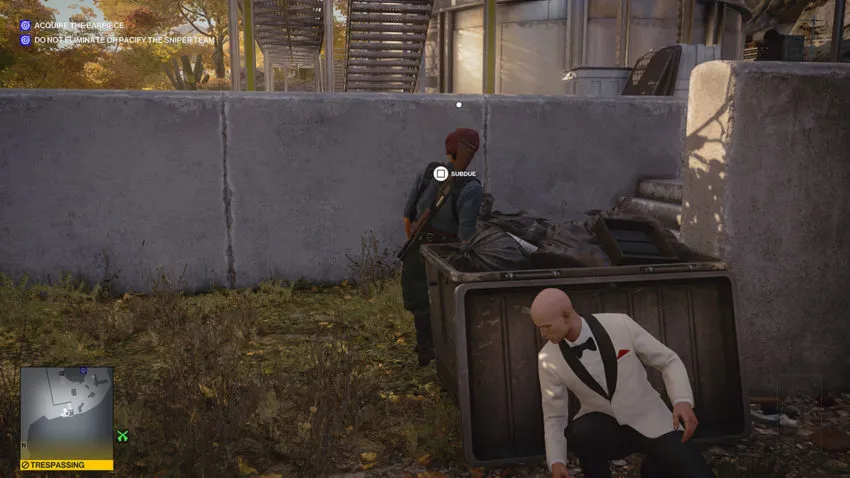
From your spawn point, you need to head forwards and to the right. This will lead you to the metal structure where the sniper team is stationed. Run to the right of the structure and the right of the guard posted on the stairs here. He shouldn’t see you. Sneak behind the dumpster he’s leaning on, lean against the opposite side, and take him down and subdue him. You can leave his body here.
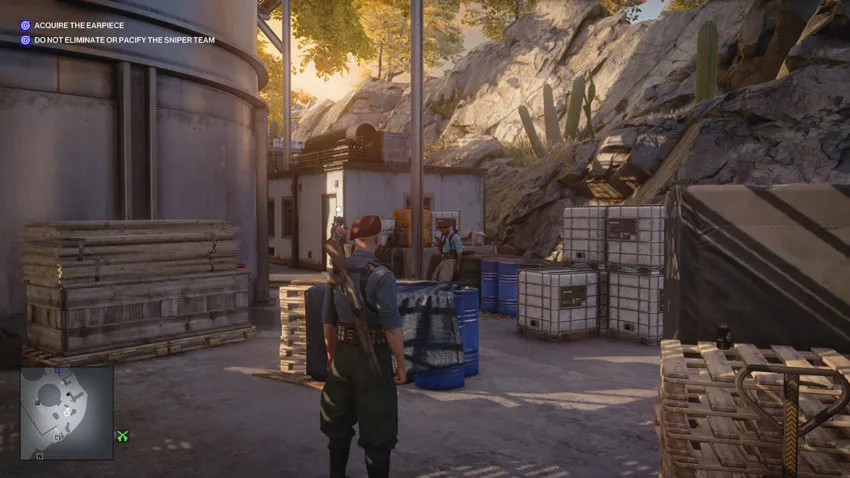
Pick up the shotgun that the guard dropped and change into his disguise. You need to now go up the stairs and get inside the building at the back of the area. Watch out for the enforcer guard that is walking around here because he can see through your disguise. Use the equipment that’s lying around to act as cover while you move around him. You should be able to vault through an open window into this building.
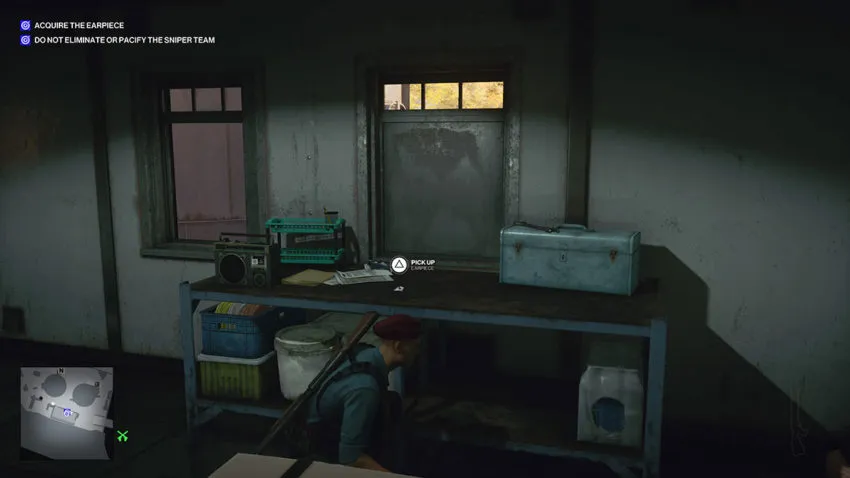
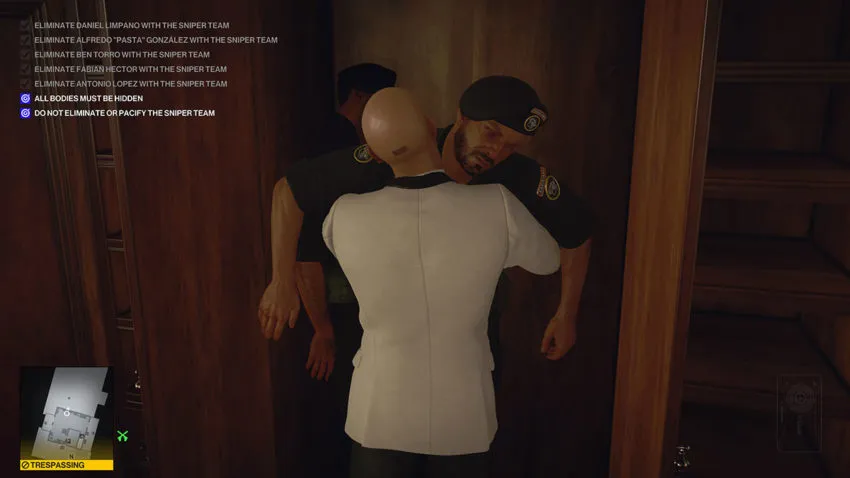
You’ll see the earpiece on the desk in this building. The image below shows the window to the left that you need to vault through to enter the building.
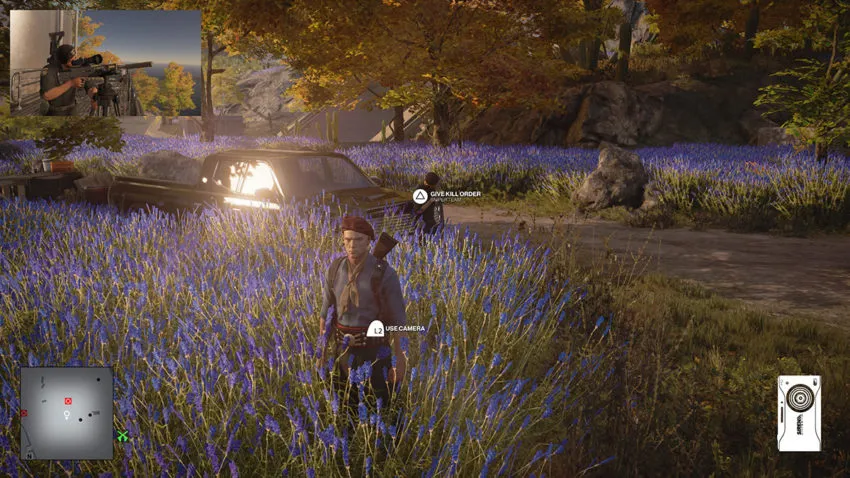
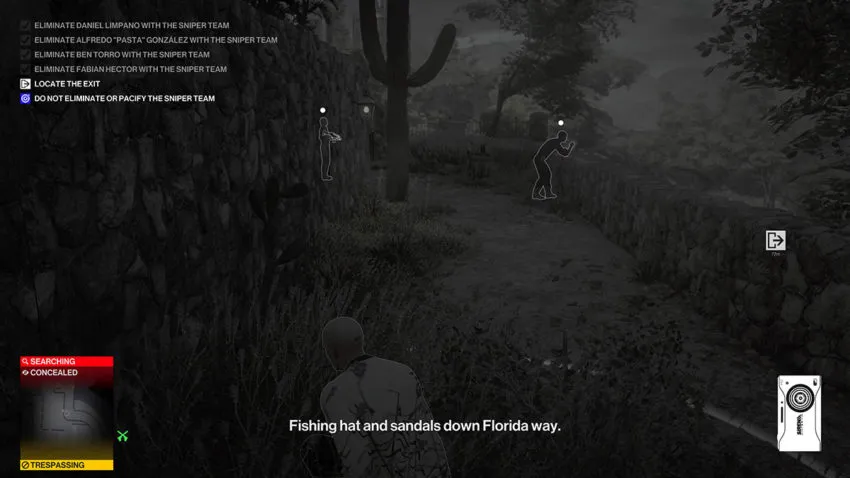
With the earpiece in hand, run through the door to your right. You will now have two targets to eliminate, so it’s time to take them down. Each one pops up on your map, so there’s no need to look very hard for them. To do this, you need to use Agent 47’s camera to scan the targets, which will then cause him to issue an order to the sniper team to kill them. The first target is directly outside the area with this large metal structure. He’s leaning against a car. Scan him, and then you’ll get a prompt to take him out.
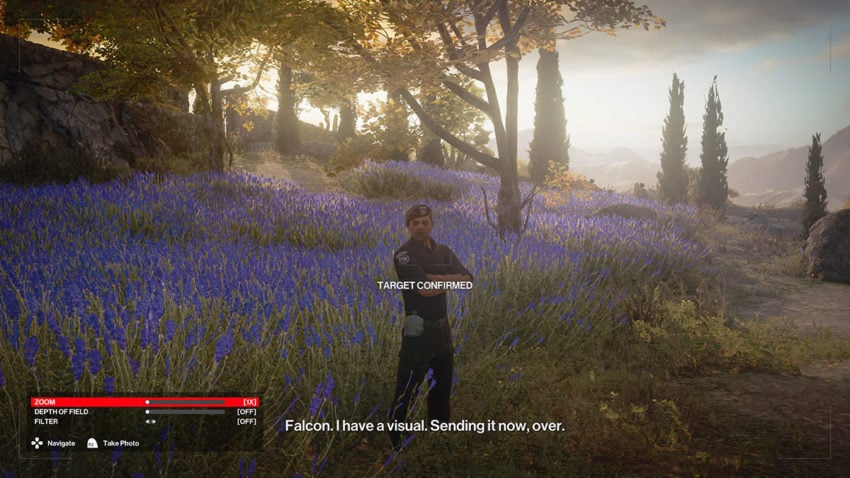
The second target is patrolling the upper garden. Wait until he’s walking to the left of the area before getting ahead of him and scanning his face. Once again, as soon as the scan is complete, Agent 47 will order the kill. As with the first body, this one counts as an accident kill, so there’s no need to hide the body.
The exit you need to use is the boat. This is back where you started the mission. It’s near the dock and the small hut on the water, which should be to your left, the direction your second target was walking in when you scanned them. Head to the boat, and you’ll be able to start the next level.
Level 2
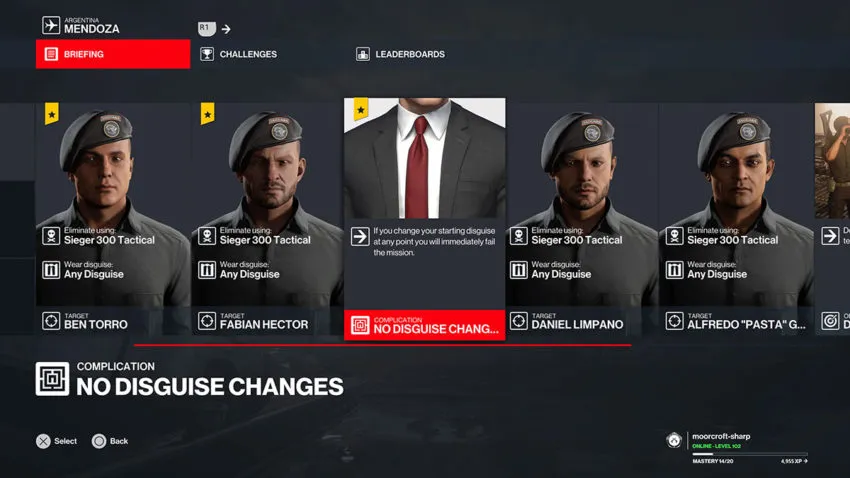
This second level ramps things up quite a bit. You’re given four targets to kill, and you can’t change your disguise this time around—no taking down that first guard to use their disguise to sneak around for you now. Everything else is the same, so we’ve got to use the earpiece once again to eliminate every target.
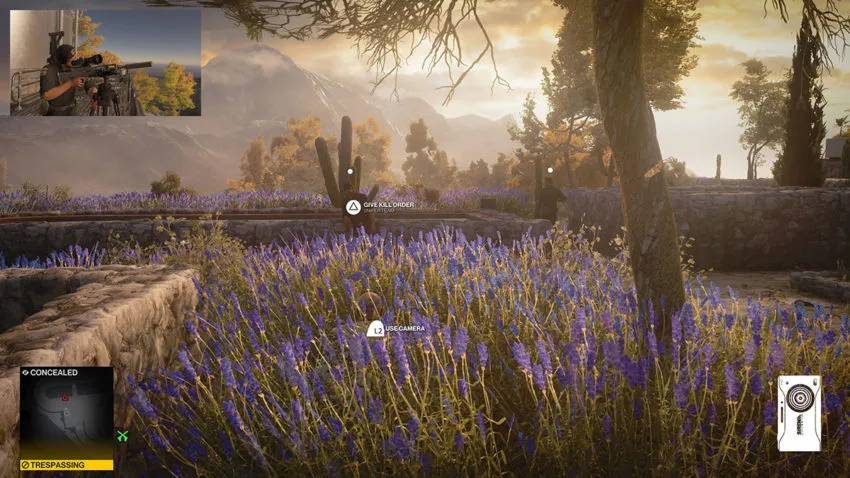
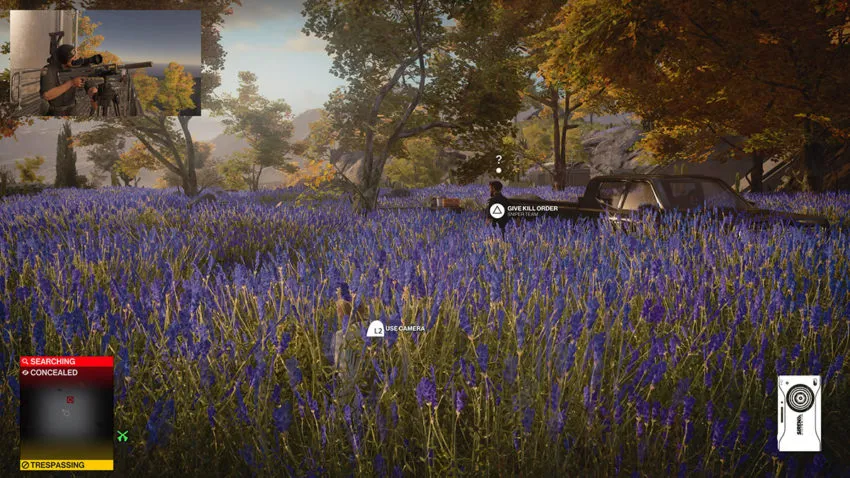
The key difference with this level is that you start with the earpiece, so there’s no need to run in and grab it from the building you found it in earlier. Move up into the lavender bushes from spawn and head to the first target, the guard leaning on the car. You can scan his face from the bushes without being seen, so this target is straightforward to take down. The second target is also the same as in the first level. Move to the upper garden whilst remaining in the bushes. Scan the guard’s face, issue the kill order, and the target will be taken out.
The next target is in the villa area. To get up there, circle around to the left to avoid the patrolling guards, and go up the staircase. There’s a guard stationed on the door here, so wait for him to move before you go up. The guard will move off to the left after a while. When he does, sneak up behind him and subdue him. You can pick up his key to open the door to the villa, but there’s a better way forward from here.
To the right of where the guard was standing when you subdued him is a series of ledges that you can climb on and hang from. Work your way across these until you’ve covered the entire wall and have dropped down on the ground on the other side. This avoids a lot of guards.
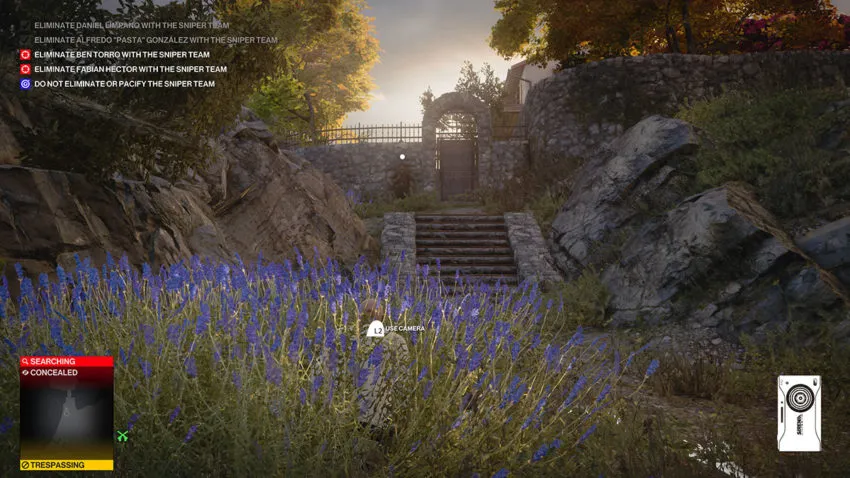
Follow the wall all the way around, and you’ll come to yet more ledges that you can climb on. Climb up these, move to the right, and then vault over the wall. You’ll land in some bushes where you’ll be hidden from sight. Try to do this when the guards won’t see you. Otherwise, things can get messy. The third target will be to your left from here. Scan his face from the bushes, but wait until the guard to your right has moved past your position in the bushes before giving the kill order. That way, the guard will be distracted by the dead body and stay out of your way. It makes moving forward much easier.
To reach the final target, head towards the steps leading up to the villa whilst sticking to the right. This will keep you in the bushes for most of your path. There’s a drainpipe to the right of those steps that you need to climb up. Reach it and climb up to the roof. Be careful to watch out for anyone coming out of the building. If they do, they might spot you as you climb.
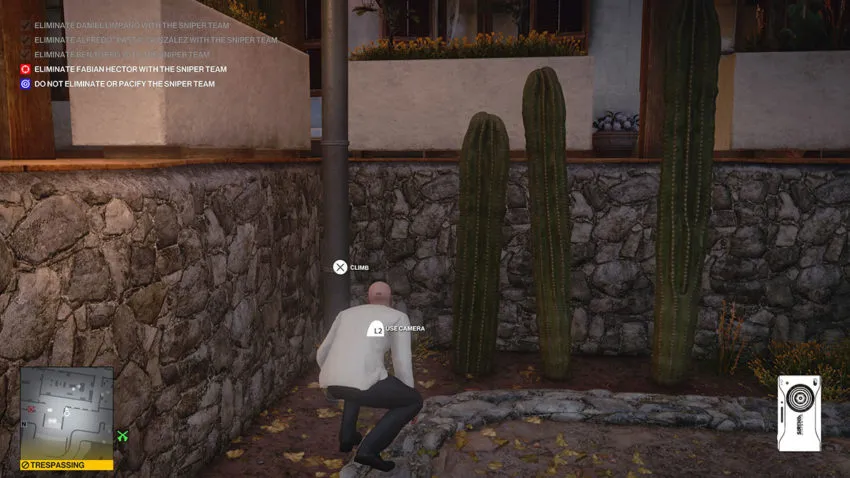
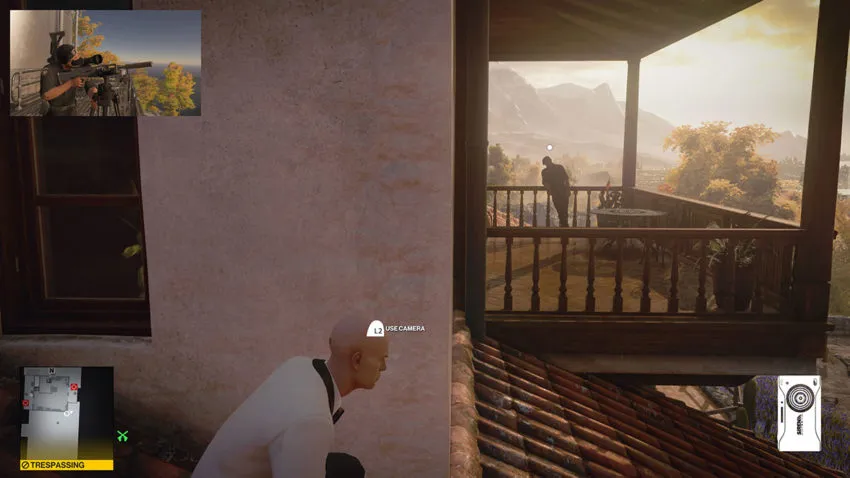
Below is a map reference for this drainpipe.

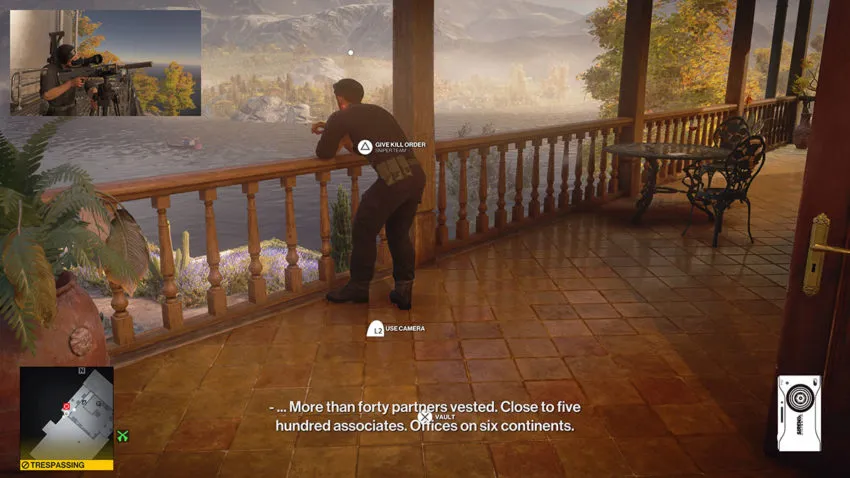
The final target is on a balcony above this rooftop. You can’t scan his face unless you’re on the balcony with him, though. Vault up onto the balcony and scan his face, but be aware that there are two guards in the room to your right. Don’t get seen. Once you’ve scanned his face, you can give the kill order and move on.
There are two ways to exit now. First, you can return the way you came. It’s safe and easy. However, you can also go through the door down the steps to your right as you come down the drainpipe. This is the door that you could have used earlier, but our path instead took you across the wall via some ledges. If you want to do this, wait for the guards to be looking away. One will lean on the wall to the right, and the other will patrol left. Then you can move forward and go through the door. Take the same boat to exit the level.
Level 3
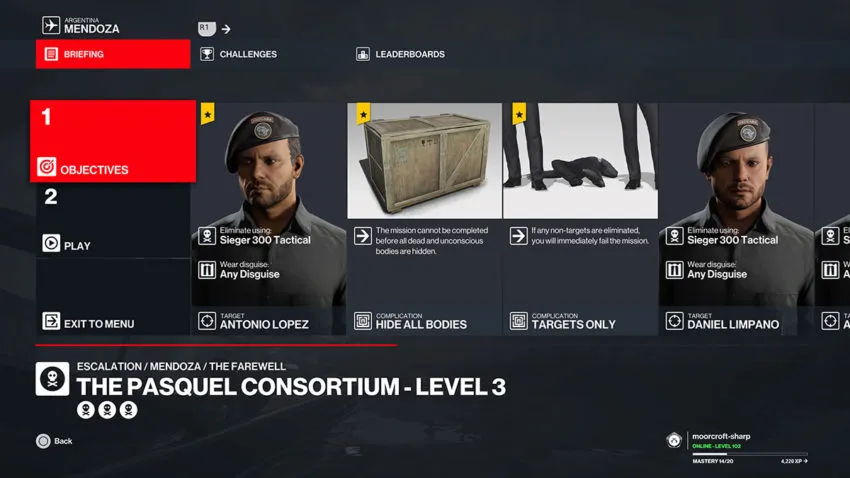
The third level of this Escalation changes everything. Now, all bodies must be hidden before you can complete the mission. You also can’t eliminate any non-targets, though that hasn’t been an issue so far. There’s also an additional target, bringing the total to five for the level.
From the starting location, head to the right of the cabin and pick up the fish. This will come in handy later. Now move to the first target again, but turn the radio on to the left of the car before you repeat the process to kill him. Wait until he’s in the bushes so that you can give the kill order, and his body will be automatically hidden.
For the second target in the upper garden, wait for all other NPCs to move away, then throw the fish to draw him into the bushes. Now you can scan him and kill him as you did before.

Pick up the fish and the second target’s pistol before circling around back to the stairs up to the villa. Unfortunately, you can’t take this guard out this time around. Wait for him to move away from the door, then sneak past him to get to the ledges. From there, follow the wall around again and vault up and over the wall as you did in level 2. Scan your target as soon as you vault up here. Kill this target as you did in level 2. His body is automatically hidden in the pool of water behind him.
Now move towards the drainpipe again and climb up it when no one is looking at you. Instead of killing the fourth target from level 2 first, you need to kill the new target first—head across the rooftop to the opposite balcony where this guard is hanging out. You should have time to scan his face before he fully spots you, so break the line of sight before the yellow meter fills up. Give the order to kill him as soon as you can and leave his body where it is for now. If the bullet hits just right and the body is thrown onto the rooftop beyond, then it’s automatically hidden.
Go back to the opposite balcony. There should be one target and one non-target here. Wait for the non-target to go back inside, vault onto the balcony, follow him in, and knock him out. Hide his body in the closet in this room, then go and grab the fifth target’s body from the balcony and hide it in the crate.
Lastly, you can scan your final target and order the shot to kill him. Hide his body inside the room as well, and then you’ll be able to exit. Either return the way you came or use the secondary door exit we outlined in level 2. With that door exit, remember that you haven’t subdued the guard beyond the door in this level, so he may spot you if you leave without thinking.


Published: May 27, 2021 05:35 pm