The Satu Mare Delirium is the final Deluxe Escalation for Hitman 3. Set in Berlin, Agent 47 must escape his captors and deal out some revenge using nothing but his new straitjacket and a belt. Here, we’ll provide you with a clean route to complete this Escalation with a rank of Silent Assassin.
Level 1
The first level of this Escalation has you starting with a restricted loadout because Agent 47 has been captured. You can’t change disguise, or you’ll fail the mission, and if anyone sees you doing anything illegal, it’s game over as well. Your only objective is to escape.
The starting position is incredibly creepy and sets the scene for what is to follow. Get up off the bed, pick up the nail in the corner of this room, and use it to pick the lock on the door.
As you emerge from the room, a monkey toy will go off. This is going to alert a guard that something’s amiss. Quickly run to the right of the room and pick up the rusty crowbar.

Head right down the corridor and unlock the door with that rusty crowbar. There’s a camera out here, so don’t rush out. As its view pans right, sneak off to the left.
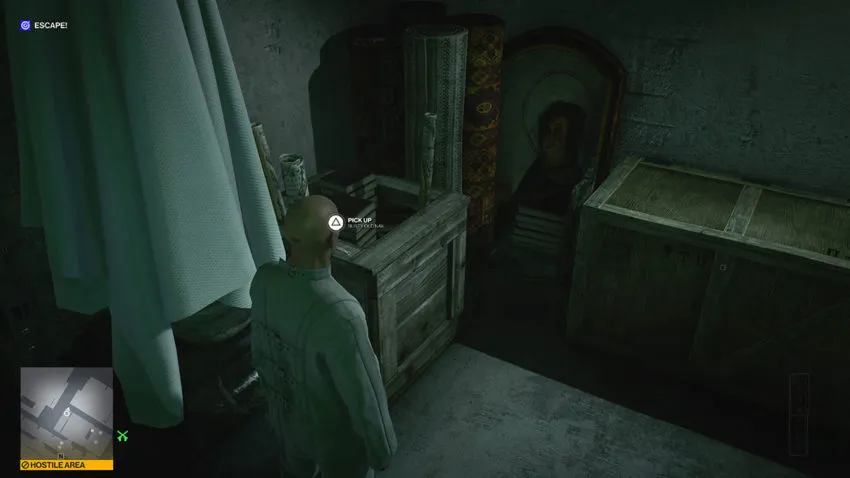
Move along the corridor, but go through the first door on your right that you come across. Just inside that next room is a wrench on some pallets. Grab it.
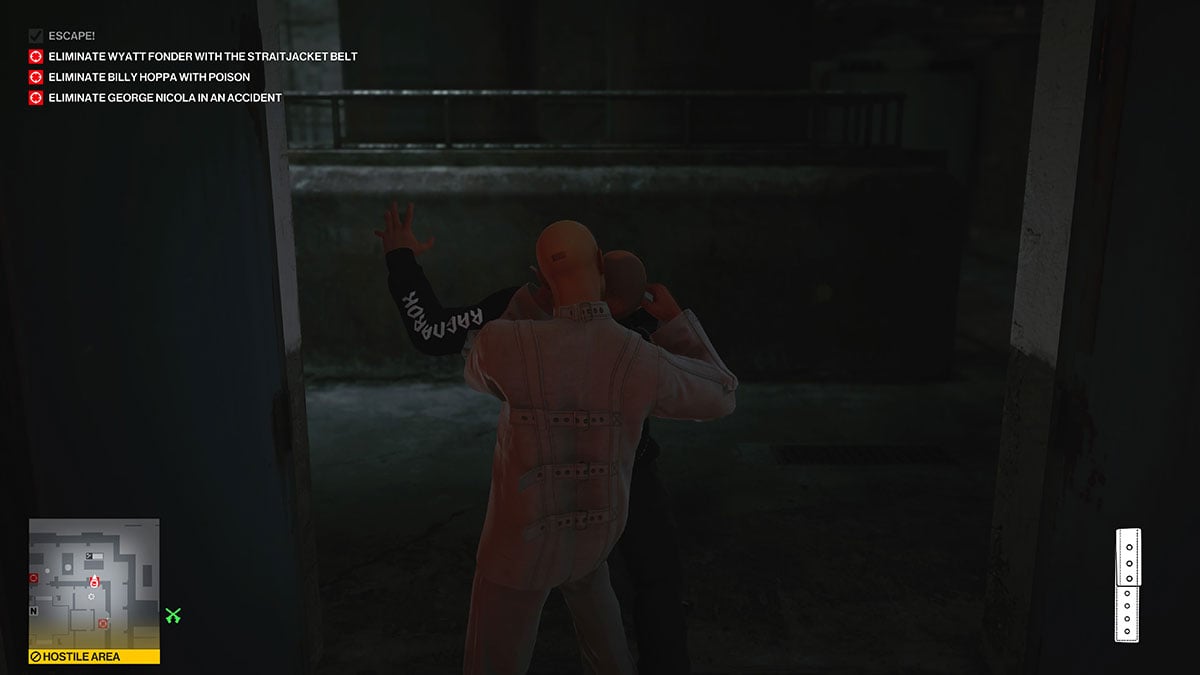
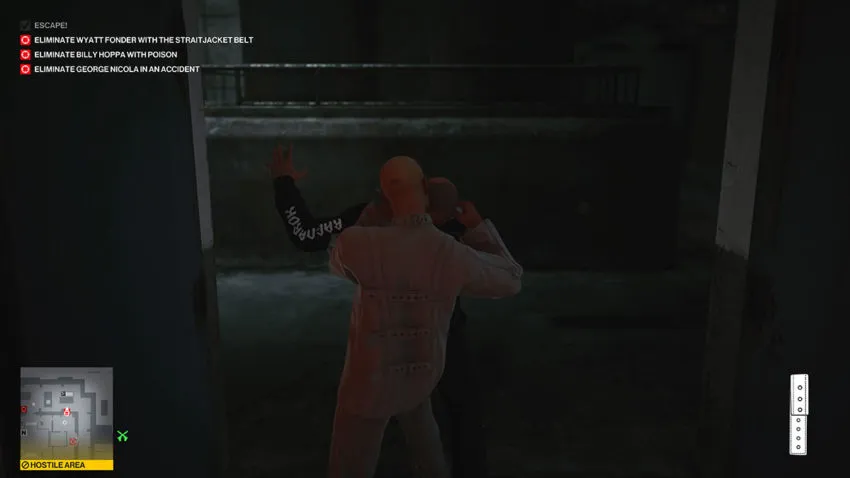
Run forward and hit the first guard on your left in the head with that wrench. Pick up the key on the counter next to this guard, then use your straitjacket belt to strangle and kill the next guard in the doorway. This is also your first target.
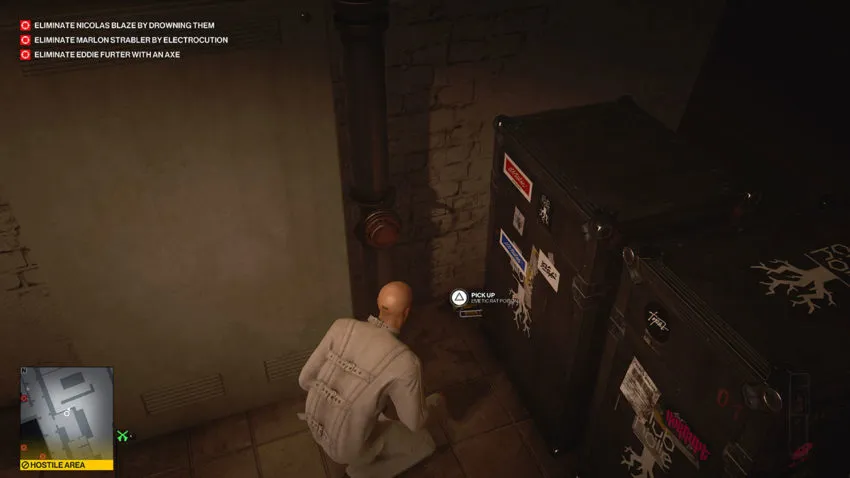
Pick up the gun and the medicine cabinet key that this guard drops. The medicine cabinet is back inside the corridor you just came from. Pick up the lethal poison pills from inside.
To get to the next target, head back to the doorway where you killed your first target. Don’t go through, though. Just inside this room, to the left, is another door. You need to go through there. This leads you into the main basement club.

Run forwards and all the way along the right-hand side of the basement club. Use the pillars to your advantage and avoid being spotted. Near the back, you’ll trigger another monkey toy, and that’s going to attract another guard to that position.
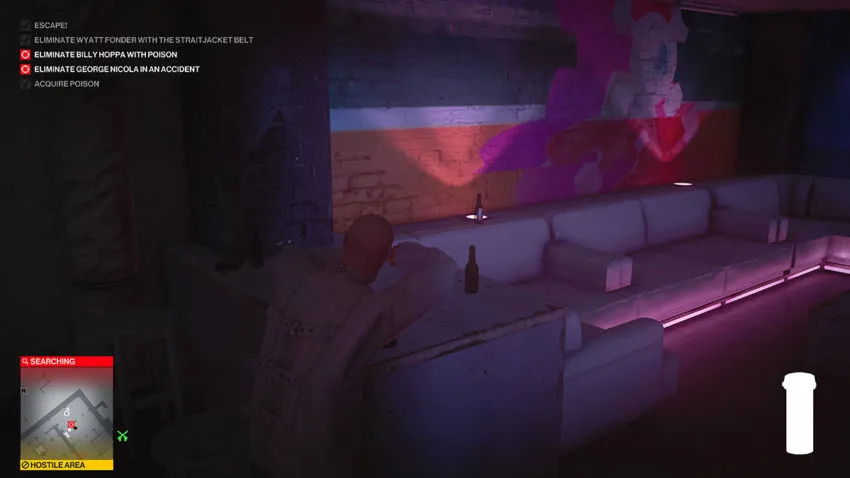
Go around to the right at the back of the club and into the bar area. There’s a beer on the counter that you need to poison. It’s the one your next target will take a sip from momentarily.
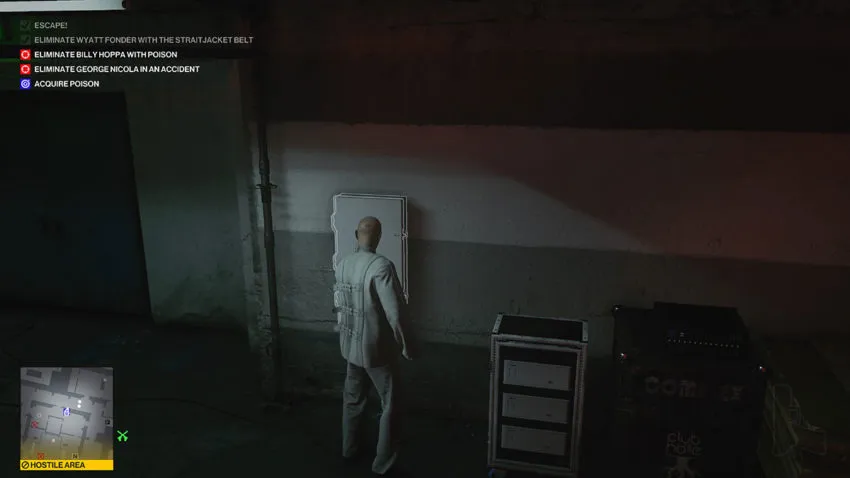
After you’ve done that, head back out the way you came, go under the stairs and run back along the opposite side of the club. As you get to the end, where the DJ booth is, wait for the guard to turn around. Then, drop down into the dance floor, climb up the opposite side, and head through the door you first entered the club through.
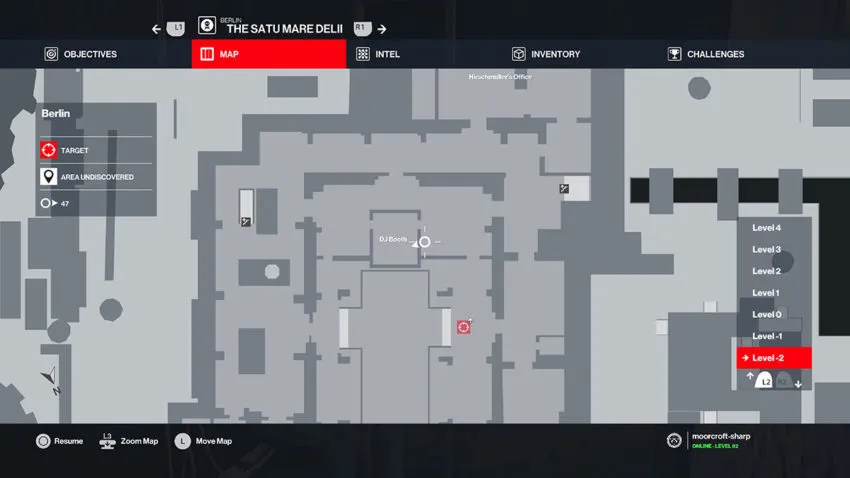
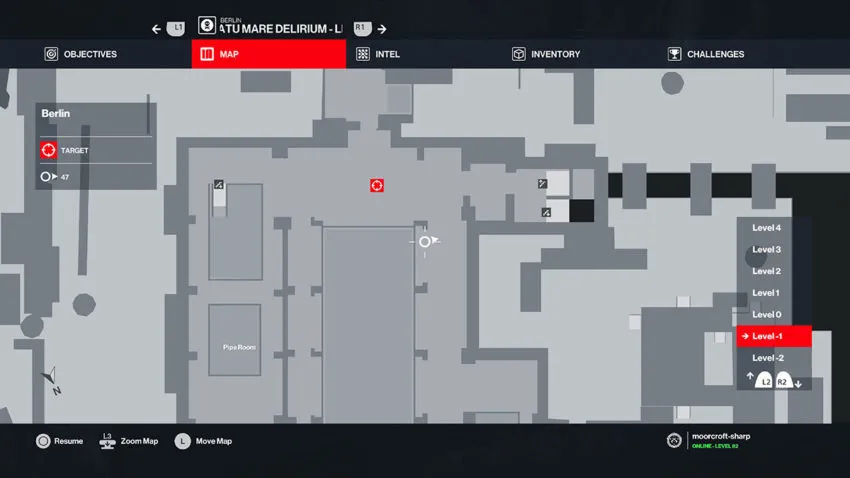
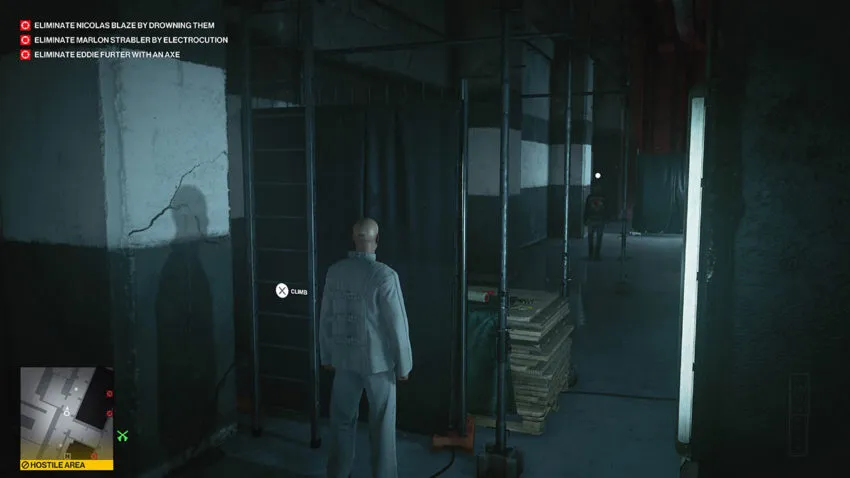
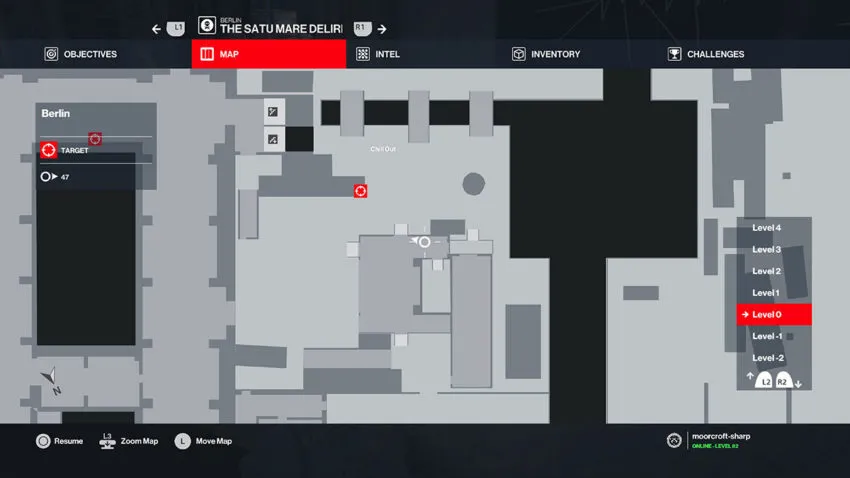
Now turn right as you go through this door and head to the ladder that’s attached to the DJ booth.
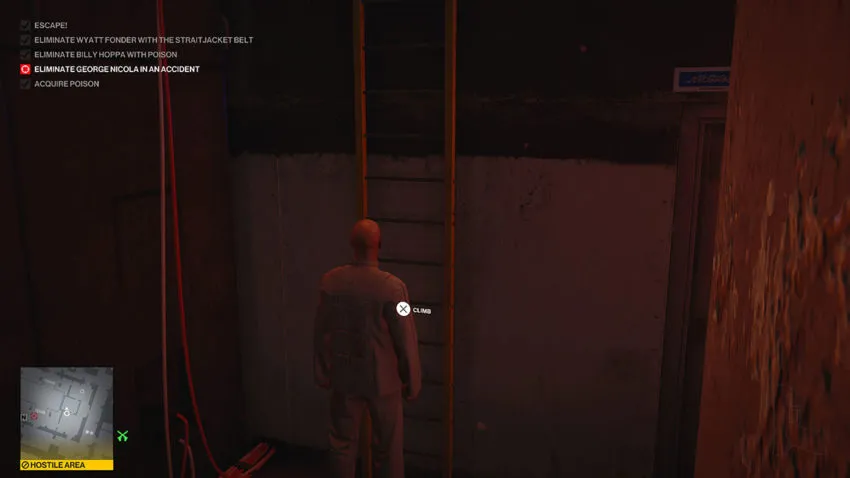
Below is a map reference for this ladder.
Climb up the ladder on top of the DJ booth as well. Then, grab onto the ledge above you and shimmy to the right. Move around the corner and vault over the railing there to avoid a camera elsewhere. Below is a map reference for where you will vault up.
Turn right and head forwards. There’s a monkey toy in the area ahead, so you need to be careful and avoid it. Wait at the low cover behind the monkey toy so that you can see the boxes it’s sitting on. Your target will come back this way, so you can take them out then.
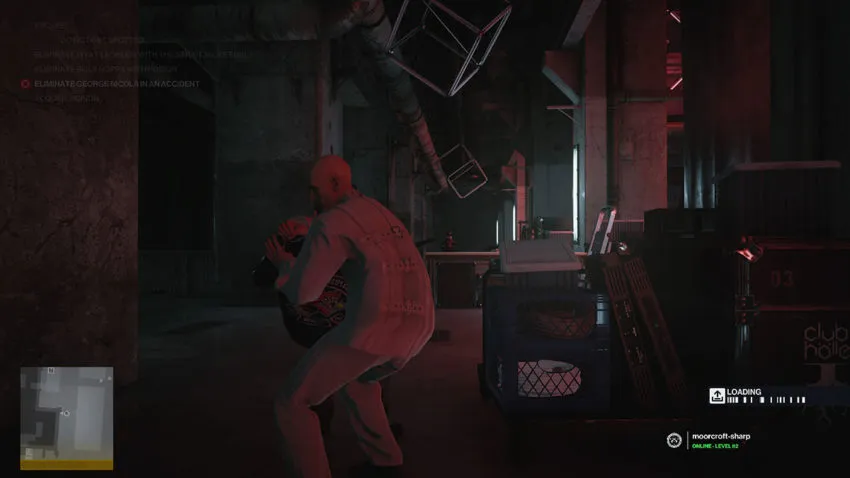
As the target walks back here, subdue him. Then, drag him to where you can see the large ventilation pipe. Chuck him over the edge here to kill him with a fall. This counts as an accident kill.
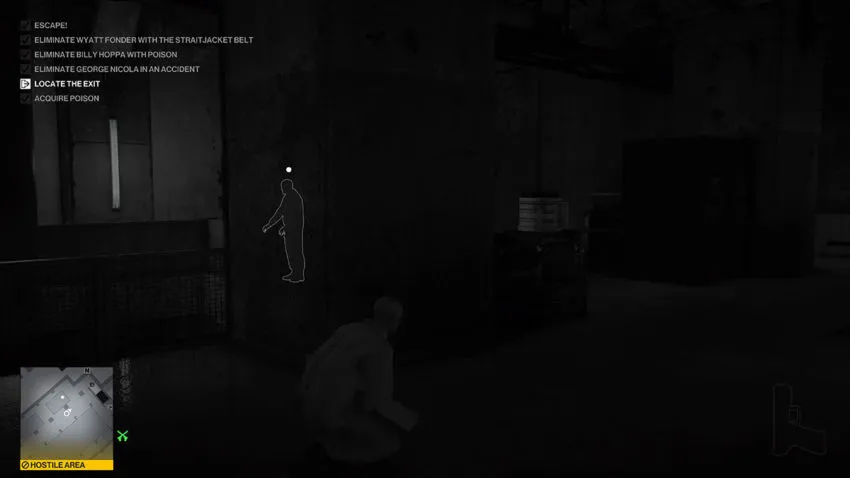
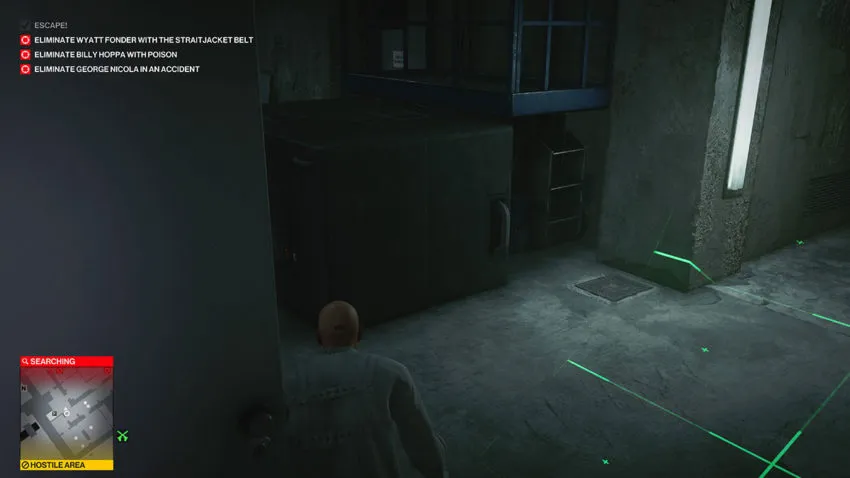
All you have to do now is locate the exit. It’s at the back of this area and is very easy to find. Just crouch to avoid the sight of the guard in the back of the room, and you’ll make your way out with no issues.
Level 2
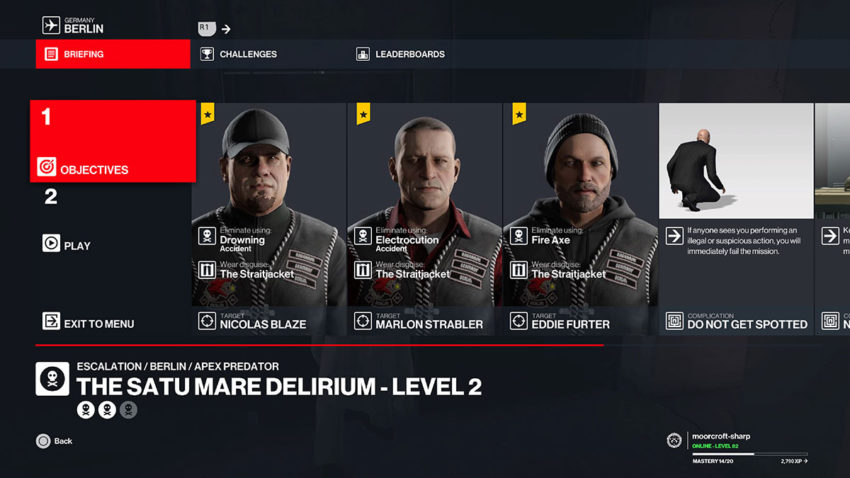
One of the best things about this Escalation is that each level begins where the last one left off. In level 2, the exit for level 1 is your starting position. This level also gives you three new targets. One must be killed with a drowning accidental kill, one with an electrocution accidental kill, and one with a fire axe. All the other complications still apply.
From the starting location, head up the stairs and go left at the top. Follow that corridor around to the right and keep going. As you reach the platform with the ladder on, a guard is patrolling the area. Wait for him to walk away, then move around the platform and into the door just beyond it.
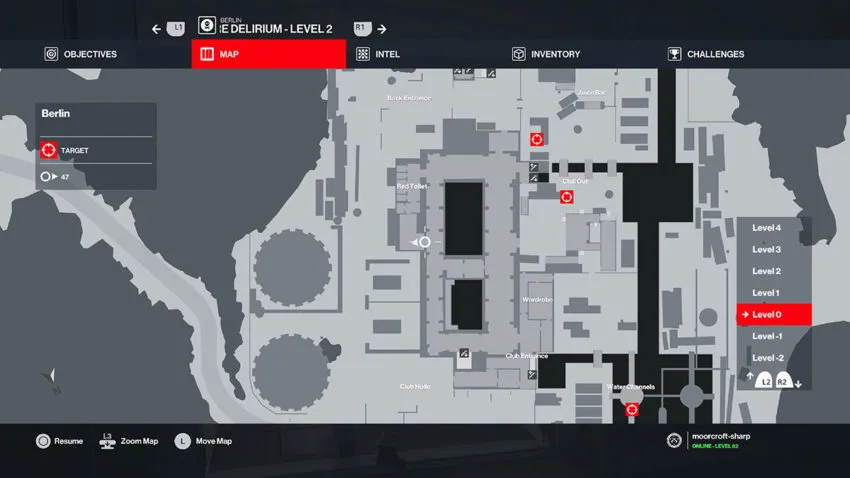
Below is a map reference for this door.
Inside this next room, in the back left corner, is some rat poison. Pick that up, and then head right. There’s a screwdriver on the shelves just before the next door that we need.
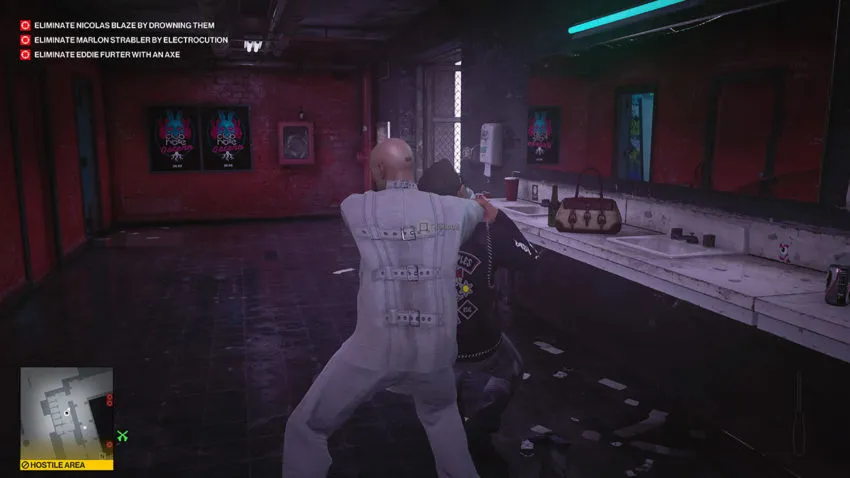
The next door leads to the bathroom. There’s a guard in here who likes to check himself out. Subdue him and hide him back around the corner, to the left of the door you came through.
Then, head to the sinks and poison the bottle of beer there. As unhygienic as it sounds, someone is actually drinking from this. We’ll be taking them out later as they throw up.
Next, run out of the bathroom and all the way along the red corridor. At the end, you’ll see an area marked “tech only” that you need to go through. Go up the first set of stairs and then out of the window on your right before climbing up any more stairs.
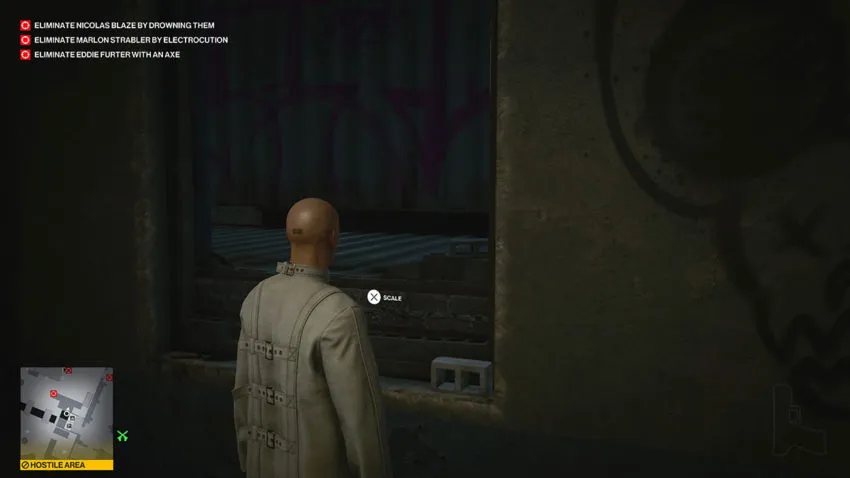
Below is a map reference for this window.
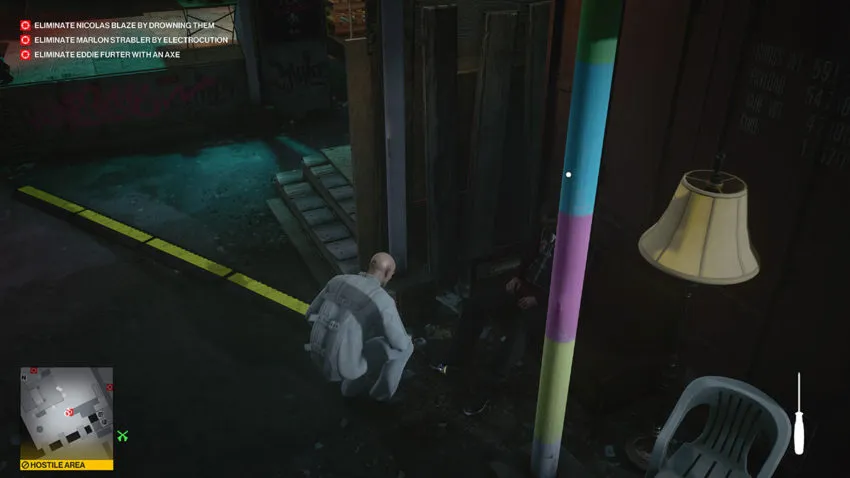
This leads to a container that’s crucial to our Berlin Egg Hunt guide. Turn left on this container and drop down. Crouch and move around to the right of the red container with the pink paint on it. A guard is sleeping in a chair here. Don’t wake him. Instead, use the screwdriver to expose the wire in the extension cable at his feet.
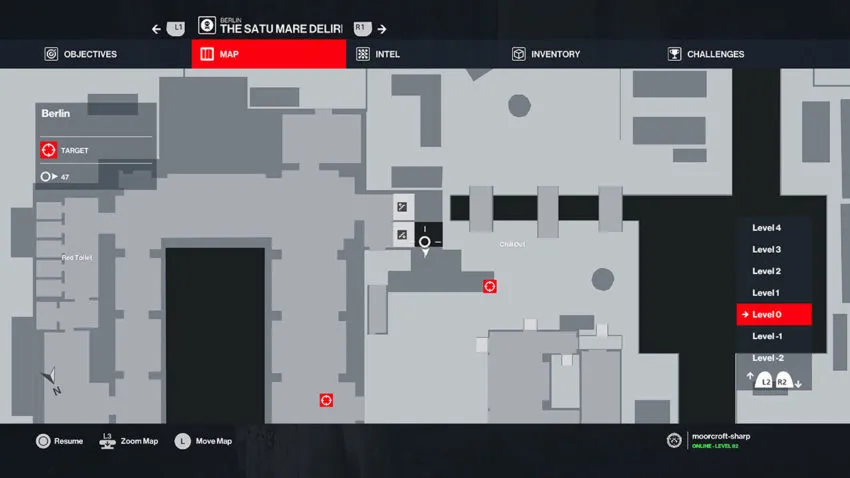
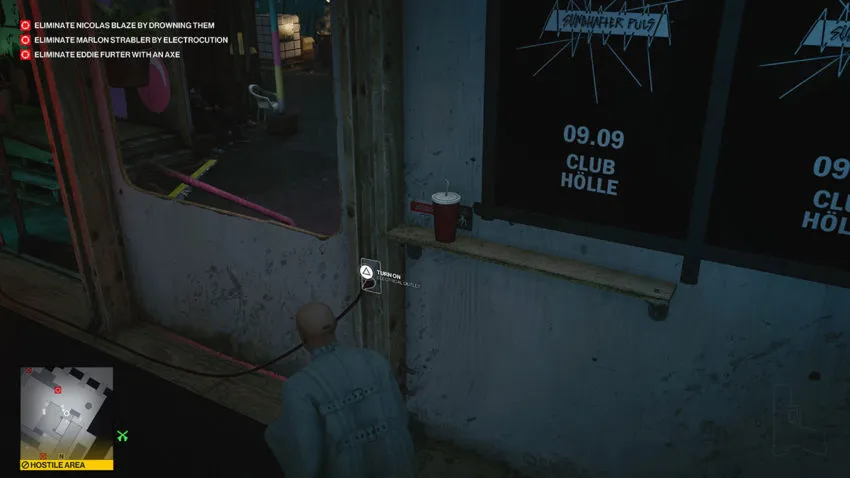
Turning this on requires a weird path because we need to avoid a monkey toy. Turn around and head past the oil tank covered in graffiti. Then, take the steps to your right up onto the platform, and turn right, so you’re moving back along the walkway. The switch is on the wall just inside.
Below is a map reference for this switch.
Now, head towards the monkey toy on the edge of this platform, near the guard. Drop down, and this should trigger the monkey. The guard will try to stand up and be quickly fried. That’s one target down.
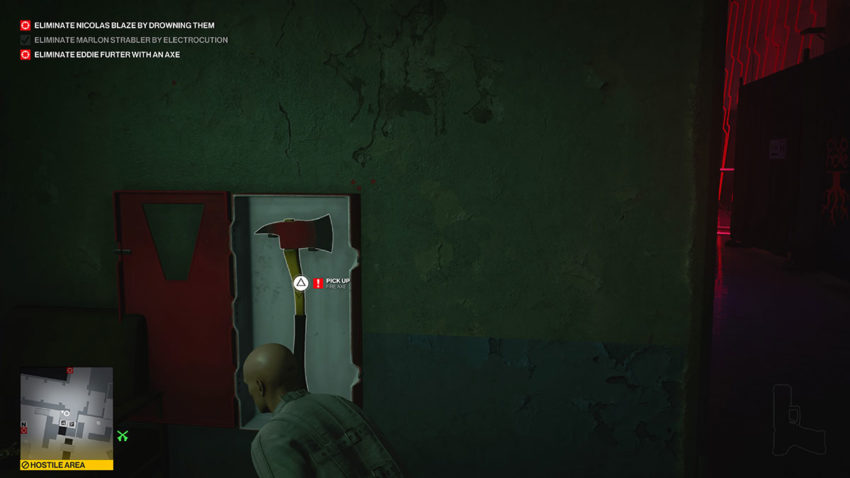
Now you need to get back up into the club the same way you came out here. Climb the white container and go back in through the window. At the bottom of the stairs is a fire axe. Take that now.
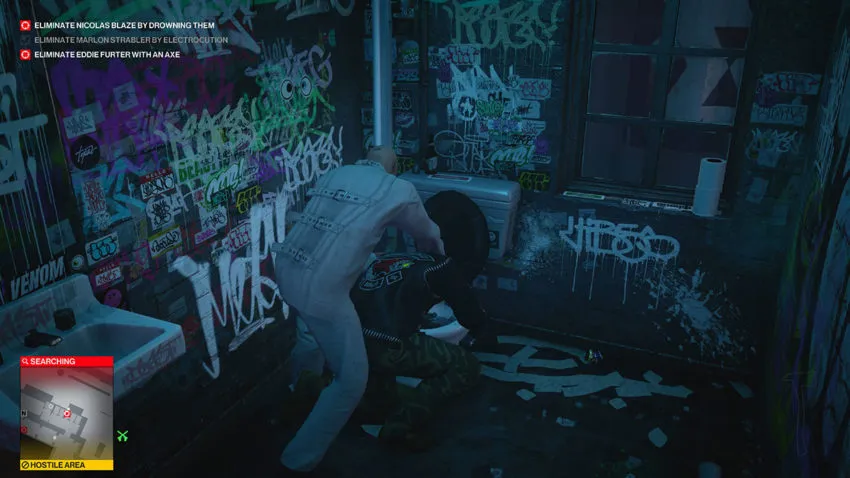
At this point, your next target may be sipping his beer or may be throwing up. When he’s throwing up, drown him. This is an accidental kill, so no one will detect you from it.
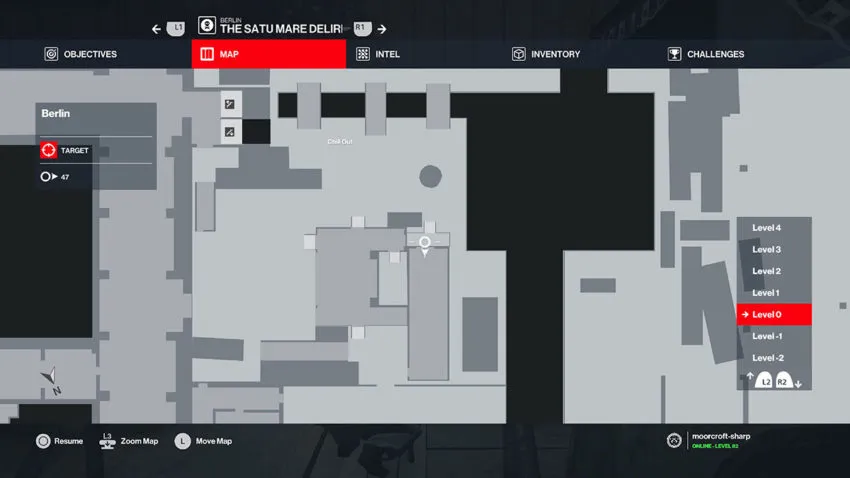
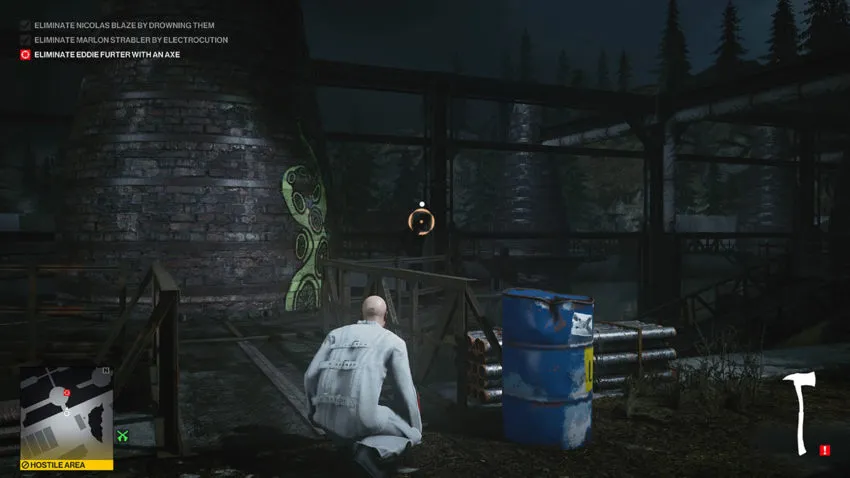
Now go back outside to where you killed the first target. You need to go through the blue doors just behind the oil tank you were moving past earlier.

Below is a map reference for these doors.
Go through the building, take the door at the back, and then the door on the left at the bottom of the steps to get out into a more open outdoor space. Run slightly left, and you’ll see two guards. You need to move past them by going over the bridge behind them.
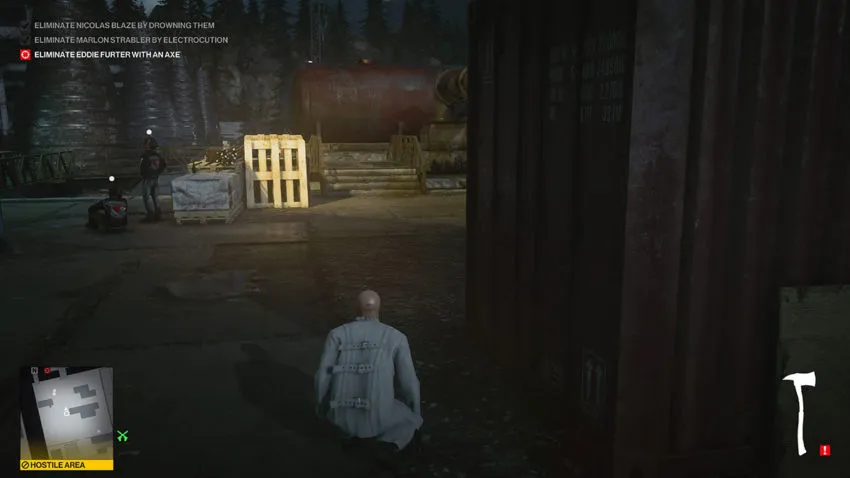
There’s a monkey toy to the left here, so go right and around the back of this large obstruction. At this point, you’ll be able to see your target and get close to him. Throw the fire axe at his head to kill him. Make sure he’s not too close to the two guards you passed earlier.
From here, you can run directly to the exit. It’s the break in the fence from the standard version of the Berlin location.
Level 3
Level 3 is pretty much the same as level 2. There are three new targets and three new requirements. You need to get one kill with a neck snap, an explosion accidental kill, and one with a combat knife kill. The starting position is exactly where you left off in Level 2.
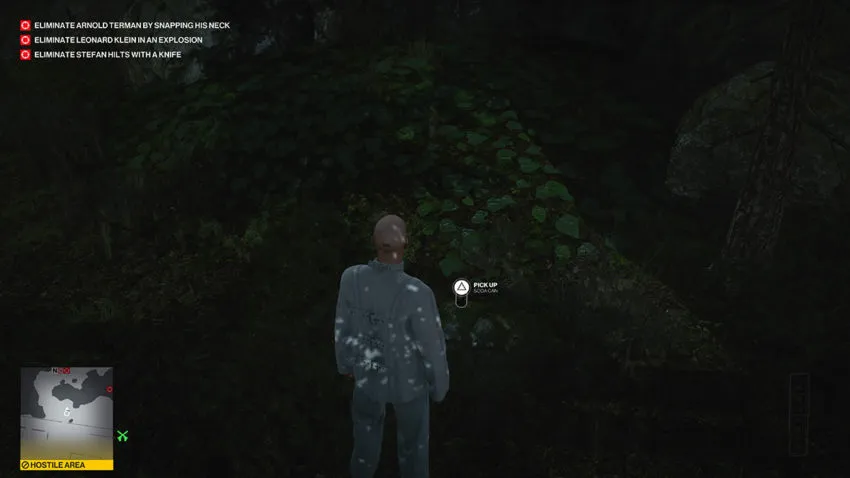
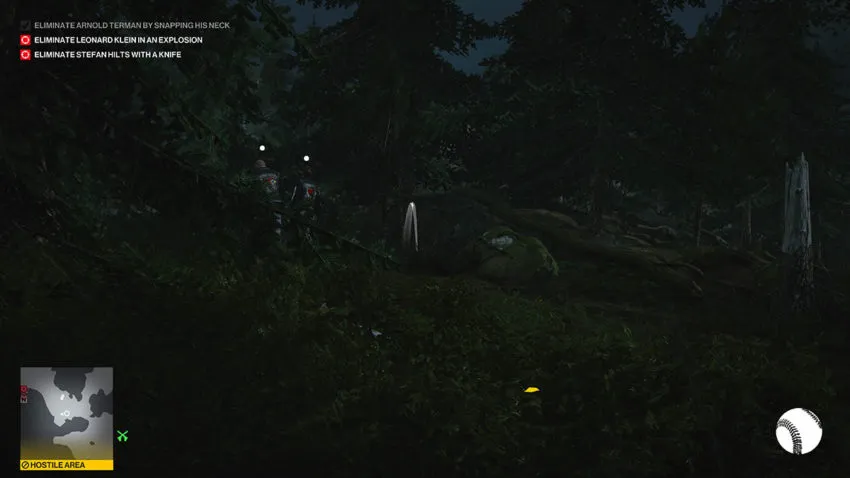
From your starting location, there is a soda can directly in front of you. Pick it up. Now turn right and run all the way to the edge. You need to reach the end of this area and climb the path up to the left. There’s a monkey toy here that you will trigger. Keep running, though, and you soon see a bush you can hide in.

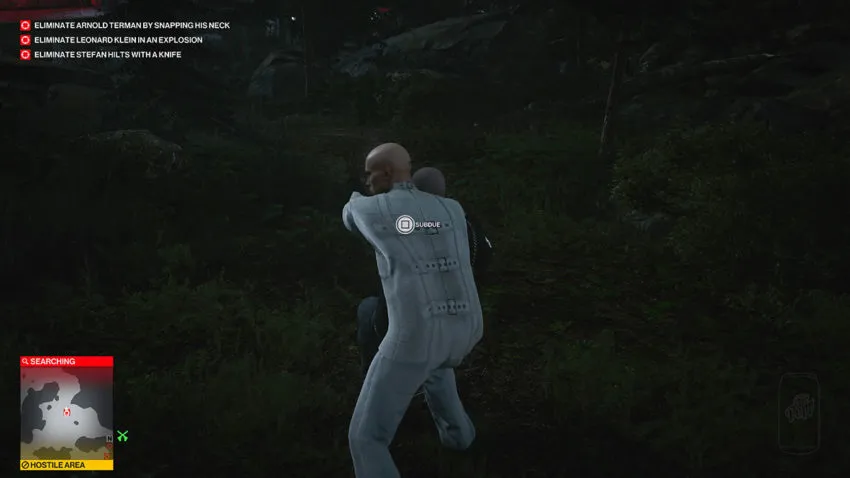
There’s a tree here which you can use as cover from the guard. Move around it as he passes you by, and you should get past him without a problem. Your first target is up ahead with a flashlight. Subdue him and then snap his neck. Pick up the tranquilizer gun and handgun he drops, then drag his body into the nearby bushes to hide it.
Now turn around and head up the hill. There’s a monkey toy here, but you can avoid it by sticking to the left of the path and moving past the rock. To get past the two guards, throw the soda can to the are to their right. As they turn to look that way, move past them.
As you come to the radio tower, head left around the fence. In the back corner, there is a monkey toy on a workbench. You need to pick up both the lead pipe and the wrench from this workbench before a guard spots you. As soon as you’ve got them, move forwards to get away from the guard.
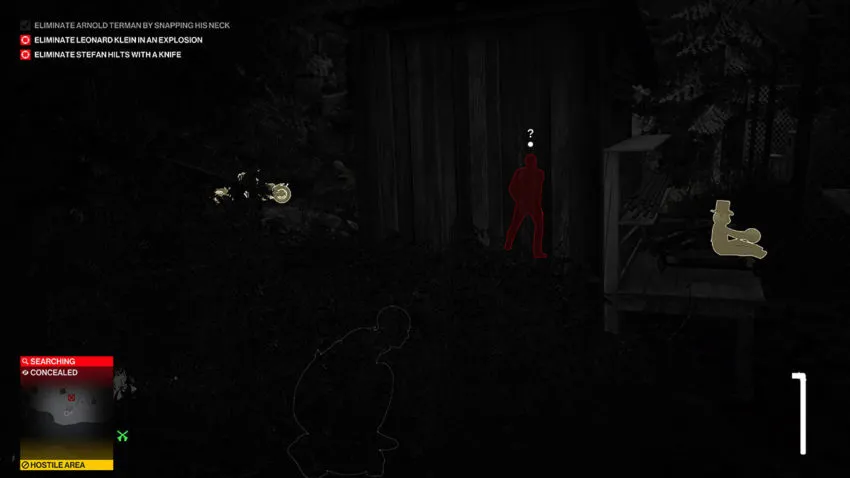
Circle back on yourself and over to the motorbike. You need to sabotage this with the wrench. The target here will stub out a cigarette on the oil that has leaked, and that’s how you get that accidental explosion kill.
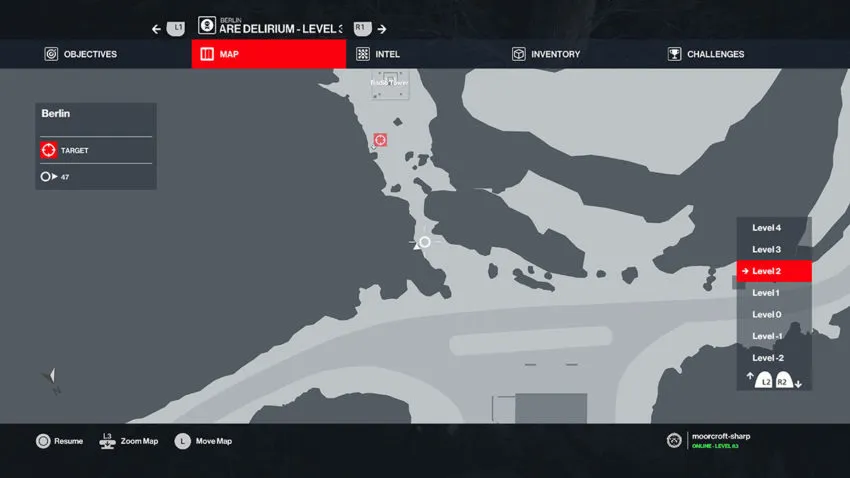
Next, head up the hill some more. To get past the next guard, throw the lead pipe to his right, wait for him to turn, and run past him. Keep going up until you see a small white tree on your right. The combat knife is sitting on the ground there.
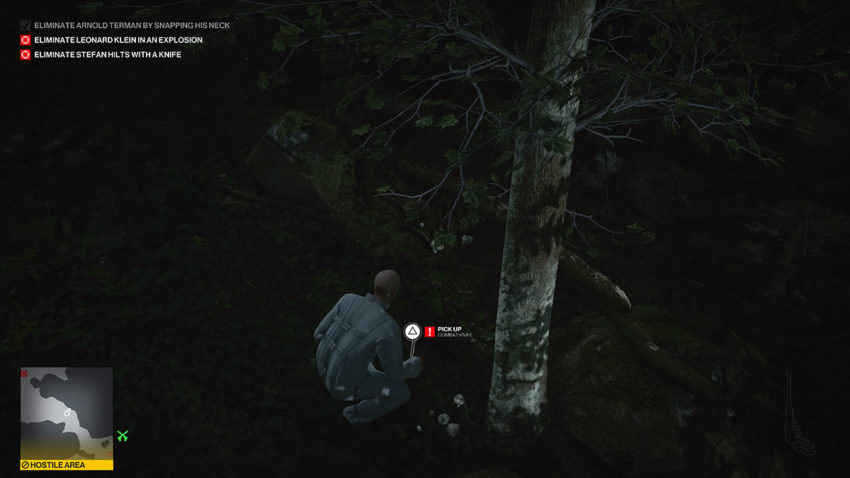
Below is a map reference for the combat knife.
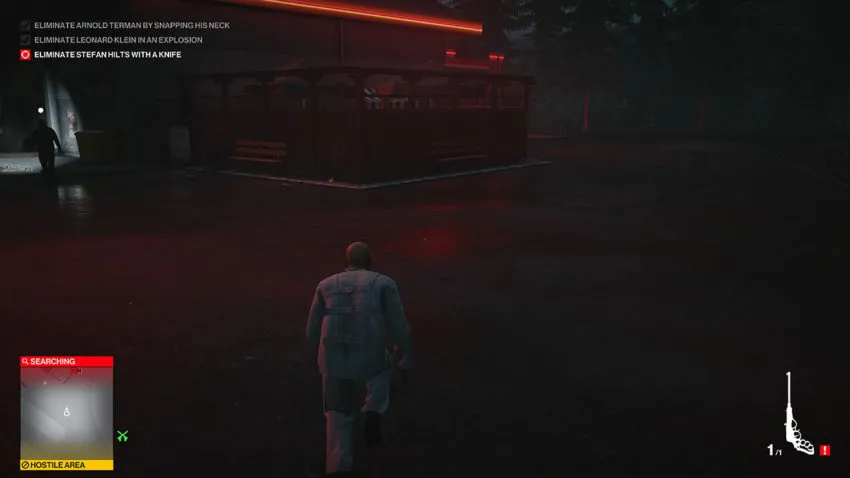
Make your way up to the road and run past the guards to your left. Keep right and head towards the gas station. One guard is patrolling the area with a flashlight. Wait until he’s come around the corner and is walking away from you.
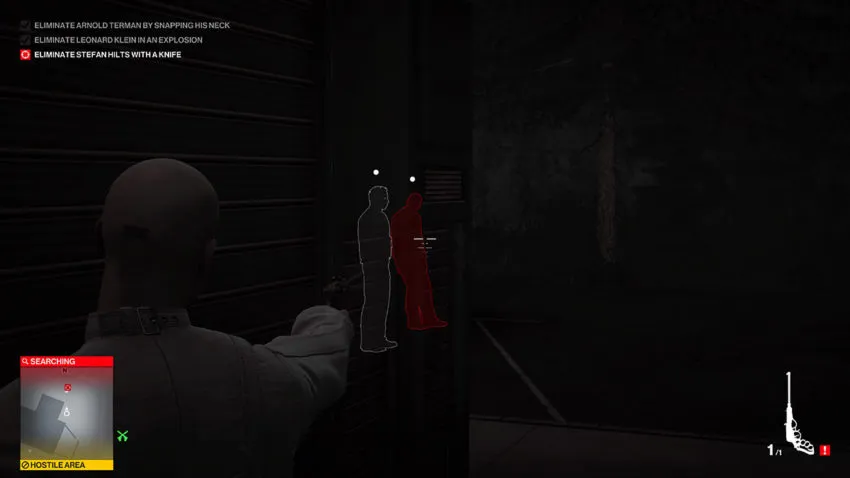
As soon as you can, head down the right-hand side of the gas station towards your target. Equip the tranquilizer gun and position yourself in the back corner closest to the target. Use the corner of the building as cover to peek out and shoot both guards. Now equip the combat knife and throw it at the target’s head to confirm that kill.
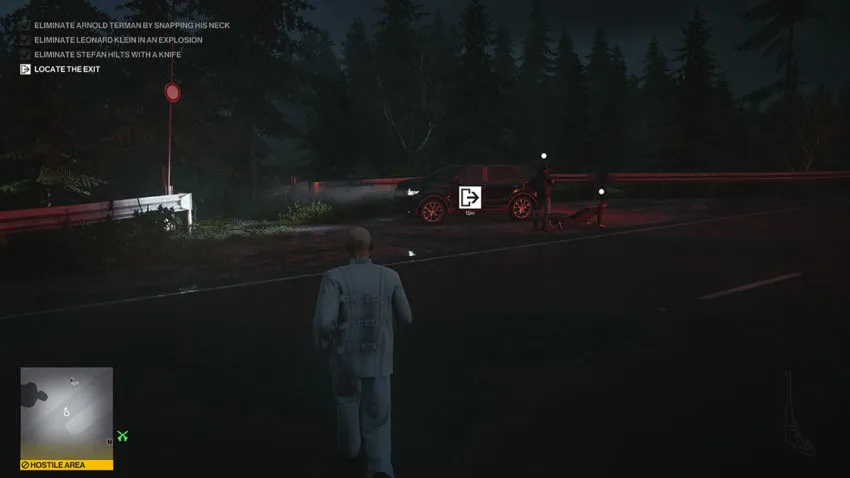
Now make your way towards the two guards next to the car that you passed by on your way up to the gas station. As soon as the final target puts out his cigarette, the exit will spawn on this car. Use it to get away just in time.
By completing this Escalation, you unlock the Straitjacket outfit, the Straitjacket Belt weapon, and the Taunton Dart Gun tranquilizer. You can now use all of these throughout Hitman 3’s locations.


Published: Apr 3, 2021 02:46 pm