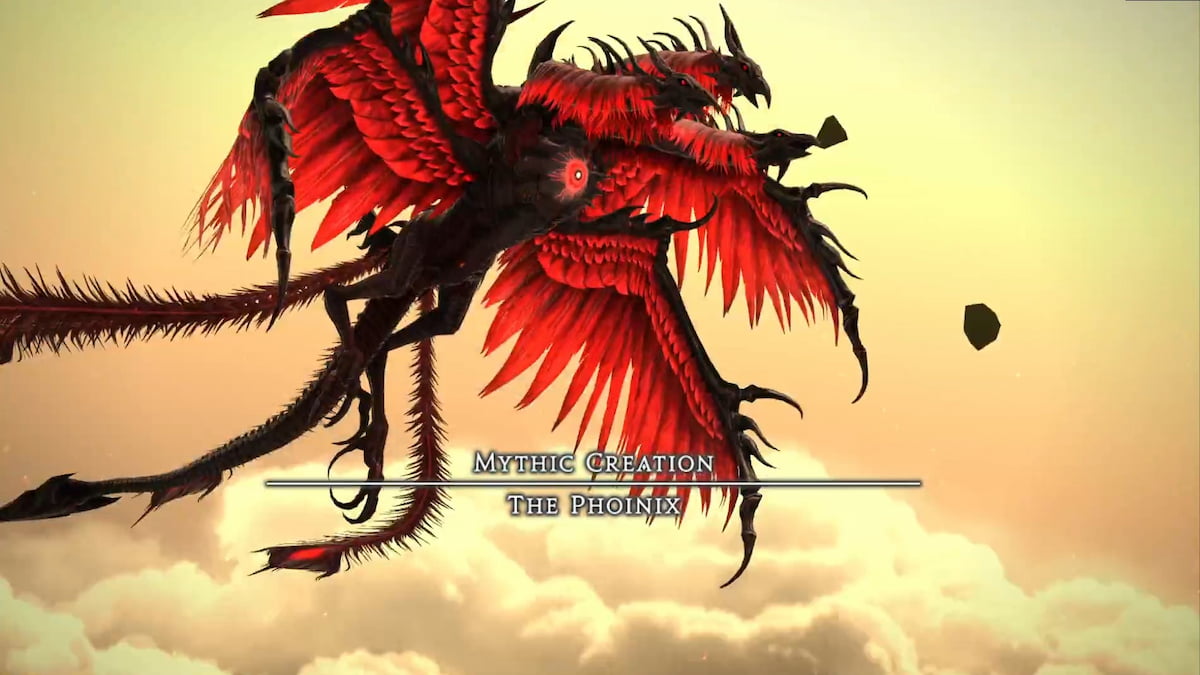
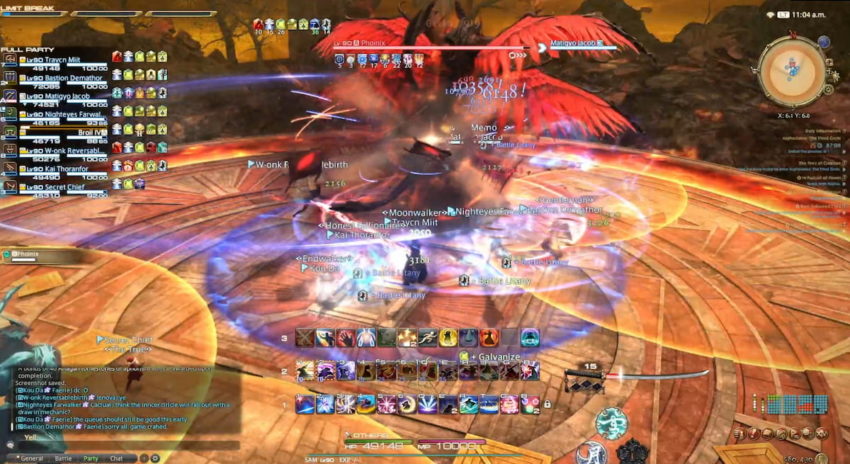
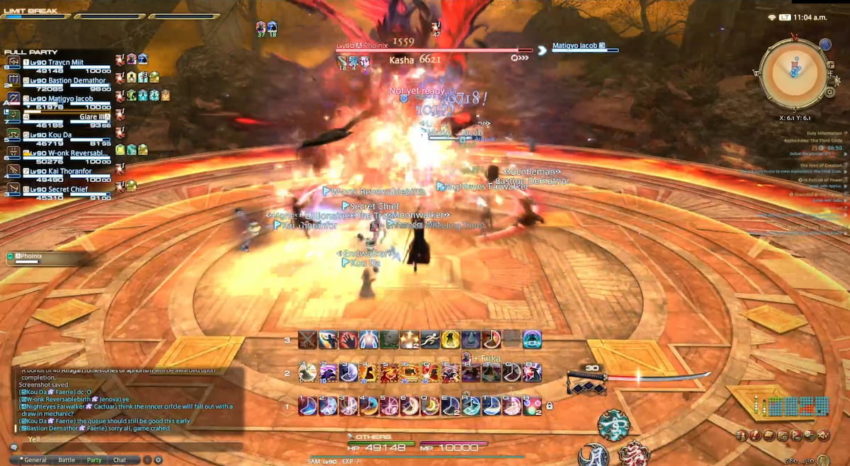
The third boss in the Asphodelos series of raids in Final Fantasy XIV is the Phoinix. You’ll need to work with seven other players in the game to overcome this challenging boss, and you might find yourself struggling with the challenge. This guide covers how to beat the Phoinix in Asphodelos: The Third Circle in Final Fantasy XIV.
Phase One of Phoinix
The initial attack you’ll need to watch out for with The Phoinix is the Experimental Fireplume move. The starting variation of this attack features several orbs that fly around the boss and then burst into the air. These orbs then crash down into the arena, damaging the entire outer ring of the circle, with orbs hitting the north and the south, and then moving clockwise. After four orbs land, a single one hits the middle. You want to avoid the initial four and then prepare for the one at the center of the arena.
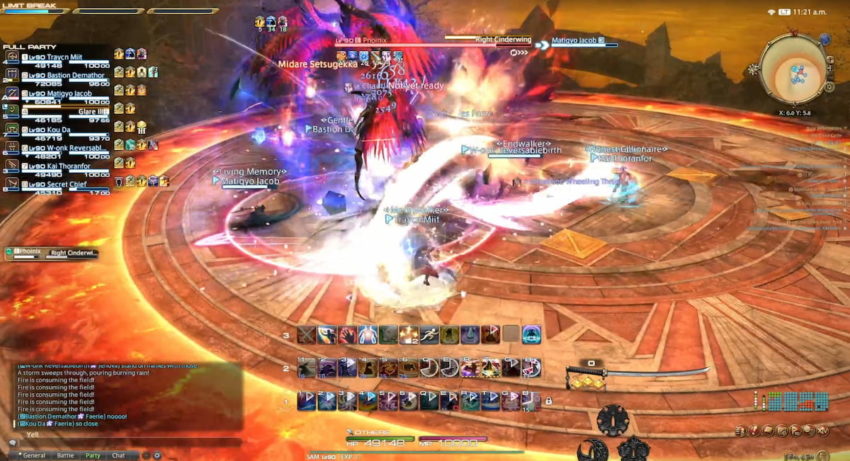
The second variation of Experimental Fireplume is one massive ball of energy that starts at the center of this boss and flies into the air. When it lands, it will hit the center of the arena, forcing you to scatter to the outskirts.
Another more significant attack the Phoinix uses is called Scorched Exaltation. It’s a large AoE ability that will hit everyone still in the fight, so you’ll want to make sure your healers are prepared for it, and those who have stacks of invulnerability will want to be careful. In our experience, there has been no way to dodge it.
The Heat of Condemnation attack is a focused move that only targets a handful of players in the party. You will see a red arrow above their head, and when it goes off, an AoE attack will land on them, so make sure to steer clear of any player with that symbol above that head and move away from your party when you have it.
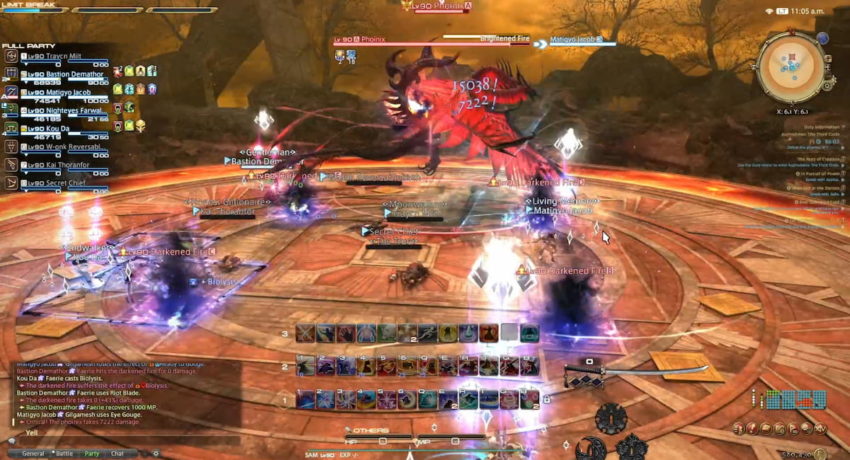
A brutal attack the Phoinix uses is called Darkened Flame. Four random players have an icon and symbol above their head when it happens, and there will be four dark flames close to the center of the arena. Each player with a symbol above their head will need to stand on a dark flame icon and wait for the attack to trigger a second time called Brightened Fire. If they are not standing on a darkened flame when Brightened Fire happens, they will take a heavy amount of damage. Phoinix attacks the players in the order of the symbols, starting with one orb.
Another easier attack to dodge is called Right Cinderwing. When it happens, whatever way Phoinix is facing, it will be making an arena-full attack on its right side. You’ll want to stand to the left of it and continue attack when you see it charging. Phoinix can also do this attack on its left side called Left Cinderwing.
Another big attack Phoinix uses is called Trail of Condemnation. Phoinix will go outside the arena and then wait to charge up an attack that goes down the middle of the stadium, forcing every player to go on one of the safe sides.

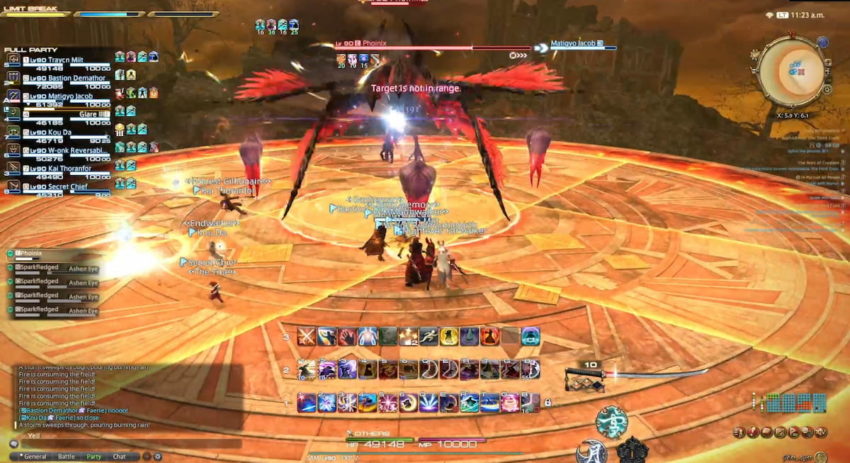
The transition between Phoinix’s first and second phases is the Sunbirds. A pair of Sunbirds will spawn in the arena, and Phoinix will be untargetable, but it is charging its Phoinix Fire. You want to eliminate the first set of Sunbirds and then the second before Phoinix Fire charges up.

After defeating the Sunbirds, you’ll go into the second phase of Phoinix. There are a handful of attacks that it previously used in the first phase that it continues to use, with a handful of new tricks.
Phase Two of Phoinix
Phoinix uses the massive AoE attack called Dead Rebirth at the beginning of the second phase. It attacks the entire arena, and there’s no way to avoid damage.
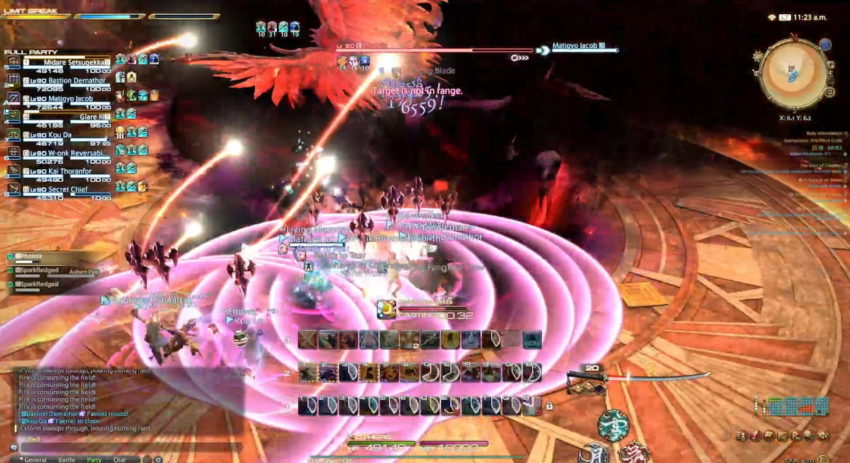
A powerful arena-full attack Phoinix does is called Fledgling Flight. After the attack charges, corners of the arena will be covered with an incoming attack. These squares partially overlap, breaking up into four different arena sections. You want to wait in the area that appears last for the first AoE location to explode before running over into the now safe place. If you are standing in the AoE sections that appear second or third, you’re likely to take damage from this attack.
An advanced version of Experimental Fireplume will appear during this encounter called Experimental Charplume. Similar to the standard versions, this attack targets party members and triggers an AoE attack. This attack typically does it to all party members. Spread out from one another, and stay away from each other.
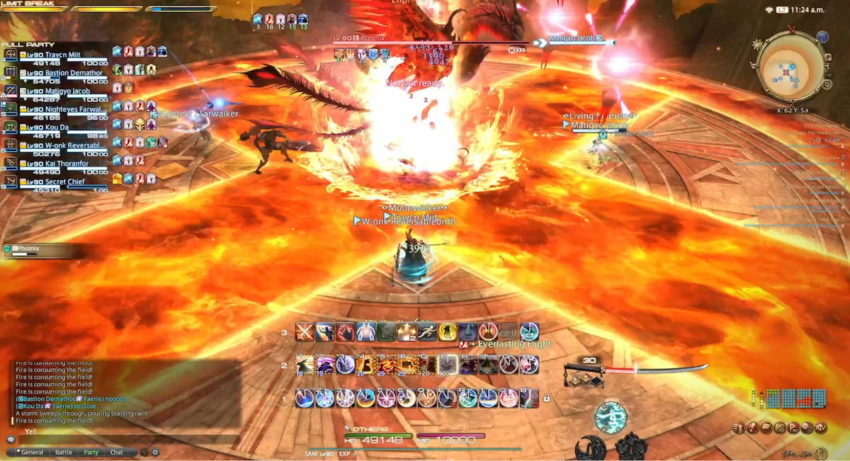
A primary attack used by Phoinix in its second phase is Devouring Brand. You’ll receive a text across the screen that reads, “Fire is consuming the field, and four rivers of lava begin to stretch from outside of the map to the center, connecting. They then create a second, larger layer of lava that make it difficult to attack Phoinix unless the tank has dragged it from the center closer to one of the cutoff squares.
A minor attack you’ll want to be careful of typically follows Devouring Brand, and other attacks is called Searing Breeze. In it, Phoinix fires off several fireballs aimed at every party member, forcing you to pull away from the other players and dodge them. These attacks are pretty easy to see coming, and they do not follow you when you move.
These are all the attacks that Phoinix uses in its first and second phases. After you beat it, you’ll have a chance to roll on any of the Unsung armor pieces available for you if you do not have a reset timer for the dungeon.


Published: Dec 21, 2021 12:53 pm