
Atomic Heart’s open world is littered with dungeons called Testing Grounds. These are areas that test a player’s knowledge of the game’s systems and hold some of the best weapon upgrades you can get. This guide explains how to get into and complete Testing Ground 9.
Related: Atomic Heart endings, explained
How to enter Testing Ground 9
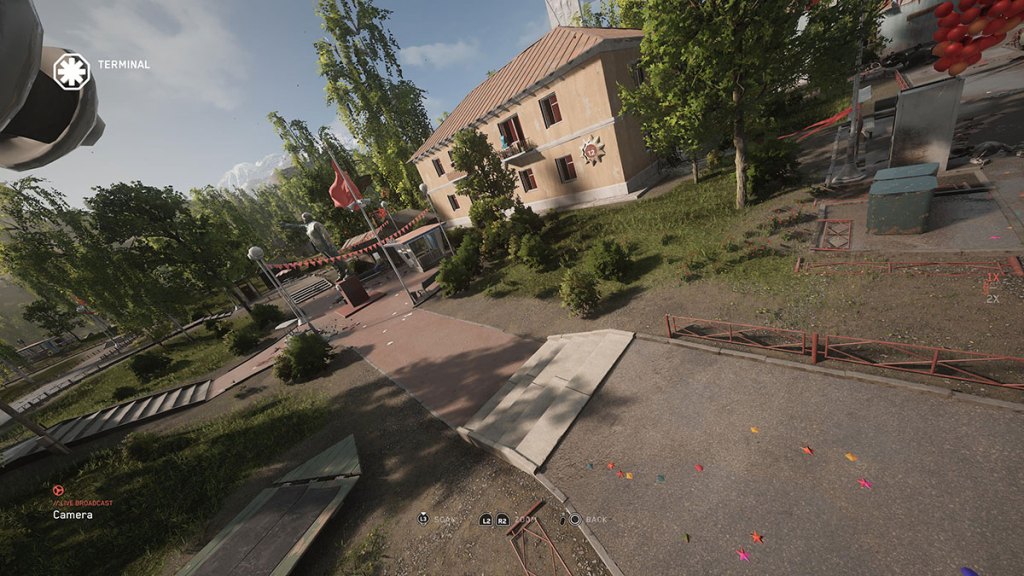
Getting into Testing Ground 9 is no easy feat. You need to get to the Kollectiv Complex, the large building close to Testing Ground 8 with two huge statues on it. The Testing Ground is in the small town area next to this building. The area is packed with Mutants and Sprouts, so you should go around and clear them all out. Don’t worry about robots because the local HAWK Security System is offline due to the Hawk Balloon Drone being trapped on the ground by some plants.

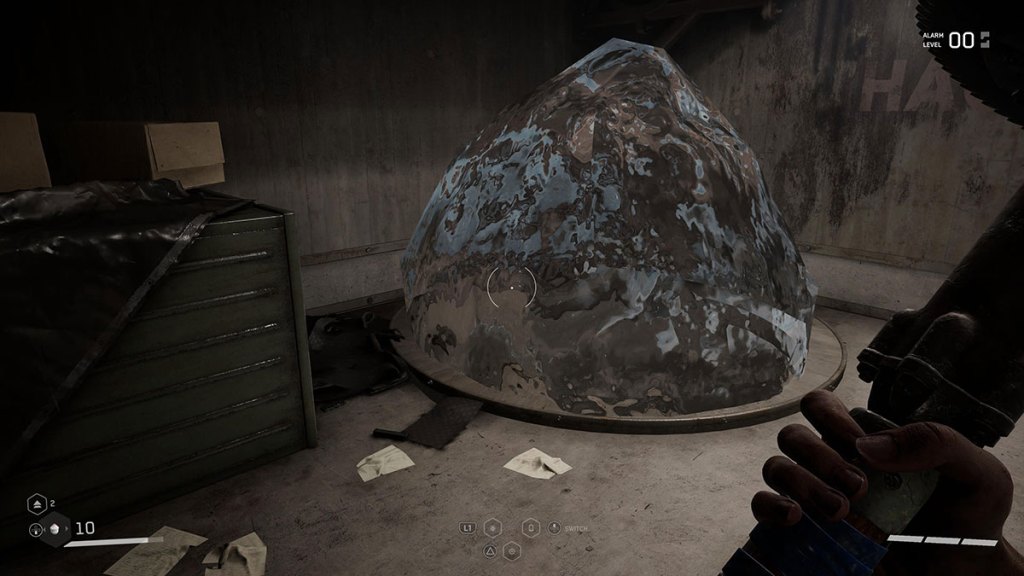
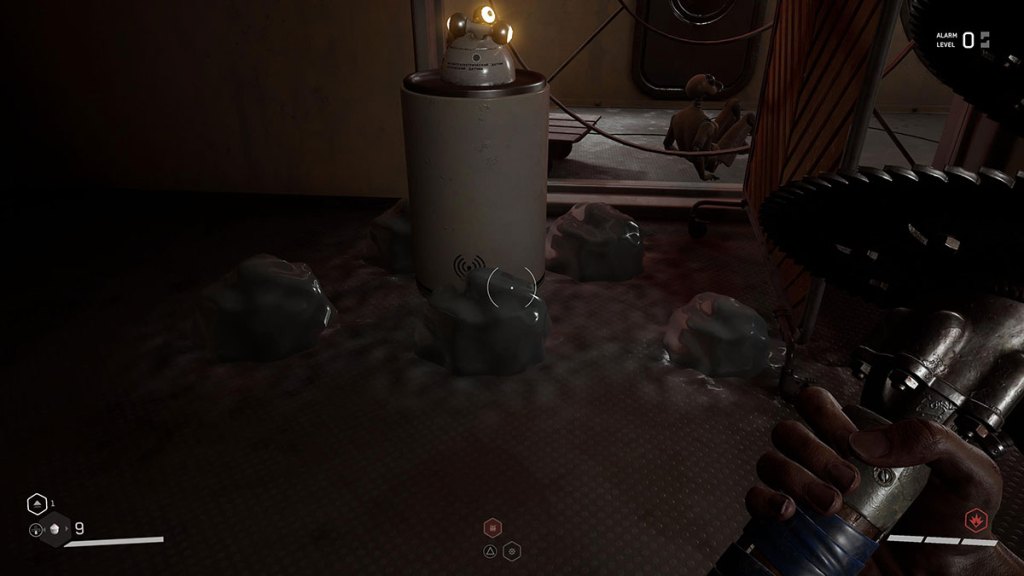
To free the trapped Hawk Balloon Drone, you need to get underground. Look around near the large mushroom-shaped building to find the only open manhole cover. Jump in, and you’ll find a network of tunnels to explore filled with more Mutants and Sprouts. There are some branching paths, but they all lead to dead ends, so explore and follow the main path until you’re in the boiler room.

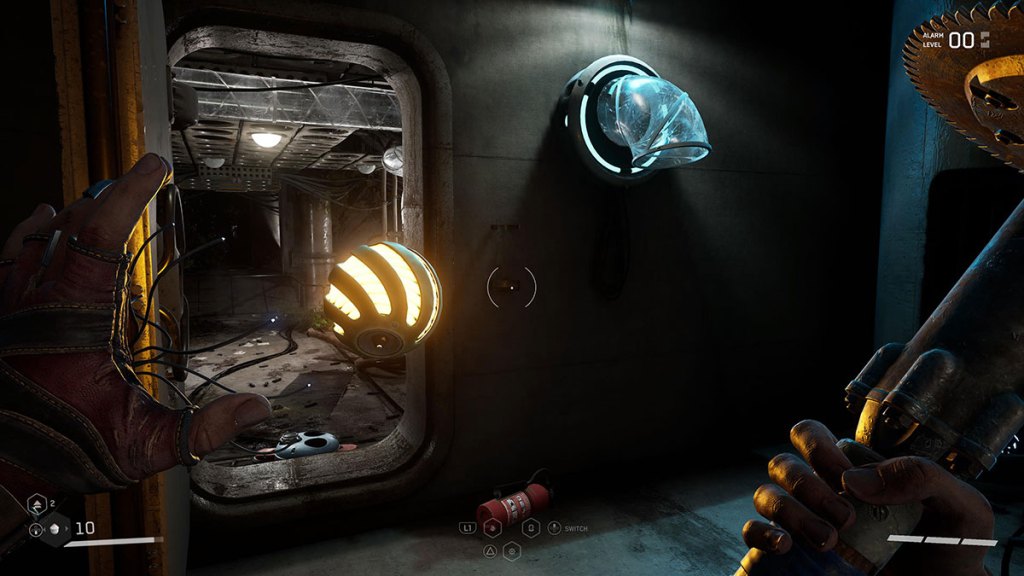
In the boiler room, you’ll see the plants that are holding down the Hawk Balloon Drone. Solve the locks on all the doors nearby to find a case full of batteries. You need to pick these up and pull them through the tubes in the boiler room by pushing them into the tube near the locked door. You’ll have to guide one into each of the four boilers. Follow the tubes first to make sure you know where you’re going. Then, move the batteries into the boilers one by one. There is one boiler at the back of the room that’s very difficult to get a battery into. We had to continuously spam the grab button to get the battery to move, and even then, we thought we’d get soft-locked.
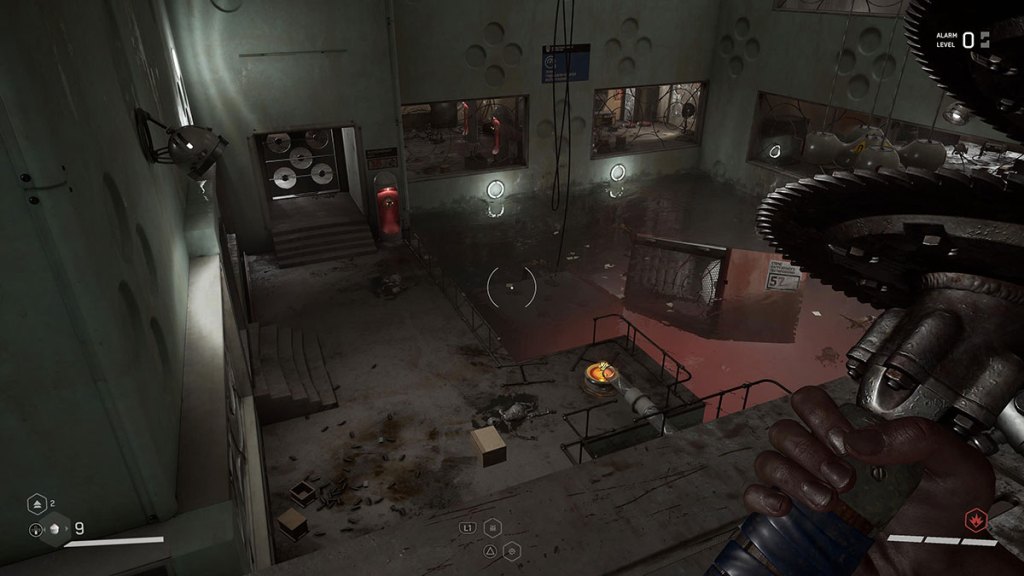
After the final boiler bursts to life, the area will fill with smoke. You can explore a little more behind a locked door to find some useful resources, but there’s no other reason to stay down here. Find your way around the corridors until you see a glob of Polymer. You need to hop into the Polymer and swim out into the lake.
Once you’re outside, the security system will be working again. Watch out for the Dandelion cameras and make your way to the blue building on the opposite side of this town area. It has a yellow pole on the side you can climb.
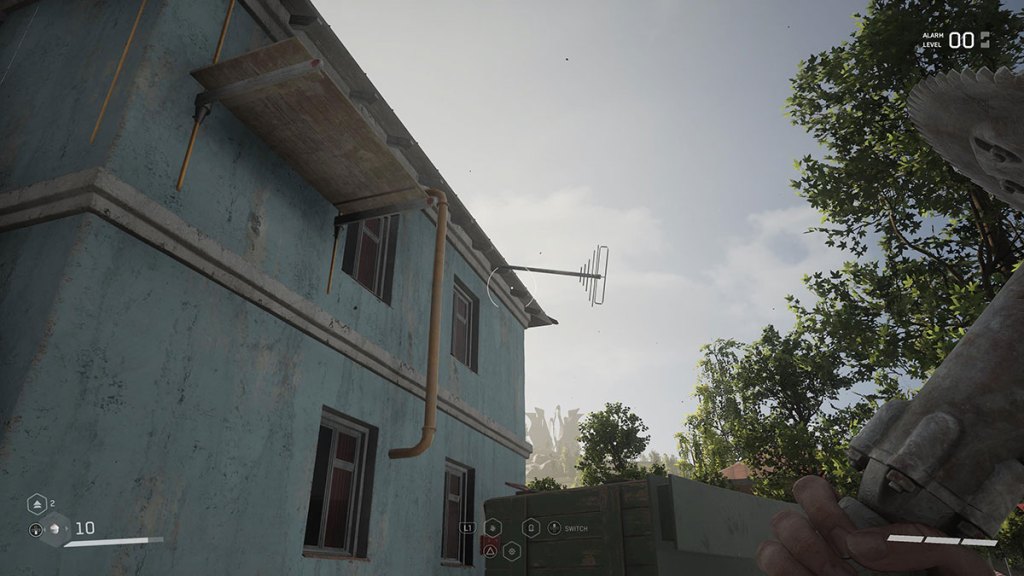
At the top is a camera interface. Interact with it and find a camera that can look at the small statue in the middle of the town square. This camera can now interact with the shack behind that statue. Do so, and you’ll open a door.
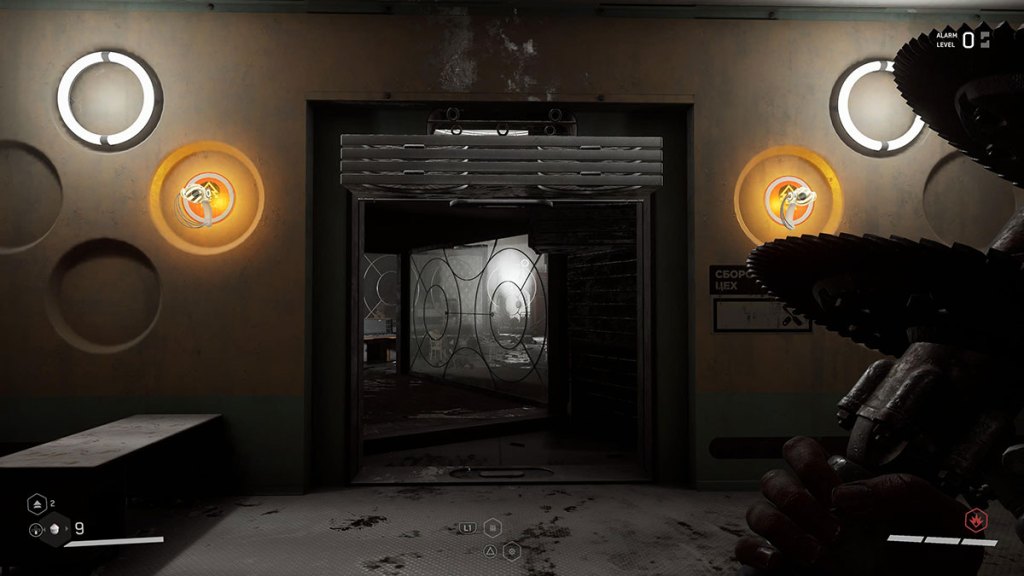
Run over to the shack to find an elevator you can take down into Testing Ground 9. Now the trials really begin.
Testing Ground 9 walkthrough
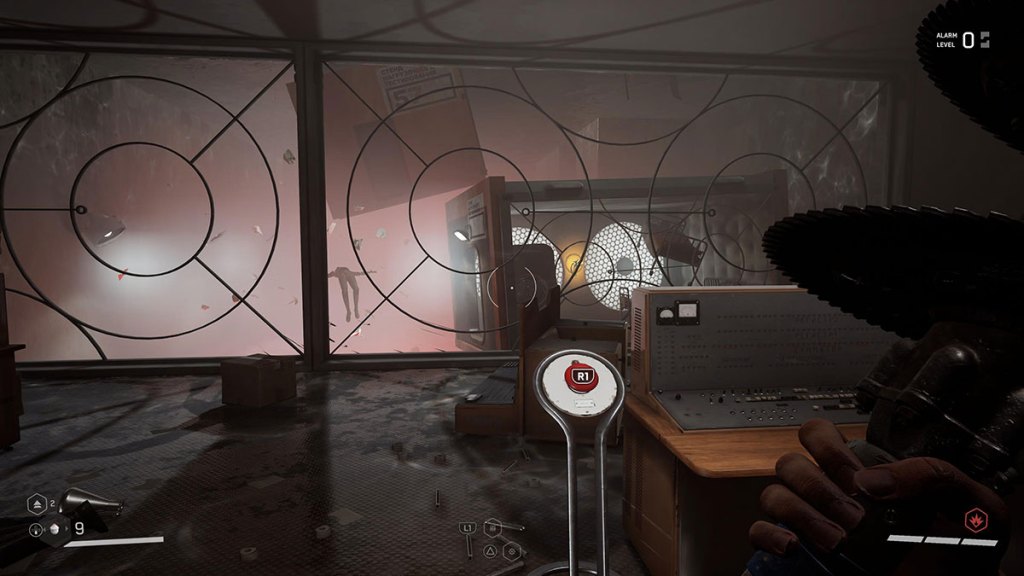
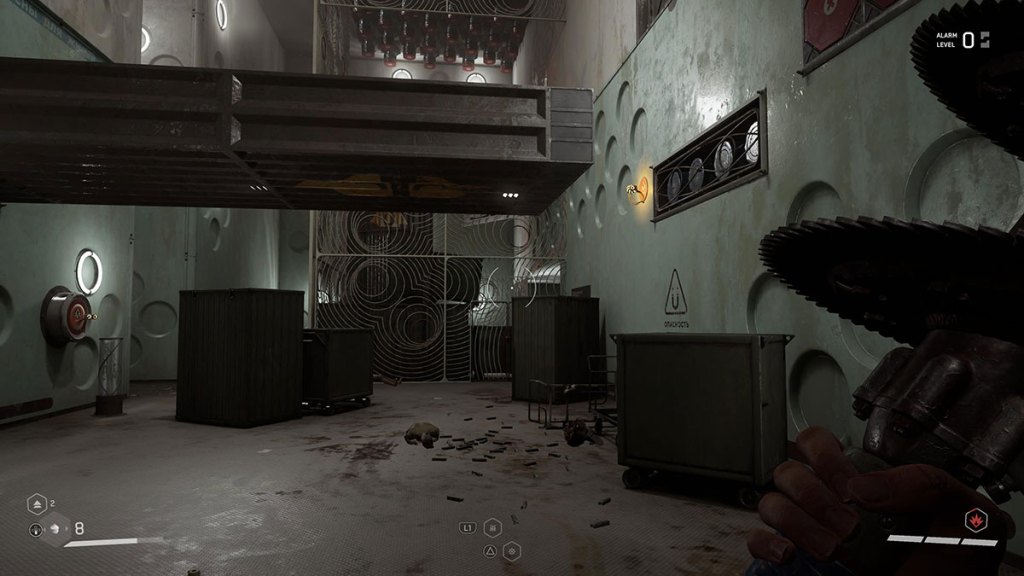
The first challenge inside this Testing Ground is getting through a door. The door is locked, and if you use Shok on a nearby terminal, it will open for about one second before closing. It’s broken, but there’s no way to fix it. You need to head to the nearby vending machine and equip the Polymer Jet glove ability. Spray Polymer around the base of the terminal and then use Shok on it. This will cause the door to open and close a few times, giving you space to sneak through.
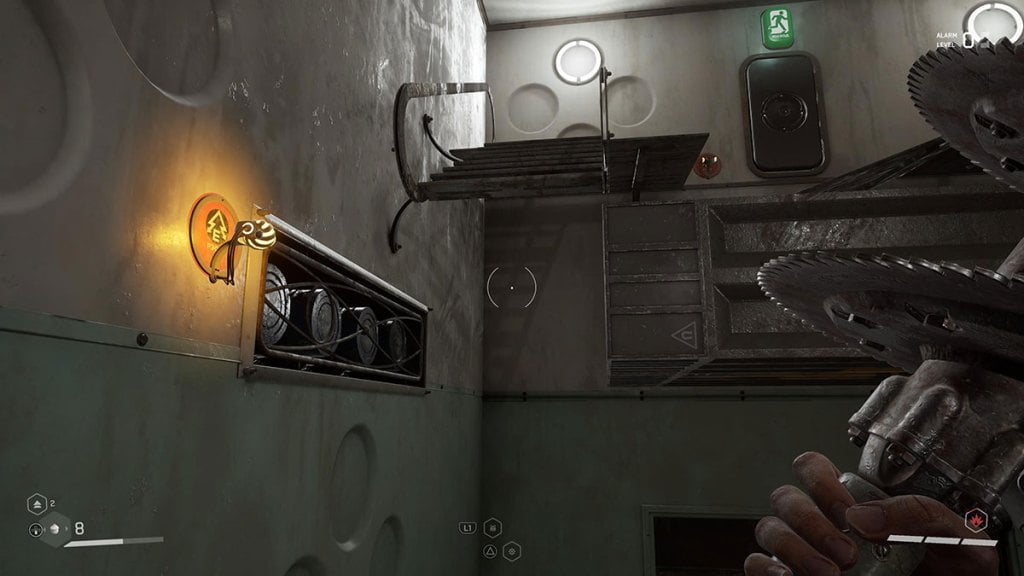
In this next room, you’ll see a battery in a receptacle. Move it to the receptacle in the red area to partially open the door. Sneak under, and you’ll find a bronze treasure robot in a nearby room with the KS-23 Collimator Aiming System Blueprint inside.
Head through this area, and you’ll find a room with a switch. The switch opens the door to a habitat in the Polymer through the glass. go back up the stairs, dive in, and get the battery from inside. With the battery in hand, crouch and go back under the door you opened and put the battery in the receptacle just on the other side of the door. Now you can go back out and grab the first battery you moved to open that door and bring it inside.

Now you can use the batteries on the two red receptacles inside this room. This will open up a new path forward. Follow the path to a switch that opens the door on the opposite side of the room. Check the chest nearby for the MP Blueprint. Now you need to move the batteries in the opposite way to how you got them in to open this path. Once they’re outside of the initial room you opened, use them to open the door beyond the one you have just used the switch to trigger.
The next area is a combat test. There are many Mutants, Sprouts, and a Plyusch to kill. Focus on killing the Plyusch while smacking the plants and Mutants with a melee weapon as you move around. If you use a fire cartridge, you should make short work of this ground of enemies. After you’ve cleared the room, you’ll find a silver treasure robot with the Dominator Shot Blueprint.
The next room is the final puzzle, and it looks tougher than it is. The gimmick is that you need to use batteries to pull out platforms so you can climb them to the exit. However, you’re only given one. The second one is hidden in the area behind the platforms. You’ll need to use Shok on the magnets on the ceiling to get inside and move up to find it.
Once you’ve got both batteries, you can throw them into the receptacles one after the other to use the platforms as a staircase. You need to put one into the receptacle by the door to actually exit. Just next to the elevator to the surface is a gold treasure robot with the Kalash Electromagnetic Attachment and Pashtet Handle Blueprints. There is no boss at the top of this elevator like there is in Testing Ground 8, so you can run to the nearest save point and look for your next challenge.
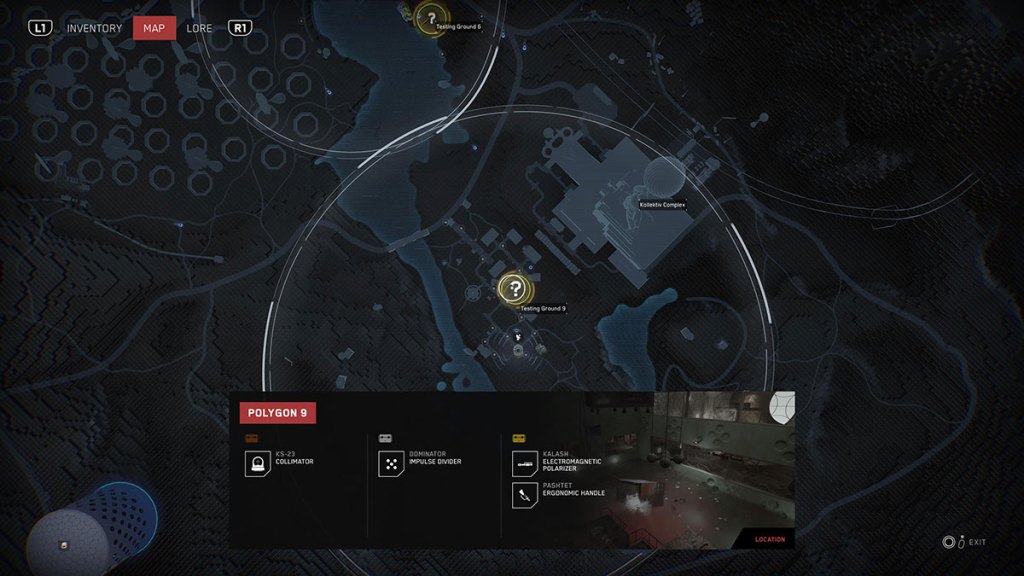
Is Testing Ground 9 the same as Polygon 9?
Yes, if you check the in-game map, you’ll see that Testing Ground 9 is also referred to as Polygon 9. The names are used interchangeably because, for you, these areas are Testing Grounds. However, for the people working and living in Facility 3826, they were known as Polygons, places of work. That’s why you find civilian technology and weapons side by side. Testing Ground 9 is where you’ll find the habitation cells used for the people you encounter in Neptune towards the end of the story. This location seems to be where they were developed.


Published: Feb 24, 2023 04:18 pm