Testing Ground 8, or Polygon 8 as you may know it, is one of the optional dungeon labs you can access in Atomic Heart. Inside you’ll find some incredible rewards in the form of Blueprints for extra weapon customization options. This guide explains how to get into, complete, and escape Testing Ground 8, because it is far from simple.
Related: Atomic Heart endings, explained
How to enter Testing Ground 8
Before you can even get inside Testing Ground 8, you need to do some camera hacking and enemy dodging. The entrance to the Testing Ground is located in the medical building that you visit as part of the main story. It’s got two cameras out front and is swarming with enemies. Quietly work your way around the side of the building and climb onto the roof. At the very top, there’s a security camera interface.
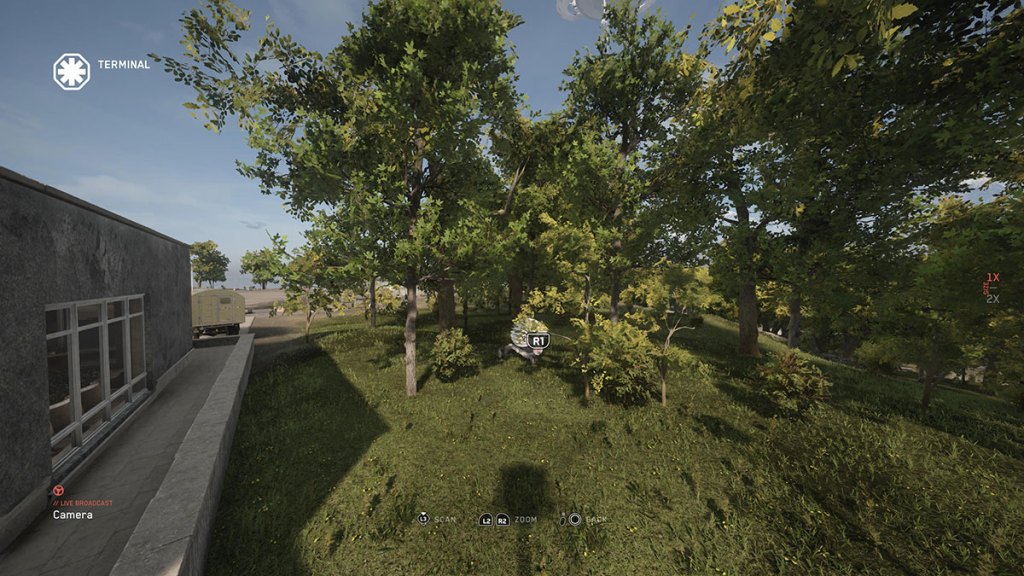
Interact with the security camera interface, and you’ll be able to hack into any of the nearby cameras and see what they see. This is handy because there are three generators around the building you need to activate. The first one is at the building’s front. See below for an image reference for where it is.
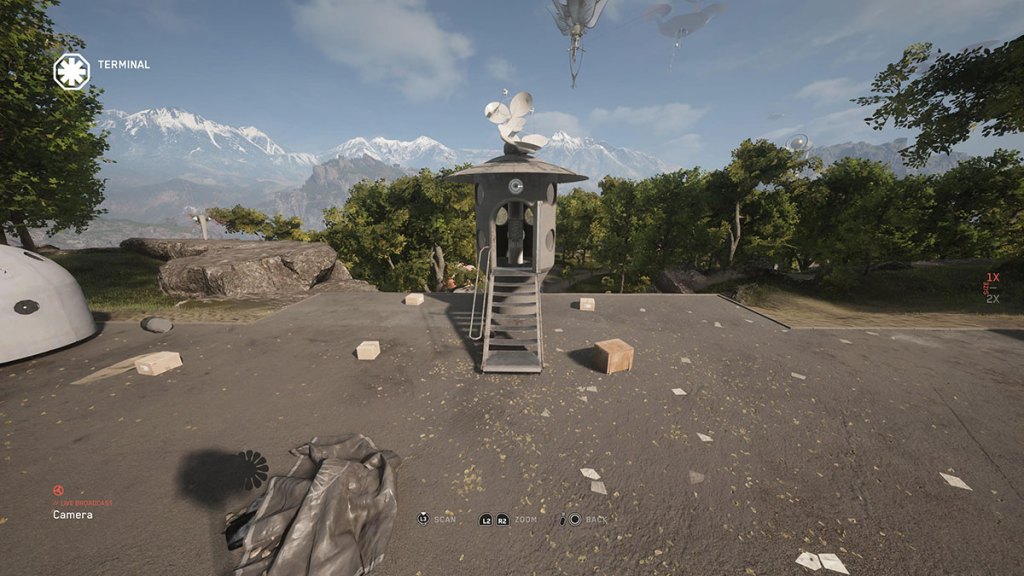
The second generator is at the back of the building at the top of the large circular structure there. You can’t quite see it when using the camera, but you can interact with it, which is enough. See below for an image reference for this generator.
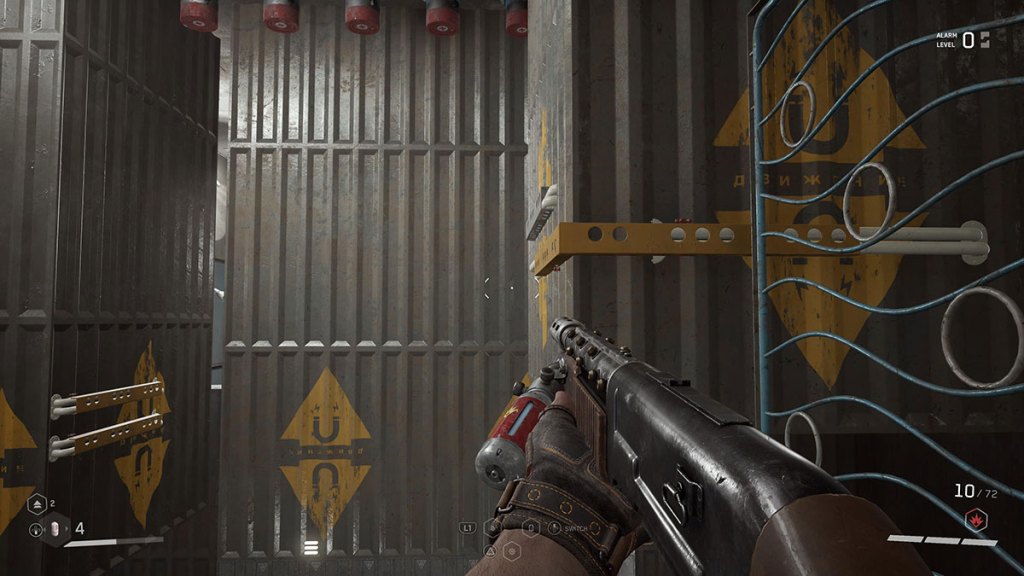
The third generator is in the left-hand corner of the circular structure. The camera can see this one quite well, so turn it on, and you’re done. See below for an image reference for this generator.

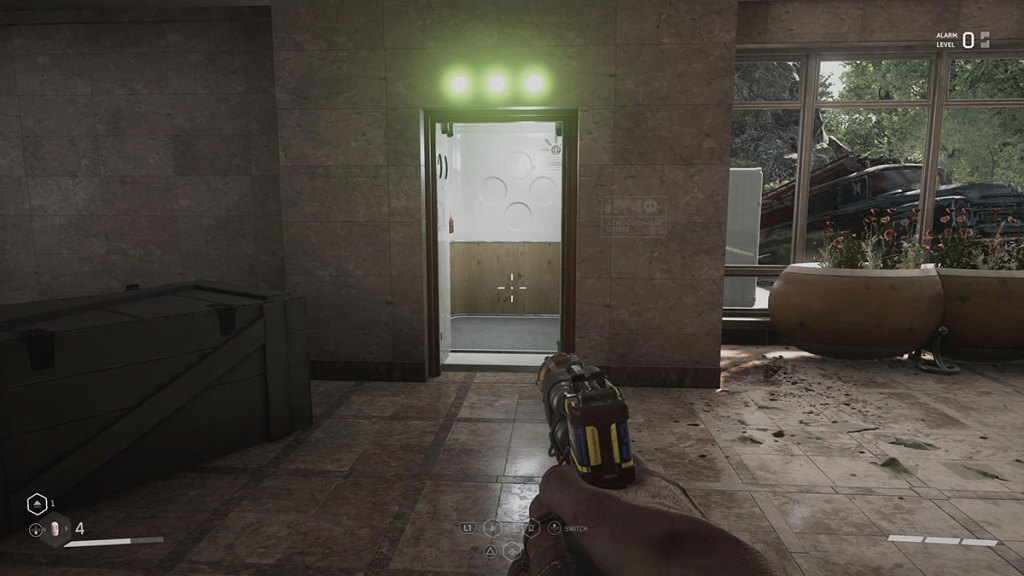
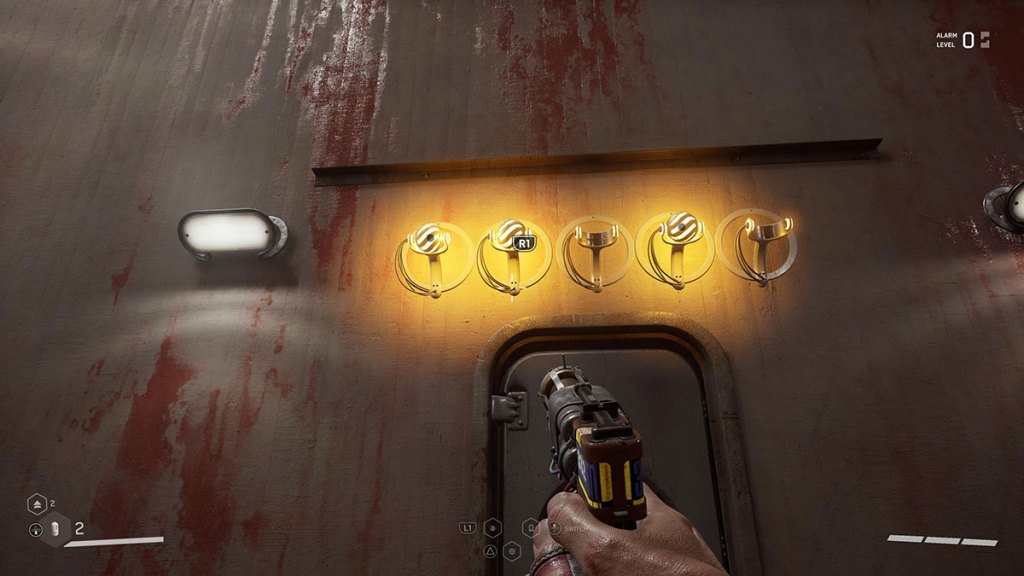
Now all you need to do is go back inside the building and head for the entrance. To the left of the front door is an elevator door that should have three lights above it. The door will be open, and now you can descend into Testing Ground 8.
Testing Ground 8 walkthrough
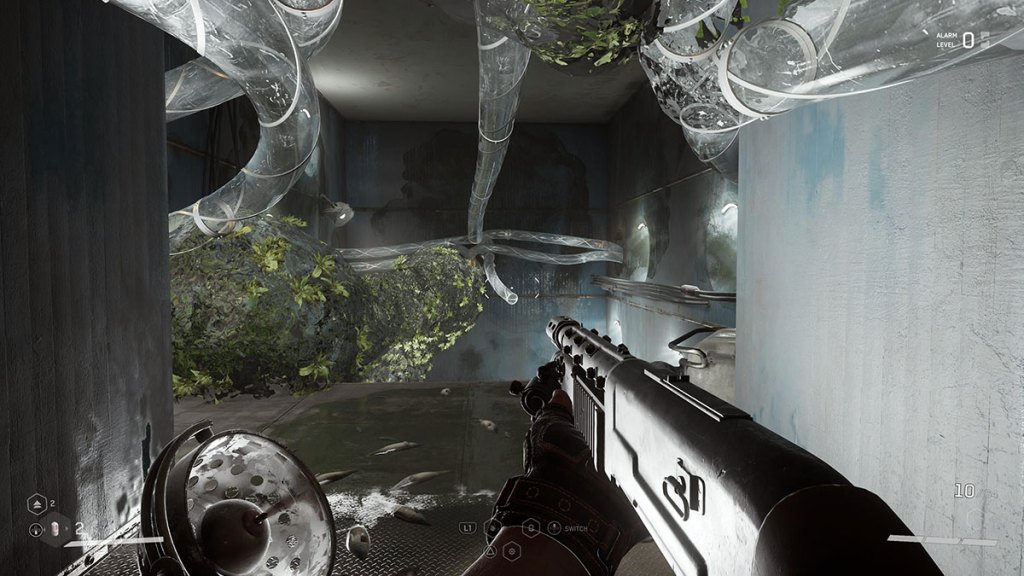
As soon as you enter Testing Ground 8, you’ll see multiple paths to explore. Save the one with the magnet wall puzzle for a moment and find the nearby chest. Inside, you’ll get the Shotgun Shells Recipe. With that out of the way, head into the magnet wall room. This puzzle is trickier than the others you’ll have completed because the magnet walls are a smokescreen. You need to get them to move up so you can use the posts across them to climb.
Once you’ve climbed as far as you can, jump onto the platform and change the magnet walls once more. This allows you to reach the exit, where you can find a bronze treasure robot with the Zvezdochka Extra Saw Blueprint—one of our favorites.
The next area also has a few routes you can explore. The main path forward is through the small circular door on the wall with the number 6 on it. This leads to a combat arena. You need to kill every enemy before the exit will open. There are a few places to scavenge resources here, but the best source is the flying robots that can kill you if you’re not careful. To leave the area, climb on top of the containers and then use the yellow pole with metal struts to climb out. As soon as you leave, you’ll see a silver treasure robot with the Fox Blade Blueprint inside.
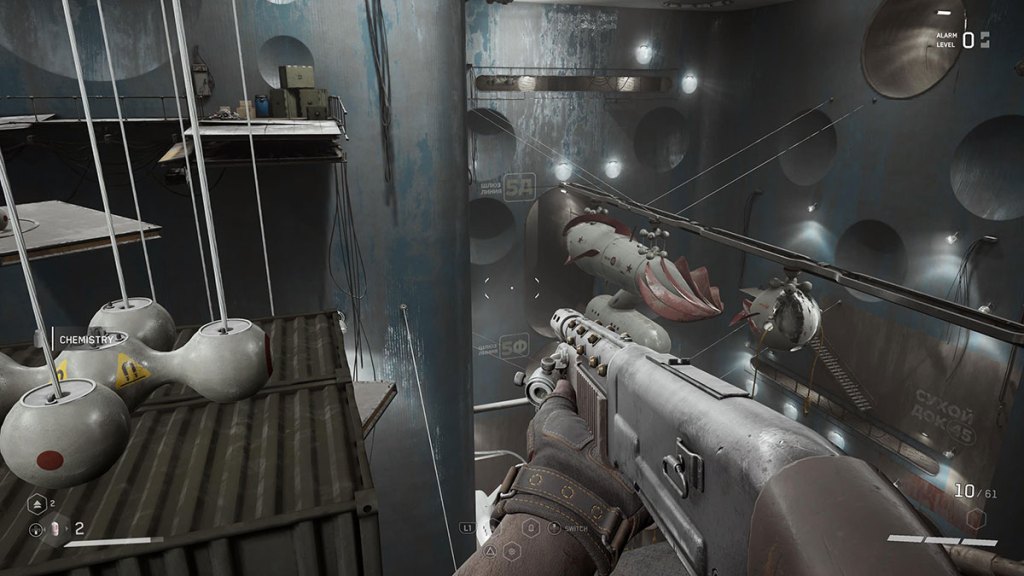
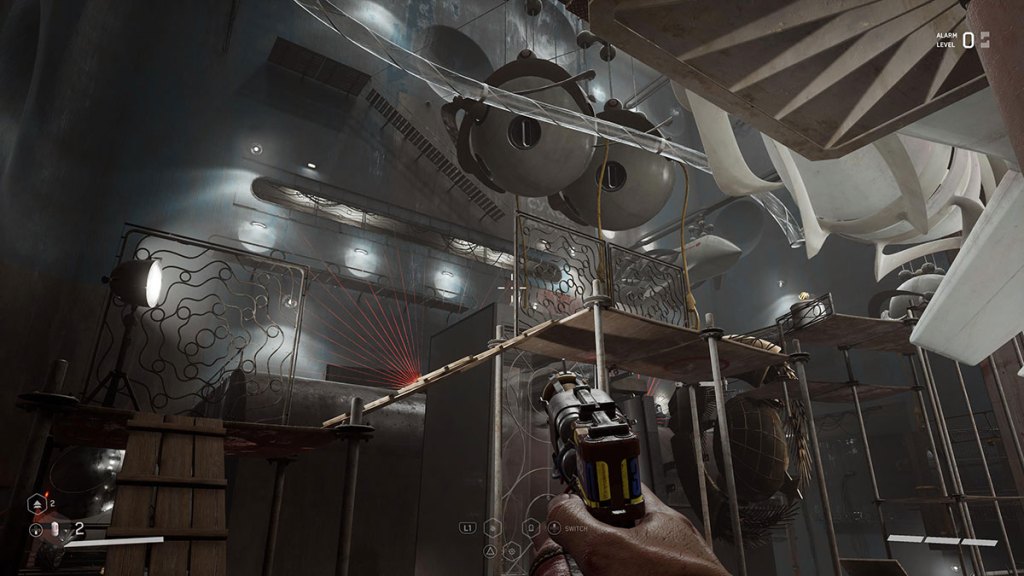
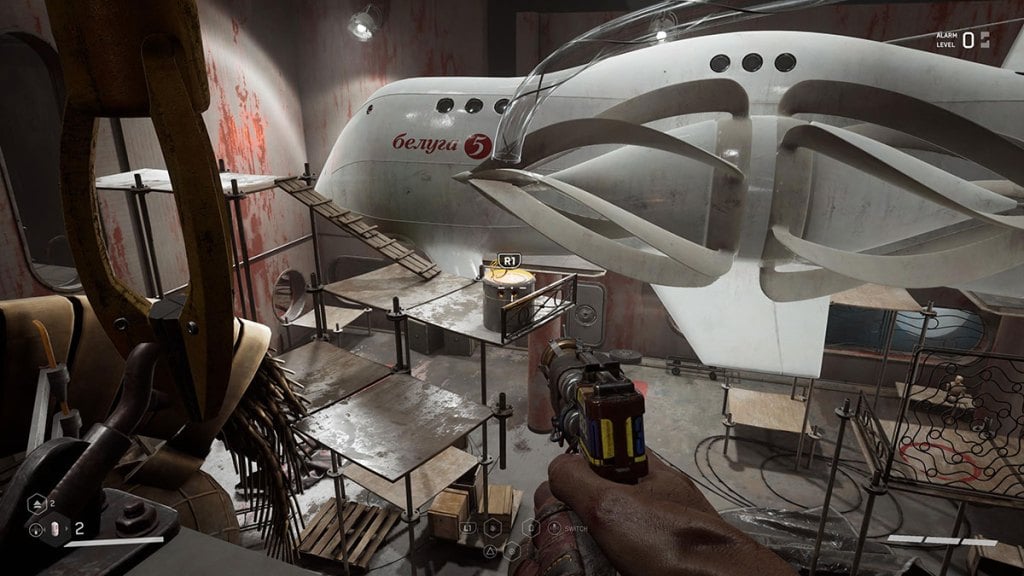
Explore some more, and you’ll stumble out into a massive submarine assembling facility. This is where you must jump across hanging platforms to reach the other side. Make sure you save because you can easily die here. The treasure robot here is mysteriously broken and has blue hands. We believe this could be a reference to Poppy Playtime. However, if you explore a little more, you’ll find a hole in the wall leading to another platform. In the chest there, you can get the Swede Handle Blueprint.
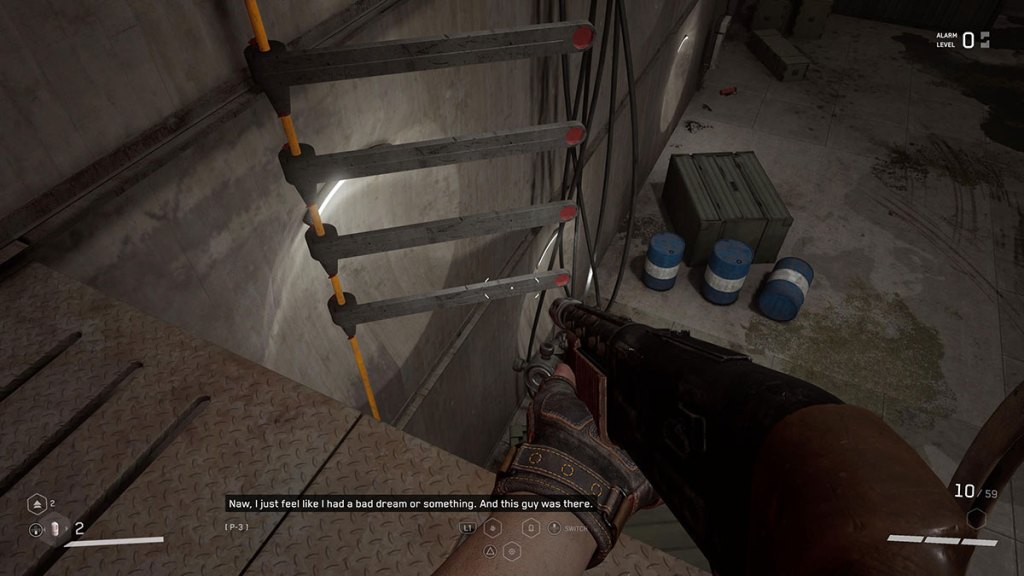
In this same area, you can find a hidden chest at the bottom of an elevator shaft. Inside is the Fox Blueprint.
The only other way out of this area is through a corridor with Polymer around it, so hop into the goop and swim down to the bottom. This room doesn’t have anything in it, so jump down the hole. There’s Polymer at the bottom, so you won’t die.
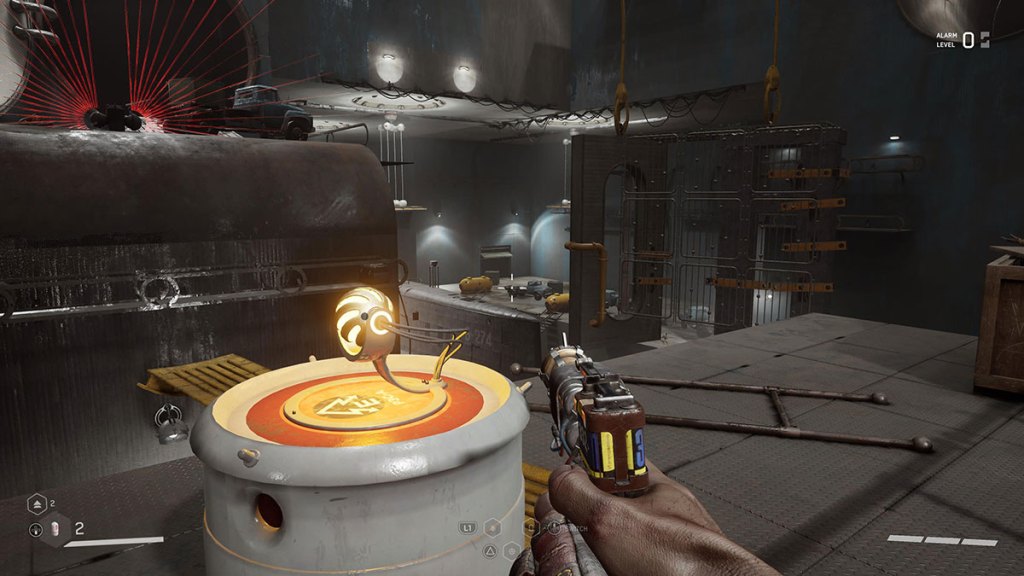
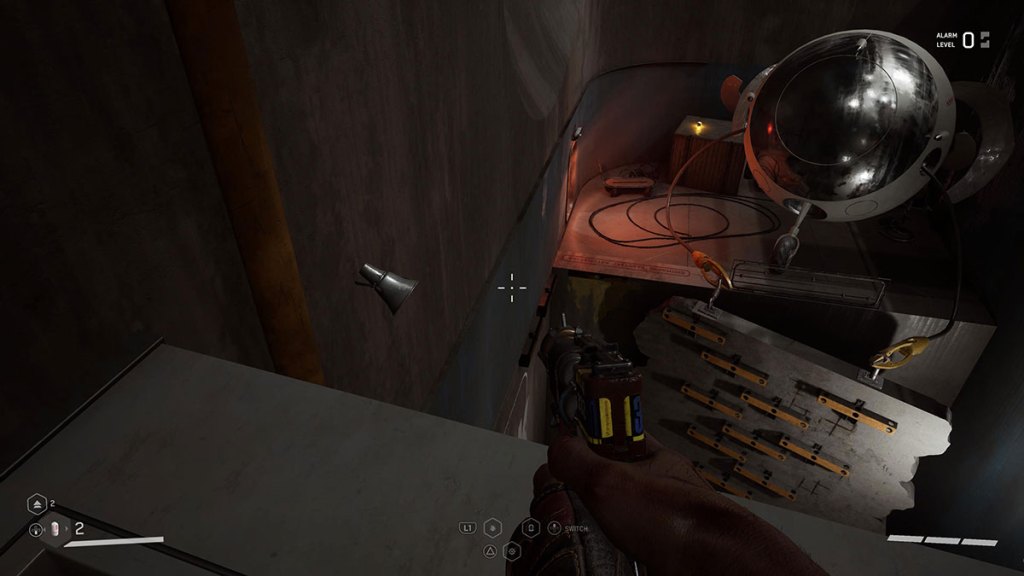
This next room has glowing batteries falling into it. You need to pick them up with your glove and throw them by holding the grab button until you’ve charged up a shot into the battery receptacles above the door. You need to rush through this door fast after opening it with the nearby button because it’s on a timer.
This next room has a few stages to its puzzle. First, climb up the wooden stairway on the left-hand side of the room until you can grab the battery with your glove. Then, head back around to the right and put the battery in the receptacle. This will trigger a wall to move over from your right. It has climbing poles on it, so you can jump on and make your way around to the other climbing wall in the middle.
After you’re on the wall in the middle, you can jump onto the nearby platform to search for a chest. Then, jump onto the wall again and make your way across it until you can jump onto the wooden platform on the opposite side. Put it back into its original receptacle, and a different climbing wall will move across for you.
Climb this wall and drop onto the platform. Then, climb the far side and jump back on yourself to get to the top. You need to grab the battery with your glove and drop it, so this wall moves across to the side of the room you’re in.
The next section is easy. Jump onto the yellow pole, slide down, and leap over to the climbing wall before climbing up to safety. Just outside of this room is a golden treasure robot with the PM Reinforced Bolt and Swede Blade Blueprints.
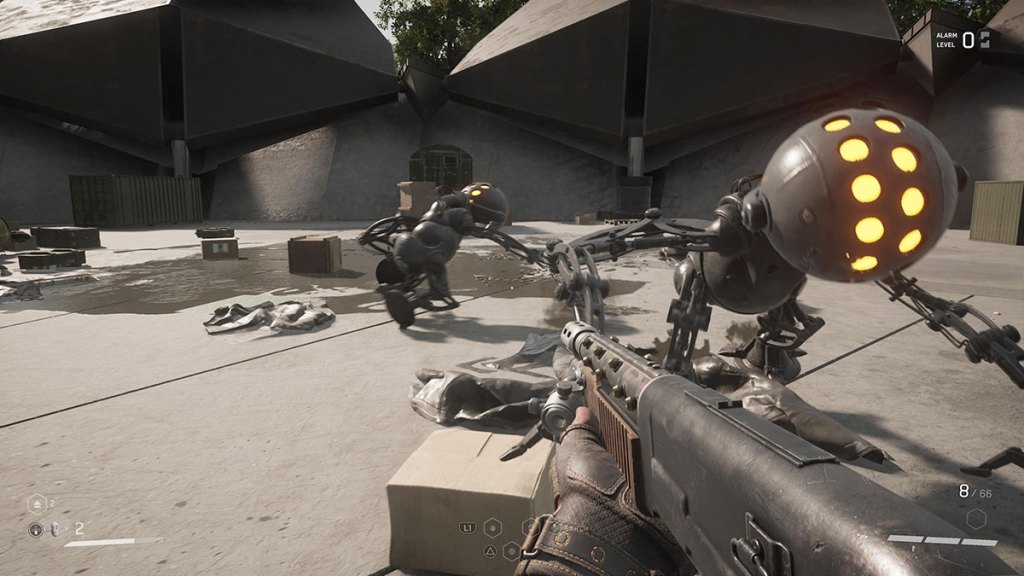
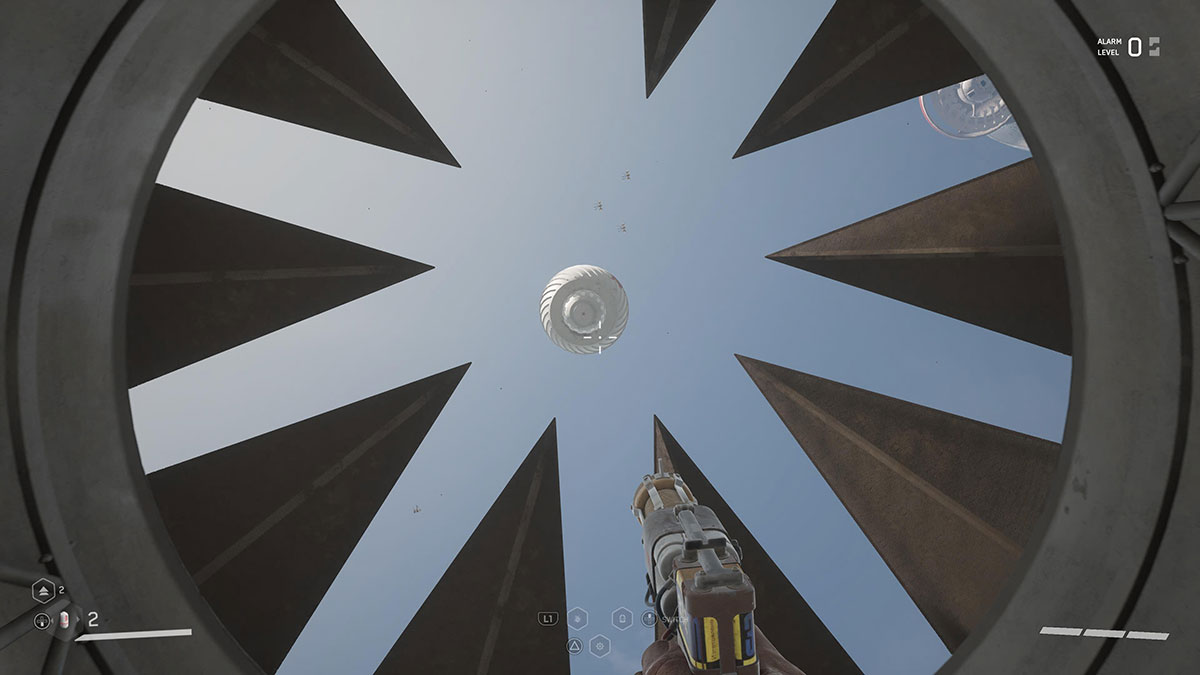
To exit the Testing Ground, take the dark elevator up. The ceiling will open in a beautiful movement that’s very cinematic. Then, you’ll be ambushed by two Belyash robots. These are much smaller and easier to deal with than the M-9 BELYASH boss fight. Try to focus on killing them one at a time and then take their parts for your crafting stores.
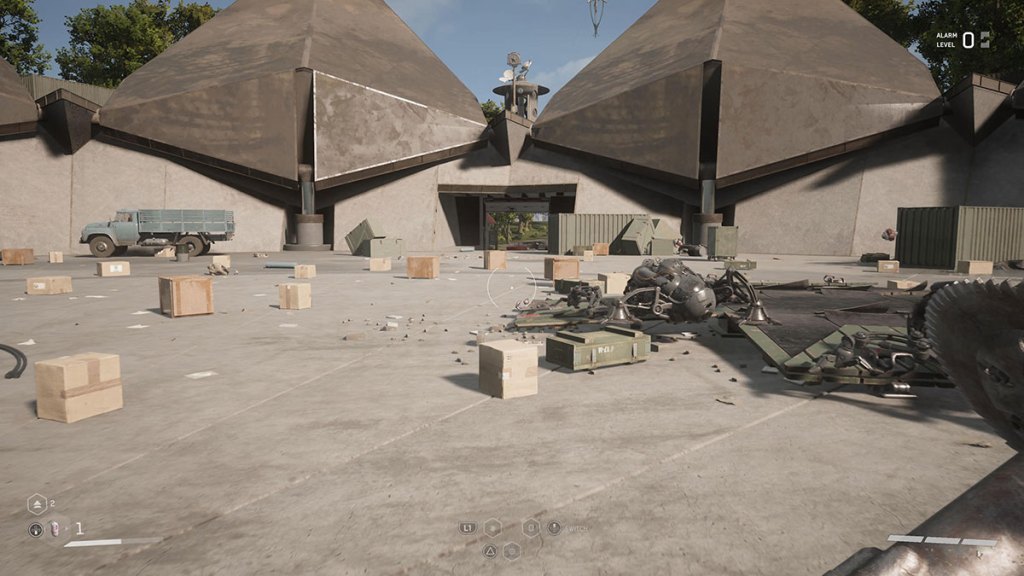
After you’ve destroyed the Belyash, you’ll need to wait a little while. The main door to this area will eventually open and leads out right next to a save point and a car, so you can quickly move onto the next Testing Ground.
Related: How to get the Kalash AK-47 in Atomic Heart
Is Testing Ground 8 the same as Polygon 8?
Yes, Testing Ground is Polygon 8 and vice versa. The names Testing Ground and Polygon are used interchangeably in the world of Atomic Heart, Facility 3826. If you check your map, you’ll see all the Polygons listed as Testing Grounds with the appropriate numbers. However, hovering over them shows that they’re actually locations, dungeons, called Polygons. These hold many weapons and other pieces of technology because they’re underground labs where people worked before the robots started killing them.


Published: Feb 23, 2023 08:55 am