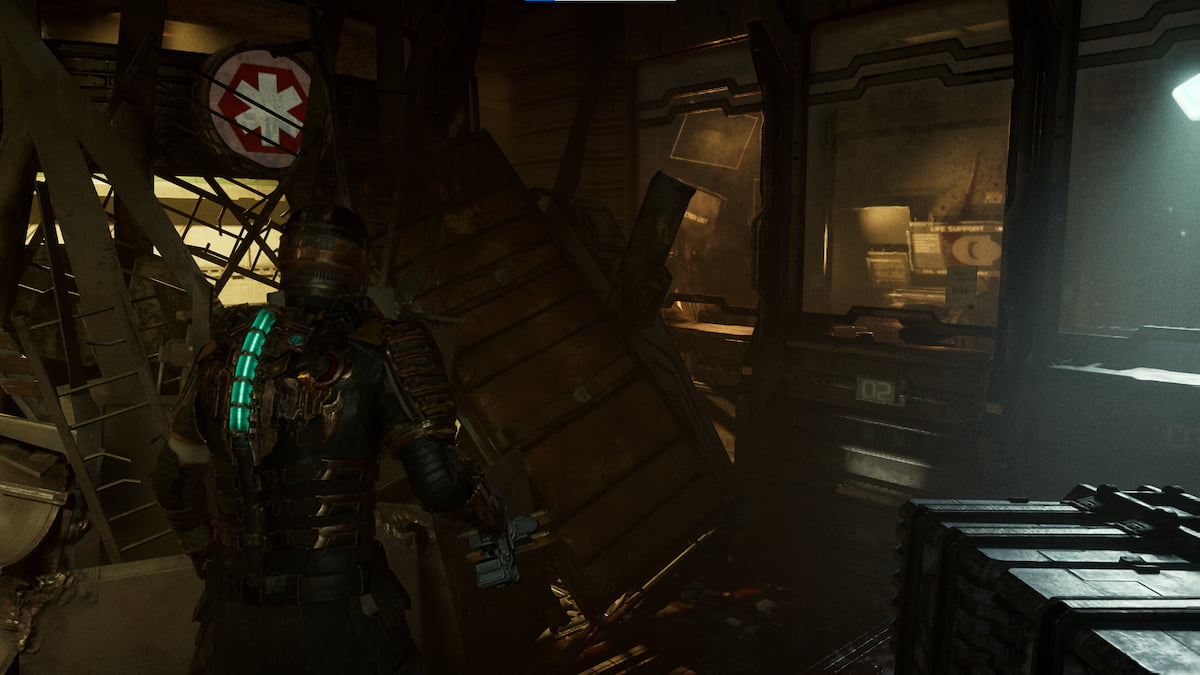
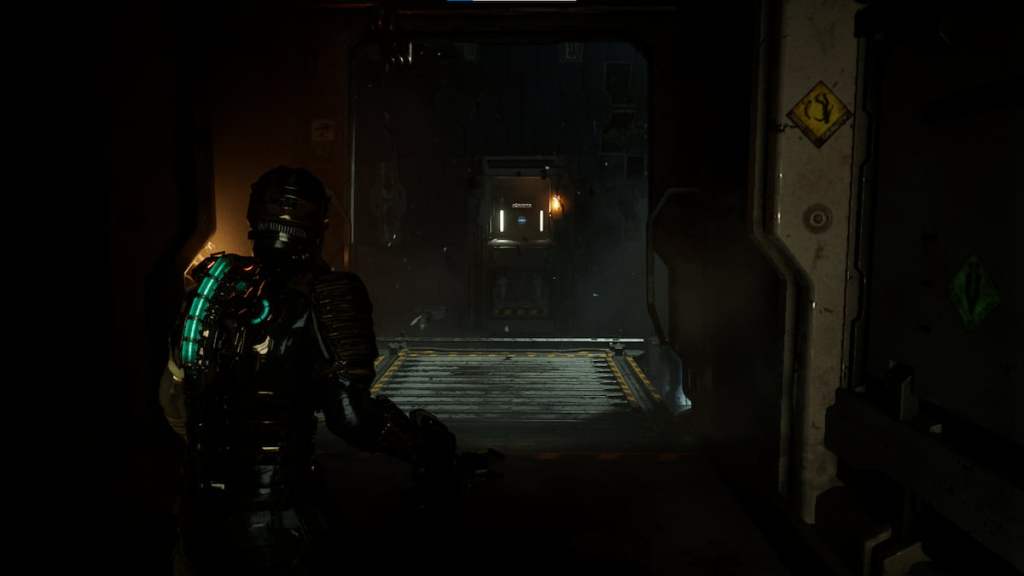
There is a barricade blocking your path on the Medical Deck in the Dead Space remake. Although the barricade is not perfectly structured, it requires more force for you to put on it than other things you’ve encountered. You’re going to need to make an explosive device. Isaac will need a handful of items to make this explosive to destroy the barricade. Here’s what you need to know about how to destroy the barricade on the Medical Deck in the Dead Space remake.
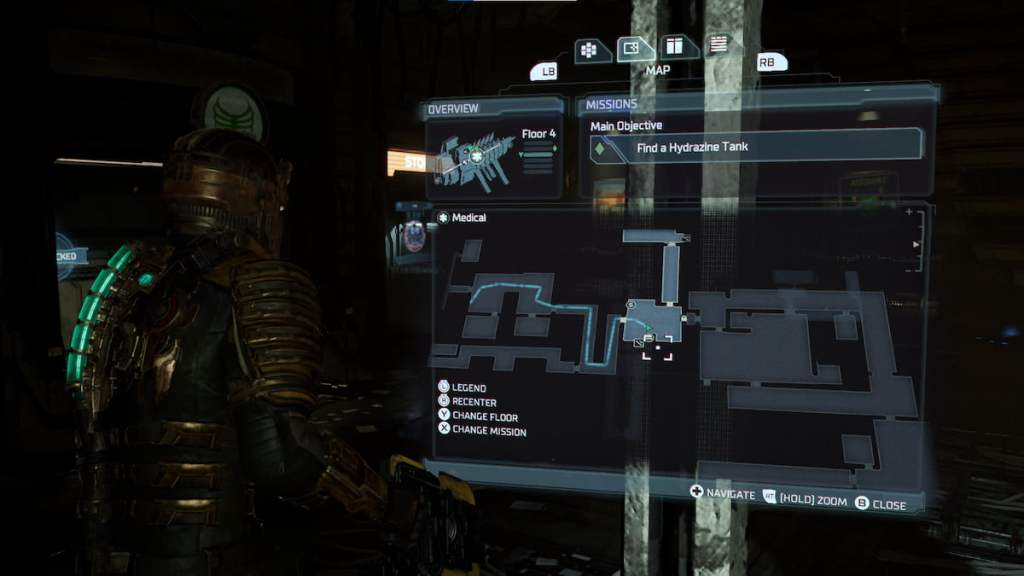
Where to find the Hydrazine Tank
The first of the two items Isaac will need is a Hydrazine Tank. You can find this one on the same floor as the barricade, so you won’t have to go too far to find it. Progress through the west side of the map and make your way to the Imaging Diagnostic room.
Related: How to open locked doors in the Dead Space Remake
When you reach the main room, a large container will block your pathway to the other side of the room. You will need to use your Kinesis module to manually slide it to the left side and unblock your pathway before advancing.

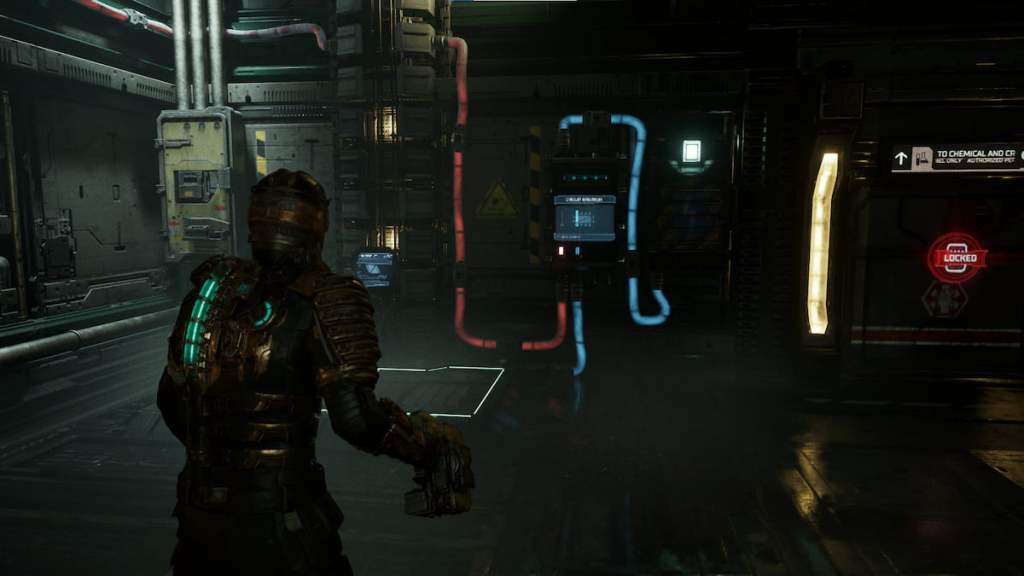
When you reach the other side, a sizeable container will be sitting on the desk that you can move using your Kinesis module. Grab it, turn around to the Circuit Breaker, and slide the power device into it to activate this part of the medical room. You can now use it to access a back room in the first room you were in previously and the elevator to reach the second floor.
Take the elevator to the second floor, and there will be a platform in the middle of the room. Use your Kinesis module to slide it over to the right side, allowing you to bypass the gap.
When you reach the other side, turn to the right, and proceed down the hallway to a Zero Gravity area. You don’t want to linger in this location for too long because you have limited oxygen. After reaching the next door and it shuts behind you, the oxygen counter should disappear. The next area will have a massive gap between you and the next room, and you will need to activate Isaac’s RIG flying.
Finally, when you reach the other side, you can find the Hydrazine Canister on a desk. You can proceed to the next step to find the following item to destroy the barricade.
Where to find the Shock Pad
The pathway to the Shock Pad will differ slightly from your route. As you reach the Zero Gravity area, a large vibration shakes the ship, and the pathway is blocked when you arrive. Instead of going that pathway, you will now need to use your Zero Gravity movement to float upwards, fly to the second floor, and reach a location higher up. This pathway will have an oxygen tank for you to use to refill your oxygen levels. Continue on the pathway, and you will have to go down another elevator shaft using your Zero Gravity movement.
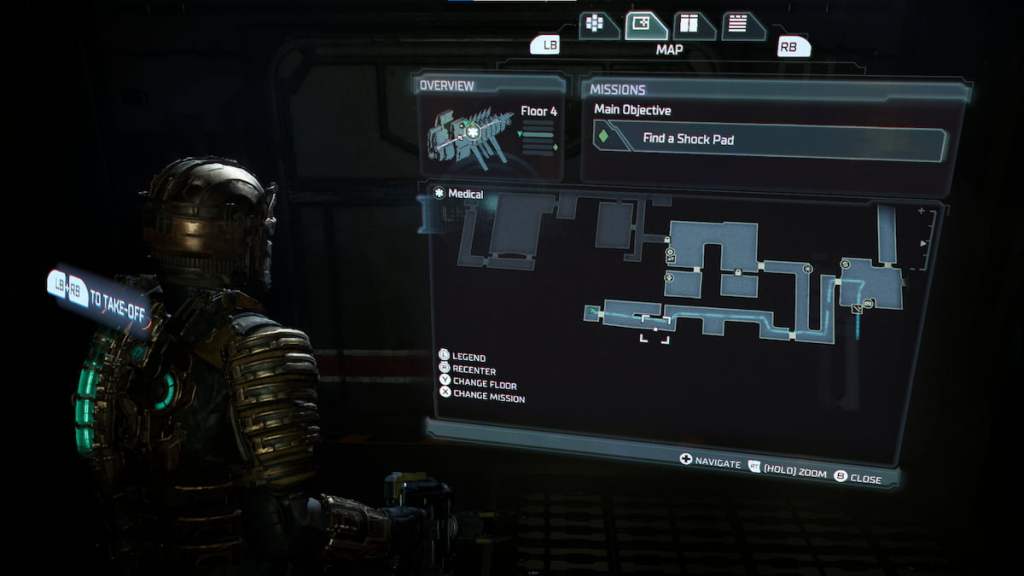
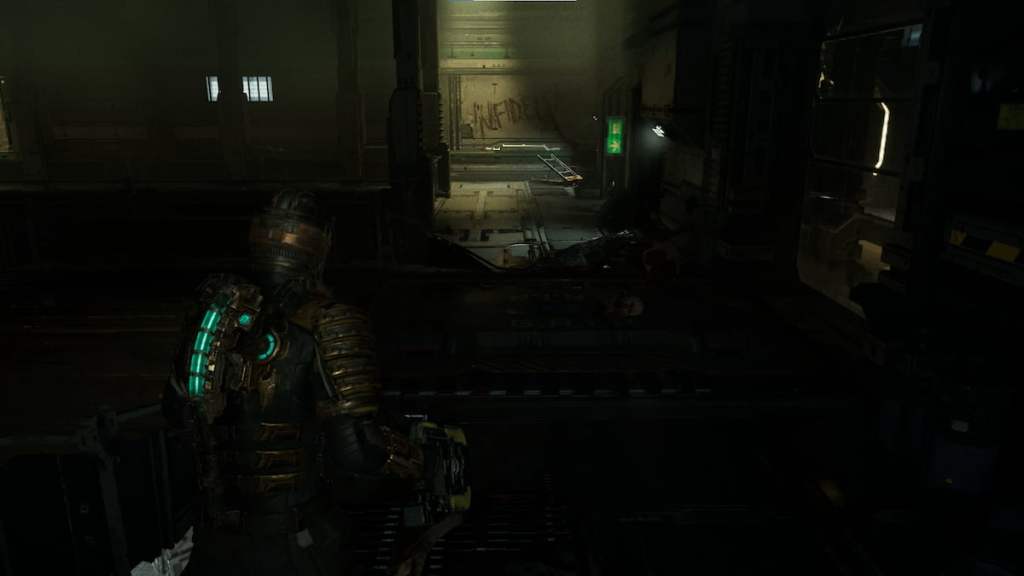
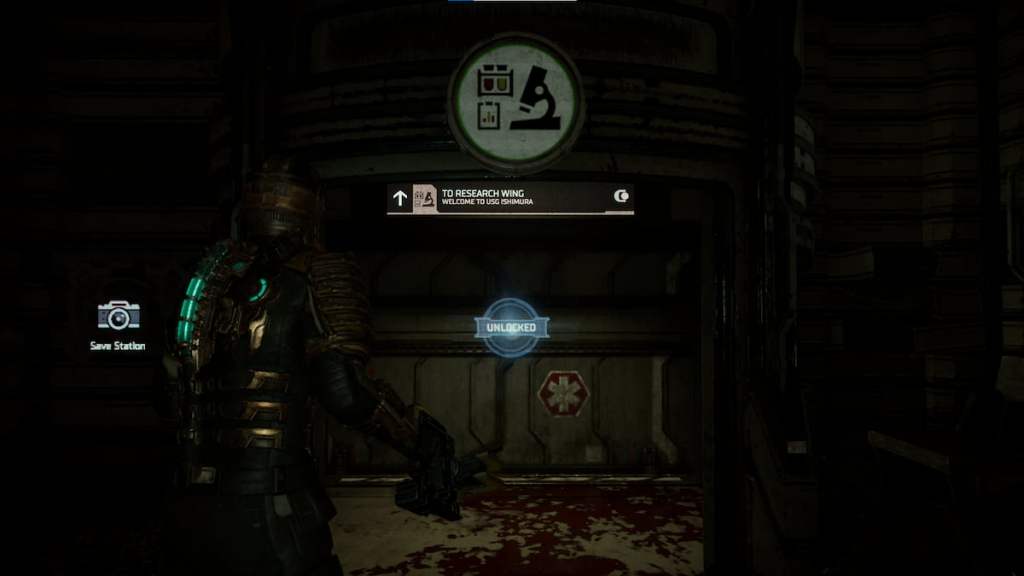
This pathway will take you through the Coolant Pipelines and bring you back to the location outside of the Medical area where you initially started. The route does differ, but it’s not too jarring. When you return to the starting position in front of the barricade, the next route you take will have you go downstairs into the Research Wing.
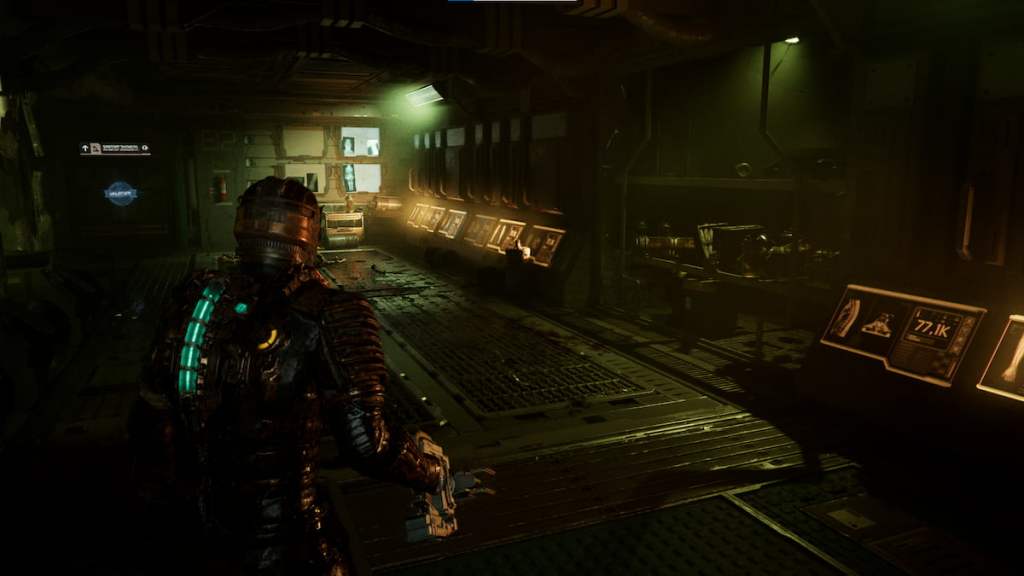
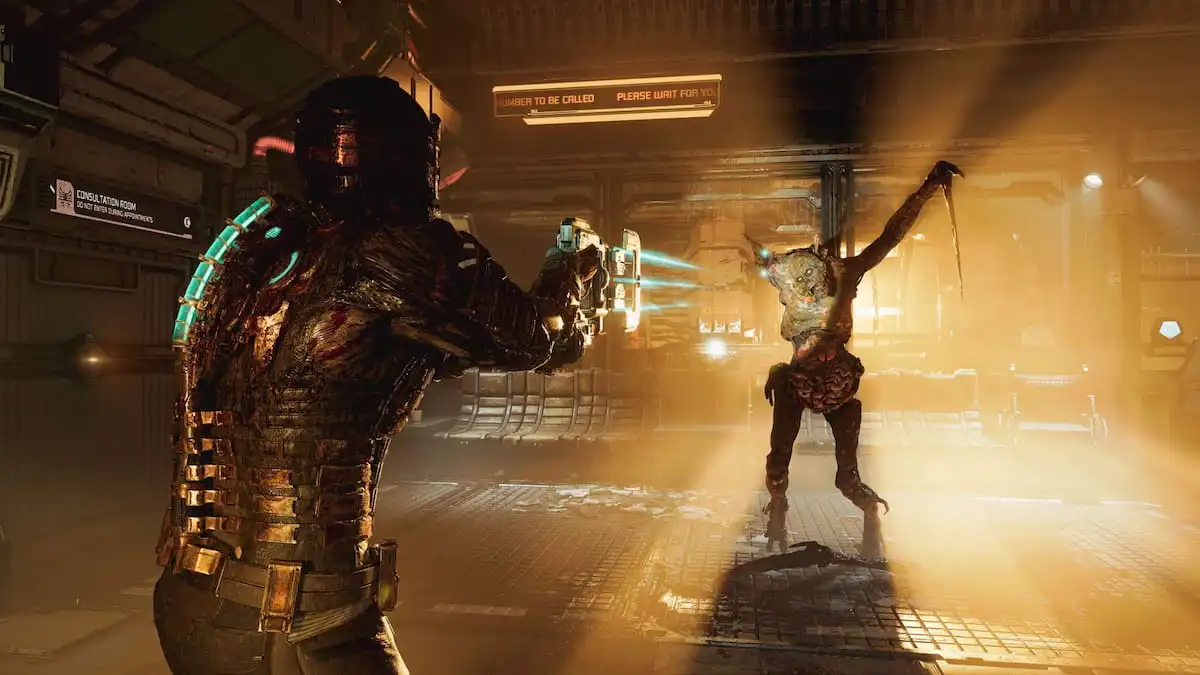
There will be a malfunctioning door halfway down the ramp, which you need to use your Statis Module on slow down and progress to the next floor. You’ll enter the Main Lab on the Medical deck when you reach the bottom of the floor. Unfortunately, shortly after entering this room, it will be locked down in Quarantine, and you expect to encounter multiple Necromorphs as they swarm your position. You need to deal with them on the top floor and then make your way to the other side of the room and go to the bottom floor.
Once all the Necromorphs have been dispatched, you can enter the Main Lab Changing Room and follow this pathway to the Biological Prosthetics Center. It’s a direct shot to that room, and you’re going to find a new, baby-like enemy in this room. You must enter this area, dispatch, and proceed to the second floor.
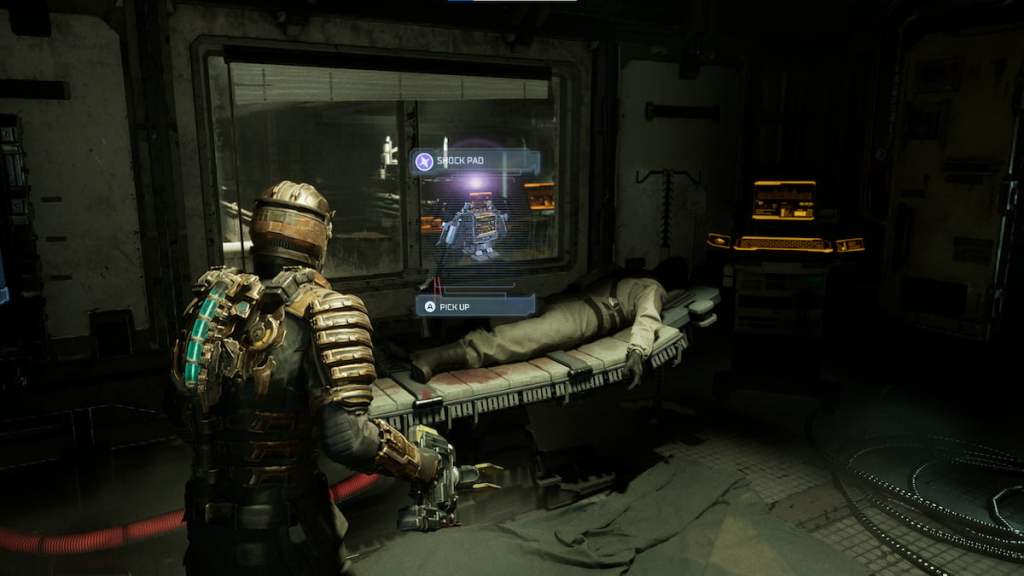
When you reach the second floor, proceed through the Sanitation Shower room, and the next area will have a Circuit Breaker you can use. You’ll want to switch power to the door, and the Shock Pads will be on top of the body on the medical table.
Now that you have both items, the last step is to return to the main Medical Wing area and blow up the barricade.


Published: Jan 27, 2023 02:58 pm