Traveling the vast expanses of Hyrule might seem intimidating in The Legend of Zelda: Tears of the Kingdom, especially to those new to the game, but luckily there’s a way to make traveling much easier—building a hover bike.
Hyrule in The Legend of Zelda: Tears of the Kingdom is massive—and for some reason they haven’t put in a bus line yet—so players have had to get creative. Luckily, the game encourages this and has all the mechanisms in place for players to be able to build their own wonderful machines.
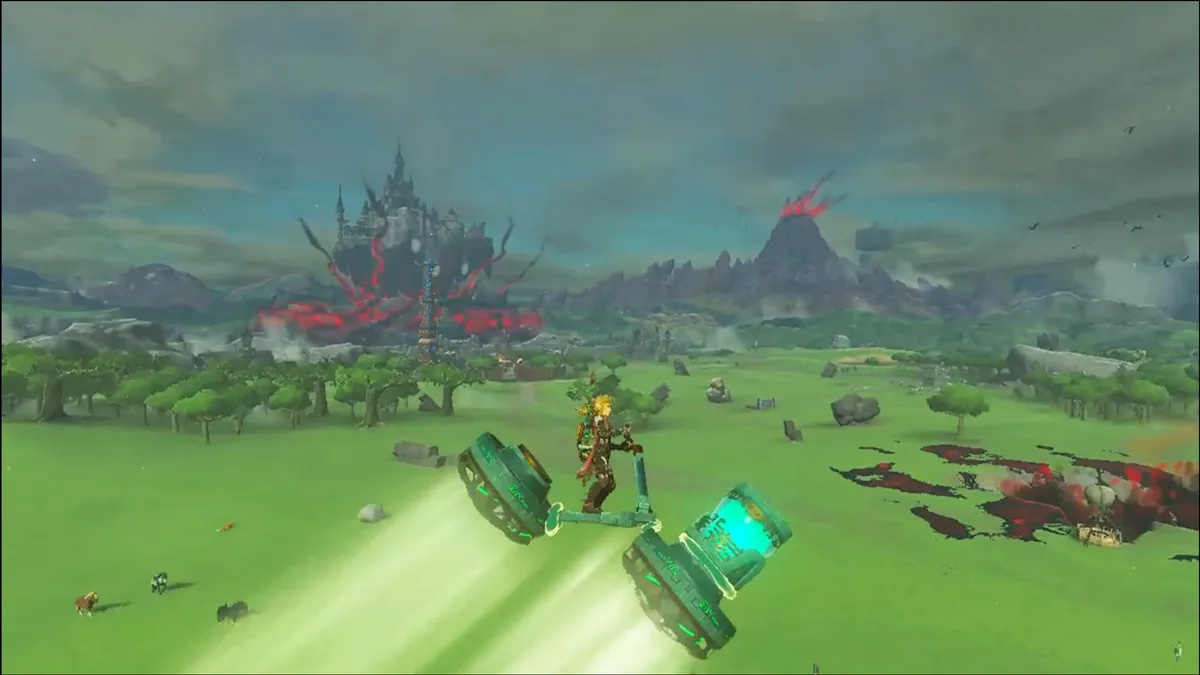
Enter, the hover bike. This useful and cheap transport only needs a few pieces to assemble it and allows players to quickly traverse terrain, avoid enemies, and even access sky islands earlier than they otherwise would have been able to.
What Do I Need To Build A Hover Bike?
As previously stated, a hover bike only needs a few pieces—three, to be exact. You will need to get two fans and a steering stick. You can also get a stake to build it on if you’re feeling fancy. And that’s it. These parts are easily accessible early in the game and can be gathered from Zonai gumball machines.
How to Build A Hover Bike in TotK
The first thing you will need to do is get to a flat area where you can work. Hudson Construction is a good place to go, there are flat work areas available and you can even find some supplies there. Once you’ve found a good place to set up, save your game. This process can be a bit finicky, and you don’t want to have to gather new supplies if it doesn’t work out on the first attempt.
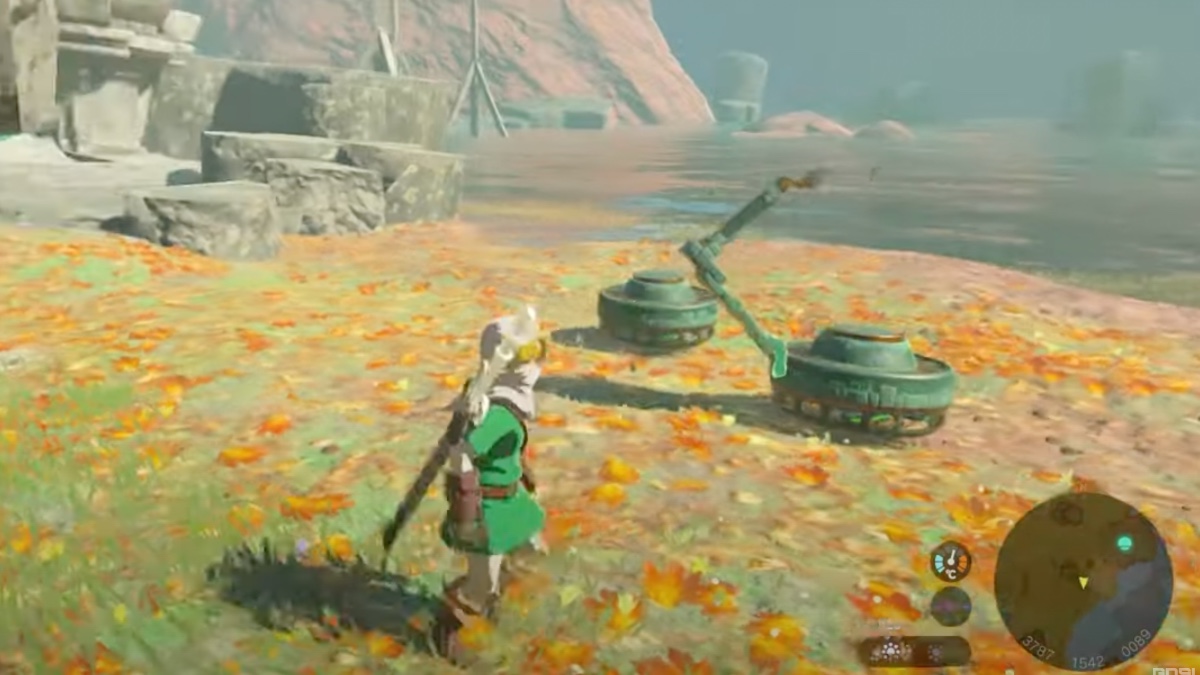
Now it’s time to start building your hover bike. The first thing you need to do is get out your two fans and place them on the ground so that, if turned on, they will blow directly into the ground. This force is what will get the bike into the air. If one fan is placed facing the wrong direction, the bike will not work and you will have to start over.
At this point, you already have a couple of options. Some people add the steering stick at this point, putting it directly in the middle with both fans flat and facing downward. This will get the job done… but it will be slower and consume energy faster than the slightly more complicated build. But, if you want to go directly up like an elevator and you don’t care about covering a lot of ground, this might be a good option for you. Some people, at this point, like to get fancy and pull out a stake to lift the build and give them more space to manipulate the angle of the fans. This works well, but this guide will focus on the standard build of the bike.
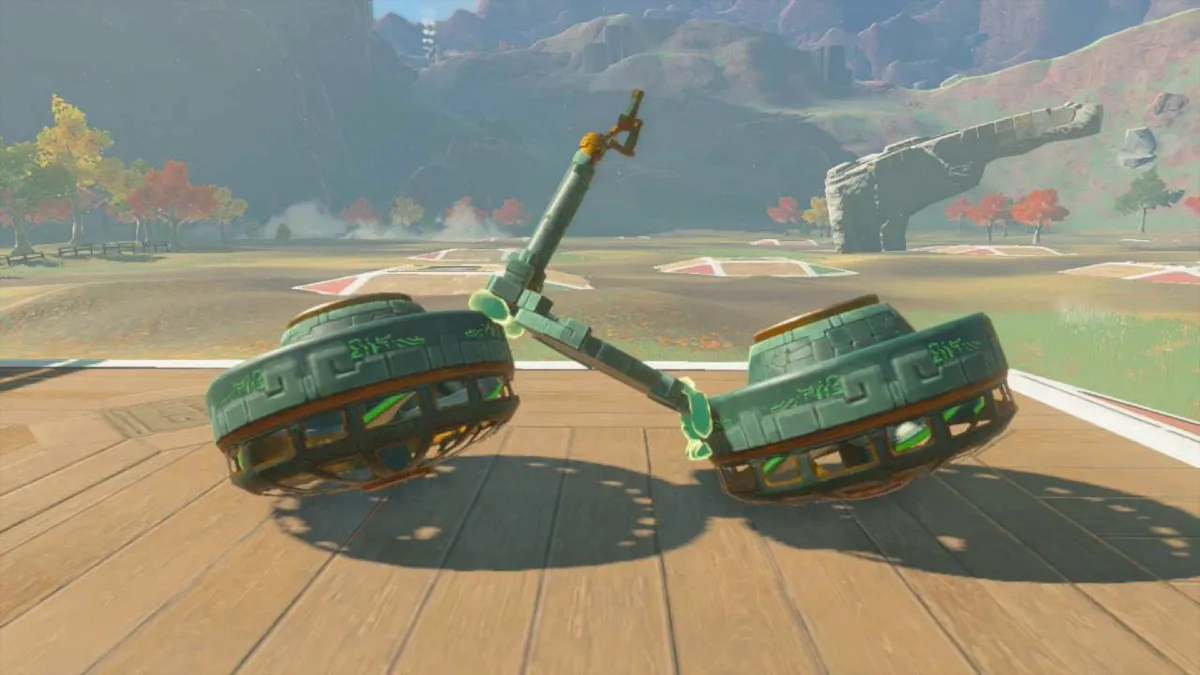
Once the fans are on the ground, it’s time to get out your steering stick. Attach the steering stick to the front of either fan at a 45-degree angle. This is important. Use Ultrahand to attach the second fan to the other side of the steering stick. This must be as centered as possible or the hover bike will veer to one side while driving and it will be difficult to handle.
When you are finished, the fans should be facing both down and backward, providing the thrust and momentum you need to get up in the air and move around easily.
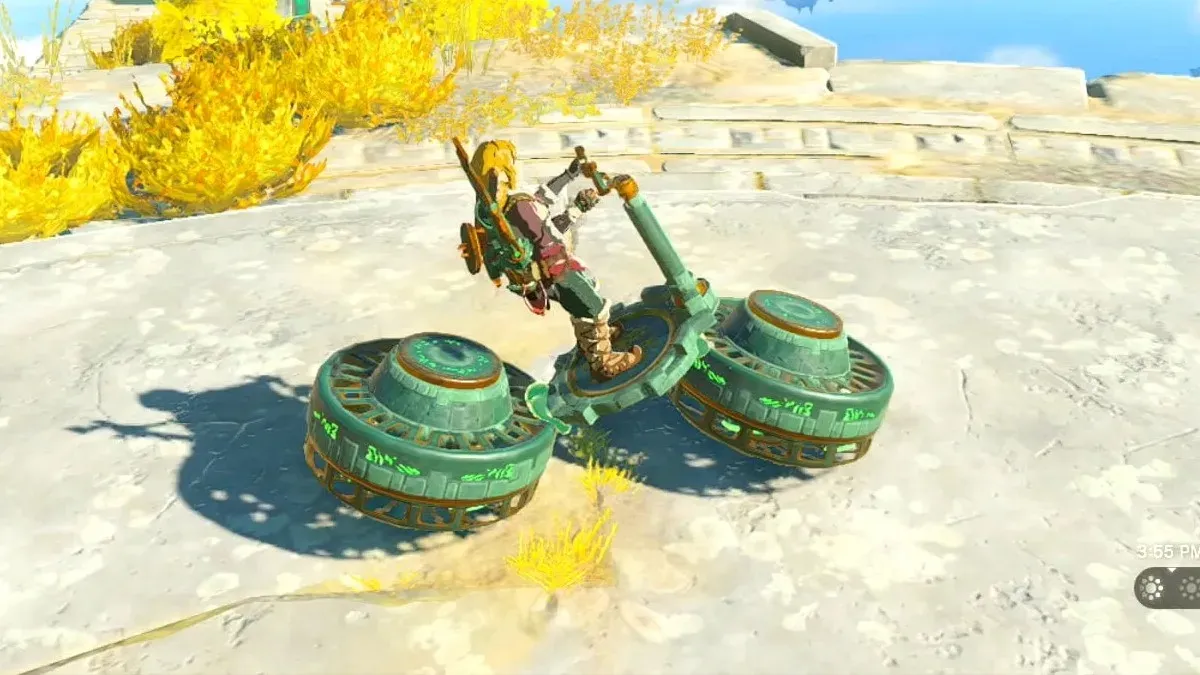
And that’s it! Assembling a hover bike is quick, easy, and cheap. It’s a great way to get a useful vehicle early in the game. Be sure to test the bike after you have assembled it. Likely, it will not fly perfectly straight, but it’s up to you as to whether you can live with it or if you feel you should start over.
Once you have a hover bike you are happy with in TotK, you should add it to Auto Build so you will not have to build one from scratch every time your hover bike needs to be replaced. It will cost nine pieces of Zonaite (plus the build components) which is well worth the cost of not having to reangle those fans again.
It’s also worth your time to tinker with your bike design throughout the game. Some people have added a third fan for more power and maneuverability, and others have added Zonai lights to make exploring dark areas easier or extra batteries to extend the distance their hover bike can travel. The possibilities are endless!
And with that, you should now know everything you need to know to build a hover bike in The Legend of Zelda: Tears of the Kingdom. All that’s left for you to do now is take to the skies!


Published: Feb 26, 2024 10:11 am