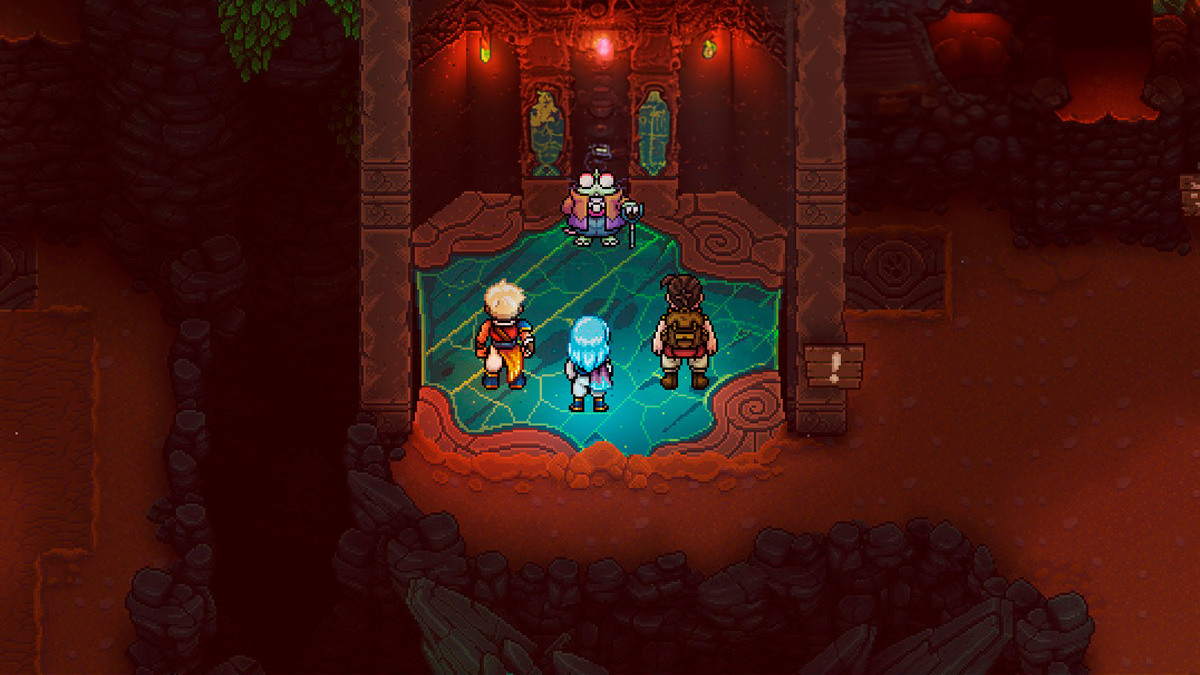
Sea of Stars seems to have every traditional RPG trope: chosen heroes, a silly best friend, and mole people. The people of Stoneskin Mason are in trouble and need help to defeat the Malkomud wizard, who has them wound tightly by their leash.
Thankfully, Valere and Zale have just arrived and are willing to lend a helping hand. Garl is also there, of course, to fill everyone’s bellies and replenish those HP and MP bars. This guide covers how to delve into the Wind Tunnel Mines and defeat Malkomud in Sea of Stars.
Sea of Stars: How to Restore the Power in the Wind Tunnels Mines
| Image | Steps |
|---|---|
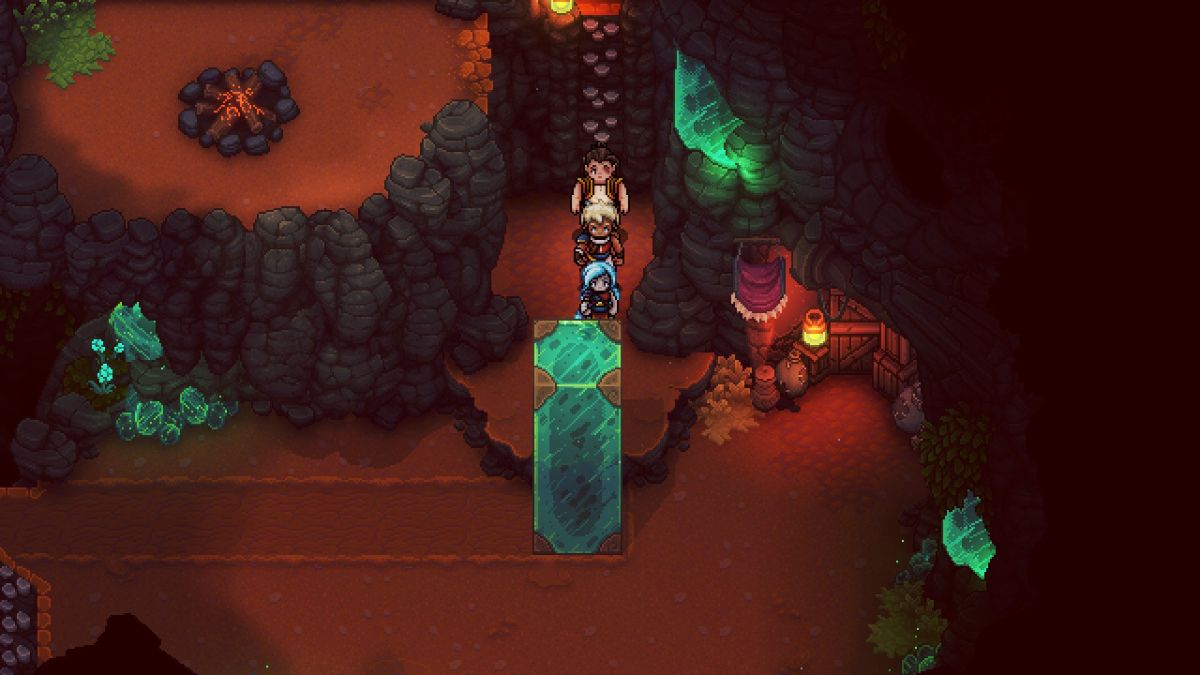
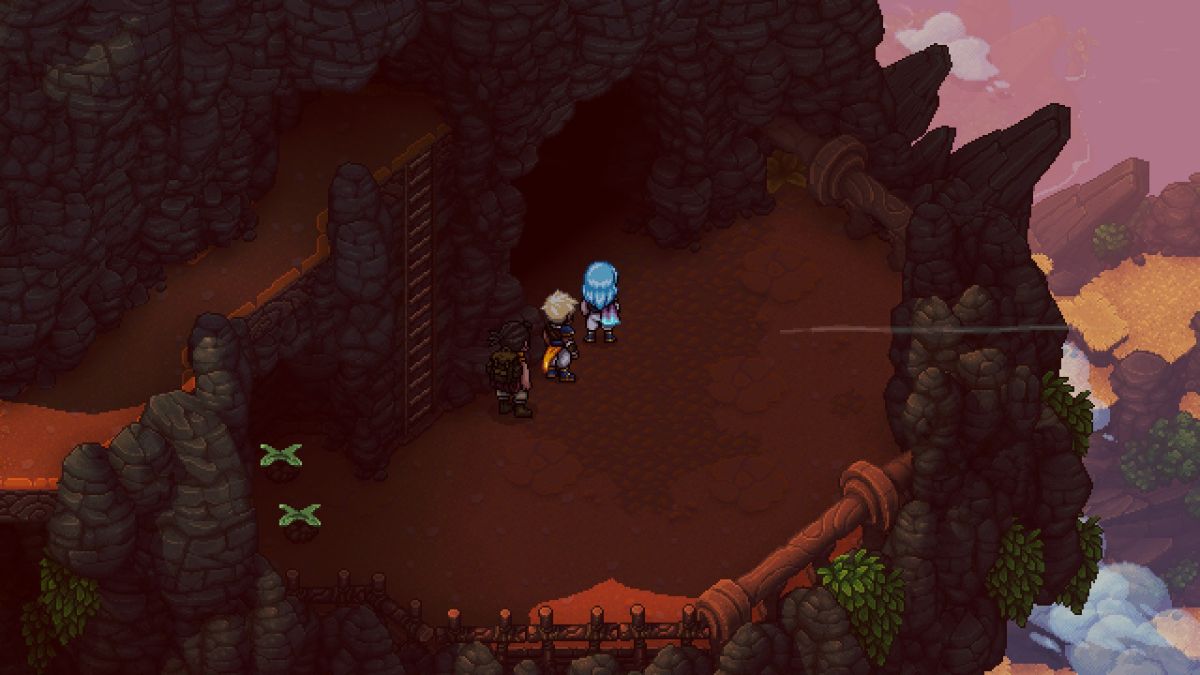
 | Jump down the square-shaped hole and speak with the Molekin Elder in the Wind Tunnels Mines. |
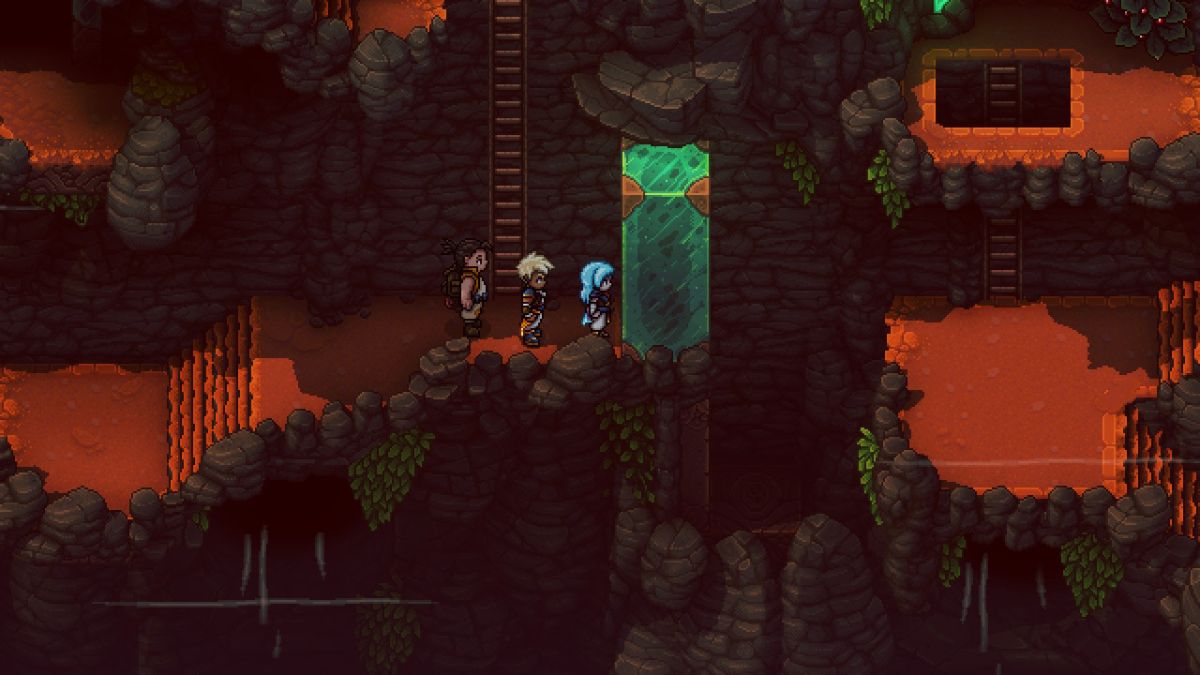
 | Take the ladder to the upper platform and activate the lever to access the area with the climbing rocks. Then, jump on the descending platform to the left and use the lever to take the platform back up. |
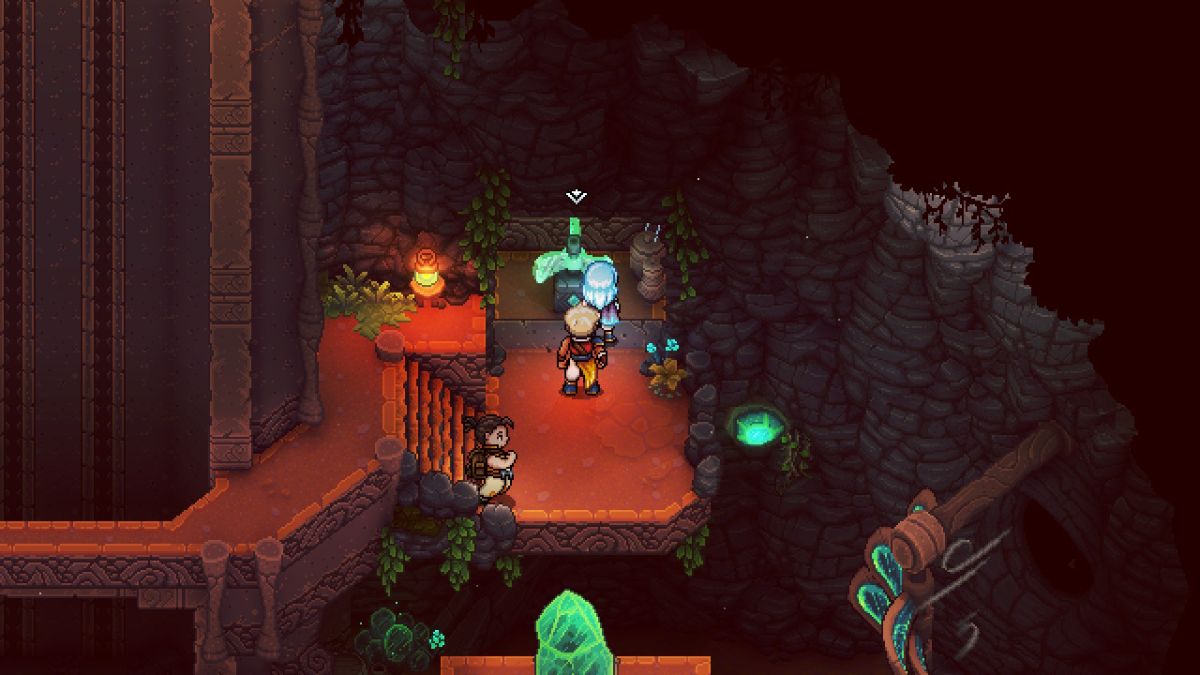
 | Use the protruding edge to reach the area to the east and head inside the rightmost door. Inside, beat the Bushtroo and enter the area behind it to restore the Wind Power. |
Sea of Stars: How to Move Green Crystal Rocks with the Mistral Bracelet
| Image | Steps |
|---|---|
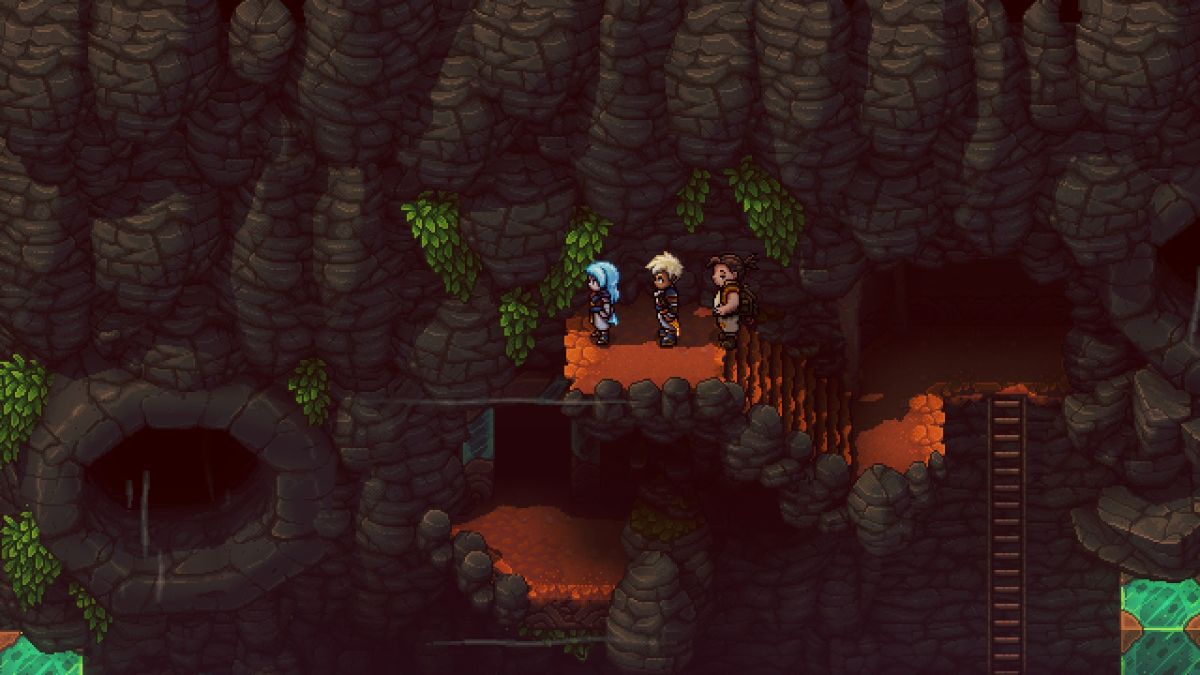
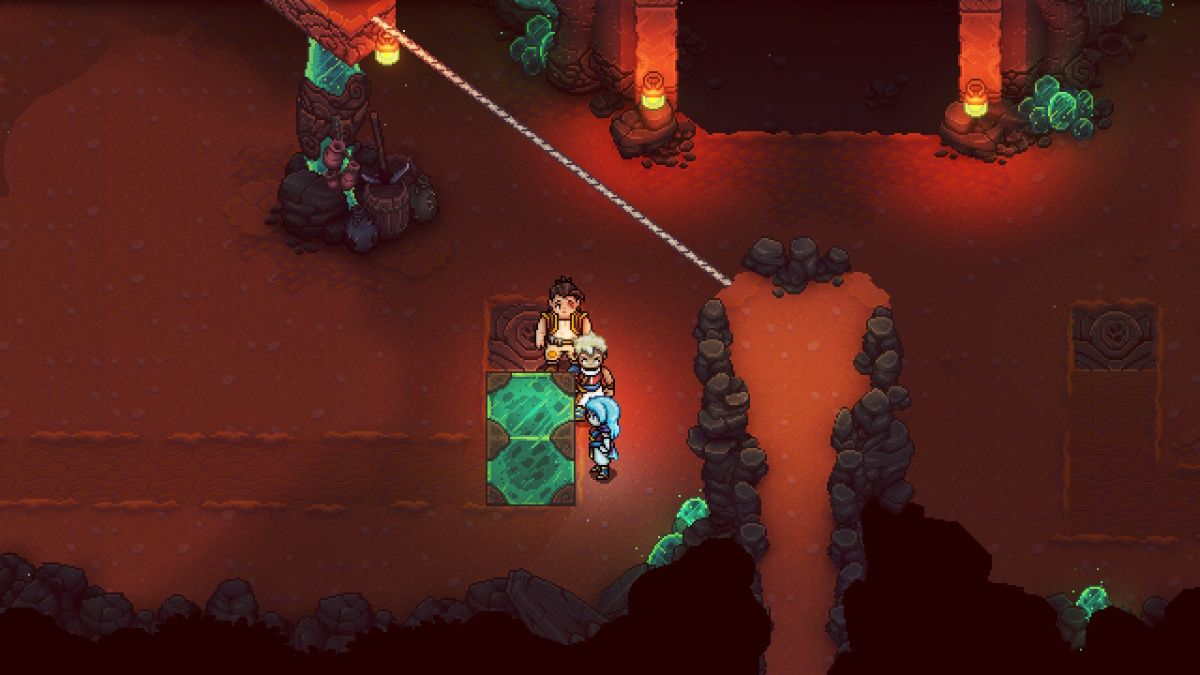
 | Jump down the square-shaped hole the Molekin Elder leaves behind. Climb up the ladder to the left and cross over using the tightrope to reach a new area. |
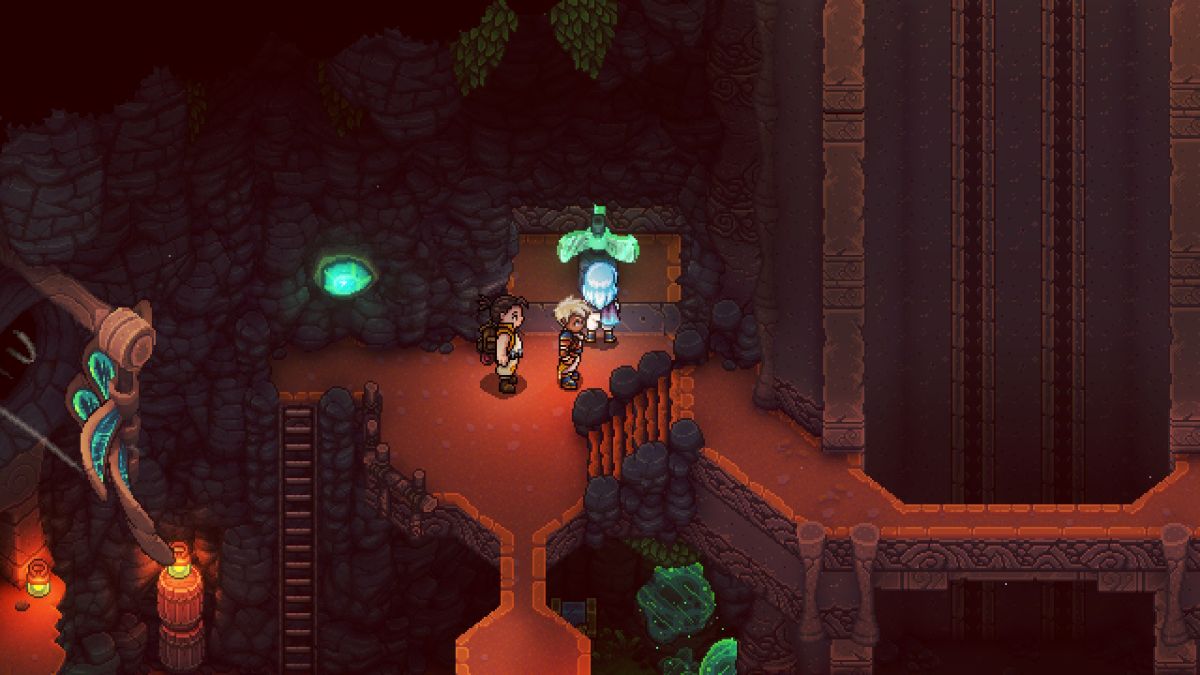
 | Head to the right, climb the ladder, and enter the door to the left. |
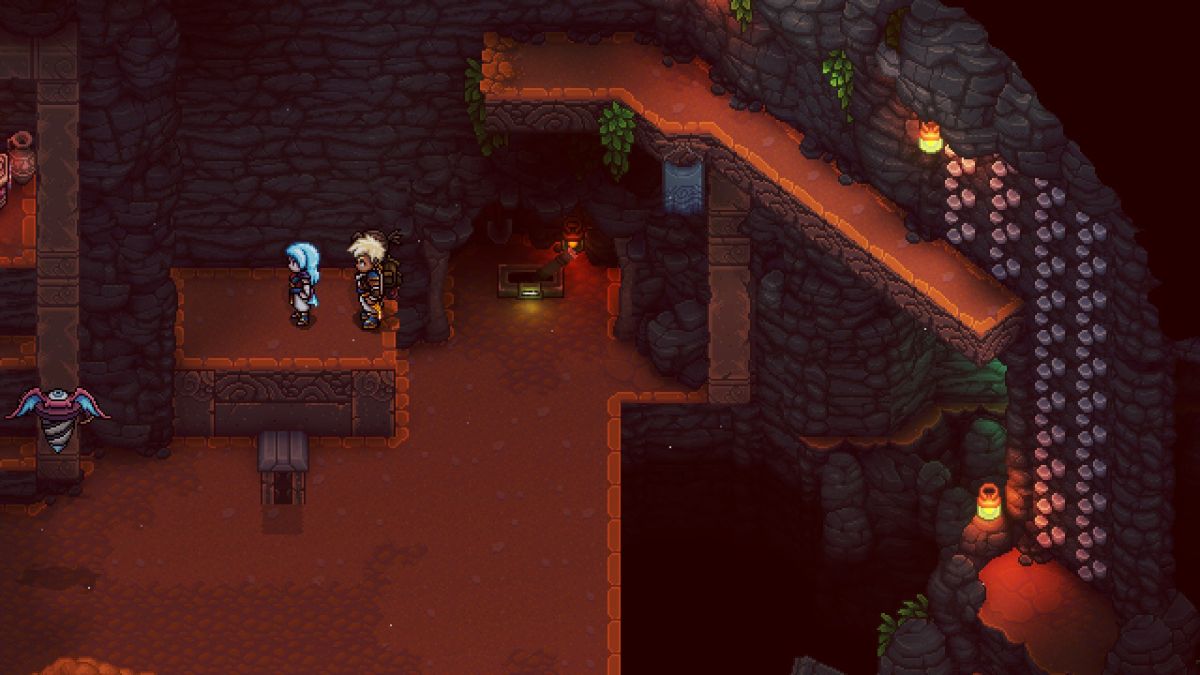
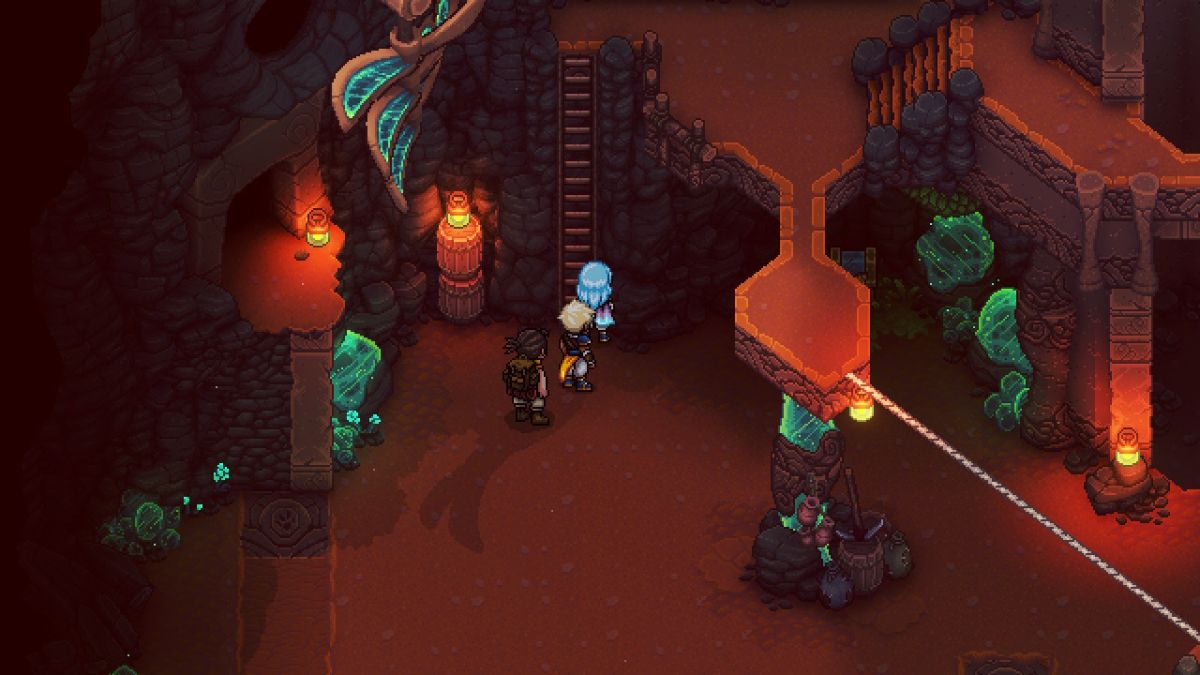
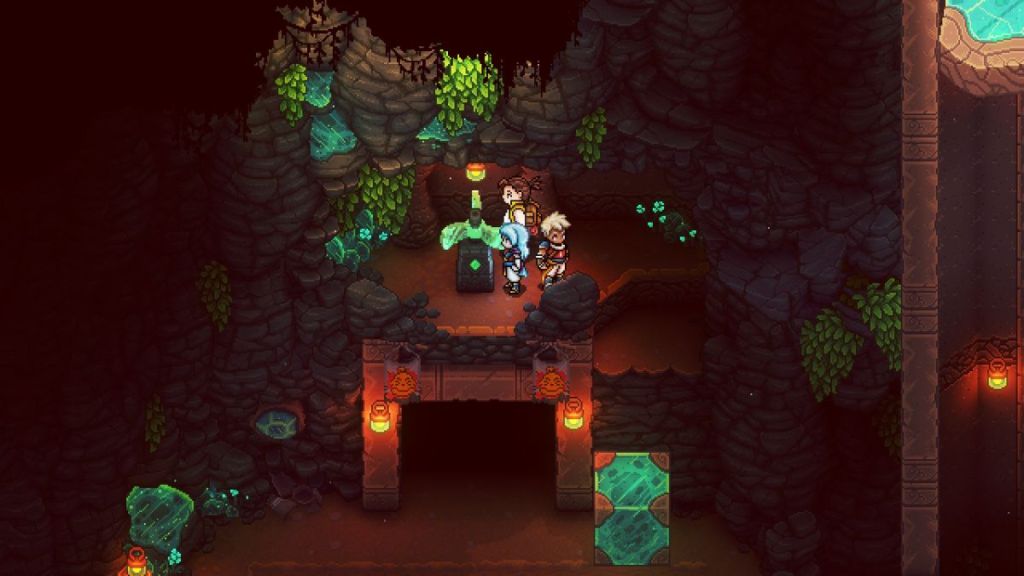
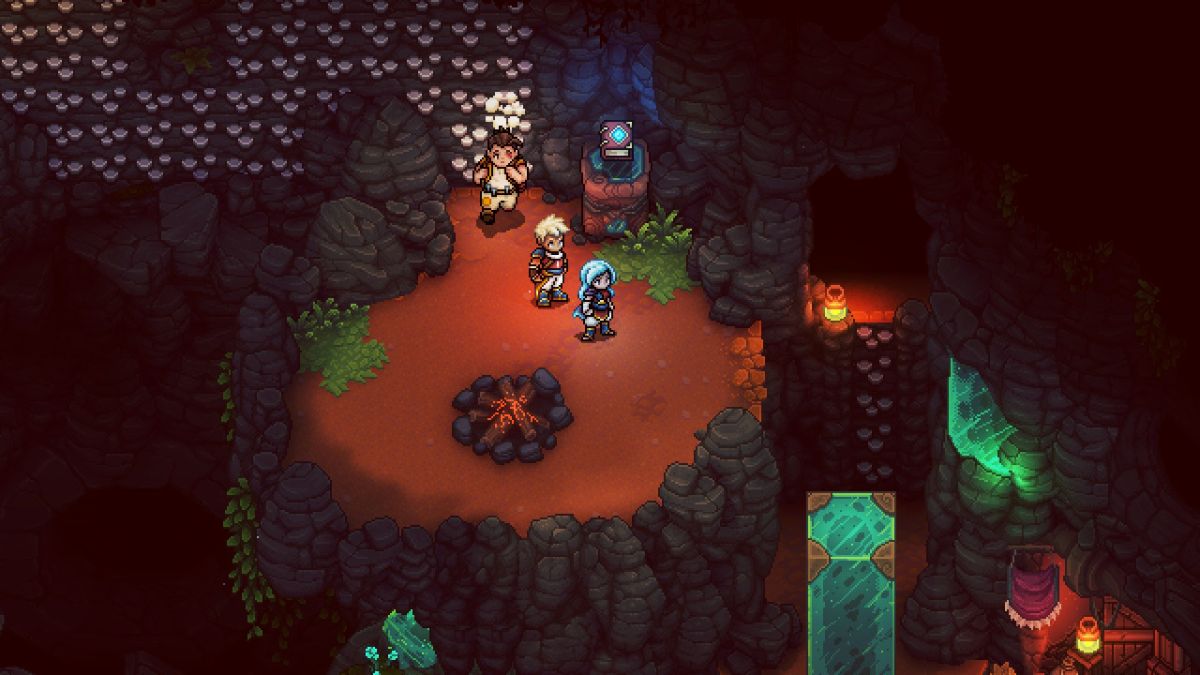 | Climb the ladder ahead and follow the path to the right.. Near the campfire, enter the cave to the right. |
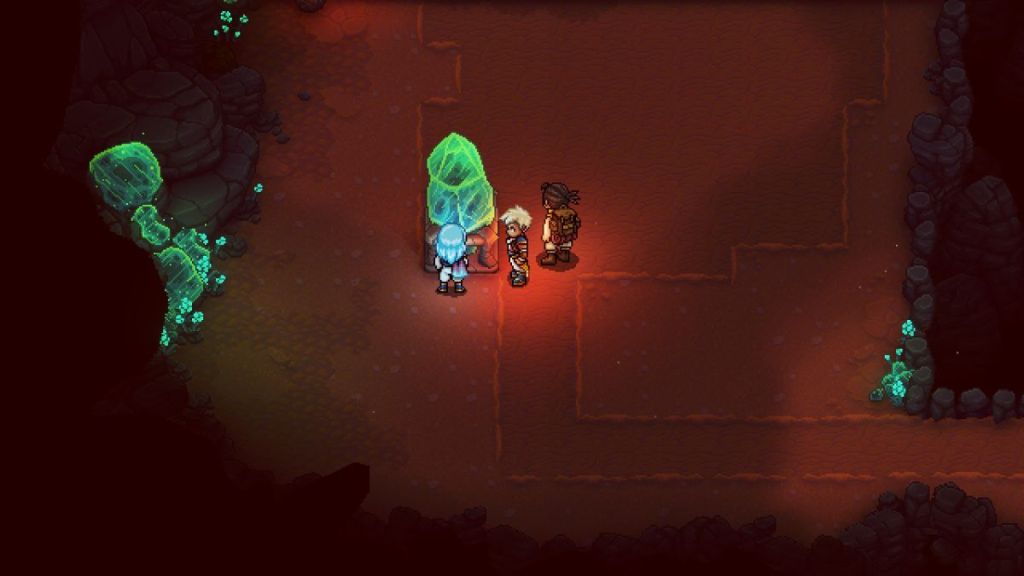
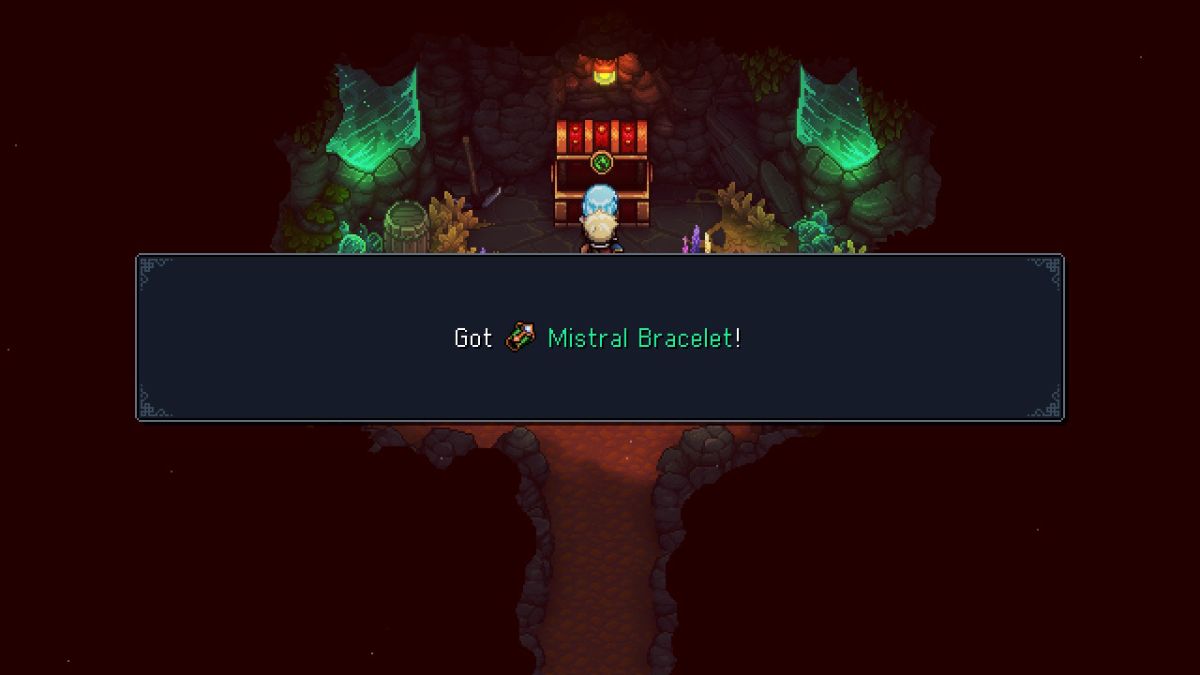 | Open the chest at the end of the room to unlock the Mistral Bracelet and push the pillars. |
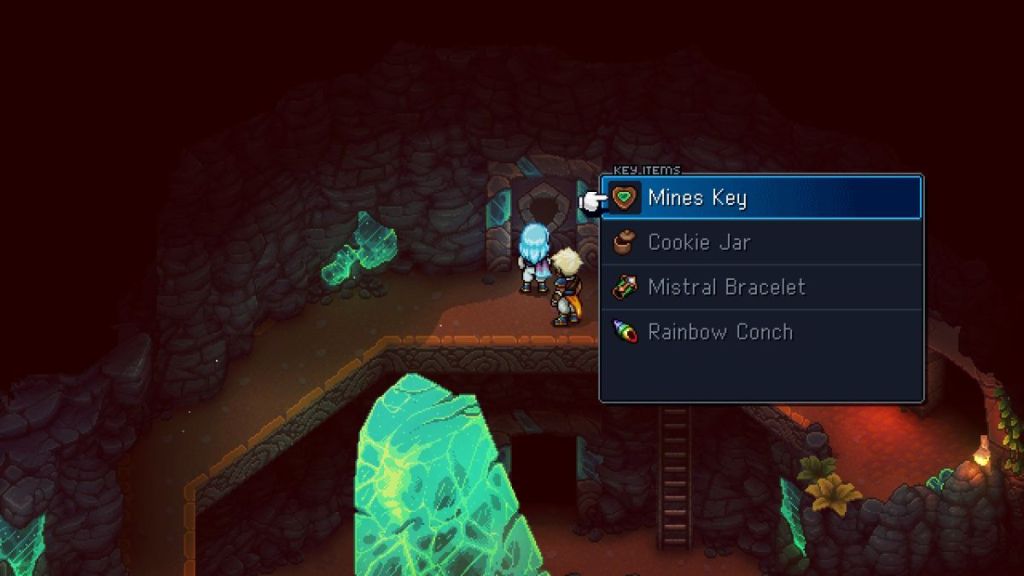
Sea of Stars: How to Open the Wind Tunnels Door with the Mine Key
| Image | Steps |
|---|---|
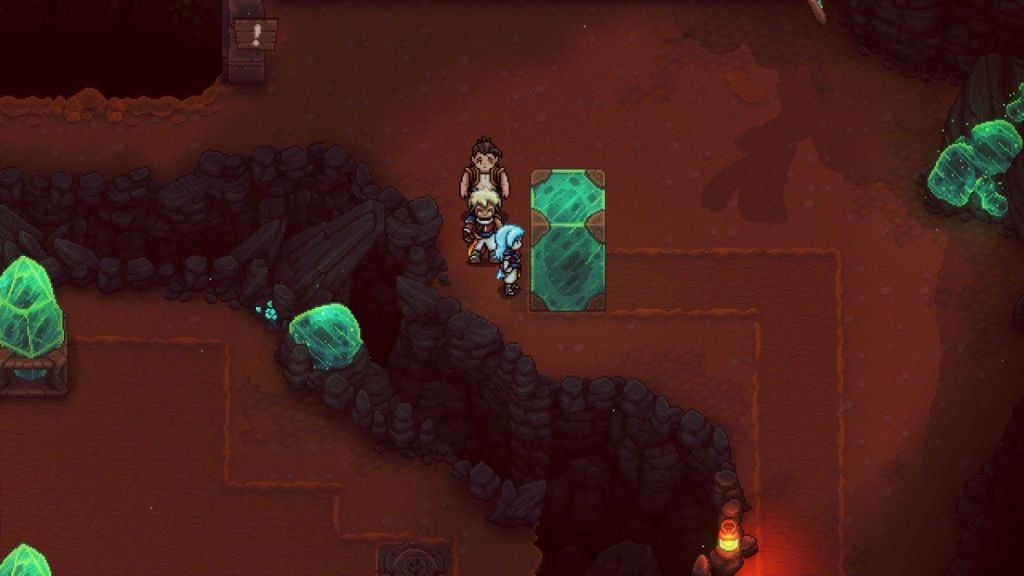
 | Use the Mistral Bracelet’s power to push the green pillar right outside the cave. Then, push it to the left. |
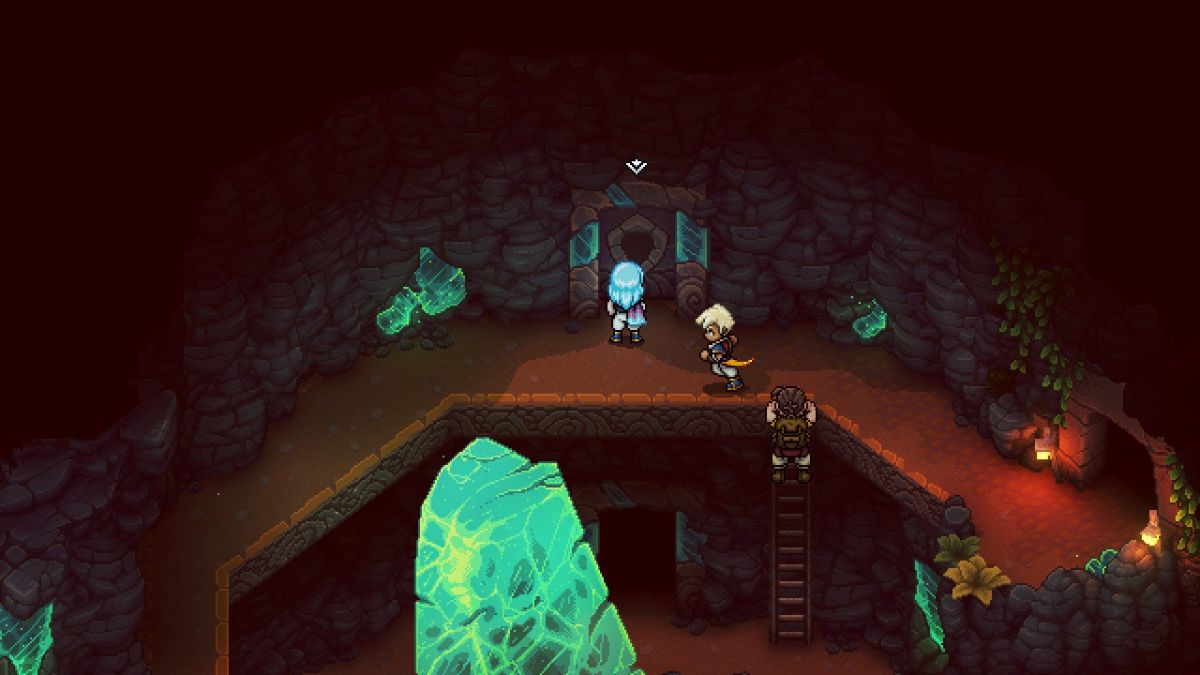
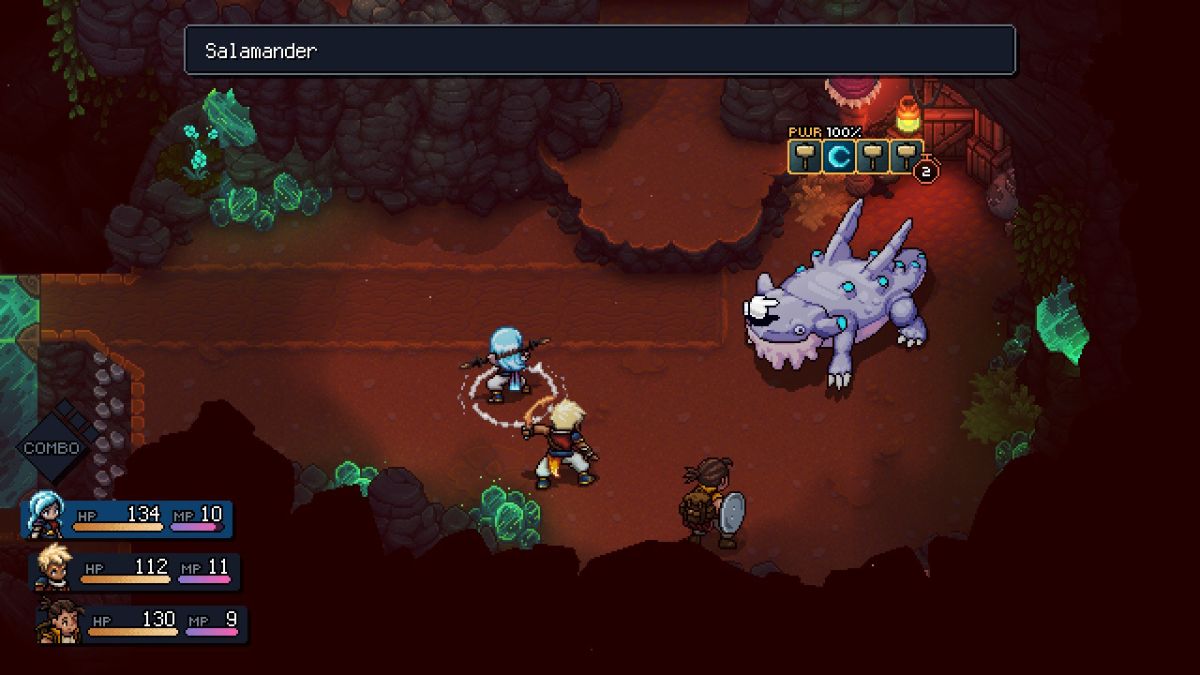 | Fight the Salamander until it runs away. Interrupt its charged move to avoid a deadly Salmanger attack that swallows up and spits one party member. |
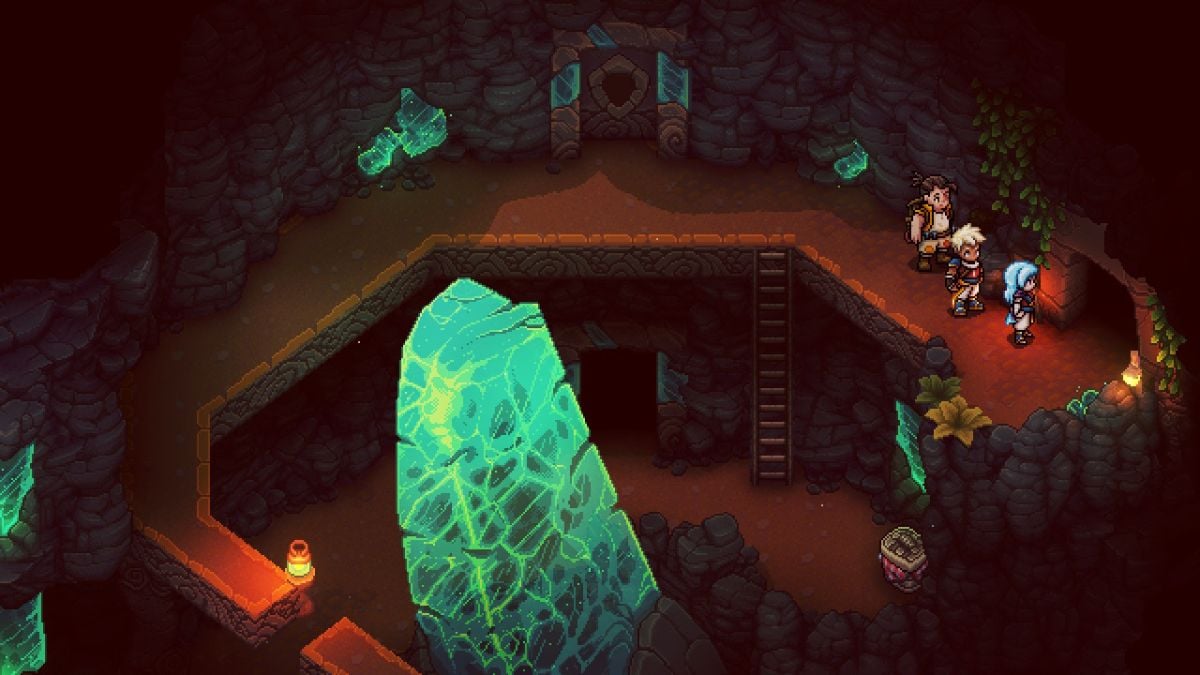
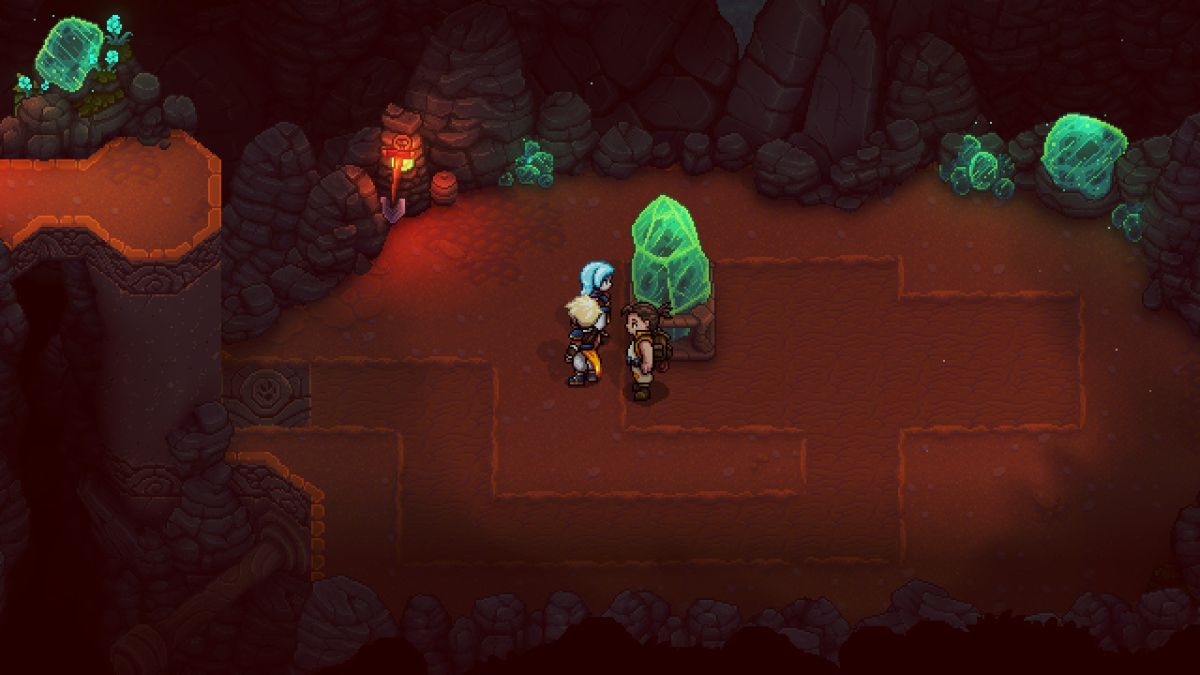 | Push the green crystal to the back and to the right. Then, push it down and to the left. Once it reaches its destination, a green pillar will emerge. Climb it to reach the next area. |
 | Push the green pillar to the left and then upwards. Use it as a bridge to reach the chest to the left. Inside this chest lies the Mines Key. Use it to open the closed door with the heart-shaped hole on the upper floor. |
 | Head outside and push the green pillar to the right to reach a new area. |
 | Use the stairs and enter the big cave entrance to the right. Inside, beat the Bushtroo once again to let the wind flow through this area. |
 | In the entrance area, climb the ladder to the left to reach the windmill. Use the wind power on it to cause the green crystal to descend. |
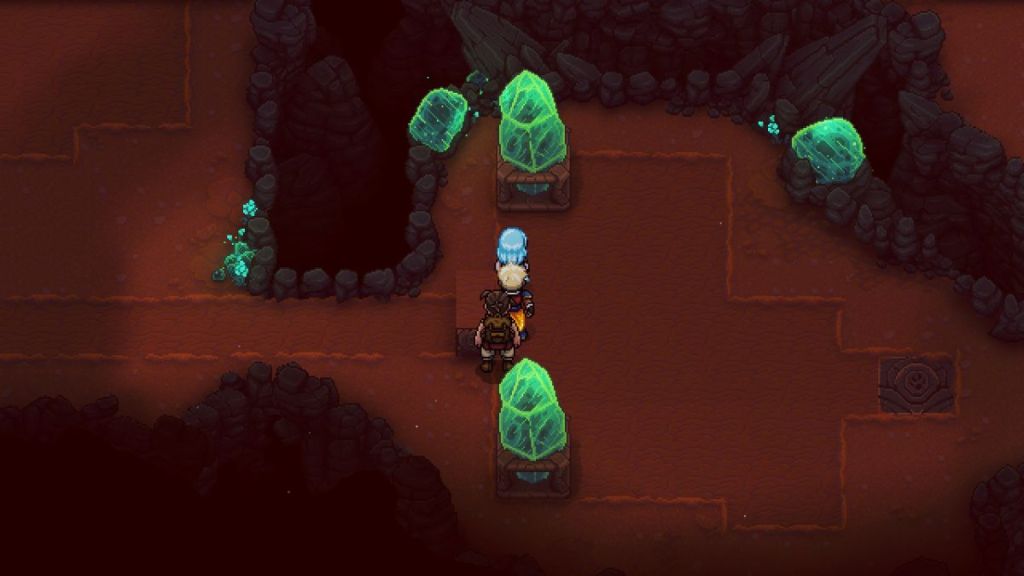
 | Drop down and push the crystal until it reaches the first rune. Directions are right, down, left, and up. Then, push the green pillar down, left, and up to reach the door to the left. |
 | Keep following the trail past the Drillbats and beat another Bushtroo to let the wind flow through this area. Then, walk past the door to head back to the entrance and interact with the new windmill to cause a ladder to unfold. |
 | Repeat the steps to restore the power, but instead of entering the cave to the rightmost end, place the Miner Key in the heart-shaped hole door. |
How to Solve the Mines Key Room Puzzle in Sea of Stars
To solve the Mines Key room green pillars puzzle, follow these steps:
- Push the green pillar on the right to the right and then upwards.
- Then, push this pillar to the left, causing both pillars to stand together.
- Push the pillar to the left downwards and then to the right.
- Now, push the other pillar downward so it hits the previous one. Give it one tiny push to the right for it to hit the rune.
- Push the remaining pillar upward, right, and down to the lower platform.
- Drop down with it and push the pillar right, upward, and then left.
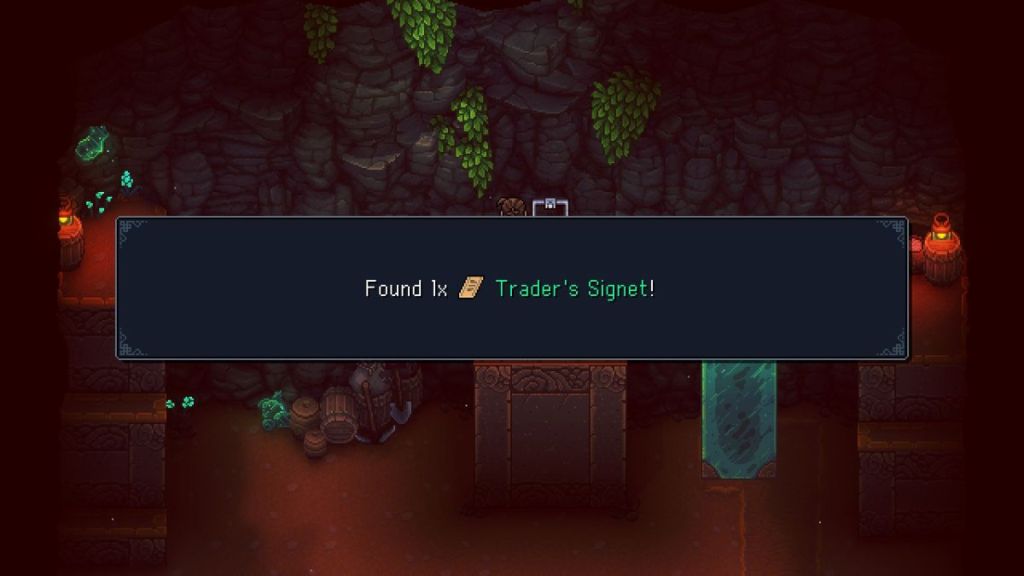
- Climb the platform to the right and jump on the pillar to find the Trader’s Signet.
How to Find & Defeat Malkomud Boss in Sea of Stars
Where is Malkomud in Sea of Stars
To find Malkomud, head back to the entrance and solve the remaining pillar puzzles to access his hideout.
| Image | Appearance |
|---|---|
 | Push the green pillar on the right down and right until it falls and hits the brown rune. |
 | Jump to the area to the right with two green crystals: one north and one south. Then, Push the green crystal south downward, to the right, and then upward. |
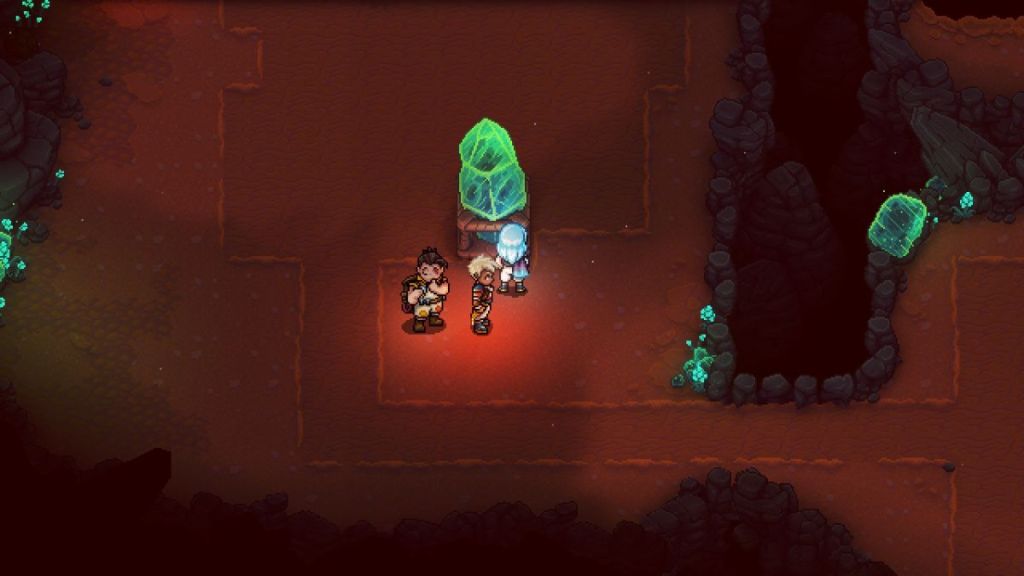 | Push the green crystal north downward, to the right, and then upward. Lastly, give it one tiny push to the right so it hits the brown rune. Push the remaining green crystal to the next area. |
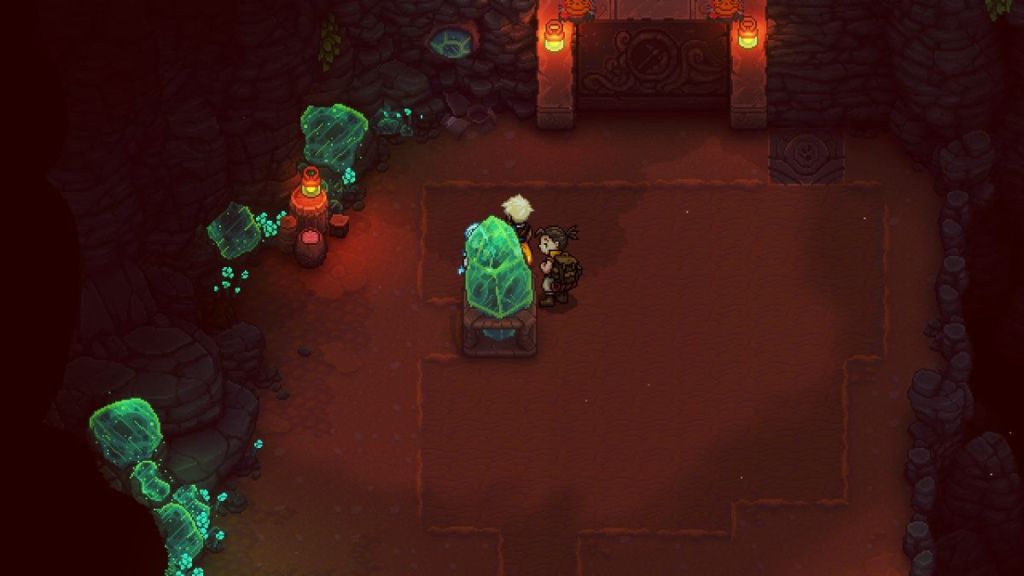 | Here, push the green crystal upward, left, downward, and right. After, push it downward, left, downward, and once more to the left. |
 | When the crystal is in this position, push it upwards, right, and upwards once again for it to reach the brown rune. |
 | Activate the windmill in the upper platform to access Malkomud’s lair. |
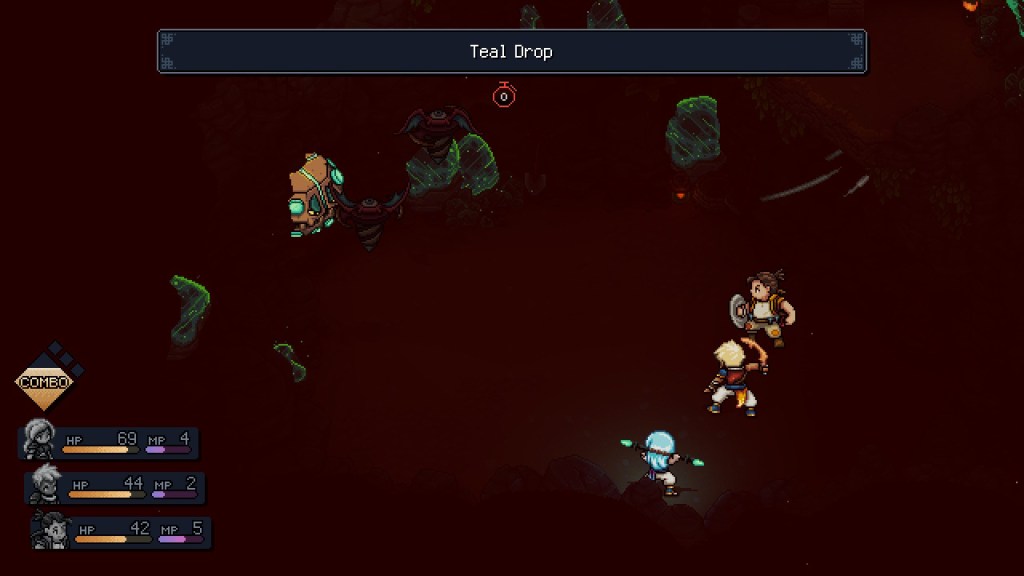
Malkomud and Rockie Boss Guide
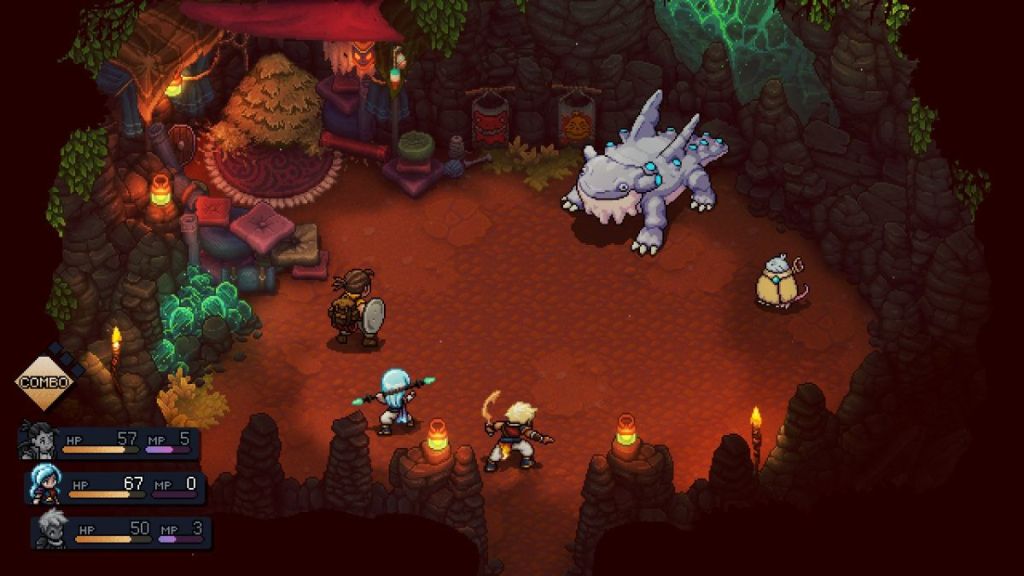
During the first phase, Malkomud and Rockie will fight separately.
- Normal attack: Teal Shot
- Charged attack: Shovel Might
- Vulnerable: Melee
- Resists: Magic
Related: Sea of Stars Combat Basics – Combo Points, Live Mana, Lock Breaking & Timed Hits
Malkomud regularly targets one ally with Teal Shot, which only deals one hit. His charged attack, Shovel Might, deals three hits of melee damage to one ally. He is vulnerable to melee attacks but resistant to both Solar and Lunar magic. Rockie is the complete opposite: this salamander is weak to magic and strong against melee damage. Once one of them is down, the second phase will begin, so it’s better to focus on one of them at a time. I found it easier to focus on Rockie first since his attacks have a longer interrupt window.
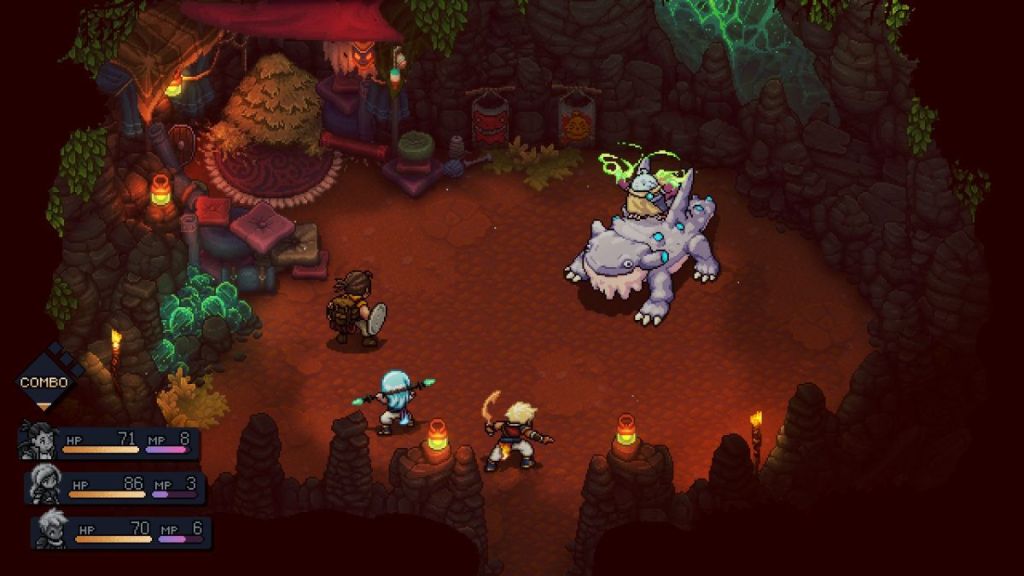
In the second phase, Malkomud will mount Rockie, and they will fight together.
- Normal attack: Shovel Sweep
- Charged attack: Geobress
- Vulnerable: Magic
The best way to beat this second phase is to make an effort to block the Shovel Sweep attacks since it will damage every party member. Take a more balanced approach and use every possible resource to interrupt Geobress, a charged move that will definitely deplete one party member’s HP bar.


Published: Aug 28, 2023 11:11 pm