The Devil’s Return is the first section of Act 1 in Back 4 Blood. There are four missions here, enough to give you an idea as to what you can expect while progressing through the campaign. Here’s our guide on how you can complete The Devil’s Return in Back 4 Blood. We’ll discuss missions such as Resurgence, Tunnel of Blood, Pain Train, and The Crossing.
Back 4 Blood: Act 1 – The Devil’s Return guide
Let’s discuss how you can complete Act 1 – The Devil’s Return in Back 4 Blood. We’ll outline the steps and what you can expect below. Just remember that the Director will throw a few challenges along the way, too.
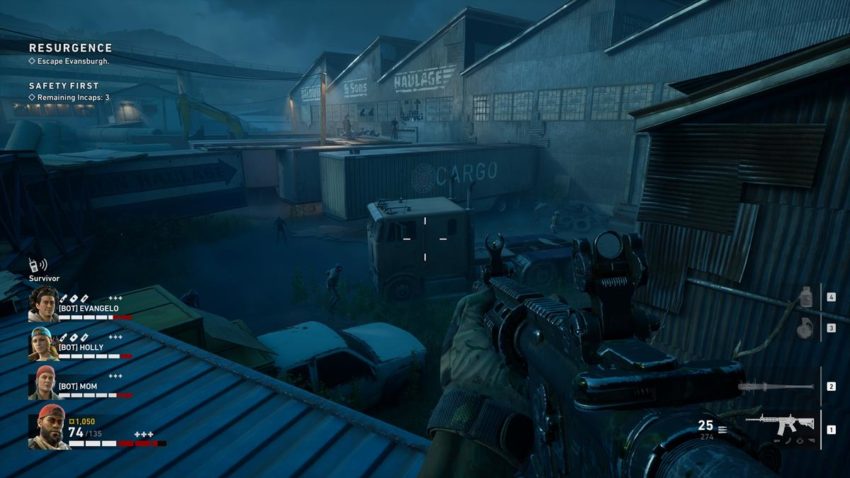
Resurgence
In the bar, make sure you purchase a Tool Kit. This allows you to open a locked door inside the apartment complex. Anyway, once you exit the bar, activate the switch so you can have a platform that lets you cross. This will call a horde that you’ll need to be aware of.
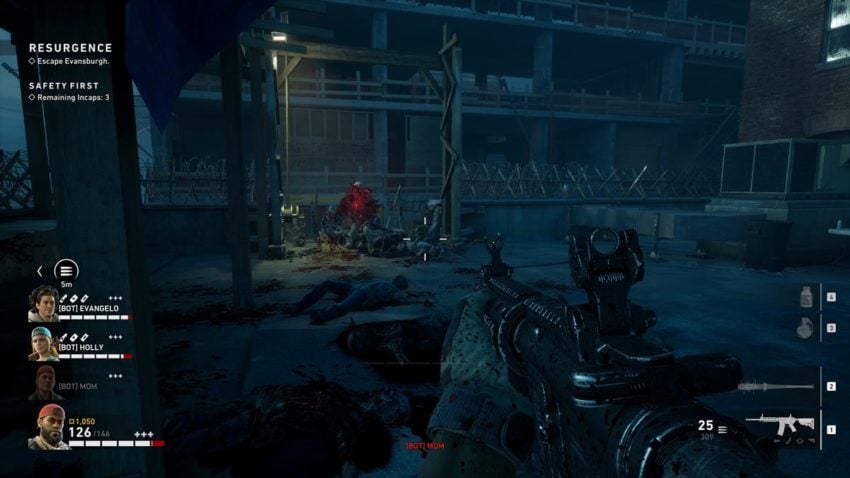
Check the apartment complex for some extra loot and caches, including the locked door that can be opened if you have a toolbox. Continue along the hallways until you reach the factory. The safe house is on the opposite side of the yard.
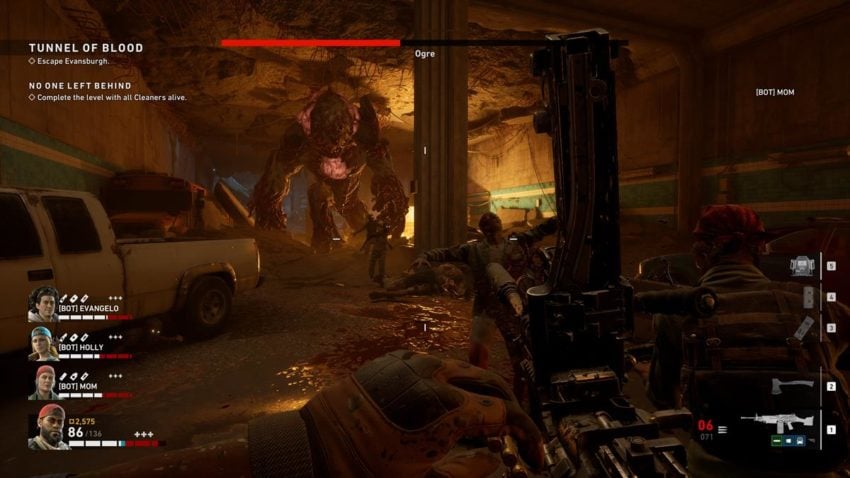
Tunnel of Blood
This level in Back 4 Blood will likely lead to your first encounter with the Ogre. It’s a monstrous beast that spawns once you exit the safe house and reach the tunnel entrance. This boss Ridden can take quite a beating, but it’ll burrow underground after a while.
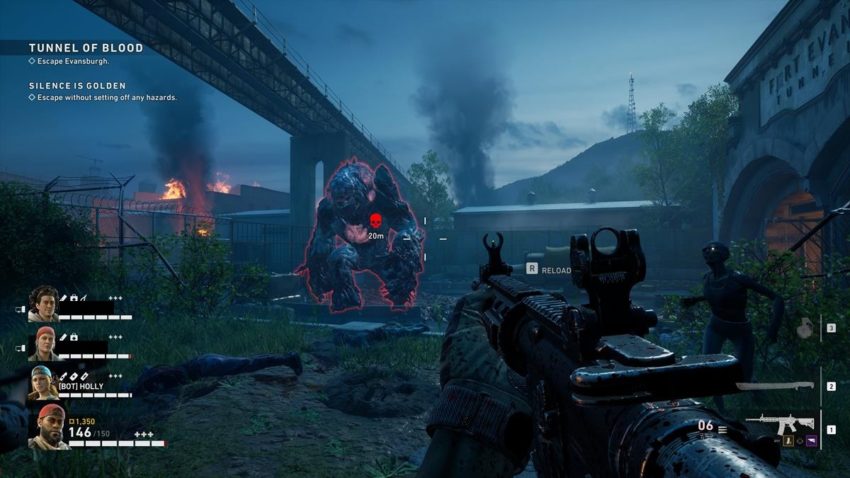
Go through the tunnels and make a left to reach the next area. Watch out because the doors here might have alarms. Once triggered, they’ll spawn a horde.
The same Ogre will reappear in the next tunnel. This time, you should be able to whittle down its health until it’s dead. Just past this point, you’ll find a backyard with a safe house.
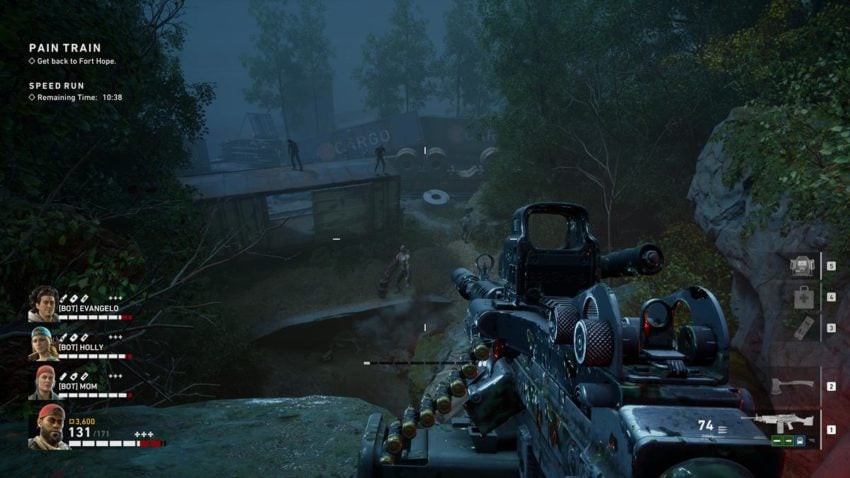
Pain Train
The starting area is a swampland, so be on the lookout for any zombies that appear from the depths. The goal here is to progress further until you reach the cliffside area.
If a random horde spawns, this is a good camping spot since they’ll try to climb on the rocks before they reach you, and you can funnel the ones coming from the swamps. Just try not to fall down or teammates will get distracted while trying to rescue you.
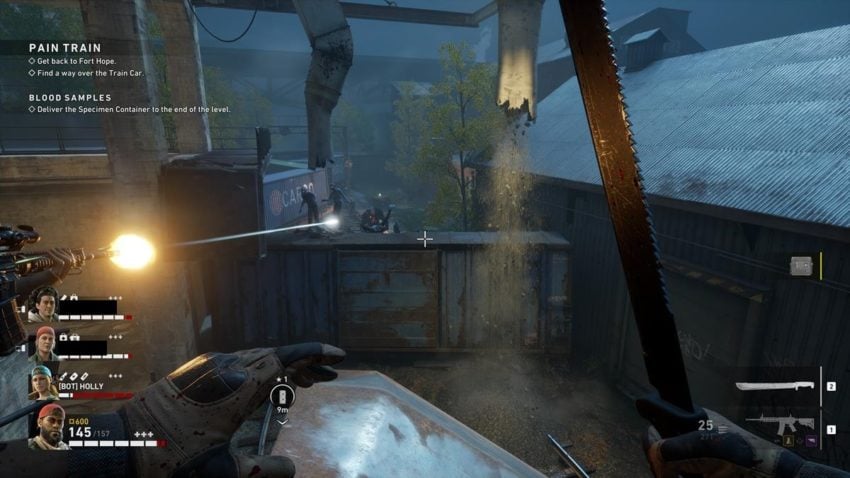
Eventually, you’ll reach the trainyard. The path is blocked off, but you can activate the gravel filler here. Once you do this, a larger horde will spawn. More undead, including special variants, will continue to emerge.
Ideally, you’ll want to camp a corner or the control room here until the gravel filler sequence is done. You should then be able to go past the train car to the next area. The safe house is on the second floor of a factory building.
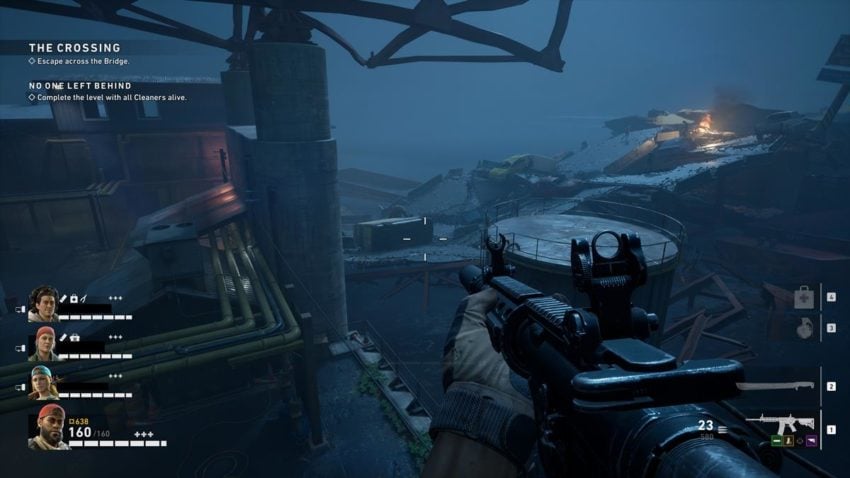
The Crossing
Since this is the finale of Act 1 – The Devil’s Return in Back 4 Blood, you can expect a tougher challenge compared to other missions. For starters, the moment you destroy the fuel tank, a horde will spawn. This isn’t just a random bunch of undead, but a swarm that will remain present all throughout the mission.
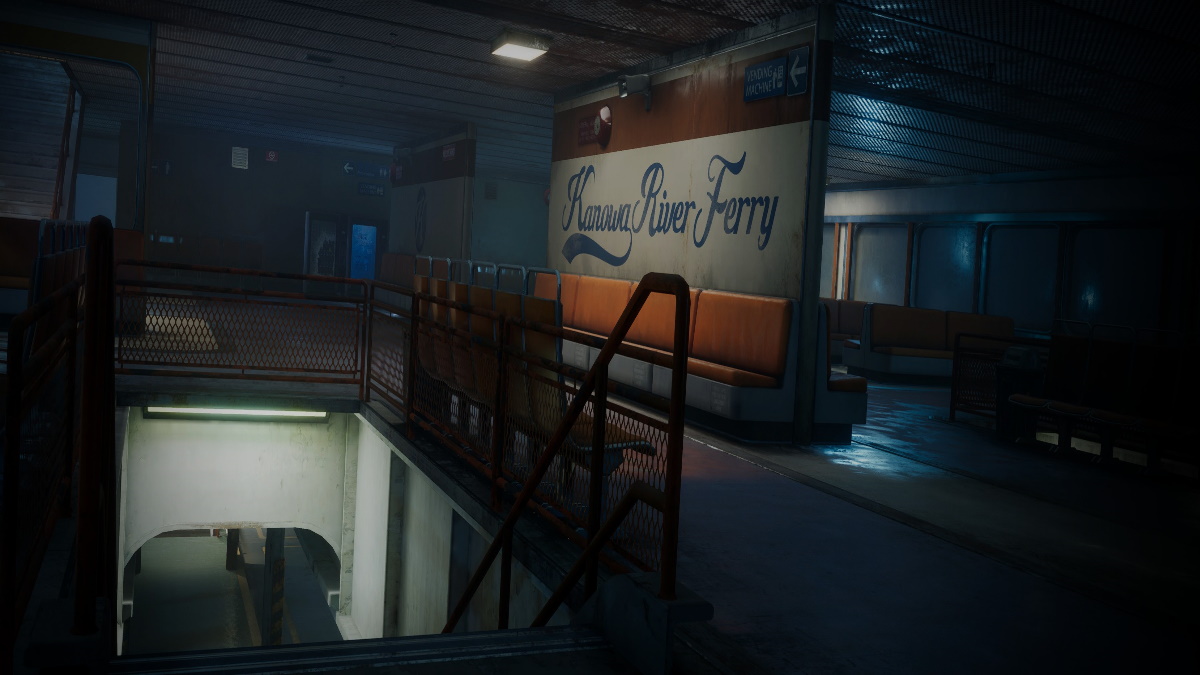
The goal now is to cross the bridge and make your way to the ferry. On the bridge, you’ll even be able to obtain the Port Man Toe achievement.
As for the ferry, make your way above the deck and cross to the opposite side to meet the military. You’ll need all squadmates to be present here to progress the mission. Likewise, you can plop down a minigun turret to continue killing the undead.
Next, listen to the dialogue from the NPC. You’ll be told that explosives need to be planted in the ship’s engine room. If you’re playing solo, then only a single bomb will be here. But, if you have a full squad of human-controlled characters, then you can expect that more bombs will be handed out.
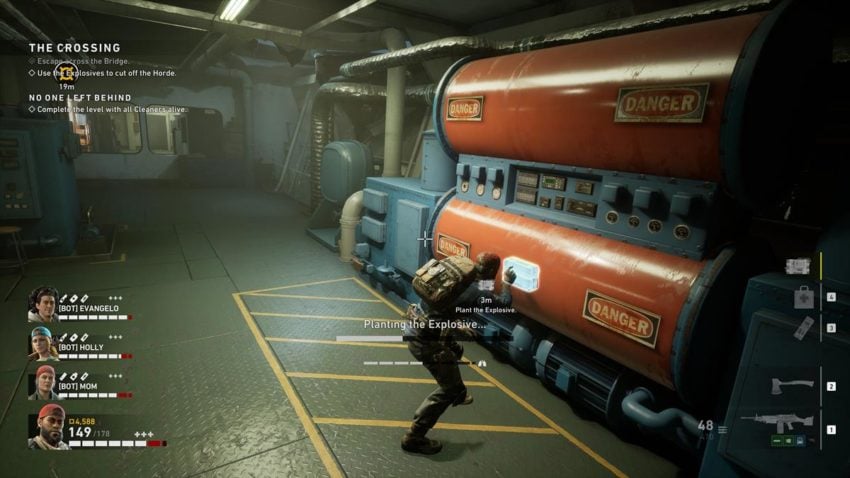
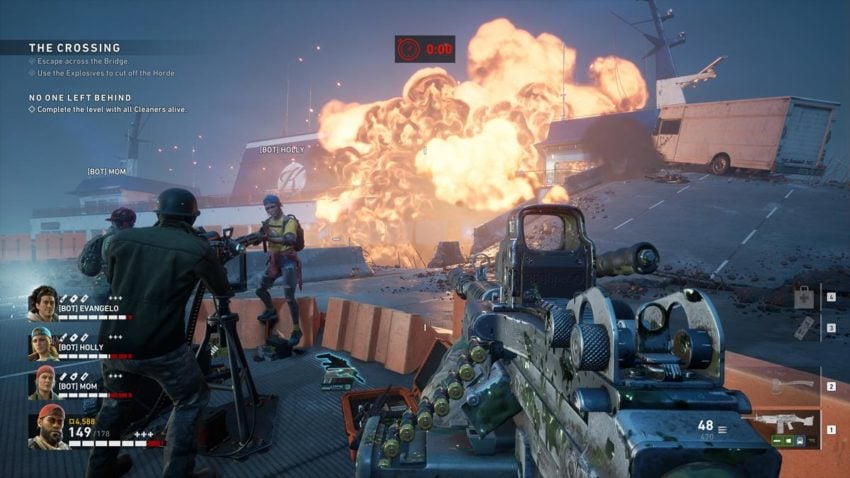
Plant the bombs in the engine room and high-tail it out of there since you only have 60 seconds before the ferry explodes. When that’s done, you’ll complete Act 1 – The Devil’s Return in Back 4 Blood. Oh, and if you completed this while playing the campaign (not the tutorial), you’ll unlock the remaining characters as well.


Published: Oct 10, 2021 12:24 pm