Image Credit: Bethesda
Forgot password
Enter the email address you used when you joined and we'll send you instructions to reset your password.
If you used Apple or Google to create your account, this process will create a password for your existing account.
This site is protected by reCAPTCHA and the Google Privacy Policy and Terms of Service apply.
Reset password instructions sent. If you have an account with us, you will receive an email within a few minutes.
Something went wrong. Try again or contact support if the problem persists.
Baldur's Gate Blood of Lathander legendary weapon
Screenshot by Gamepur

Baldur’s Gate 3 Blood of Lathander: Rosymorn Monastery & Githyanki Creché Location & Solve Stained-Glass Window Puzzle

Get the Blood of Lathander, find the Rosymorn Monastery and Githyanki Creche and solve the Stained-Glass Window Puzzle in BG3.

Though plunging into the Underdark will unveil many of the game’s mysterious secrets, opting for the Mountain Pass route to Moonrise Tower offers no shortage of thrills. Amidst these bright and rugged terrains, rumors of the fabled Blood of Lathander mace might reemerge. Yet, this notorious weapon remains concealed, guarded by puzzles, adversaries, and Gityanki side quests.

Recommended Videos

Blood of Lathander Location in BG3

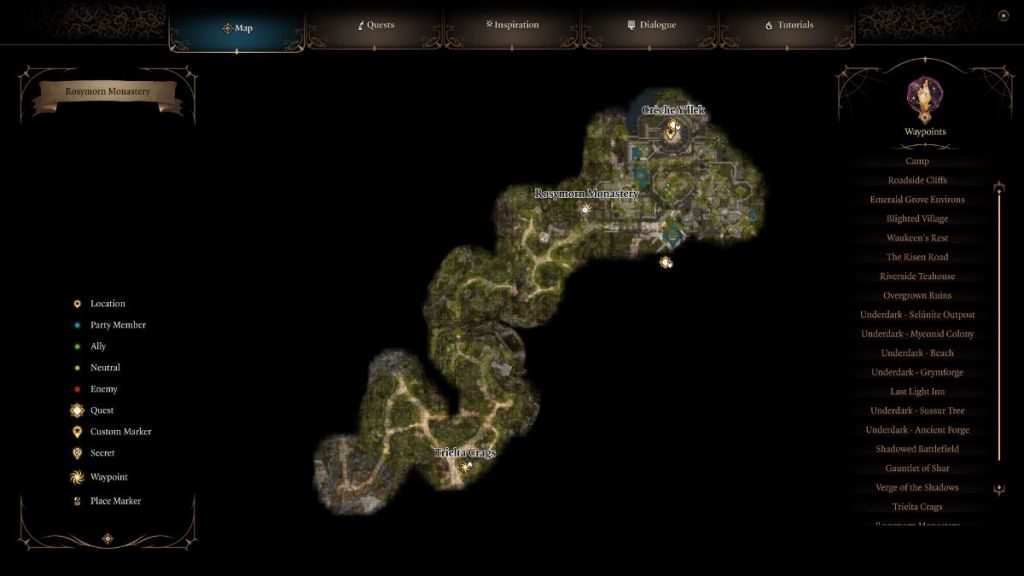
Rosymorn Monastery Location BG3
Screenshot by Gamepur

The Blood of Lathander legendary weapon is inside the Rosymorn Monastery. This gorgeous yet decayed location can be spotted to the Mountain Pass’ northeast. The Rosymorn Monastery coordinates are X: 18 and Y: 22. 

How to Enter the Rosymorn Monastery in Baldur’s Gate 3
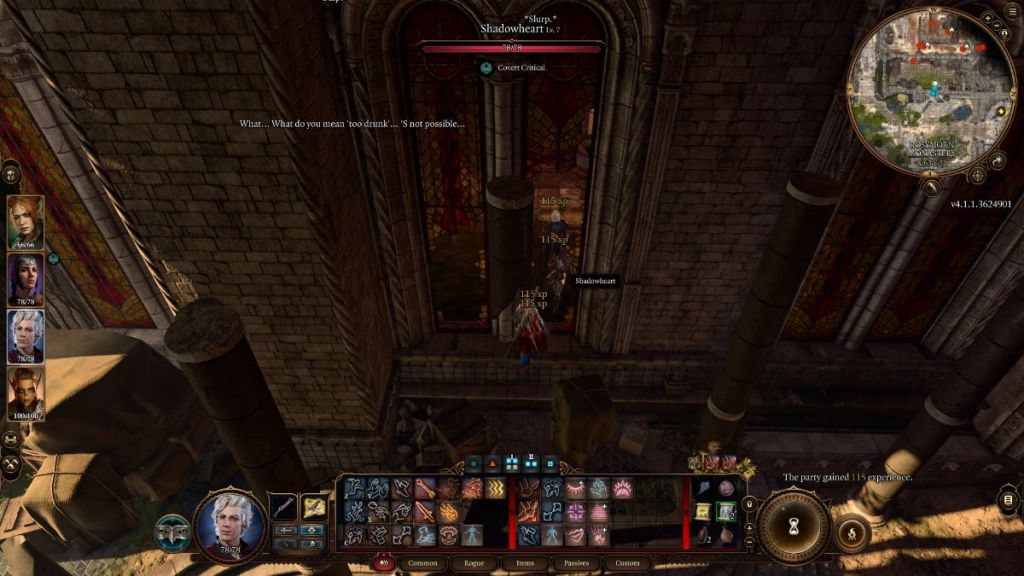
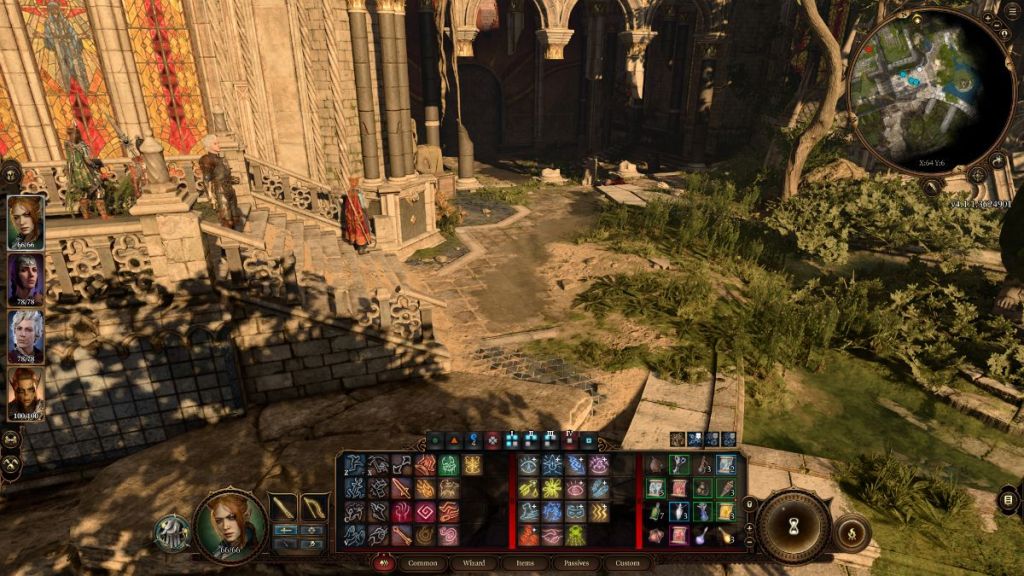
Rosymorn Monastery Entrance BG3
Screenshot by Gamepur

Once here, follow these steps to get inside the Rosymorn Monastery.

AppearanceStep
Starting from the Rosymorn Monastery Waypoint, head right past the monastery’s stained glass windows. 
Though lockpicking the oversized Rosymorn Monastery Doors is impossible, the shattered windows to the door’s left will be handy.
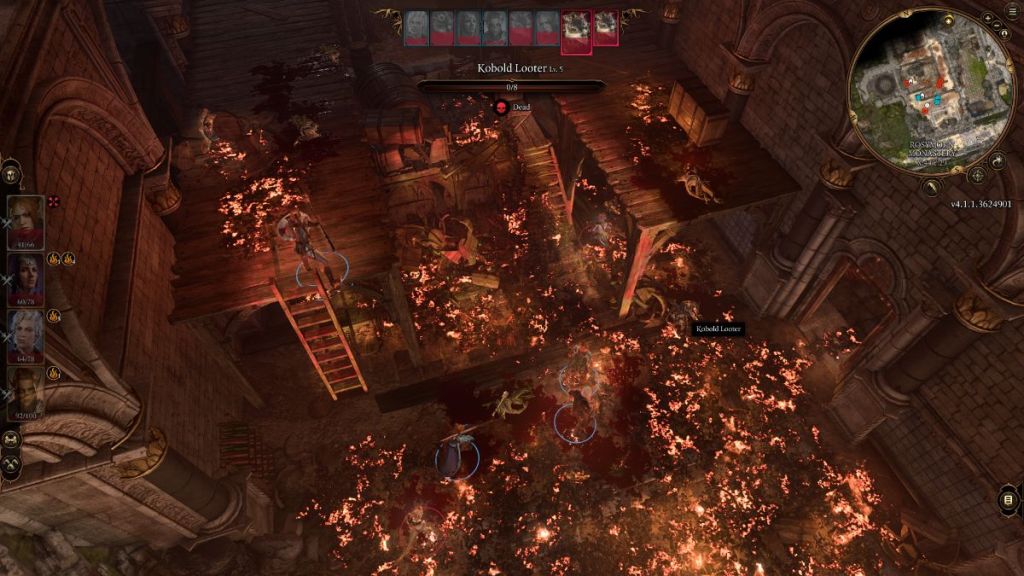
Kobolds Rosymorn Monastery BG3Inside, a band of drunk kobolds awaits. Taking them out won’t be challenging, but beware their Alchemist Fire elixirs. Once the encounter is over, take the exit through the broken wall in the room’s northwest corner.
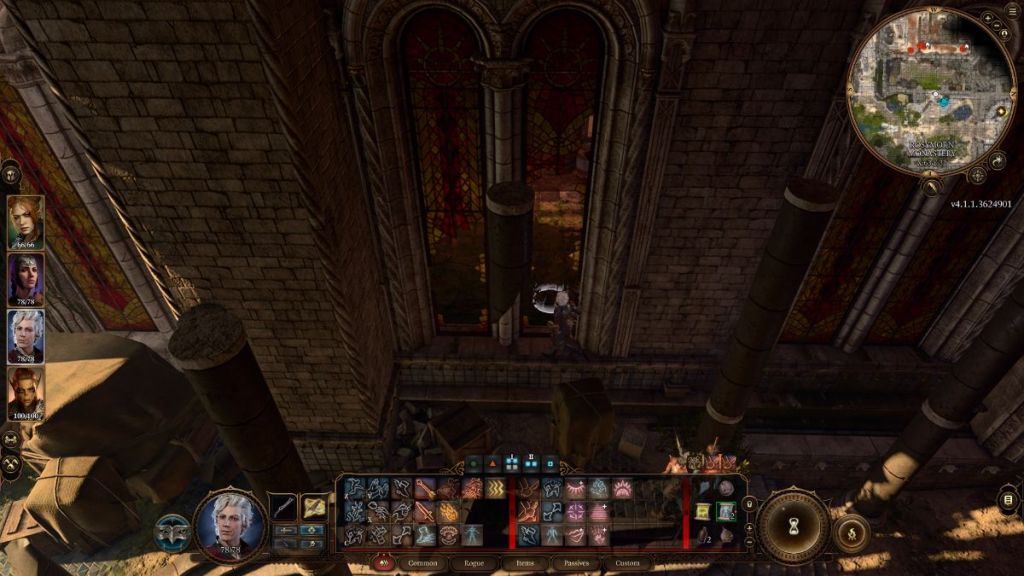
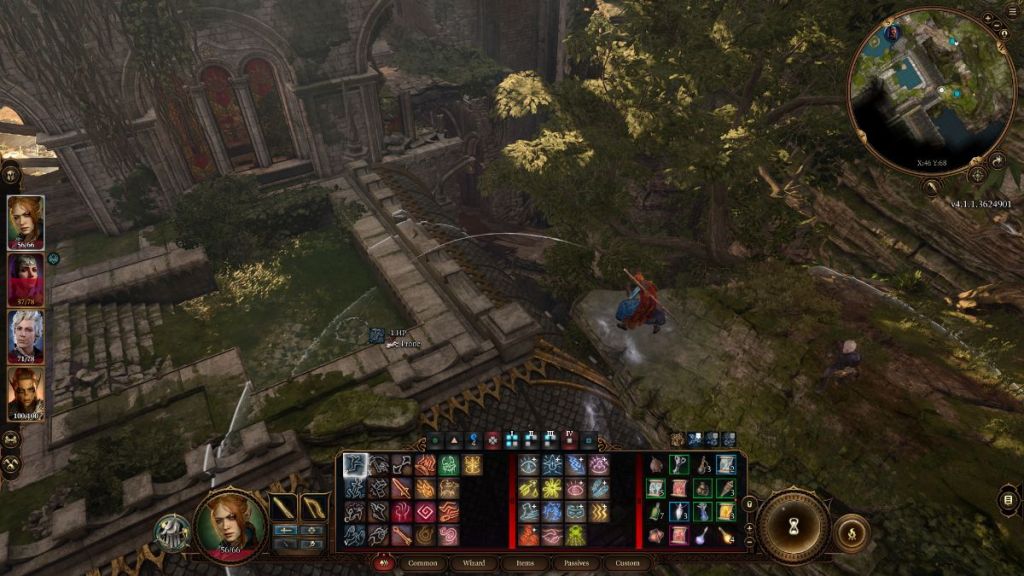
Jump through the rocky mountains to reach the upper floor. Then, Take one more leap to the balcony with the mossy pool.
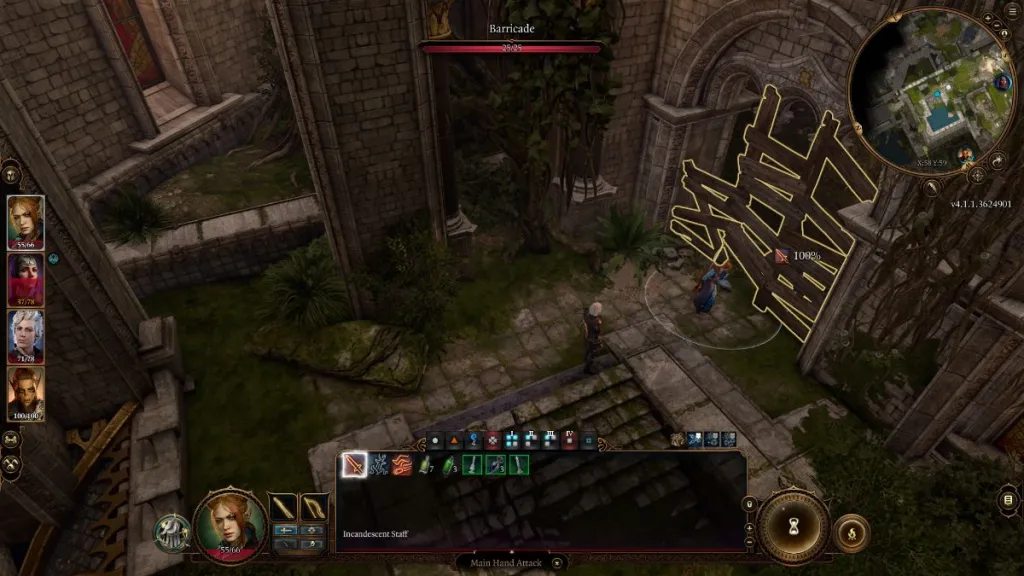
Use a strong character, not a feeble Wizard with a wooden staff like I did, to break the barricade and enter the second floor. 
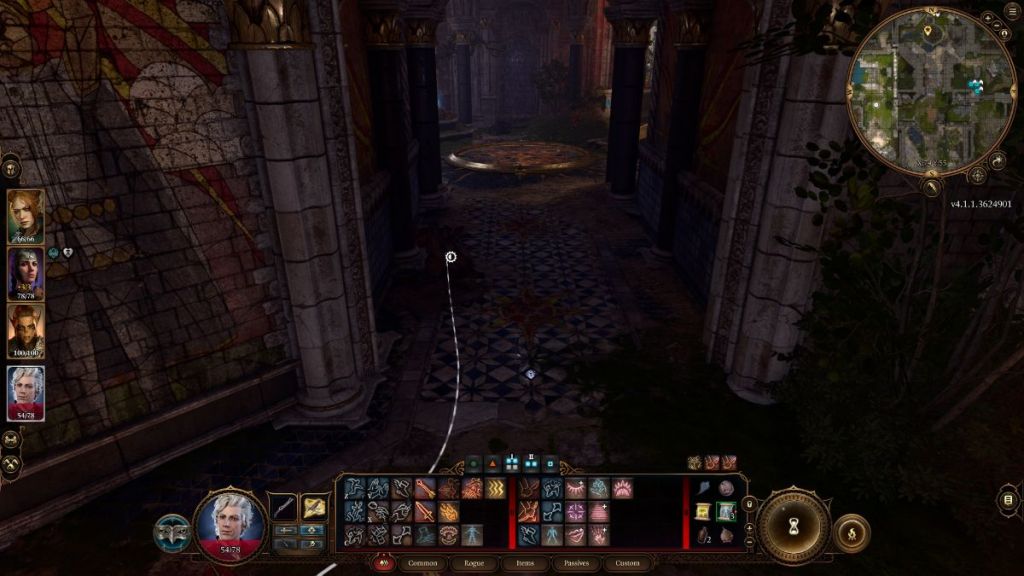
Take two lefts to spot the room with the Stained Glass Puzzle to access the Blood of Bathander.

BG3: How to Solve the Stained Glass Window Puzzle in Rosymorn Monastery
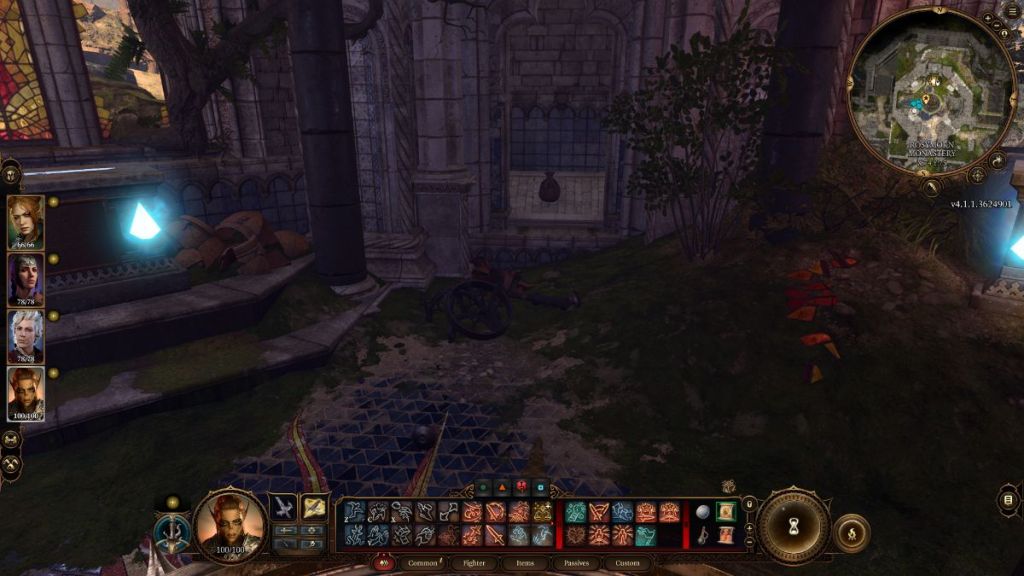
Screenshot by Gamepur

This puzzle commemorates four Lathanderian Dawnmasters, who are esteemed members of the clergy. Around the stained-glass window are four pedestals, but only one exhibits the Dawnmaster’s weapon. Retrieve all missing weapons and throw them on the correct pedestal to uncover a secret safe.

AppearanceWeaponWhere to FindCorrect Placement
Ceremonial Battle Axe1. Exit the Stained Glass Window puzzle room and take a left to find a room barred by an Enchanted Door.
2. Lockpick it to find the Ceremonial Battle Axe inside, guarded by a Guardian of Faith.
Place the Ceremonial Battle Axe on Dawnmaster Vaseid’s pedestal before the entrance.
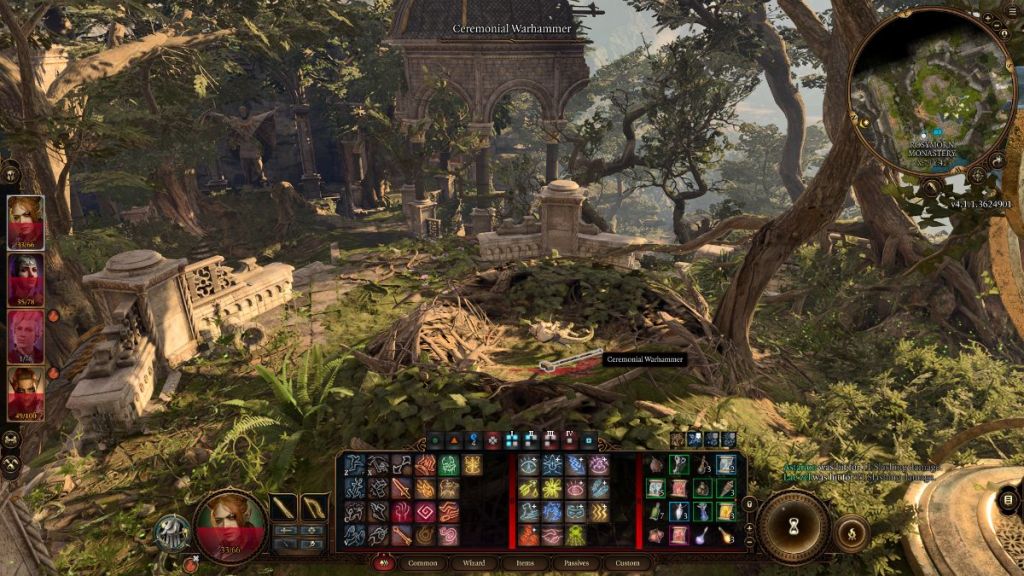
Ceremonial Warhammer1. To this room’s left, an unlocked door leads to a garden.
2. Look for the Knotted Roots to the left, which lead to the terrace.
3. Perched above, an Ancient Giant Eagle and a Giant Eagle stand guard, holding the Ceremonial Warhammer in their nest.
Place the Ceremonial Warhammer on Dawnmaser Seed’s pedestal to the entrance’s left.
Rusty Mace1. Climb down the Knotted Roots
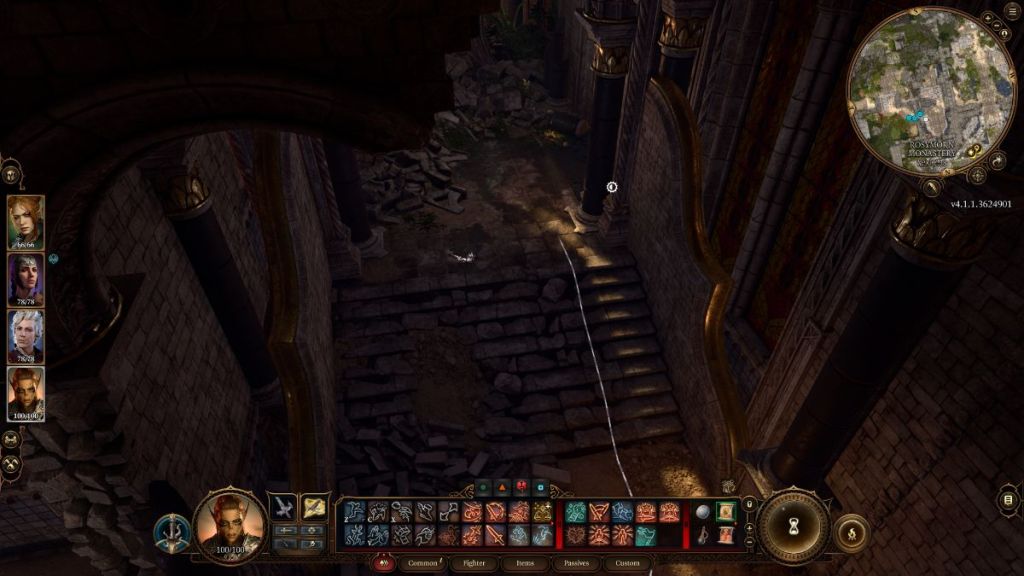
2. Walk down the broken set of stairs ahead.
3. Make a right upon encountering the talking bust.
4. Remove the barricade in this room’s left wall and pick up the Rusty Mace near some rubble to the left.
Place the Rusty Mace on Dawnmaster Stockhold’s pedestal to the entrance’s right.

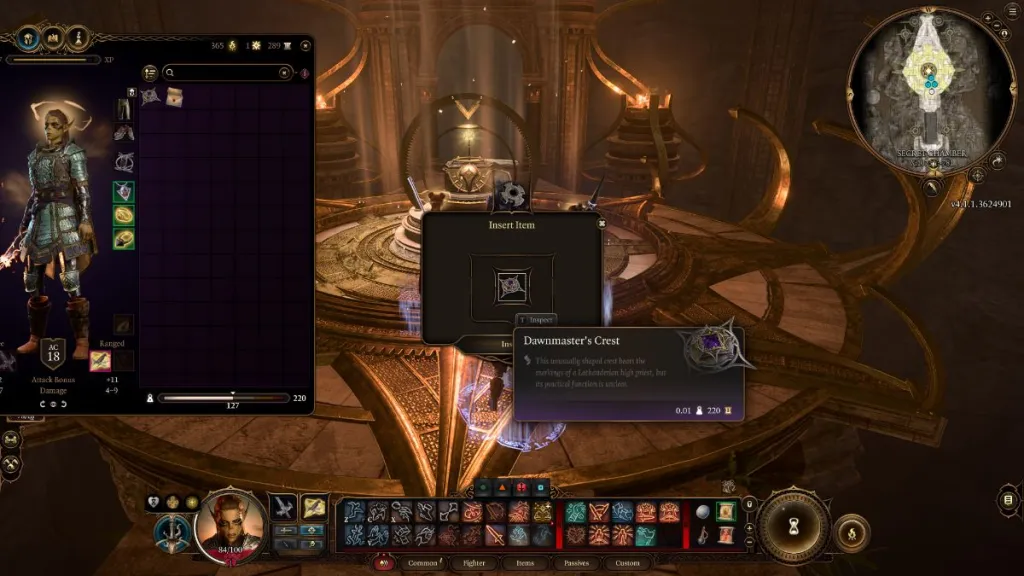
Once all three weapons have been placed correctly in the Stained-Glass Window puzzle, a secret room with a pouch will be revealed. Collect the Dawnmaster’s Crest from the pouch; this item will be handy for getting the Blood of Lathander.

Related: Baldur’s Gate 3: Should You Kill or Free Lae’zel in BG3

This crest comes with a Dawnmaster letter guiding players to the Rosymorn Monastery Basement.

BG3: The Rosymorn Monastery Basement & Githyanki Creché Location
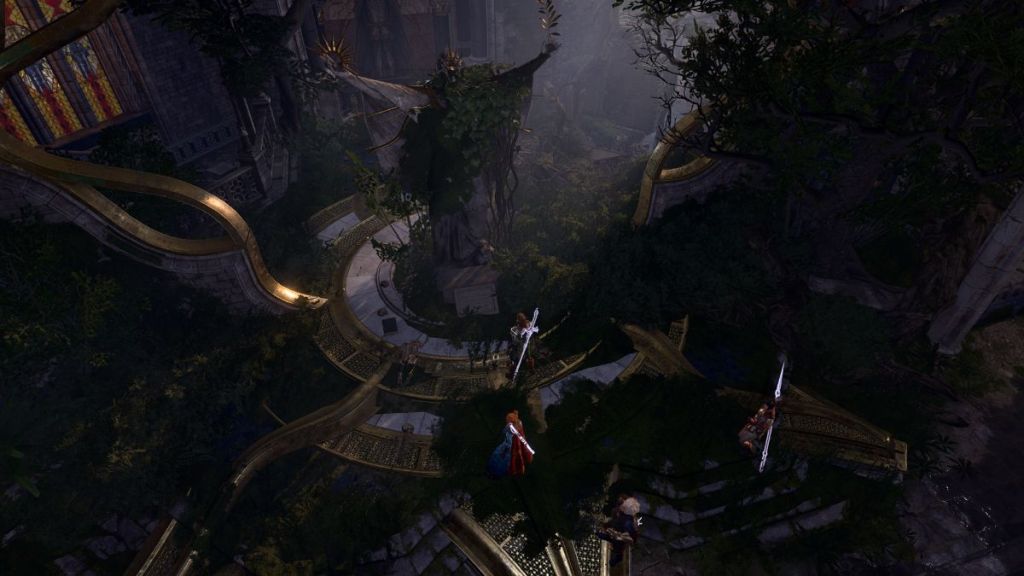
Holy Blood of Lathander Plaque Location BG3
Screenshot by Gamepur

Descend past the chatty bust, skip the left barricade, and step out through the central main door. On the left, spot the mossy statue featuring the Holy Lathander Blood plaque. Continue the left path, down the spiral stairs, and enter the Rosymorn Monastery Basement. This path leads straight into the Githyanki Creché.

Lae’zel’s storyline unfolds in the Githyanki Creché. If it’s your first visit, take the time to explore the Githyanki Creché before progressing on the Blood of Lathander mace quest—because things could get a tad turbulent afterward.
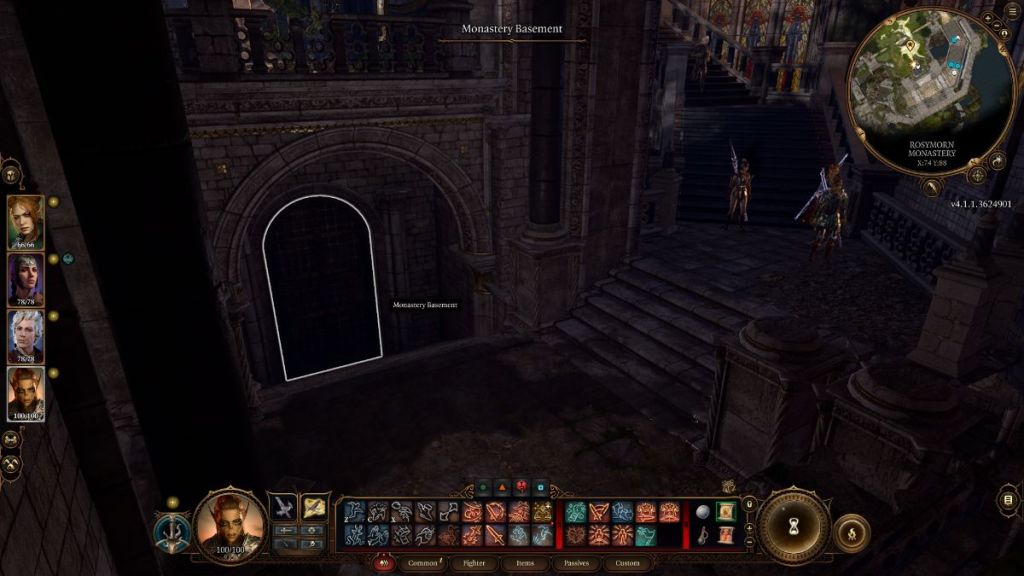
Baldur's Gate 3 Blood of Lathander basement Location
Screenshot by Gamepur

To get to the room that hides the Blood of Lathander, follow these steps:

  1. Head to the Captain Quarters to the Waypoint’s right. 
  2. Pickpocket Kith’rak Therezzyn‘s to get the Gith Shard.
  3. Insert the Gith Shard in the Githyanki Barrier Disruptor beside the enchanted door.
  4. Advance toward the Inquisitor’s Chambers at the end of the passage.
  5. Progress through the plot involving Lae’zel, the Inquisitor, the Dream Visitor, and Vlaakith to resolve the conflict.
  6. Head to the Inquisitor Chambers’ left hallway to solve the statues’ puzzle and enter the secret room with the Blood of Lathander Maze.

How to Get the Blood of Lathander in Baldur’s Gate 3

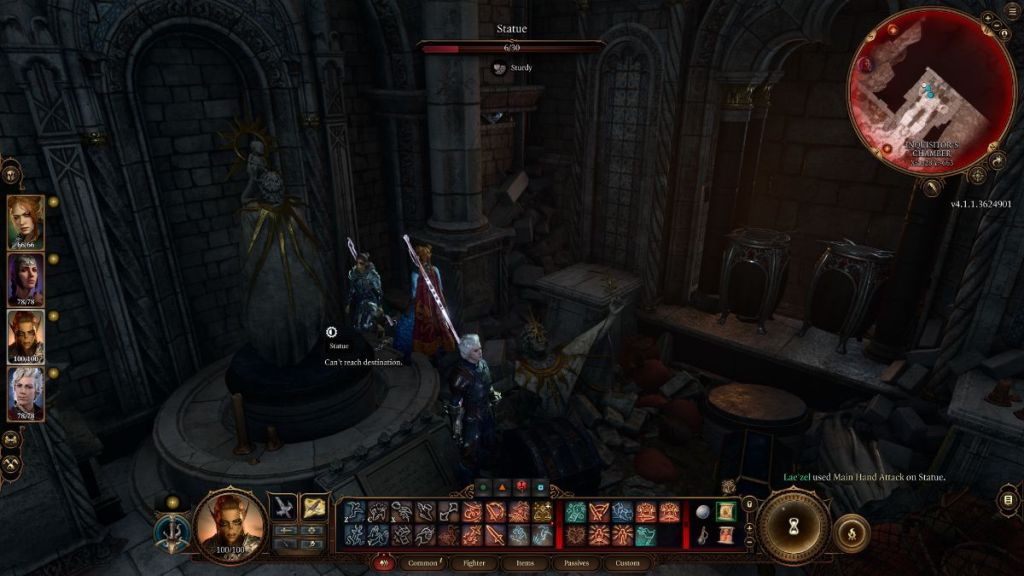
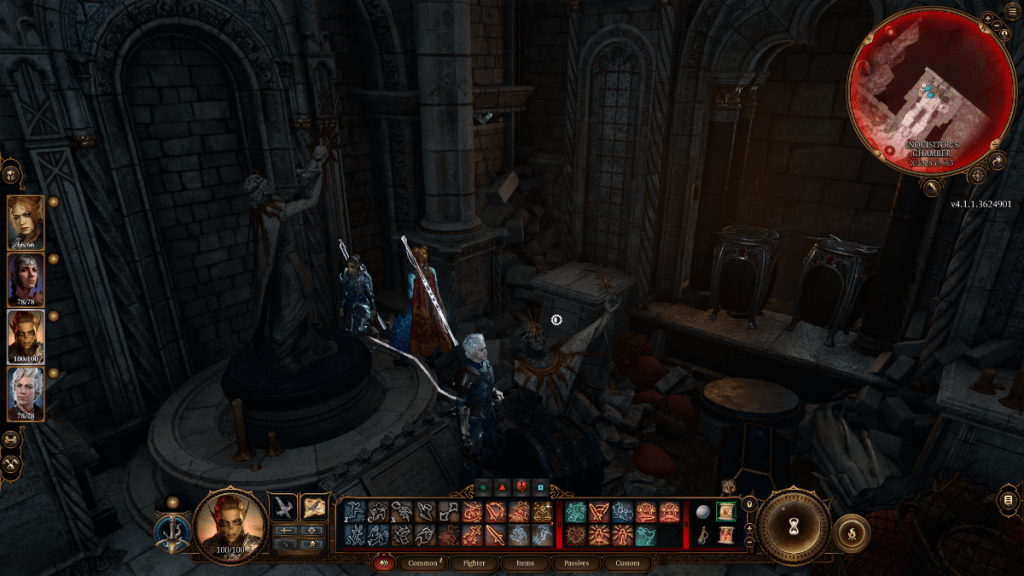
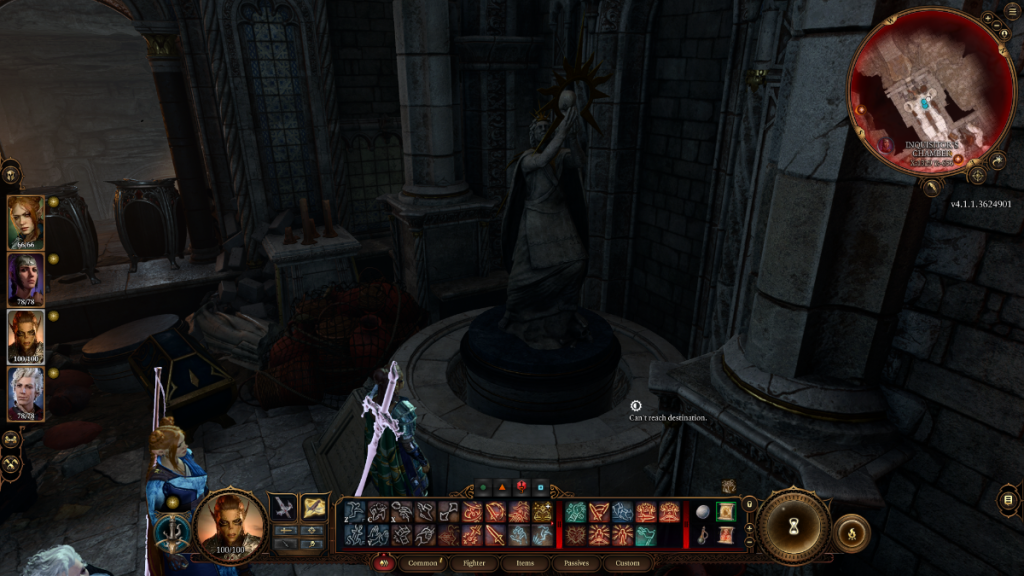
To solve the two sun statues, follow these steps:
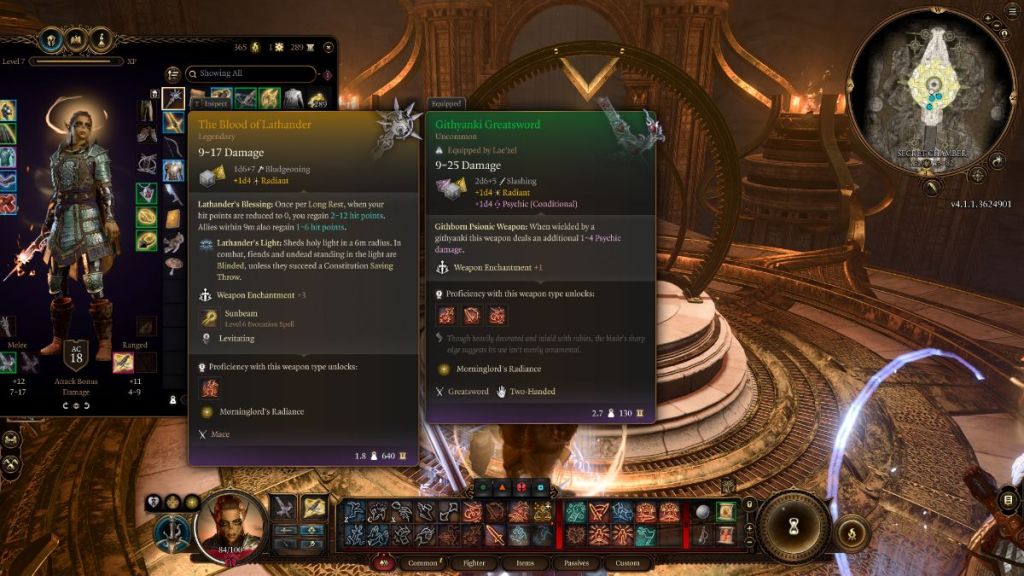
Baldur’s Gate 3 Blood of Lathander Stats
AppearanceStep
Hit the statue on the left with a melee weapon to be able to rotate it. That’s how I fix stuff, too.
Rotate the statue on the left to face the wall with the chests.
Rotate the statue on the right to face the Inquisitor’s Chambers. 

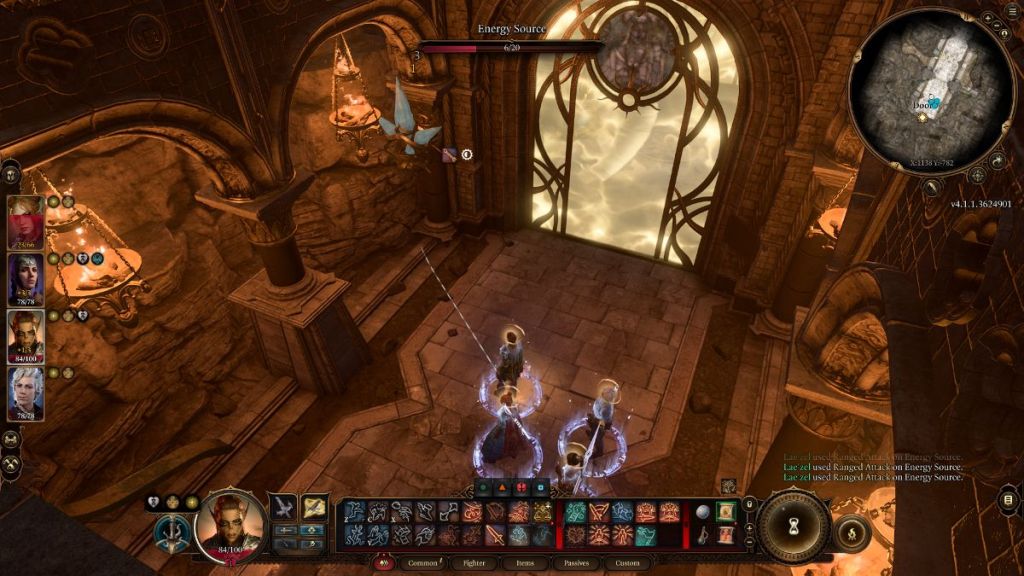
This will open a secret room to the Blood of Lathander’s final puzzle. Here, there’s a series of doors barred with an enchantment. Here’s how to break the spell:

AppearanceSteps
Deal ranged damage to the blue crystal energy source to dispel the first enchanted door.
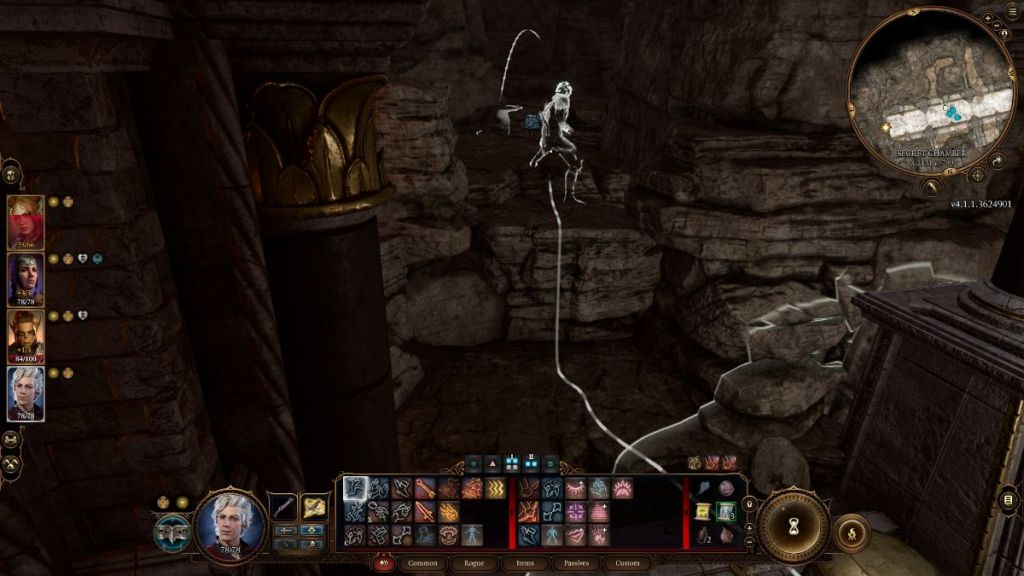
Take a left to avoid the trap ahead and get to the following room by jumping rock through rock.
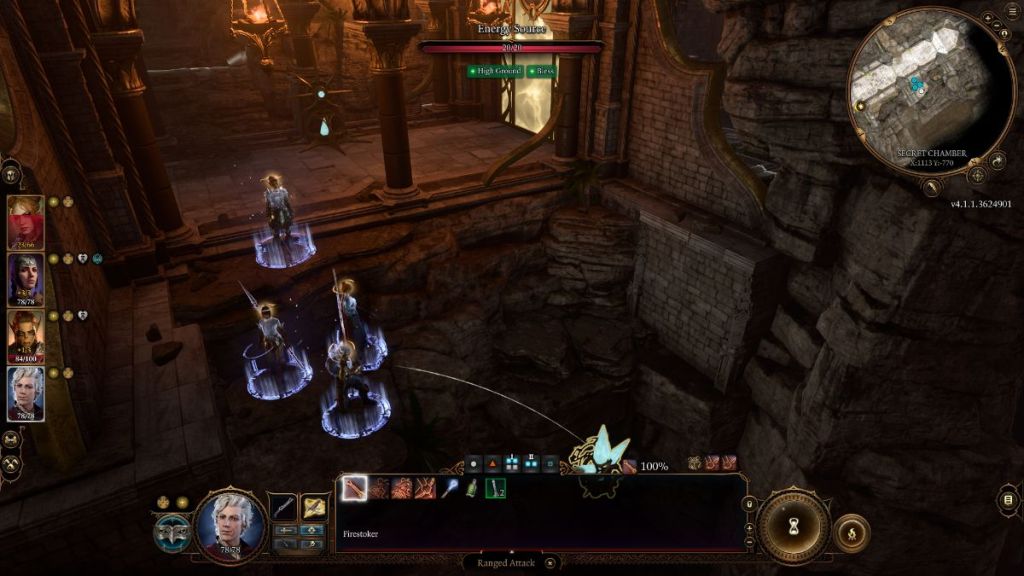
Disarm the trap in this room and stand on the cliff to the north to spot the last blue crystal energy source. Destroy it to access the room with the Blood of Lathander mace.
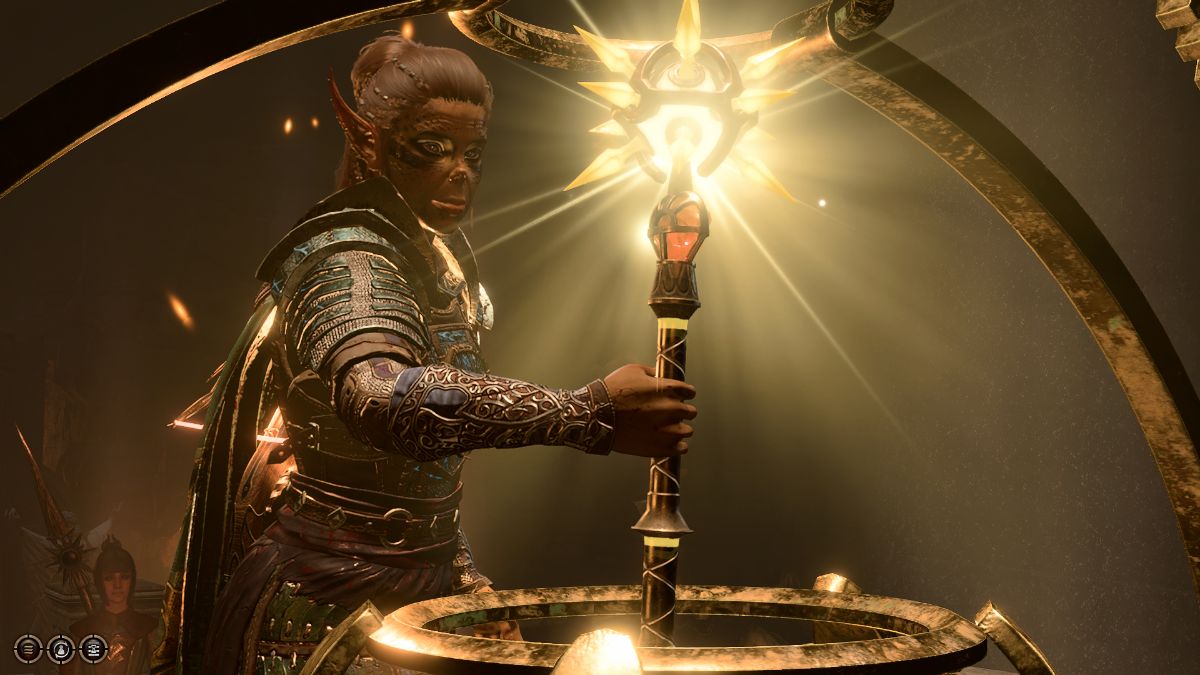
To free the Blood of Lathander legendary weapon, place the Dawnmaster Crest on the altar holding it captive. Then, add this beast of a weapon to your inventory.

Gamepur is supported by our audience. When you purchase through links on our site, we may earn a small affiliate commission. Learn more about our Affiliate Policy
Author
Image of Cande Maldonado
Cande Maldonado
Though Cande started her journey in the video game industry as a localization specialist six years ago, she soon realized that her true calling was to annoy NPCS, smash virtual pottery, and complete every side quest available in RPGs. Throwing that useless degree out of the window, she has been writing professionally for the past three years ever since. Her passion for games dates to 2006, when she mounted a Chocobo for the first time. Under Nintendo and Square Enix's chokehold, she will willingly pour hours upon hours into reaching 100% completion in the longest roleplaying games ever made. But hey, who needs fresh air and sunlight when you can just live in Ivalice?