
Baldur’s Gate 3‘s Blighted Village holds a secret Alchemist’s cellar full of more secrets. The rare mushrooms and empty bottles were much expected, but the magic mirror chatting you up comes as a surprise.
Though we’d all love to ask who’s the fairest of them all, upsetting the magic mirror found in the cellar will likely result in a hefty battle with the undead in the caskets behind you. Yikes, let’s avoid that.
How to Complete Find the Cellar in Baldur’s Gate 3
Search the Cellar is a quest in Baldur’s Gate 3 that will pop up in Act 1 as you’re poking around the Blighted Village, centrally located in the first Act’s surface region. Enter the southeast building right beside the Blighted Village waypoint and read the journal sitting on the bar. This will start the Search the Cellar quest with your first objective: find the cellar.
The cellar itself is accessed via a wooden hutch on the floor. You can find it behind the bar counter and wine rack sitting next to the bar.
Baldur’s Gate 3: Secret Mirror Room in the Cellar Location
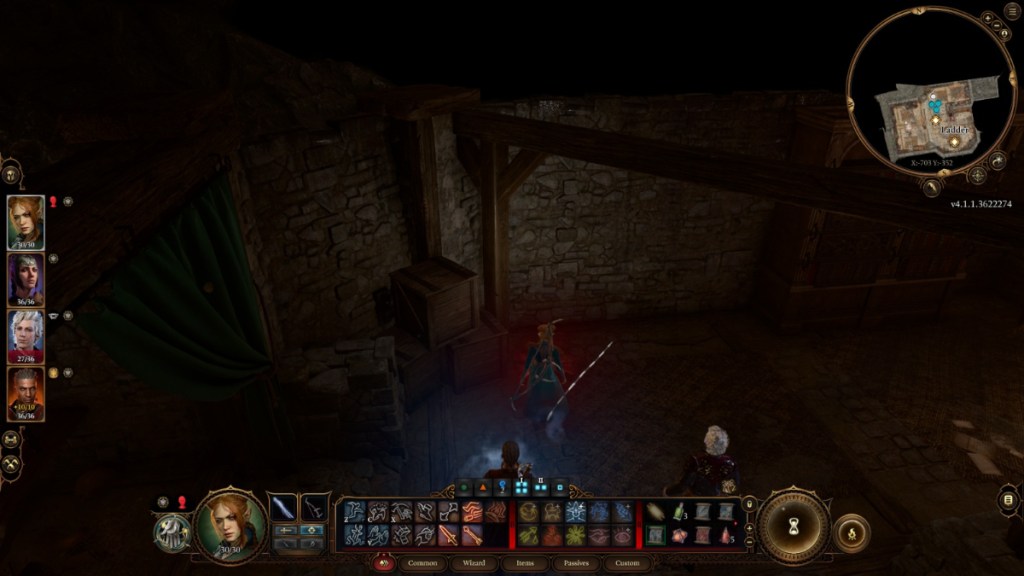
To enter the alchemist’s cellar, click on the Wooden Hatch behind the kitchen counter in his house. Once inside, scout the place looking for three wooden boxes. Upon close inspection, a lever hiding behind these boxes can be spotted. Throw these boxes with X to gain access to the lever.
Related: Baldur’s Gate 3: How to Solve The Moon Puzzle in the Defiled Temple in BG3
Pulling the lever reveals a secret room behind the bookcase to the right. Enter it to find an even deeper mystery this alchemist seems to have been hiding.
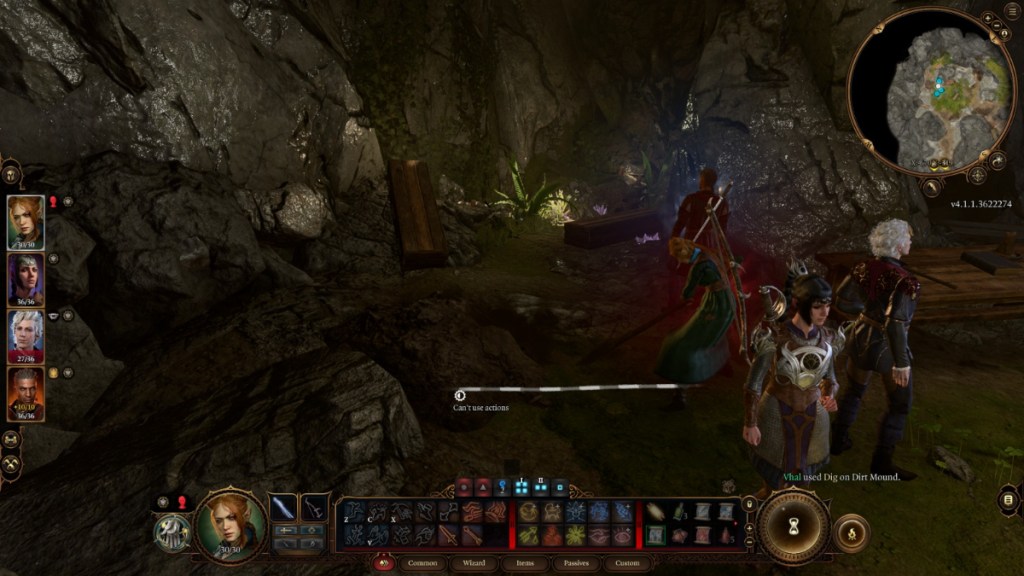
Avoid inspecting the wooden caskets in this room unless you’re looking for a battle with the undead. To the table’s left, a pile of dirt can be removed using a shovel. Underneath it lies a difficult-to-click Heavy Chest with a Scroll of Flaming Sphere, a Scroll of Bestow Curse, and a Scroll of Mage Armour.
At the end of the room lies a talking Ornate Mirror with some riddles to solve.
How to Solve the Ornate Mirror’s Riddle in Baldur’s Gate 3
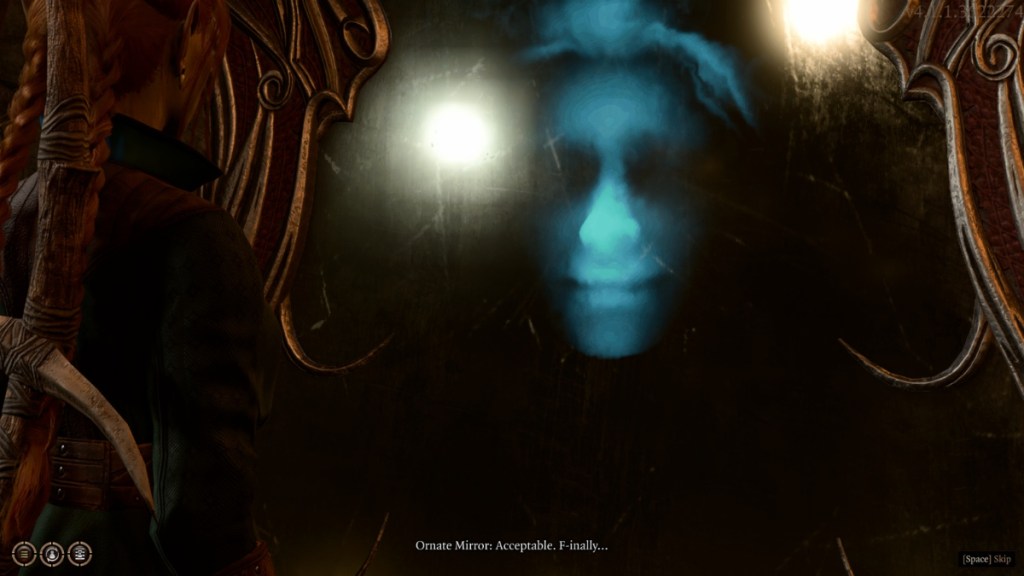
Though there are class-specific answers that might get you out of trouble, the following are the correct answers for the Ornate Mirror’s questions:
| Question | Answer |
|---|---|
| Speak your name. | Tell it your name. |
| Step forward and declare yourself an ally. | Yes, an ally! I’m an ally of your master’s. |
| What think you of the zulkir known as Szaas Tam? | A foul lich. May he die a thousand more deaths. |
| Tell me, why might one use balsam ointment? | I read a doctor’s journal — he used balsam to clean a wound. |
| If you could see anything in me, what would it be? | I’d look for whatever spell will rid me of this worm in my head. |
When the Ornate Mirror asks what think you of the zulkir, you can pass a History check to glean a little more info on this lich. Though passing the check isn’t necessary to correctly answer the question, it does give you some insight into the correct answer. The question about Balsam Ointment can be figured out if you read an open journal sitting on a desk in the previous room. If you hadn’t read the journal, you can still correctly guess the answer.
You’ll want to make sure you answer all of the Ornate Mirror’s questions correctly. If you get one of them wrong, the wooden caskets behind you will open up and start a fight with a group of undead. Failing to answer the Ornate Mirror’s riddles will also lock you out off the secret laboratory where you can find some very special treasure.
Baldur’s Gate 3: How to Avoid the Traps in the Cellar’s Secret Laboratory
The next and last secret room contains rare ingredients, so loot to your heart’s content. To the room’s left end is a locked door keeping a book away from you: the Necromancy of Thay.
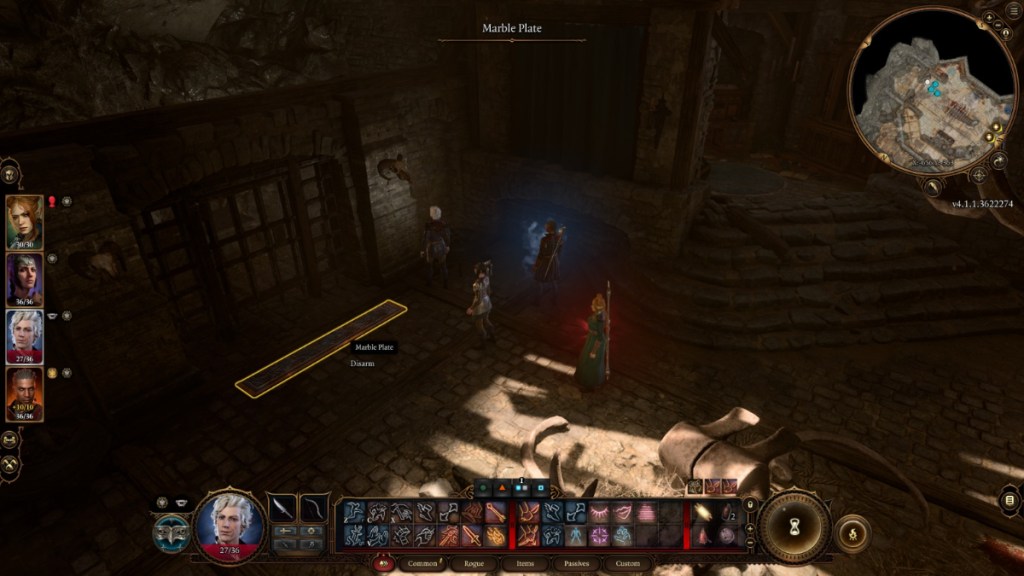
Before attempting to enter, deactivate the trap before the gate. Each attempt to deactivate a trap will require a Trap Disarm Kit. These kits don’t come easy, so if a character with advanced Sleight of Hand like Astarion is around, switch to him instead. If you succeed the Sleight of Hand check to disarm a trap, the Trap Disarm Kit won’t be consumed, allowing you to use it again.
Once inside, disarm both gargoyle traps to the sides. Now that the coast is clear interact with the book. There is one more plaque trap under the book, so don’t leave before disarming that last trap in the cellar.
Baldur’s Gate 3: Should You Keep or Destroy the Book in the Alchemist’s Laboratory
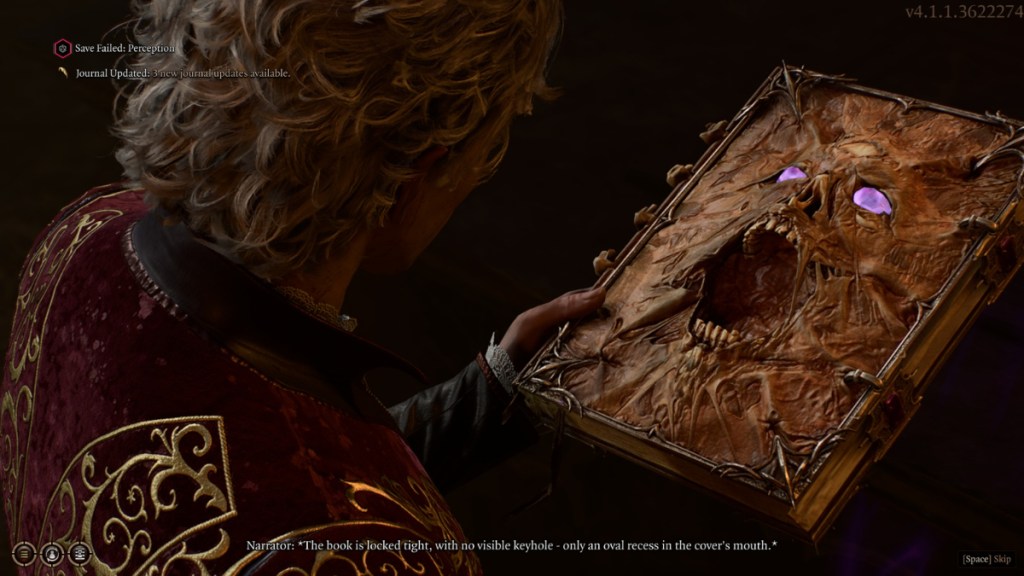
The Necromancy of Thay is an evil, flesh-covered necromancy book that requires an oval-shaped key to open it. The key to the Necromancy of Thay is a Dark Amethyst, and you can find it nearby in the Whispering Depths through the well in the Blighted Village and near the Phase Spider Matriarch. If you missed the Dark Amethyst here, you can find another one in the Philgrave’s Mansion basement in Act 3’s Lower City area.
Once you have the Dark Amethyst, you can plop into the Necromancy of Thay’s gaping mouth and open up the book. Now, there are a couple things you can do with the Necromancy of Thay:
- Give it to Gale for him to consume: The Necromancy of Thay is a magical item and Gale can destroy it by eating it. You won’t get anything out of this outcome other than a satiated Gale.
- Give it to Astarion: Astarion is very eager to read the Necromancy of Thay, and you’ll get some special camp cutscenes if you hand the book over to him.
- Read the book yourself: You’ll have to pass three skill checks when you start reading the Necromancy of Thay, but if you succeed, you can come out of it with some very nice benefits, including the Forbidden Knowledge passive which gives you +1 to Wisdom Saving Throws, and the Danse Macabre spell which can summon five undead. Notably, the Danse Macabre spell won’t be unlocked until you read a supplementary book in the Sorcerous Sundries Vault in Act 3. However, if you fail any of the three saving throws required to read the book, you’ll permanently debuffed with a -1 to Wisdom.
- Destroy the book: The Necromancy of Thay can be destroyed by using Radiant damage. You won’t get anything out of destroying the book except for the approval of a few party members and the peace of mind of not having an evil fleshy book sitting in your pocket.
So whether or not you read the Necromancy of Thay, we recommend you keep it. It doesn’t harm anyone to keep the book in your pocket instead of leaving it lying in the Alchemist’s Lab. Plus, with the traps disarmed, leaving this area with the book in your inventory won’t pose any trouble.
To exit the cellar, pull the lever on the room’s rightmost end, and the stone blocking the path will lift. All that’s left is to climb those stairs to return to the Blighted Village.


Published: Jan 11, 2024 03:10 pm