In the Bloodborne Walkthrough Part 1, the first two main areas are covered – Iosefka’s Clinic and Central Yharnam Walkthrough. Additionally, information on character customization, weapons, upgrades and other options are provided.
After a short cutscene where you can peek into the dark world of Yharnam, you will come to a contact page. This is similar to character customization part of the game. The Origin part is important in Bloodborne. Character build relies on the Origin you picked. Below is the list of all Origins and their stats you can pick from the start of the game.
Iosefka’s Clinic, Central Yharnam Walkthrough
Character Stats Details:
- Level: Character level that rises with game progress.
- Blood Echoes: In-game currency.
- Vitality: Health (HP)
- Endurance: Stamina
- Strength: Damage output of Right-handed weapon.
- Skill: It also governs Damage Output of Right-handed weapon and increases Visceral attack damage.
- Bloodtinge: Damage output by Left-handed weapon mainly for Quicksilver Bullets.
- Arcane: Controls Damage output by Arcane Magic and Discovery Rating.
Milquetoast:
- Level – 10
- Blood Echoes – 300
- Vitality – 11
- Endurance – 10
- Strength – 12
- Skill – 10
- Bloodtinge – 9
- Arcane – 8
Lone Survivor:
- Level – 10
- Blood Echoes – 420
- Vitality – 14
- Endurance – 11
- Strength – 11
- Skill – 10
- Bloodtinge -7
- Arcane – 7
Troubled Childhood:
- Level – 10
- Blood Echoes – 360
- Vitality – 9
- Endurance – 14
- Strength – 9
- Skill – 13
- Bloodtinge -6
- Arcane – 9
Violent Past:
- Level – 10
- Blood Echoes – 180
- Vitality – 12
- Endurance – 11
- Strength – 15
- Skill – 9
- Bloodtinge -6
- Arcane – 7
Professional:
- Level – 10
- Blood Echoes – 240
- Vitality – 9
- Endurance – 12
- Strength – 9
- Skill – 15
- Bloodtinge -7
- Arcane – 8
Military Veteran:
- Level – 10
- Blood Echoes – 320
- Vitality – 10
- Endurance – 10
- Strength – 14
- Skill – 13
- Bloodtinge -7
- Arcane – 6
Noble Scion:
- Level – 10
- Blood Echoes – 540
- Vitality – 7
- Endurance – 8
- Strength – 9
- Skill – 13
- Bloodtinge -14
- Arcane – 9
Cruel Fate:
- Level – 10
- Blood Echoes – 500
- Vitality – 10
- Endurance – 12
- Strength – 10
- Skill – 9
- Bloodtinge -5
- Arcane – 14
Waste of Skin:
- Level – 4
- Blood Echoes – 10
- Vitality – 10
- Endurance – 9
- Strength – 10
- Skill – 9
- Bloodtinge -7
- Arcane – 9
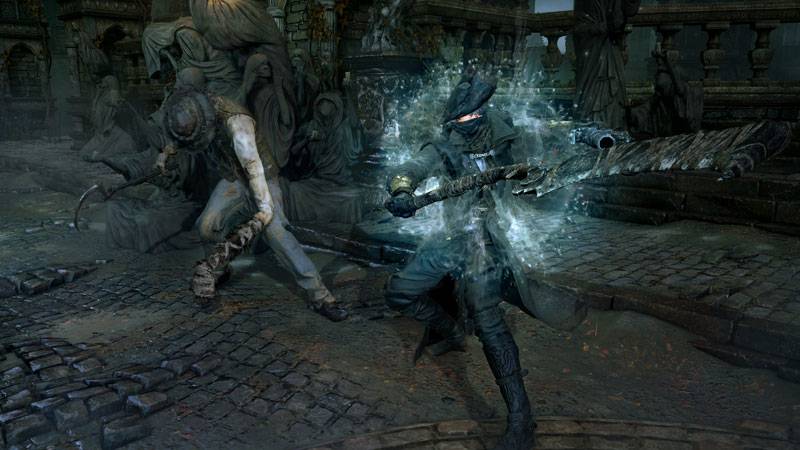
Bloodborne has action combat and puzzles. Blood Echoes is the currency you have to gather in the game to level up your character at the Hunter’s Dream Hub. From the same place, you can buy up new equipment. Once you die you will be transported to the Lantern which is the nearest point and you will lose all your Blood Echoes. You can gather them back from the place where you died. Enemies with glowing eyes can steal your drop cash, you have to kill them to get it back. All defeated enemies will be back to life once again. By defeating bosses you can earn Insight.
Through Blood Vial you can heal yourself, it is one of the consumable items in the game. At a time you can carry around 20 and store up to 99 in Hunter’s Dream Hub. If there are more than the limit then it will be automatically moved into storage. A stash of 20 will be refilled when you re-spawn after dying. The Green Bar you can see is the character’s Stamina, and it is very important part of the game. Dodging attacks or fighting both cost Stamina, and it slowly regenerates. Weapons have to be repaired from Hunter’s Dream Hub when broke. Also through the Regain system, you can get your health back when you take a hit. But there is a catch when you are attacked the health bar will turn orange, now you have few seconds to cause melee damage on the enemy and if this is properly done you will get your health back. Pebbles and Rocks are the other two key consumable that can be used to distract enemies. You can also use them to lure enemy towards you.
Iosefaka’s Clinic Walkthrough

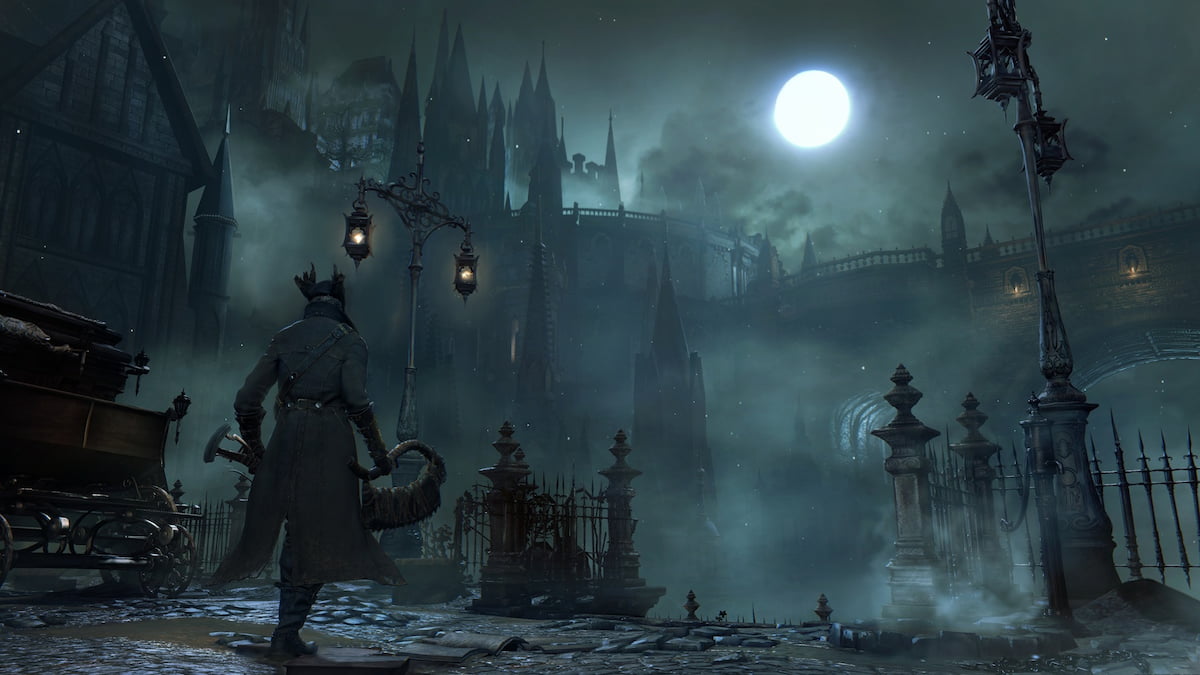
Once the initial cutscenes are over along with a few tutorials you will be waking up at Iosefka’s Clinic. Look on the right side, a paper on the chair. It will glow with light. Inspect it, and exit from left. As you go down you will spot a Beast. Killing this beast does not help you much, it has a good amount of health bar. But if you manage to kill the beast you get a Blood Vial a consumable that can heal you. You will also get Blood Stone Shard. And if you die you will reach the Hunter’s Dream. But if you manage to kill it then exit the clinic and ahead you will get Quicksilver Bullets near a gravestone. Take the get on your left and you will be in Central Yharnam.
Central Yharnam Walkthrough

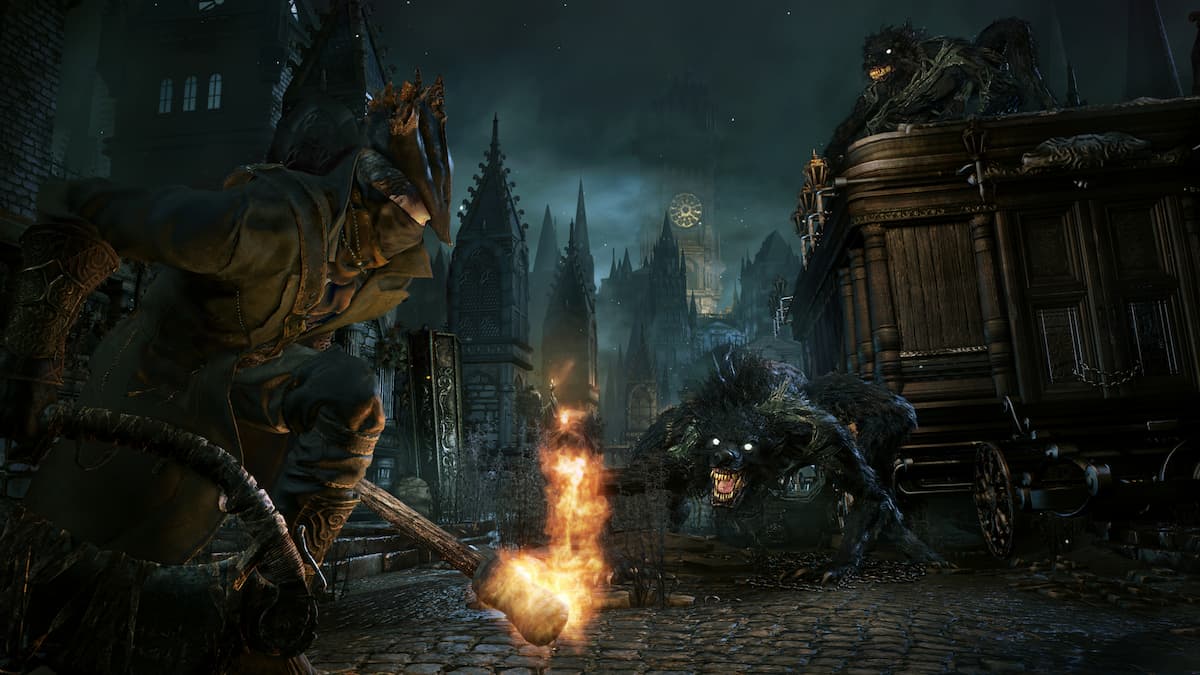
Down on left, you can collect some Blood Vial. On your right, there is a dead horse. Moves slowly and you will have to fight with an enemy with an Axe. Dodge the ax attacks, and watch out for the torch also. You have to try getting on the back of this enemy and attack him. This is the easiest way to kill the enemy.
After killing it, go left and look for a lever on your right, pull it and an iron-stair comes down. There are two more enemies with huge blades at the extreme end. You can skip them or you can fight. If you want to fight, go near and they will get up, keep running and try to pass behind them. The place they were sleeping on the left end there is Molotov Cocktail explosive. Lock one of them and wait if they are near to each other. Then attack. One explosive can kill both.

Take the stairs and go up, you will hear a screeching sound. On top, you will find your first Light Lamp. This is also like the checkpoint and your portal to enter Hunter’s Dream. On the left of stairs, there is a doll, it works only if you have an Insight. Further left you will see a small fountain, that will give you access to your first Merchant. Using Blood Echoes you can buy and sell items through this part. On your right, there are four headstones you can use for fast travel. Now when you take stairs, messengers will pop out from the floor that will give you gifts. In the beginning, the first messenger will give you the first right-hand weapons like Saw Cleaver, Hunter Axe and Threaded Cane. The best one to start with is Saw Cleaver. The second one will give you Left-Handed Weapon like a firearm. There are two Hunter Pistol and Hunter Blunderbuss. Take the pistol. The last one will give you a notebook.
Once you enter the house, on the first right you will get the item storage. Next, the table on the left of the fireplace is the Workshop. At this place, you can fortify and repair your weapons. If you have the right ingredients you can fortify your weapons and expect higher damage. The table with candles in the center of the room is Memory Altar. The old man on the wheelchair will give you information about playing the game. Get outside and use the first headstone to return to the Central Yharnam.
This is the end of Part 1 of Bloodborne, in Part 2 https://www.gamepur.com/guide/28546-cleric-beast-bloodborne-walkthrough.htmlCleric Beast Boss Battle Walkthrough you will find tips and info to deal with the first boss of the game. For more details and updates on the game you can also read our Bloodborne Wiki guide.


Published: Mar 5, 2018 01:07 pm