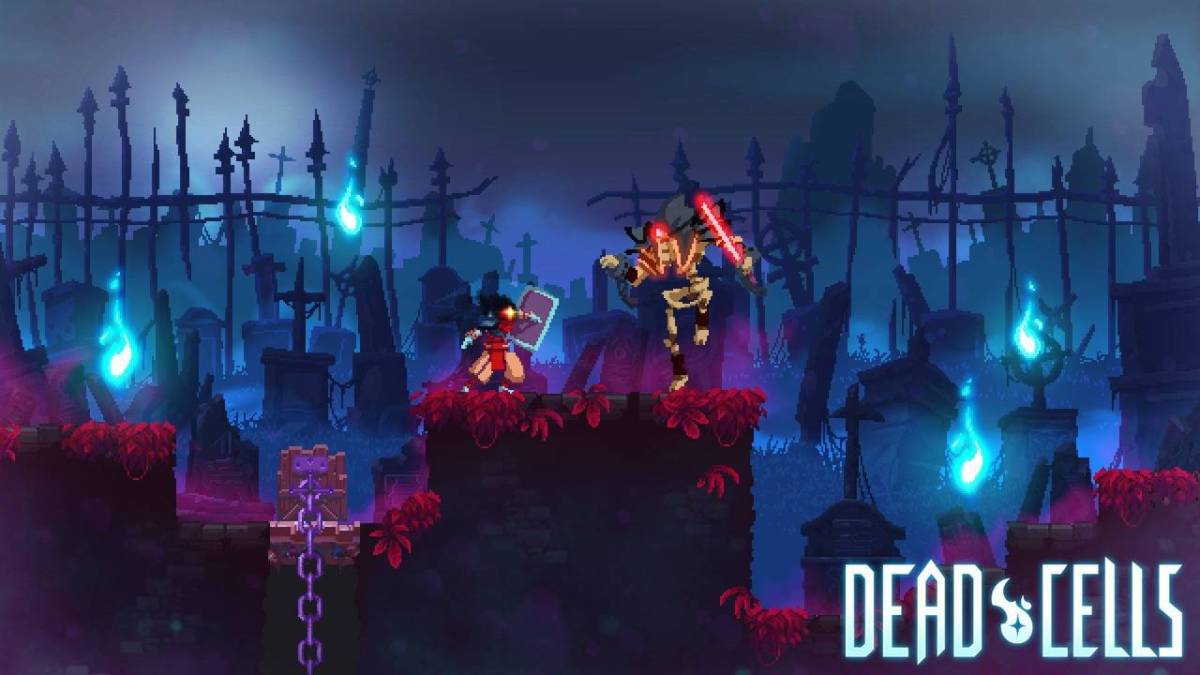
The Blueprints in Dead Cells are hidden in secret areas that make it difficult to discover (find). This Dead Cells Blueprint guide provides the exact location of all Blueprints and their drop rates.
The Blueprints in Dead Cells are hidden in secret areas, while some are easy to find. With the Blueprints, you gain various powerful weapons and tools that will help you fight the undead creatures with the dungeons of the game. With any further ado, this All Blueprint Location Guide will help you locate all the Blueprints and also tell you the Drop Rates in Dead Cells.
Where To Find Blueprint Locations & Drop Rates
Below you can find the list of all Blueprint locations in Dead Cells that will help you to get various weapons.
List Of Blueprints And Their Locations
Blueprint name: Infantry Bow
- Description: A bow used for close combat, inflicts big damage when you strike at close range
- Dropped By: Undead Archer (1.7% chance)
- Drop Chance: 1.7 %
- Damage: 68 (189 Critical damage)
- Location: Prisoner’s Cells, Promenade of the Condemned, Ramparts, Toxic Sewers
Blueprint name: Ice Bow
- Description: Freezes enemies when struck
- Dropped By: Undead Archer (0.4 % chance)
- Drop Chance: 0.4 %
- Damage: 13
- Location: Prisoner’s Cells, Promenade of the Condemned, Ramparts, Toxic Sewers
Blueprint name: Bow and Infinite Arrows
- Description: Endless amount of Ammo.
- Dropped By: Undead Archer
- Drop Chance: 0.03 %
- Damage: 116
- Location: Prisoner’s Cells, Promenade of the Condemned, Ramparts, Toxic Sewers
Blueprint name: Blood Sword
- Description: Inflicts bleeding on your enemies.
- Dropped By: Zombie
- Drop Chance: 100 %
- Damage: 109 (18 bleeding damage)
- Location: Prisoners’ Cells, Promenade of the Condemned, Ramparts, Toxic Sewers, Prison Depths, Ramparts, Old Sewers, Ossuary, Slumbering Sanctuary
Blueprint name: Front Line Shield
- Description: Can’t be used to parry. Absorbs damage.
- Dropped By: Zombie
- Drop Chance: 100 %
- Damage: 40
- Location: Prisoners’ Cells, Promenade of the Condemned, Ramparts, Toxic Sewers, Prison Depths, Ramparts, Old Sewers, Ossuary, Slumbering Sanctuary
Blueprint name: Double Crossb-o-Matic
- Description: Hit at least two enemies nearby and inflict damage.
- Dropped By: Zombie
- Drop Chance: 0.4
- Damage: 40
- Location: Prisoners’ Cells, Promenade of the Condemned, Ramparts, Toxic Sewers, Prison Depths, Ramparts, Old Sewers, Ossuary, Slumbering Sanctuary
Blueprint name: Fire Grenade
- Description: Burns enemies for 3 seconds and inflicts damage
- Dropped By: Grenadier
- Drop Chance: 1.7 %
- Damage: 12 (25 burning damage)
- Location: Prisoner’s Cells, Promenade of the Condemned, Slumbering Sanctuary
Blueprint name: Magnetic Grenade
- Description: Draws enemies that are close and inflicts damage.
- Dropped By: Grenadier
- Drop Chance: 0.4 %
- Damage: 12
- Location: Prisoners’ Cells, Promenade of the Condemned, Slumbering Sanctuary
Blueprint name: Force Shield
- Description: Generates force field for 3 seconds and Absorbs damage.
- Dropped By: Shield Bearer
- Drop Chance: 1.4 %
- Damage: 202 (40 Parry damage)
- Location: Prisoner’s Cells, Old Sewers, Ossuary
Blueprint name: Bloodthirsty Shield
- Description: Blocking an enemy for 3 seconds causes bleeding and affects nearby enemies if you parry.
- Dropped By: Shield Bearer
- Drop Chance: 0.03 %
- Damage: 25 (40 Parry damage)
- Location: Prisoners’ Cells, Old Sewers, Ossuary
Blueprint name: Oiled Sword
- Description: Causes damaged by covering enemies with flammable oil and if introduced
- Dropped By: Bat
- Drop Chance: 1.7 %
- Damage: 149 damage
- Location: Promenade of the Condemned, Graveyard
Blueprint name: Knife Dance
- Description: Throws knives around you and causes bleed damage for 4 seconds.
- Dropped By: Bat
- Drop Chance: 0.4 %
- Damage: 40 bleeding damage
- Location: Promenade of the Condemned, Graveyard
Blueprint name: Spartan Sandals
- Description: Throws enemies on their back and interrupts their attacks.
- Dropped By: Runner
- Drop Chance: 100 %
- Damage: 53
- Location: Promenade of the Condemned
Blueprint name: Meat Grinder
- Dropped By: Phazer
- Drop Chance: 1.7 %
- Damage
- Location: Promenade of the Condemned
Blueprint name: Phaser
- Description: Causes 70 damage when you teleport behind your enemy
- Dropped By: Runner
- Drop Chance: 0.4 %
- Damage: 70
- Location: Promenade of the Condemned
Blueprint name: Corrupt Power
- Description: Takes 30 % extra damage
- Dropped By: Defender
- Drop Chance: 0.4 %
- Damage: 50
- Location: Promenade of the Condemned, Slumbering Sanctuary
Blueprint name: Lure
- Description: Leaves a lure in your place and attracts enemies nearby when you disappear for 2.5 seconds. And Explodes after 2.5 seconds.
- Dropped By: Defender
- Drop Chance: 0.4
- Damage: 110
- Location: Promenade of the Condemned, Slumbering Sanctuary
Blueprint name: Spiteful Sword
- Description: Rusty weapon that causes a good amount of damage.
- Dropped By: Buzzcutter
- Drop Chance: 0.03%
- Damage: 131 (315 critical damage)
- Location: Ramparts, Old Sewers, Clock Tower
Blueprint name: Support (Mutation)
- Drop Chance: 100
- Location: Ramparts, Graveyard, Slumbering Sanctuary, Forgotten Sepulchre
Blueprint name: Dagger of the Sadistic Cult
- Description: Does more damage to bleeding or poisoned enemies
- Dropped By: Spiker
- Drop Chance: 1.7 %
- Damage: 125
- Location: Old Sewers
Blueprint name: Cluster Bomb
- Description: Explodes into 6 mini-bombs and causes damage
- Dropped By: Slasher
- Drop Chance: 1.7 %
- Damage: 42
- Location: Old Sewers, Ossuary, Prison Depths, Graveyard
Blueprint name: Heavy Turret
- Description: Has damage on nearby enemies plus increases your damage by 15 %
- Dropped By: Slasher
- Drop Chance: 0.4 %
- Damage: 60
- Location: Old Sewers, Ossuary, Prison Depths, Graveyard
Blueprint name: Flamethrower Turret
- Description: Burns close by enemies for 2 seconds
- Dropped By: Shocker
- Drop Chance: 0.4 %
- Damage: 10 burning damage
- Location: Ossuary, Prison Depths, Forgotten Sepulchre, Fog Fjord
Blueprint name: Barnacle
- Description: Be close to enemies when you use this blueprint. It fires rapidly on enemies and causes half amount of damage.
- Dropped By: Thorny
- Drop Chance: 1.7
- Damage: 52
- Location: Ossuary, Prison Depths
Blueprint name: Spiked Boots
- Description: Inflicts critical blow when it breaks an attacks.
- Dropped By: Thorny
- Drop Chance: 1.7 %
- Damage: 50
- Location: Ossuary, Prison Depths
Blueprint name: The Torch
- Description: Puts your enemies on fire
- Dropped By: Spawner
- Drop Chance: 0.4 %
- Damage: 99
- Location: Ossuary
Blueprint name: War Spear
- Description: Has high damage.
- Dropped By: Hammer
- Drop Chance: 1.7 %
- Damage: 149 (306 critical damage)
- Location: Prison Depths
Blueprint name: Shovel
- Description: Hits enemies and bombs and Flings them backward
- Dropped By: Purulent Zombie
- Drop Chance: 0.4 %
- Damage: 145
- Location: Graveyard, Slumbering Sanctuary
Blueprint name: Toxic Cloud
- Description: Releases toxic cloud gas on the enemies and does damage for 4 seconds
- Dropped By: Host Zombie
- Drop Chance: 0.4 %
- Damage: 15
- Location: Graveyard, Slumbering Sanctuary
Blueprint name: Grappling Hook
- Description: Pulls enemy’s towards you and then you can melee attack them. Which causes 60 % damage.
- Dropped By: Protector
- Drop Chance: 0.4 %
- Location: Graveyard, Slumbering Sanctuary
Blueprint name: Shove Shield
- Description: Double effect if you parry enemies and knock them back.
- Dropped By: Catcher
- Drop Chance: 0.4 %
- Damage: 20
- Location: Graveyard, Slumbering Sanctuary
Blueprint name: Repeater Crossbow
- Description: Fires bolts
- Dropped By: Dark tracker
- Drop Chance: 0.4 %
- Damage: 126
- Location: Forgotten Sepulchre, Clock Tower
Blueprint name: Crusher
- Description: Crushes Enemies
- Dropped By: Lacerator
- Drop Chance: 0.4 %
- Damage: 200
- Location: Forgotten Sepulchre, Clock Tower
Blueprint name: Hokuto’s Bow
- Description: Mark an enemy after a few seconds it dies, or before it dies it will spread the mark on other enemies.
- Dropped By: Cannibal
- Drop Chance: 1.7 %
- Damage: 25
- Location: Clock Tower
Blueprint name: Heavy Grenade
- Description: Inflicts damage over a large area
- Dropped By: Bombardier
- Drop Chance: 10 %
- Damage: 70
- Location: Clock Tower
Blueprint name: Denial Wave
- Description: Has damage done to enemies by hurling them on the wall.
- Dropped By: Bombardier
- Drop Chance: 1.7 %
- Damage: 20 Damage
- Location: Clock Tower
Blueprint name: Pyrotechnics
- Description: Causes Damage on enemies covered in oil.
- Dropped By: Caster
- Drop Chance: 1.7 %
- Damage: 87
- Location: Slumbering Sanctuary
Blueprint name: Crow’s Wings
- Description: Allows you to float in the air for a while.
- Dropped By: Golem
- Drop Chance: 1.7 %
- Damage: 75
- Location: Slumbering Sanctuary
Blueprint name: Lighting Bolt
- Description: Continue flow of hits. Join the dark side.
- Dropped By: Inquisitor
- Drop Chance: 1.7 %
- Damage: 108
- Location: Ramparts, Graveyard, Slumbering Sanctuary, Forgotten Sepulchre
Blueprint name: Vampirism
- Description: Gives you HP for each hot you land on an enemy.
- Dropped By: Inquisitor
- Drop Chance: 0.4 %
- Damage: 4 HP/Hit
- Location: Ramparts, Graveyard, Slumbering Sanctuary, Forgotten Sepulchre
Blueprint name: Spiked Shield
- Description: Block enemies hit with the Spiked shield which causes damage.
- Dropped By: Cleaver
- Drop Chance: 1.7 5
- Damage: 70
- Location: Fog Fjord, Forgotten Sepulchre
Blueprint name: Death Orb
- Description: Orb energy that has high damage
- Dropped By: Cleaver
- Drop Chance: 0.4 %
- Damage: 100
- Location: Fog Fjord, Forgotten Sepulchre
Blueprint name: Frantic Sword
- Description: Has a great damage when you’re below 50 percent health.
- Dropped By: Kamikaze
- Drop Chance: 0.4 %
- Damage: 137
- Location: Toxic Sewers, Old Sewers, Prison Depths, Fog Fjord, Graveyard, Slumbering Sanctuary, Forgotten Sepulchre
Blueprint name: Oil Grenade
- Description: Does damage by covering nearby enemies with flammable oil
- Dropped By: hammer
- Drop Chance: 0.4 %
- Damage: 40
Blueprint name: Wrenching Whip
- Description: Pulls the enemies towards you and kicks them causing damage.
- Dropped By: Pirate Captian
- Drop Chance: 0.4 %
- Damage: 115
- Location: Fog Fjord
Blueprint name: Rapier
- Description: Has a critical hit after rolling
- Dropped By: Ugly Worm
- Drop Chance: 100 %
- Damage: 90
- Location: Toxic Sewers, Old Sewers, Fog Fjord
Blueprint name: Absorption (Mutation)
- Dropped By: Ugly worm
- Drop Chance: 100
- Location: Toxic Sewers, Old Sewers, Fog Fjord
Blueprint name: Biter Swarm
- Dropped By: Ugly
- Drop Chance: 0.4 %
- Location: Toxic Sewers, Old Sewers, Fog Fjord
Blueprint name: Valmont’s Whip
- Description: Avoids the shield and deals a gives a striking hit at maximum range.
- Dropped By: Disgusting Worm
- Drop Chance: 0.4 %
- Damage: 53
- Location: Toxic Sewers, Old Sewers, Fog Fjord
Blueprint name: Sadism (Mutation)
- Dropped By: Spiker
- Drop Chance: 100
- Location: Old Sewers
So these are the list of all blueprints you can found in Dead Cells


Published: Aug 17, 2018 12:42 pm