
Completing the Sniper Assassin challenge in any of Hitman 3’s locations something you should only tackle once you’ve played through the story a few times and want to try something significantly different. In this guide, we’re taking you through completing this challenge in Dartmoor. This is the easiest location to pick up the Sniper Assassin challenge outside of Dubai.
Specific loadout

There’s one essential item you’ll need for this challenge, and that’s a sniper rifle. It doesn’t matter which one you bring, though one with suppression would work best. You’ll also need a briefcase to pack the weapon into. If you want to unlock the sniper rifle, briefcase, and fabulous outfit 47 is sporting in the image above, follow our guide for completing the Lee Hong Derivation.
Outside of the sniper rifle and case, you should bring the coins. The starting location here is the Main Road outside of the house.
Step 1 – Get to the house
From spawn, head to the right of the gate on the main drive. You’ll be running through bushes, so you shouldn’t get spotted. There’s a gap in the wall here. When you reach it, vault over it and turn right.
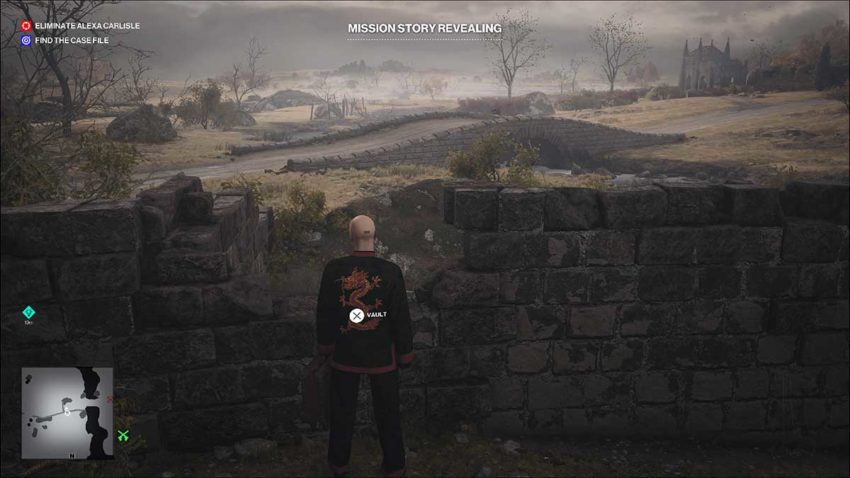
Run across the stream here and keep moving towards the house. You want to be running through the bushes towards the raised front garden.
When you reach the wall close to the house, you’ll see another gap you can vault through. Use it to get up into the front garden with some well-trimmed bushes.

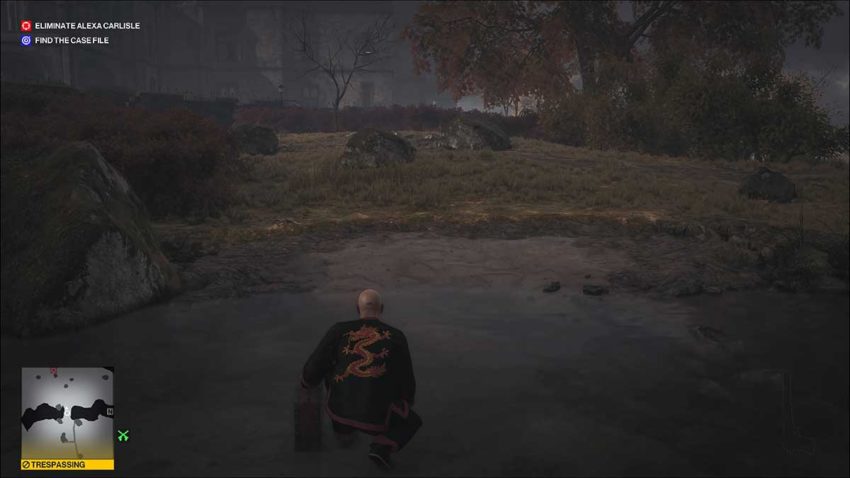
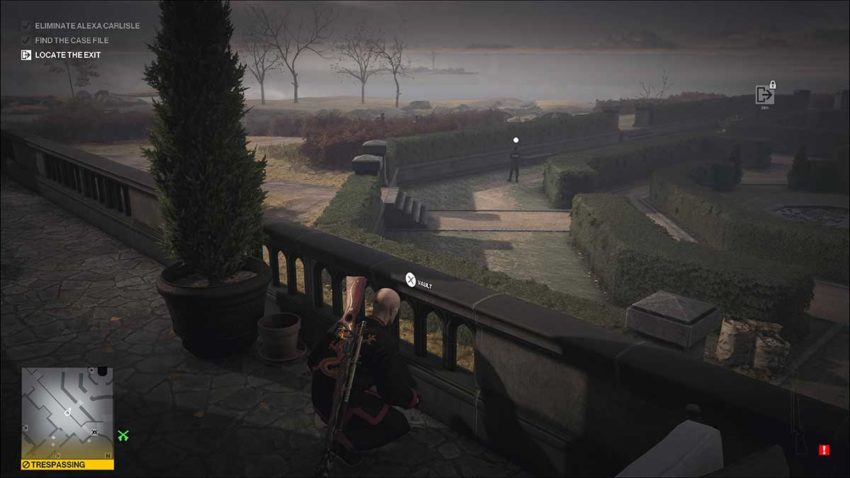
Agent 47 will crouch once he’s up here, so stay crouched. A guard is patrolling to the left of you. Move to the right-hand corner that’s closest to the house, right at the edge of this small walled-off garden.

When you’re ready, vault over this low wall and make a run for the drainpipe that you can see in the image above. If you keep to the right of the trees near it, you shouldn’t be spotted.
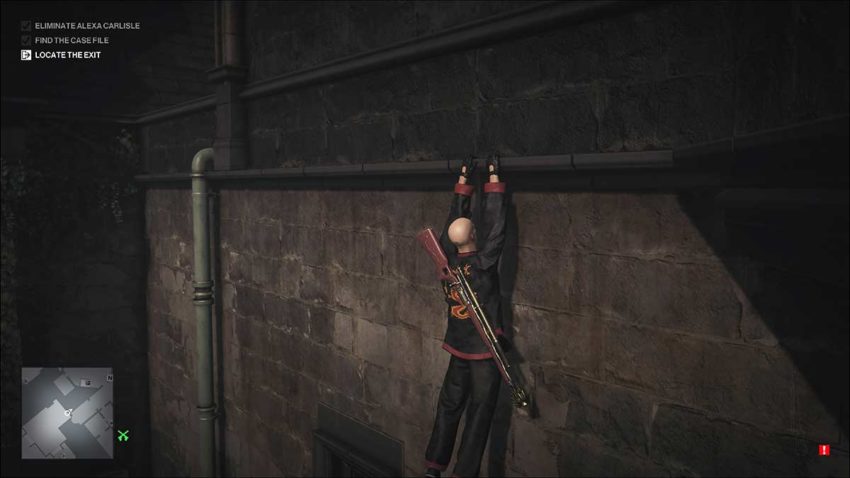
Once you’re at the drainpipe, take your sniper rifle out of the briefcase. Agent 47 can’t climb a drainpipe while holding it. Luckily, the sniper rifle will remain on his back as he climbs.
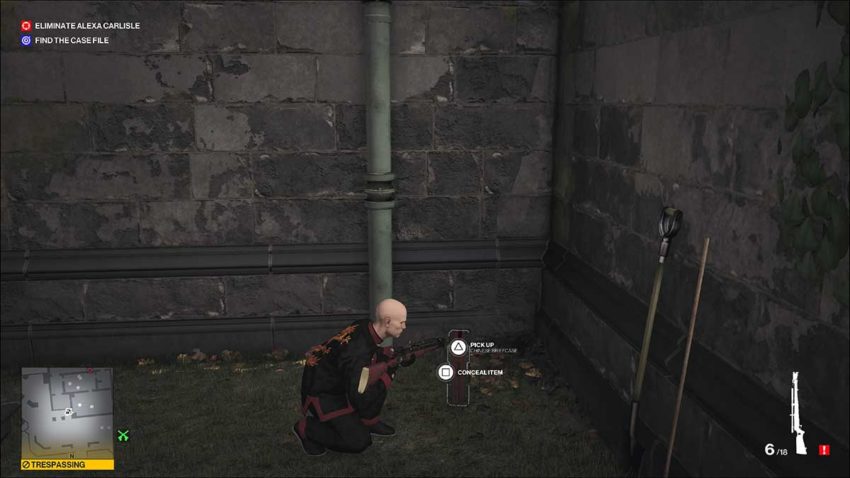
With the sniper rifle safely secured on Agent 47’s back, climb up the drainpipe.
Step 2 – Reach the secret room
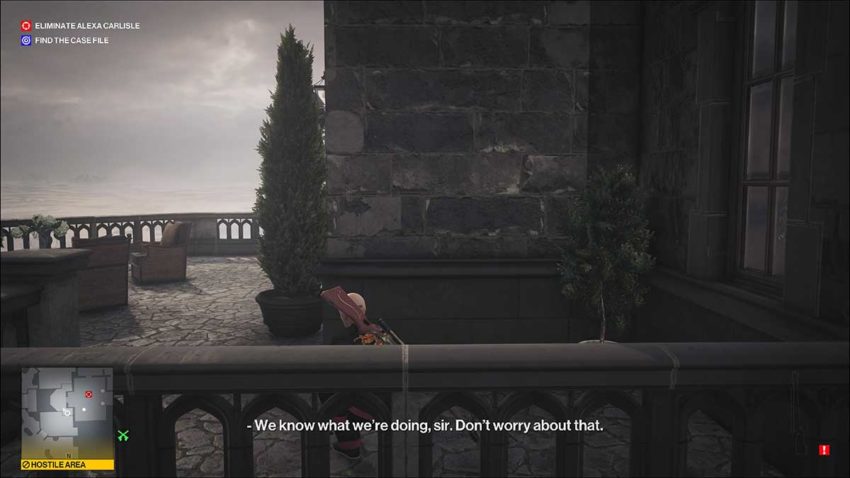
At the top, jump off to the left and shimmy across the front of the house here. There are a few open windows that you’ll need to pass under, but these pose no threat. You need to keep shimmying until you reach the next drainpipe up to the balcony of Alexa Carlisle’s bedroom.
Once you’re at the top of the drainpipe, jump off to the left and then vault over the edge.
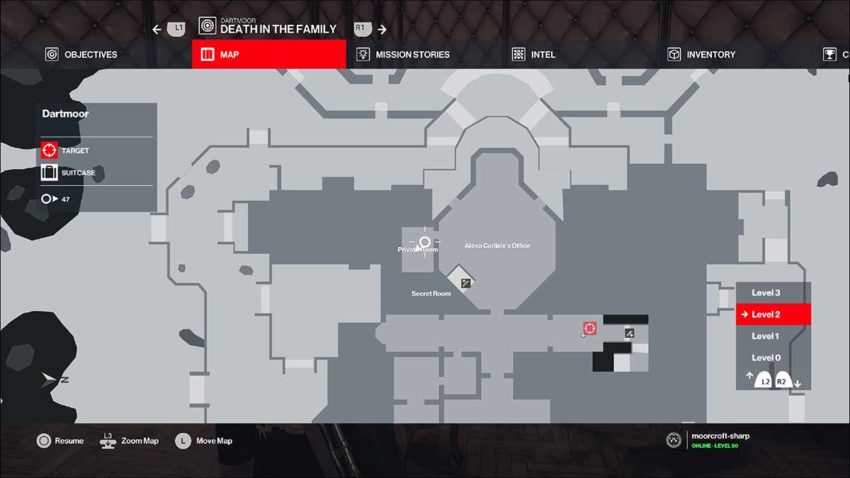
Below is a map reference for where we are so far.

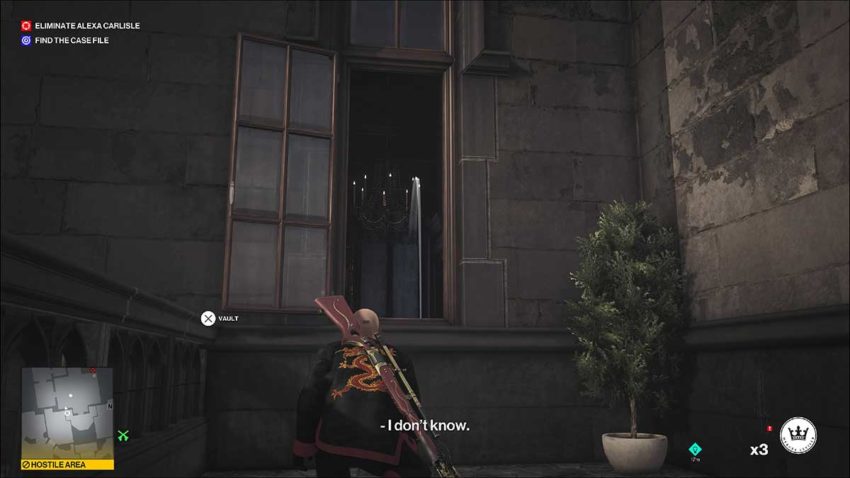
Sneak across to the other side of the glass doors on this balcony. There’s an open window. Inside are two staff members. Depending on your timing, Alexa Carlisle may also be in there. If she is, wait for her to leave.
When just the two staff members are alone, flip a coin into the center of the room through the window. This will distract the NPC nearest the window and draw them away from it so that you can vault into the room.
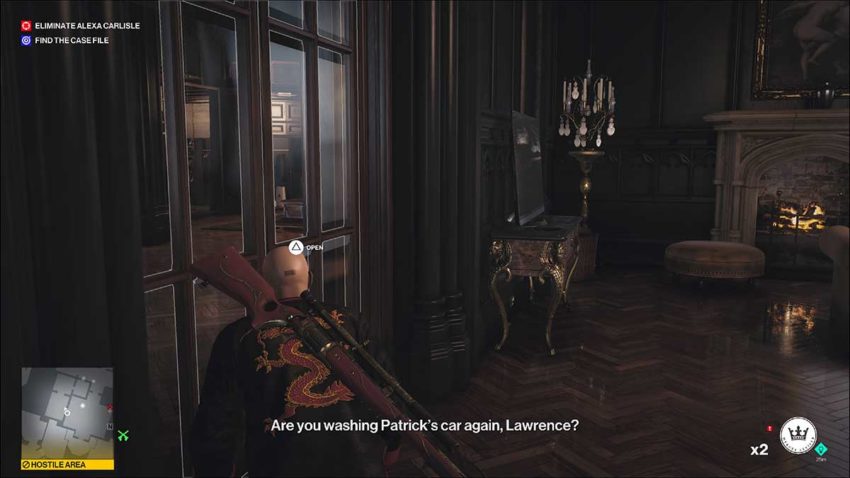
Once you’re inside the room, you need to get through the glass doors on the left. This leads to Alexa Carlisle’s bed. Sneak all the way up to it.
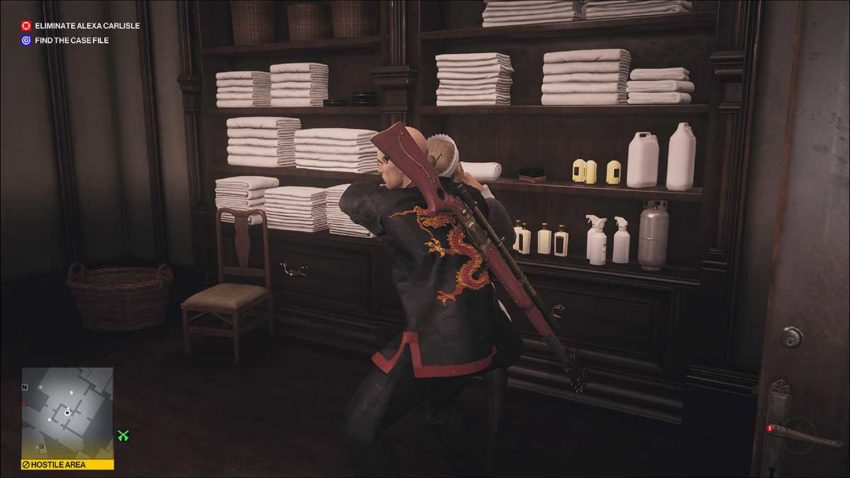
There’s a wardrobe by this bed and a door to a laundry room to the right. Inside the laundry room is a female staff member folding sheets. When she’s not looking, burst in and subdue her. Hide her body in the wardrobe.
When that’s done, flip a coin into the back corner of the laundry room. This will draw the attention of the guard outside.
You should have just enough time to grab the iron on the ironing board and get back out of the laundry room again. When the guard comes in, throw the iron at his head. Hide the guard’s body in the same wardrobe as you hid the staff member, and then go through to Alexa Carlisle’s Office.
The office is across the hall from the laundry room. Be warned. There is a guard stationed on the stairs as you enter. Throw the iron at his head, and hide his body in the nearby trunk under the stairs.
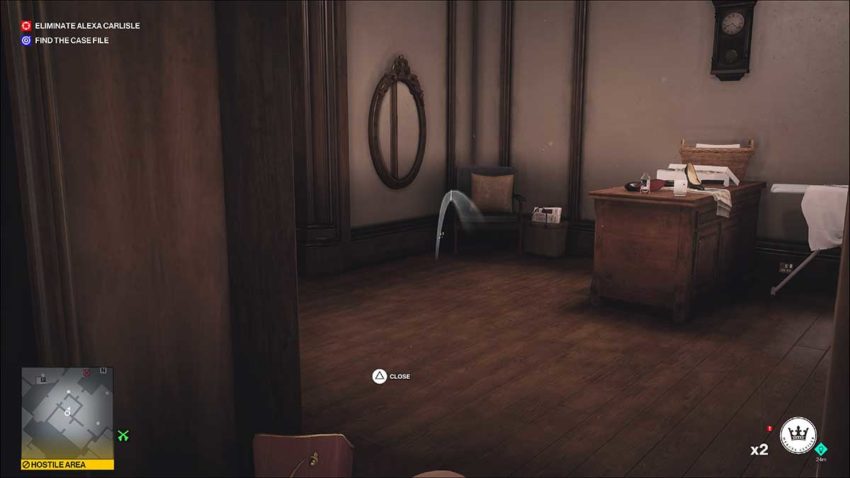
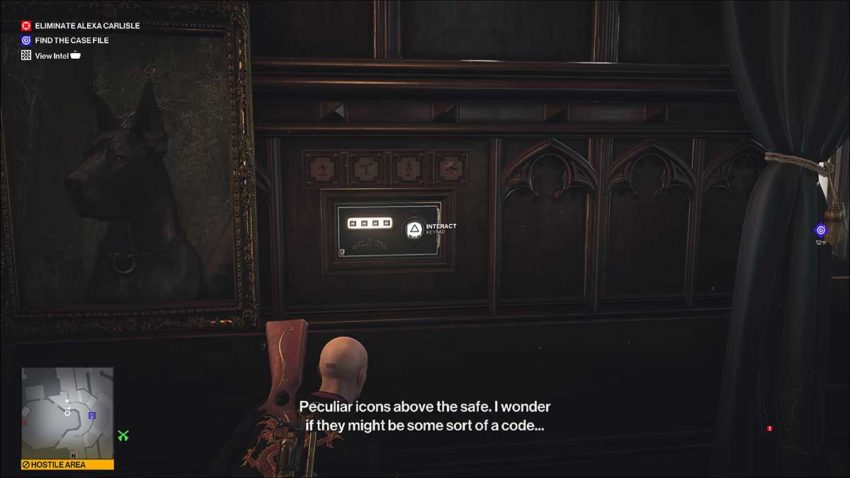
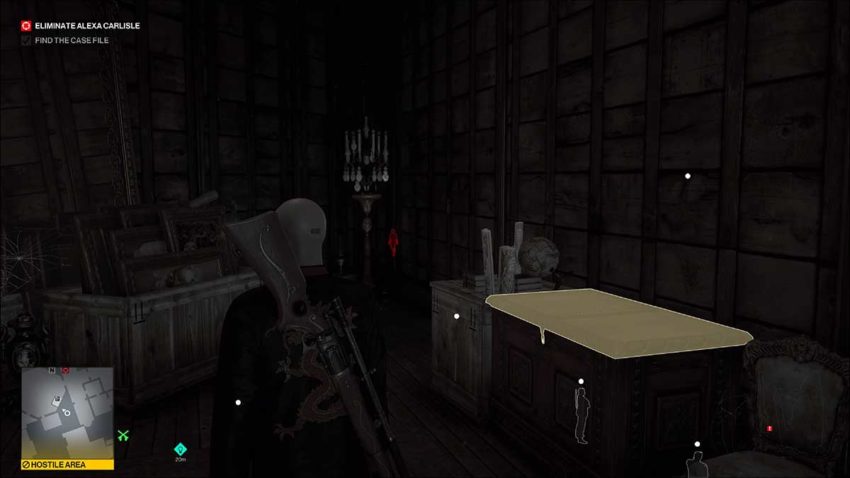
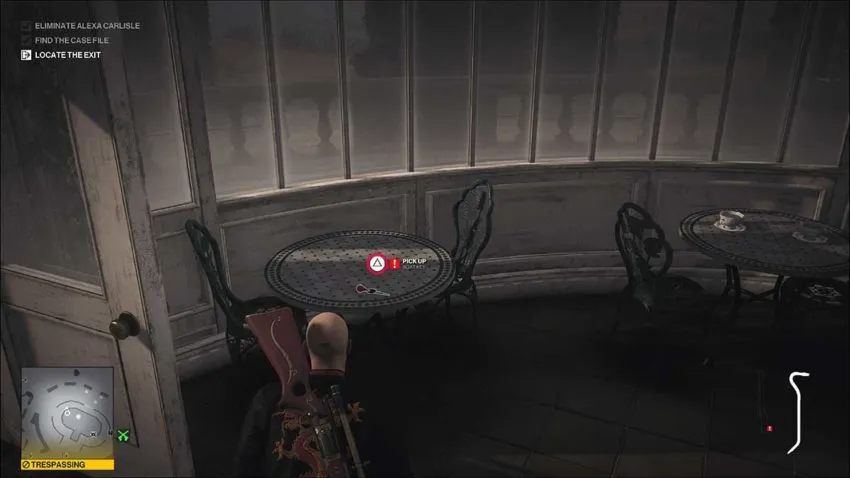
Alexa Carlisle won’t be up here for a while yet. Take this opportunity to get the Case File. You can do this by hitting the button on the luxurious red chair at the back of the room.
This will move a painting behind the chair, revealing the safe. Input the safe code, which is “1975,” and take the Case File.
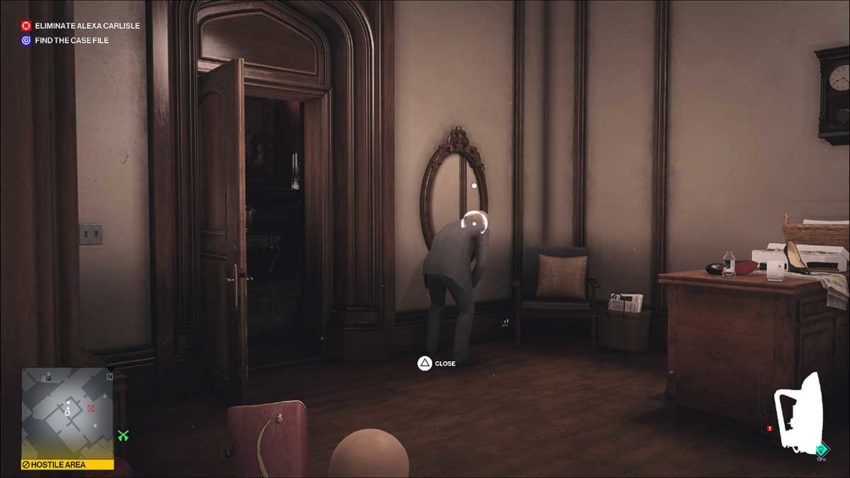
In the wall to the left of this safe is a door. It leads to a creepy padded room with a single chair in it. Go inside.
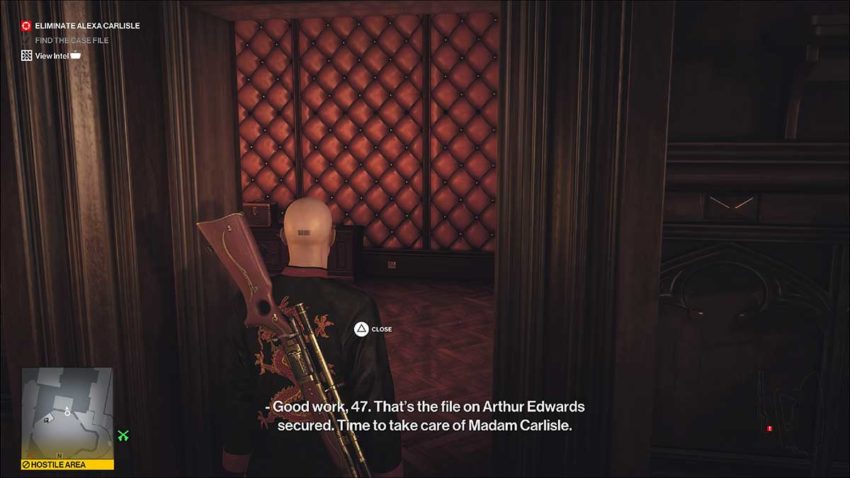
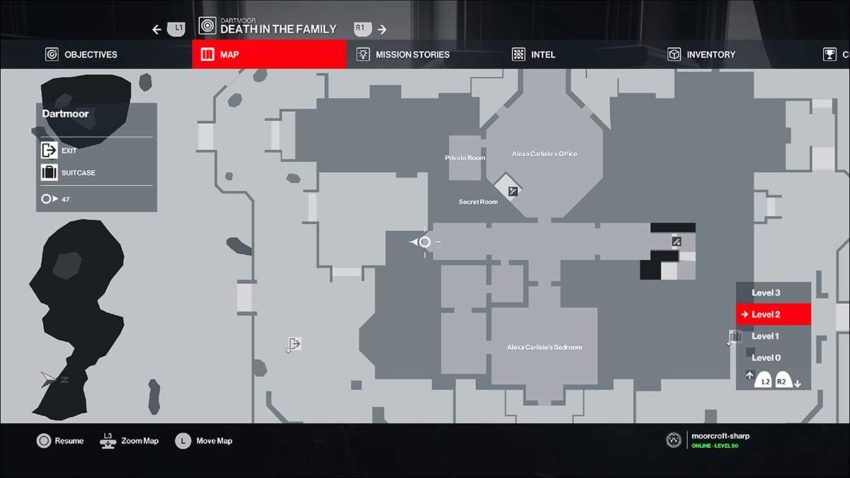
Below is a map reference for this aptly named “Private Room.”
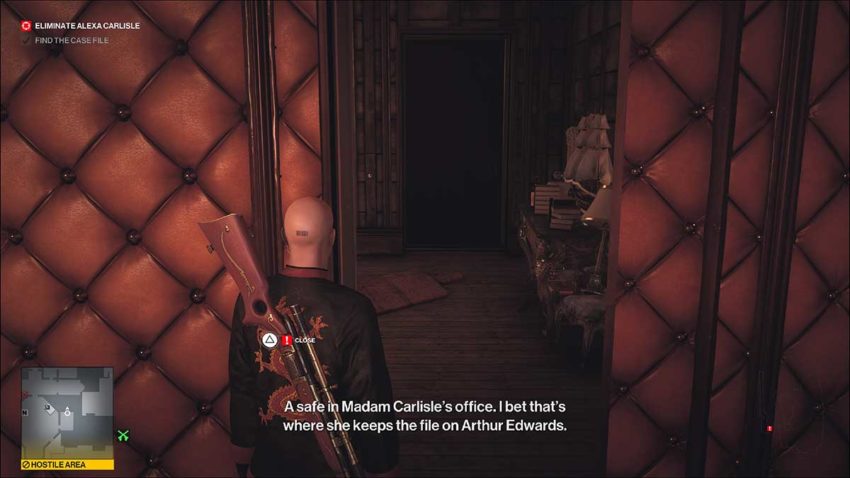
At the back of this room, you’ll find a small switch that you can interact with. Doing so reveals the doorway to the Secret Room. Go inside. This is where we need to wait for Alexa Carlisle.
Step 3 – The waiting game
Once you’re in this room, you need to wait for Alexa Carlisle to come back up to her office. She does this around the ten-minute mark in overall mission time. Use instinct to keep an eye on her, so you’re ready when she gets here.
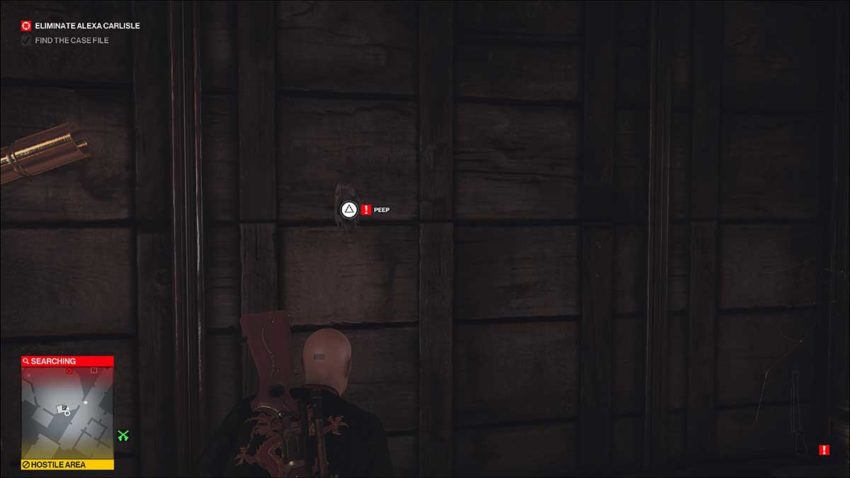
Once she does enter her office, she’s going to freak out. That’s because you’ve taken her Case File. This means that she’ll run to the fireplace in the room and stay there for a few seconds. Take this opportunity to complete the Peeping 47 challenge by watching her through the peephole.
When she does come into the Private Room. Ready your sniper rifle. If you don’t have a sniper rifle with suppression, you can still do this without being seen, retaining a Silent Assassin rank.
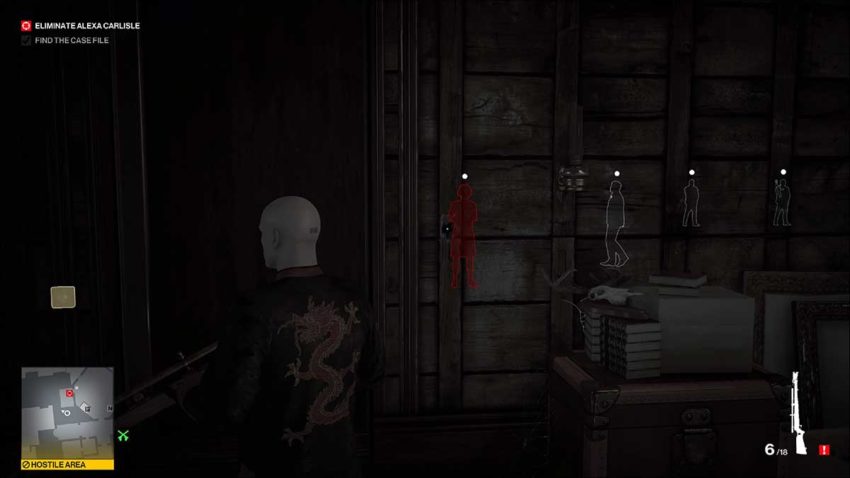
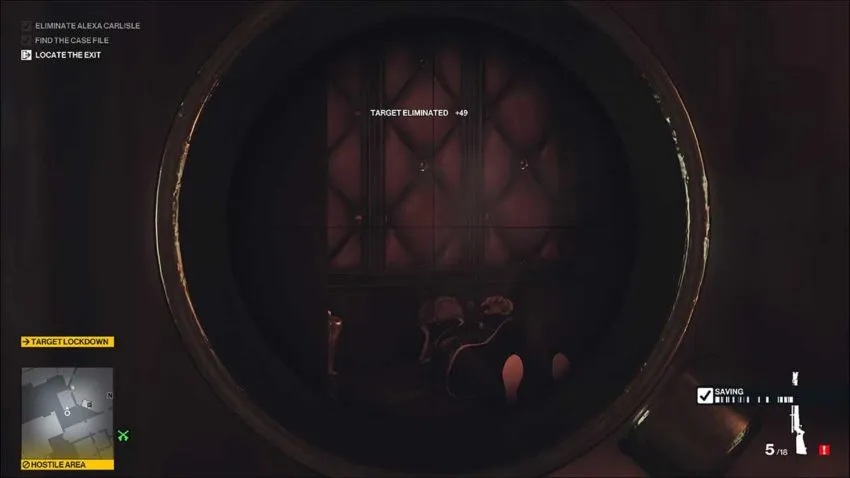
When you’re ready, open the door and shoot your target. If you used a suppressed sniper rifle, you can take your time dragging her back into the Secret Room and hiding her body in the chest.
If you used a sniper rifle without suppression, quickly drag her body and hide it. Then hide in the chest and wait for her guards to disappear. This is the riskiest part of the entire ordeal.
Step 4 – Exit
When you’re sure no one will see you, leave the Secret Room through the doorway into the corridor. There will be a window on your right. You need to vault out of it.
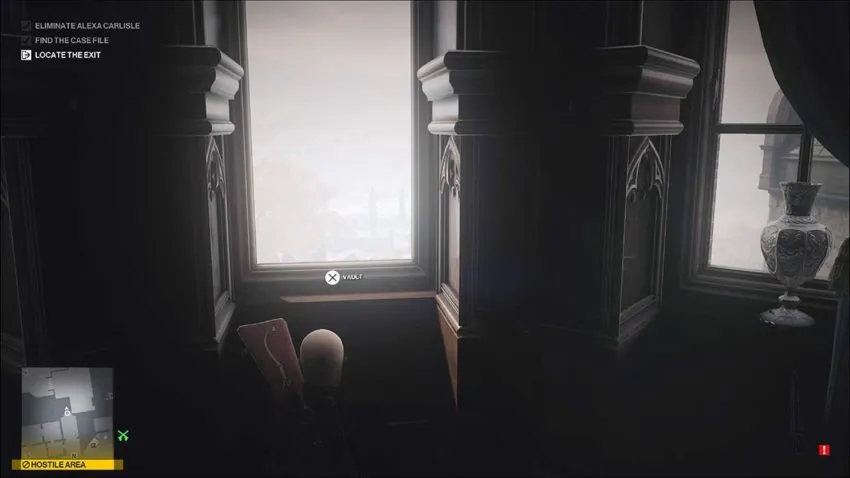
Below is a map reference for this window’s location.
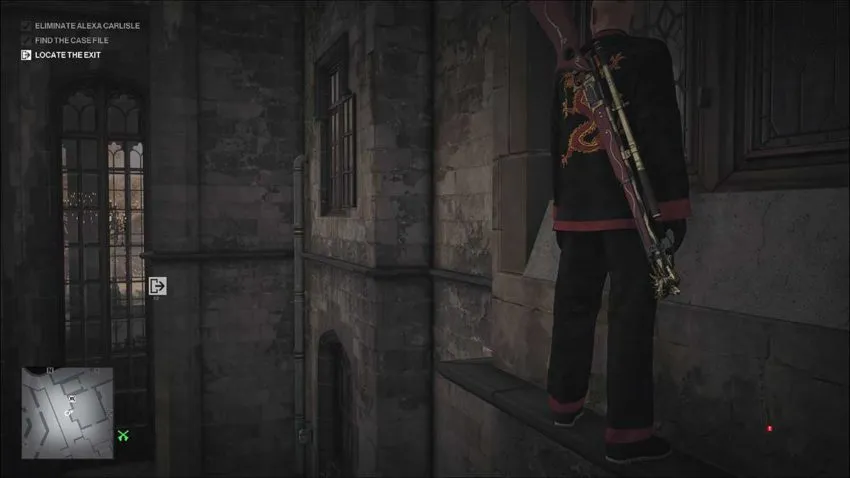
Shimmy all the way to the left and slide down the drainpipe.
Continue to shimmy left around a large part of the house. You’re trying to get to the next drainpipe that you can slide down to get to the ground floor.
Once you’re at the bottom, you need to vault the wall and head left into the bushes. This area is a bit of a blind spot for the guard patrols and staff, so you should be able to make it to cover with relative ease.
At this point, you could sneak all the way back to the main road and exit that way. However, the boat is right there, so we’re going to take it.
Keep moving around the hedge towards the greenhouse. There are some NPCs here working away. There’s also a guard patrolling the greenhouse. When the guard has moved away from these NPCs, sneak through and take the crowbar that’s sitting on some boxes.
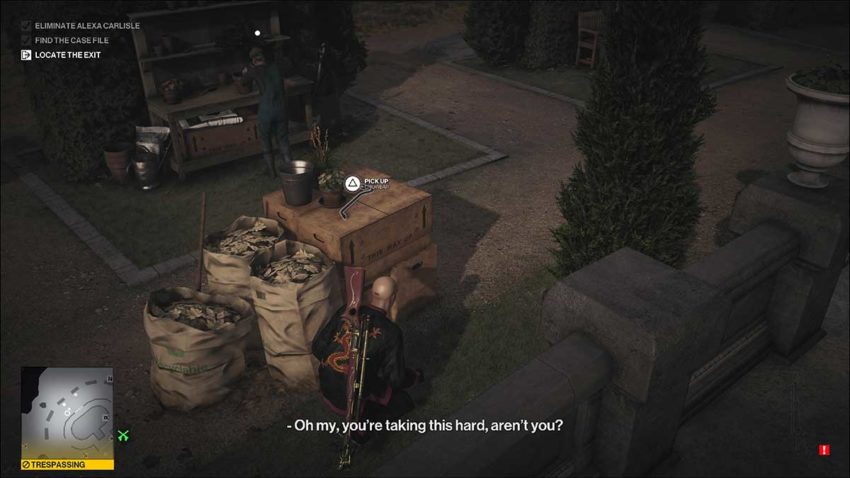
Use the crowbar to get into the greenhouse through the nearest door. The boat key is on some patio furniture just inside.
Now you can sneak back out into the bushes and towards the boat to exit Dartmoor.


Published: Feb 16, 2021 08:40 am