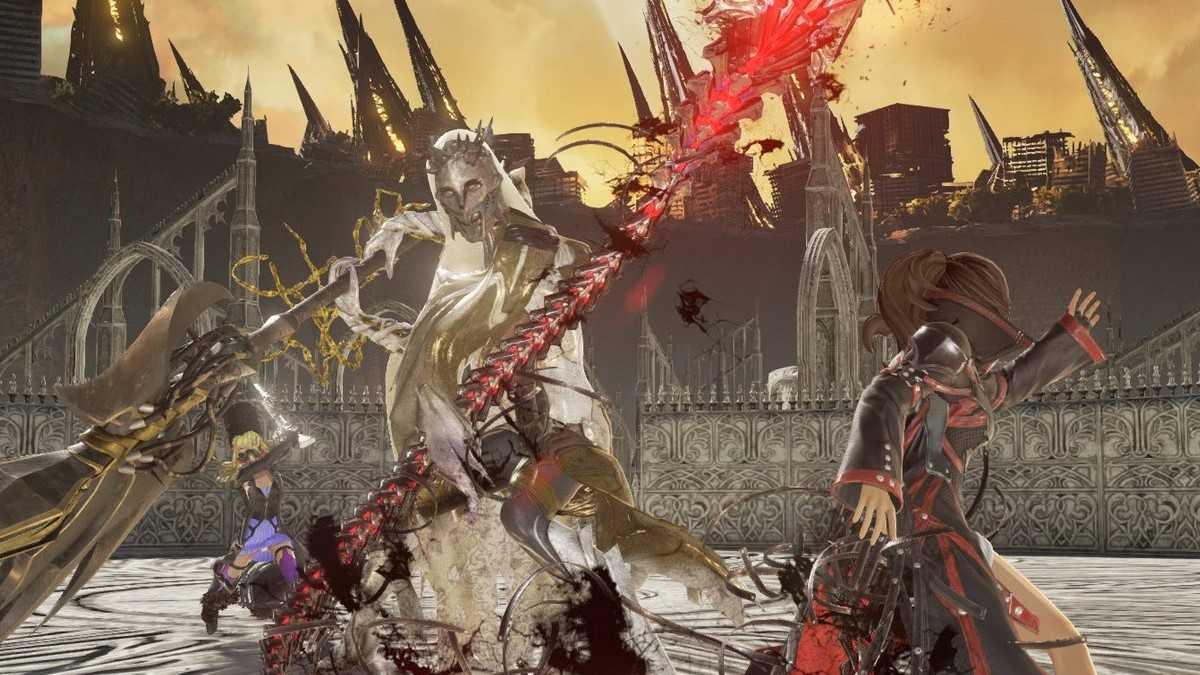
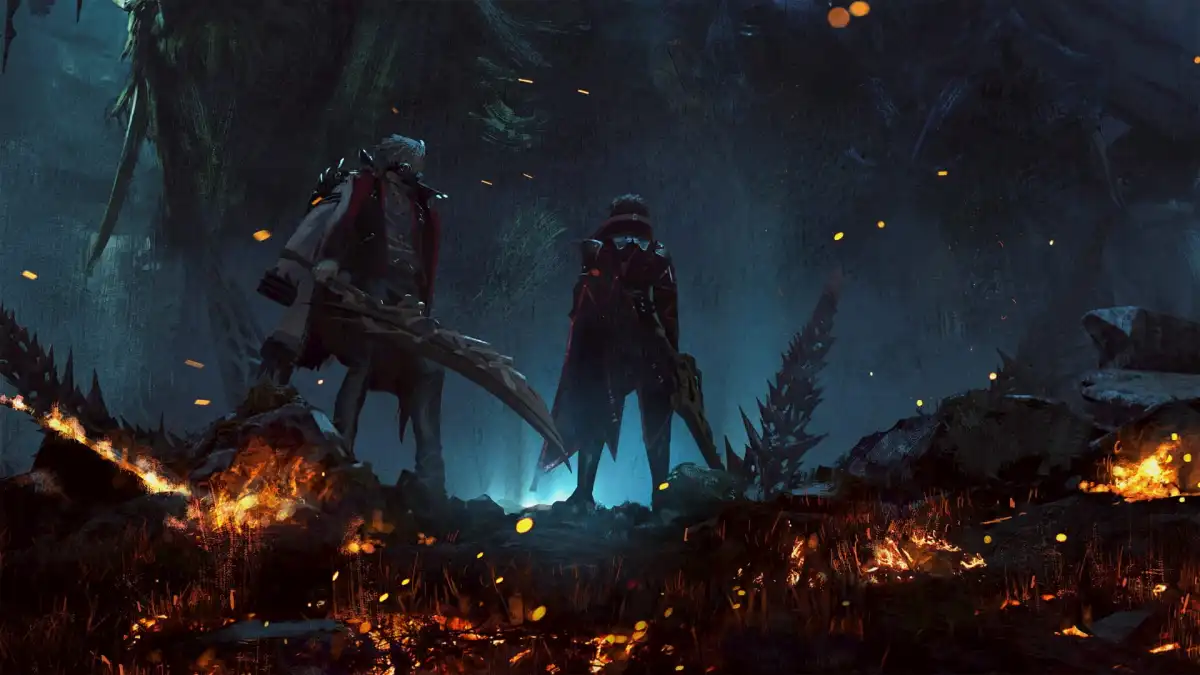
There are many main bosses for you to fight as you adventure through Code Vein, 17 of them, in fact. Each of them can hold their own and require a lot of focus and attention. This is why we have written this guide up for you to help you learn how to conquer each one. There are other optional bosses in the game, but these are the main ones that you will have to beat to finish the game.
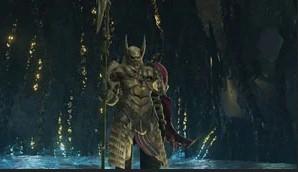
Oliver Collins

Oliver Collins is a rather straightforward encounter with two phases.
In the first phase, he will wield a big hammer, which can do a good chunk of damage. Luckily, his attacks are straightforward to dodge, and there is a good period at the end of his animation where you can get your hits in.
After half of his health is gone, he will transform into a giant monster. His attacks are slow, but they have a horizontal arc that makes dodging a bit harder. Just stay back and wait for his attack animation to finish, after which there will be a good pause for you to run in and get your shots on him.
Butterfly of Delirium
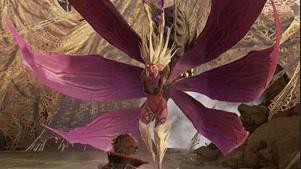
Be sure to pack a good amount of Antivenom since many of the Butterfly’s attacks will deal poison damage to your character. The range of her attacks is huge so running to other side of the arena isn’t the best option; dodging will be your best bet.
Find the moments between her attacks to get a few hits in and run away. She will fire a row of poison balls at you, in which case you can just block them. If it is one big ball, it will follow you around the arena, needing to be evaded until it disappears. And if she bunches into a ball, she is gearing up to release a cloud of poisonous gas so get away quickly.
If you do enough damage, you will cause her to fall to the ground, stunned, which is the perfect time for you to get in and hammer her with your attacks or to heal yourself up.
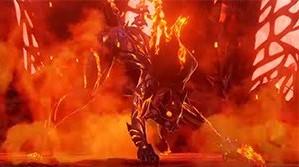
Insatiable Despot
The Insatiable Despot will be able to summon minions into the battle; take these out immediately as they can cause you a lot of trouble when you are trying to stay alive.
In the fight’s first phase, it will attack you with its two daggers. These attacks pack a punch but are very slow, so you can dodge them easily. They also leave it open for attack afterwards.
The second phase begins when half of its health is gone, and it will attach its daggers to the shaft in his chest to create a spear. You can damage it during this animation, but it will take less damage as soon as it reaches for the shaft. The attacks during this phase are still pretty slow, just with greater range. Just be ready to dodge them all and get your attacks in afterwards, and it will go down in no time.
Invading Executioner
Invading Executioner is a fast boss with little to no animation to indicate the start of her attacks. Furthermore, a lot of her attacks will inflict a slow status on you and make dodging harder. Usually, her attacks will end with an attack that has her spinning her spear around her body.
Luckily, her spear is pretty easy to block or parry. Just keep your guard up and find the time to get in an attack or two when you can. She is susceptible to staggering, so if you can stagger her for a few seconds, you can get a few good hits in.
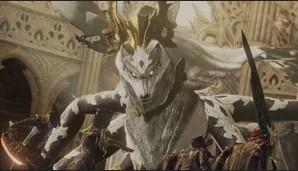
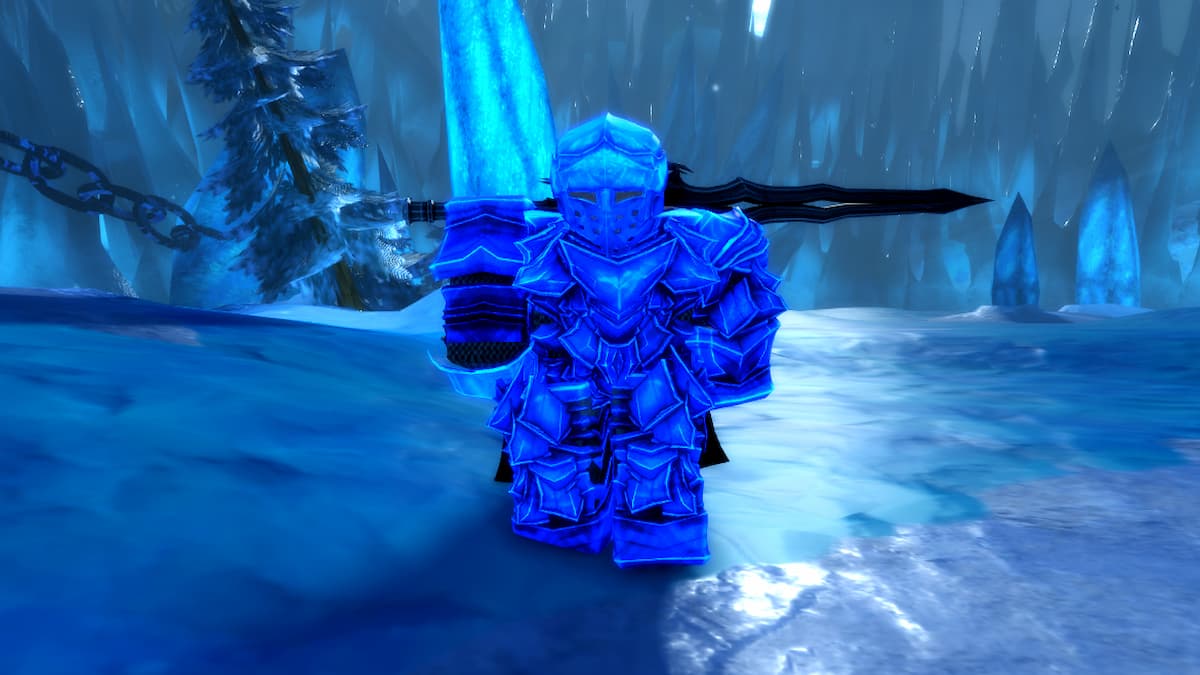
Argent Wolf Berzerker
This boss is very vulnerable to back-stabs, which means that this will be your go-to method of fighting.
His attacks are very easy to dodge, and its combos are only one or two attacks. This means you can easily dodge these and get some hits in or a back-stab. Occasionally, they may summon red energy around them, which means they are getting stronger, so run away and dodge their attacks until they are back to normal.
Queen’s Knight
This boss also comes with slow but powerful attacks that you can easily dodge. Its combos usually have up to three attacks and plenty of time afterward to open for attacks. You can stagger the Queen’s Knight very easily with heavy attacks, and this will open up chances to pile on plenty of damage.
If the Knight jumps up into the air, start rolling away as fast as possible since it is about to do an overhead attack that will ignore your blocks.
Successor of the Ribcage
The Successor of the Ribcage relies on ranged spells to dish out a lot of damage. It will start the fight out across from you, and you will have to find a way to get close to it as fast as you can. There are plenty of columns for you to use as cover as well, but be on the lookout for the attacks that can hone in and avoid the columns.
If you get in close to the Successor, their health is low, and they are very weak to physical damage. Just pile it on them and watch out for an orange circle that will appear on the ground. This means it’s about to fire off a spell and teleport across the room.
Once its health is depleted, a cut-scene will play, and you will have to fight it all over again. Just follow the same strategy for this second round.
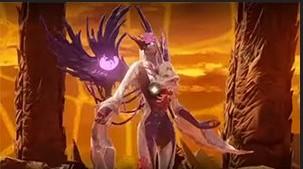
Successor of the Breath
The Successor of the Breath’s attacks are quick and strong, which means that they are useless to block as they can blow through your stamina meter. So rely on dodging to avoid any damage. It will also have a huge shield that you will have to get around to damage it.
Its attacks will leave it open for your own attacks for a good amount of time, so once you dodge, run in and take as much out of it as you can. If it puts its horns in the ground, get a couple of hits in before you run away to dodge the ice spike it is about to fling at you.
After half of its health is gone, it will enter its second phase, where it gets rid of the shield and becomes aggressive. Keep dodging as best as you can, being sure to watch out for its ice sword that it can swing at you. Just find the times after its attacks to take his health down.
Gilded Hunter
The Gilded Hunter is highly vulnerable to stagger with heavy attacks, and his attacks have a long start-up animation. This means you can get some hits beforehand, dodge the attack, and get some more after its finished.
They favor overheard swings, which will bypass your blocking, meaning that dodging is your best bet. If red energy starts to appear around the Hunter, run back and block the ranged attack, he is about to send at you.
Just be patient, dodge his attacks, and hit him when you can, and he will fall.
Successor of the Claw
This boss uses a mix of quick melee strikes and range attacks to keep you on your toes. She can send out three balls of fire, which will form a ring of fire, even when dodged. She also has a strong, area-of-effect attack centered on her, which needs to be avoided. She can also shoot out arrows that will explode soon after.
Her melee strikes are very weak, though, and can be blocked or dodged with ease. You can easily stagger them as well and leave them open for a pile of hits. Just keep at it, and their health will disappear.
Successor of the Throat

This boss will frequently shove its hands in the ground and summon claws of sand to appear that will attack you during the fight. Just roll and dodge these claws until the attack ends.
She is very slow, however, and will focus on one character; you can use this to your advantage by having that player be defensive, leaving her open for attacks from others. If she switches focus, just switch characters along with her.
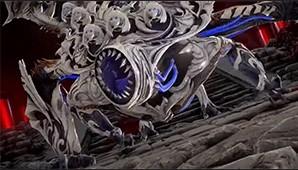
Cannoneer & Blade Bearer
This is, arguably, the hardest boss in the game due to it being two bosses to fight at once. Both of these bosses can hit hard and try and keep the character they’re fighting in the center to get hits in from behind. Be sure to keep both of them in view at all times to avoid these sneak attacks.
Your best bet is to take out Cannoneer first since his attacks are slower and leave him more open to damage, and he can be dealt with quicker. Blader Bearer will hit very fast, and these can be parried, but it only leaves her open for a couple of hits. Honestly, it is going to take some luck to come out on top for this one. Just stay focused and keep plugging away when you can, and they will fall.
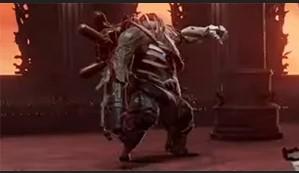
Juzo Mido

If the last boss gave you a lot of trouble, here is some relief: this one is far easier. Juzo Mido is slow-moving, and most of his attacks can be blocked or dodged. You can also stagger him easily once you have dealt enough damage to him.
After half of his health is gone, his sword will grow, and his range will increase. Just watch out for his magical attack that shoots out black orbs at you, which can be blocked easily.
Queen’s Knight Reborn
This is pretty much the same as the last fight with the Queen’s Knight, only with a stronger boss. You just will need to watch out for its new teleport attack, which has no indicator of where he will attack. The best thing to do is to just dodge roll to either side, as an attack from the back or front are more likely.
You can also cheese the boss by getting right in front of it. If you stand in front of it, many of its attacks won’t hit you.
Attendant of the Relics
Attendant of the Relics could be the easiest boss of the game and should just be treated like any other enemy. Her health may be larger, but her attacks are easy to dodge or block, and you just have to hit her enough. It’s as simple as that.
Skull King
The Skull King is another enemy with slow and predictable attacks. You will have to watch out for these, dodging them when you can, and getting attacks in between. Don’t bother trying to block his attacks, as they will deplete your stamina meter too fast.
As you fight him, he will get more powerful until he enters his final phase: using fast attacks that can hit from a good range. This will slow the battle down as you will want to only get one hit between his attacks. Going for anything more will leave you open for a bad combo that can do a ton of damage.
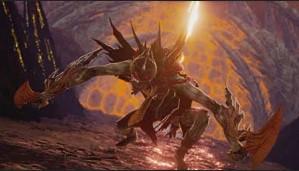
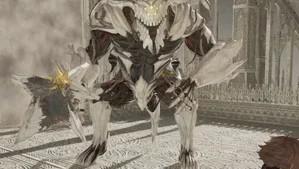
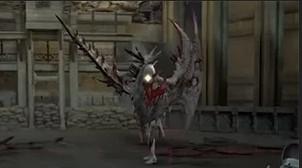
The Virgin Born
The Virgin Born is a big boss that will tend to use spells with a big range. You may see the ground around you turn blue, which means you need to run and get out of the massive, area-of-effect attack it’s about to unleash. It will also fire beams at you that will need some precise dodging to get through.
What you will need to do is get behind it to attack its hind legs. This is the safest place for you to be and can dish out the damage you need to. You can even stagger it to open it up for more.
After half of its health is depleted, it will start to glow and float around the arena, blasting energy at you. You have to dodge this attack until its done, at which time you just need to get behind it again and do your thing.


Published: Nov 30, 2020 08:40 pm