Patch 5.4 brings the normal and savage versions of Eden’s Promise: Litany fight for Final Fantasy XIV. After unlocking Eden’s Promise raids, you’ll face off against the normal version of the Shadowkeeper. Some of the mechanics in the savage version of the fight are similar to normal mode, so this is a good place to practice.
We’ll break down each of the fight’s mechanics in order with text and screenshots. Our character in the screenshots is tanking as gunbreaker, but we’ll be sure to explain the mechanics for all roles: healers, tanks, and DPS. With some preparation and practice, you’ll be well on your way to clearing the normal version of Eden’s Promise: Litany.
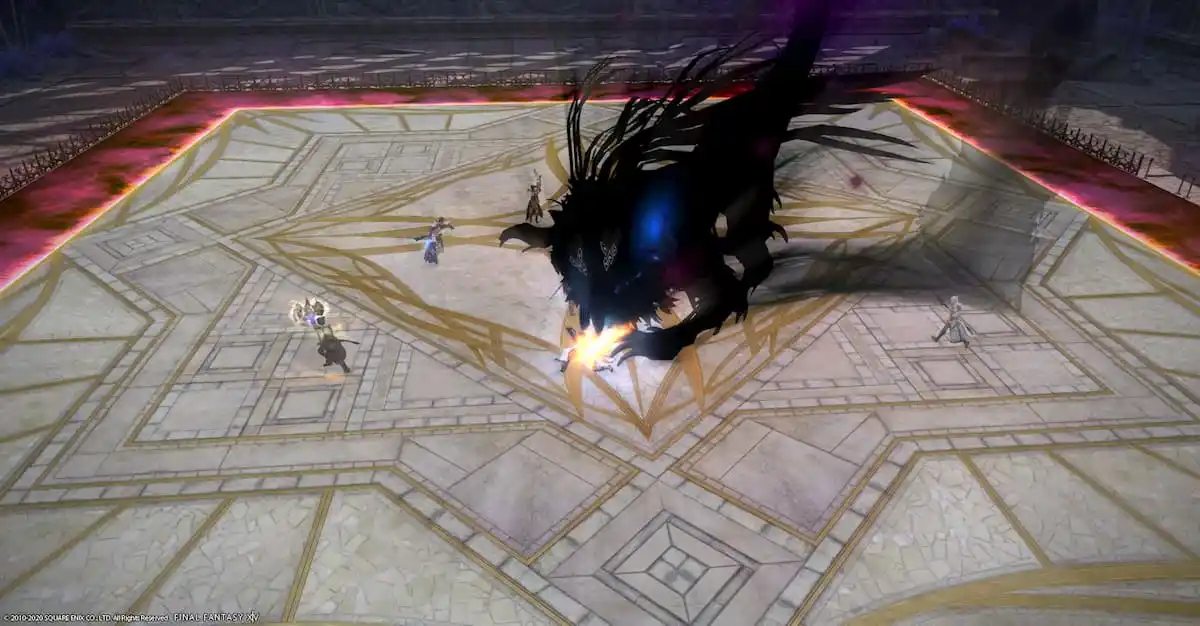
The Shadowkeeper
Forward (or Backward) Implosion: A large 180-degree cleave will hit from either the front of the boss or behind. Move to the opposite side to avoid. In general, for these implosions, if you have no idea where to go, staying at either side of the boss will work just fine. Just side-step at the last second as needed, and you should be fine.
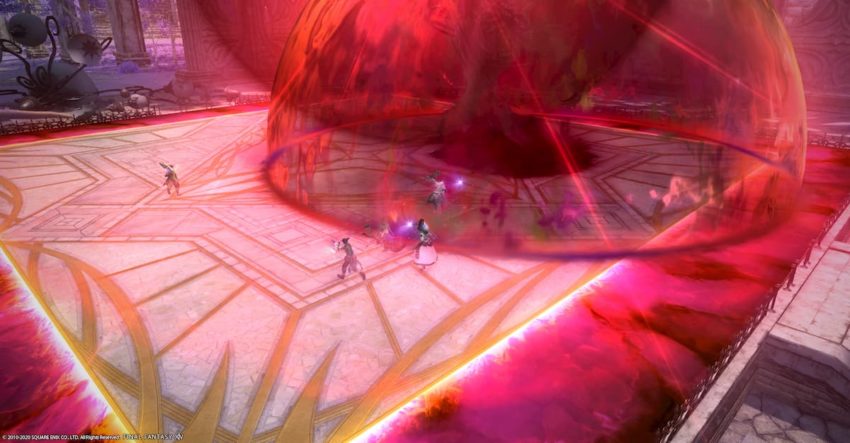
Deepshadow Nova: Raid-wide damage. Shield up and heal.
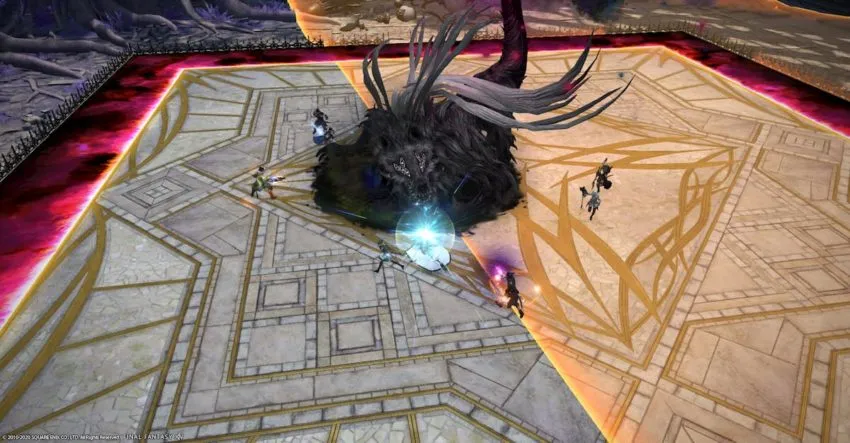
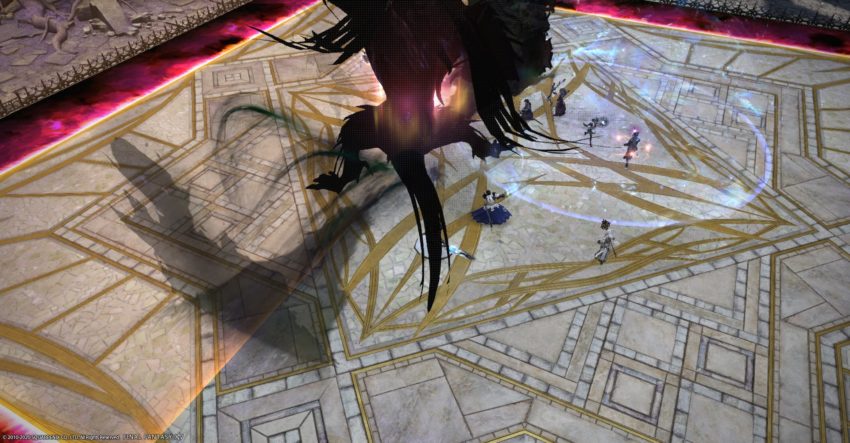
Spawn Shadow: Three clones of the boss appear around the arena. One will be tethered to the boss with a shadowy black line. As the clones hop around in a circle around the platform, keep track of the tethered one. Get behind that tethered clone once they all stop jumping. There will be a lone safe spot behind this clone for the massive attacks that shoot out next.

Fade to Shadow: Two longer tethers will attach from the boss to a pair of shadowy circles on the ground. Move directly north or south relative to these tethers. Large point-blank AoE circles will appear from these tethered locations, so make sure to be in the safe spots. You can keep hitting the boss with the correct positioning.
Soon the boss will stand up, sending out another large point-blank AoE from its position. This attack has no cast bar, so run out as soon as you see the boss standing up on its hind legs.
Umbra Smash: The boss will hit the main target four times, applying four stacks of the slash resistance down debuff. All of the Shadowkeeper’s attacks in this form are slashing, so you’ll need to do a tank swap after these four hits. Normal auto-attacks become dangerous to any tank with these debuffs.
Shadow’s Edge: Hard-hitting tank buster. The added slash resistance down debuff makes this attack even worse to deal with. You should be able to handle this just fine with defensive cooldowns. But if you have any vulnerability up stacks from failing previous mechanics, along with those four debuff stacks, you will probably die. Use your damage immunity (Hallowed Ground, Superbolide, and so on) in case of emergencies.
Left (or Right) Giga Slash: Like the forward and backward implosions from earlier, the boss will cleave its sword on either its left or right side. Move to the opposite side as before. If you’re not quite sure where to go, standing directly in front or behind the boss will allow you to sidestep the cleave at the last second.
The Shadow version of this ability will mirror the mechanic relative to the shadow that appears. The shadow will stand up perpendicular from the ground, sometimes facing a different way from the boss. Take this direction as your new “north” and dodge the named ability.
Voidgate: Three glowing red circles spawn. These circles each need two players standing inside. They also apply a bleed effect, so healers will need to keep an eye out. Any unattended circles will deal severe damage to all party members.
Distant Scream: Knockback from the boss. Be sure to use your knockback immunity, or avoid getting knocked back into the deadly wall.
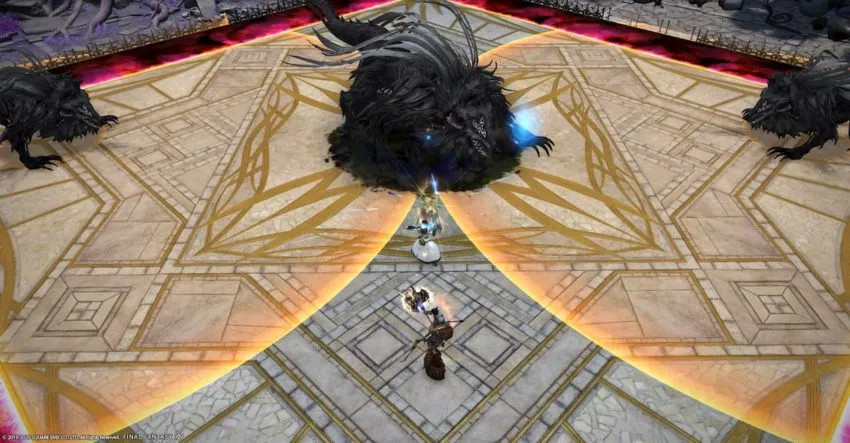
The boss will again summon three clones of itself. Follow the tethered clone, and run behind it once it stops moving, as before. Move back out to the middle once the large AoE telegraphs disappear from the field, avoiding the smaller AoE circles beneath the party.
For the repeat of Fade to Shadow, the boss can also use either Forward or Backward Implosion. Run through the boss as needed to avoid the attack.
The Shadowkeeper will now spawn several shadows meant to trick you. Remember the order they spawn in. The first shadow that spawns will execute the first casted Implosion or Giga Slash mechanic. The second shadow will execute the next mechanic. Just be sure to replace these shadows with the boss itself, treating their forward-facing orientation as your new “north.”
There’s no enrage timer as a DPS check on normal mode, so do your best to stay alive and keep at it. All mechanics will repeat until you defeat the boss. Open the treasure chests and roll on your rewards.


Published: Dec 14, 2020 06:43 pm