Patch 5.4 brings the normal and savage versions of Eden’s Promise: Umbra fight for Final Fantasy XIV. After unlocking Eden’s Promise raids, you’ll face off against the normal version of the Cloud of Darkness. Some of the mechanics in the savage version of the fight are similar to normal mode, so this is a good place to practice.
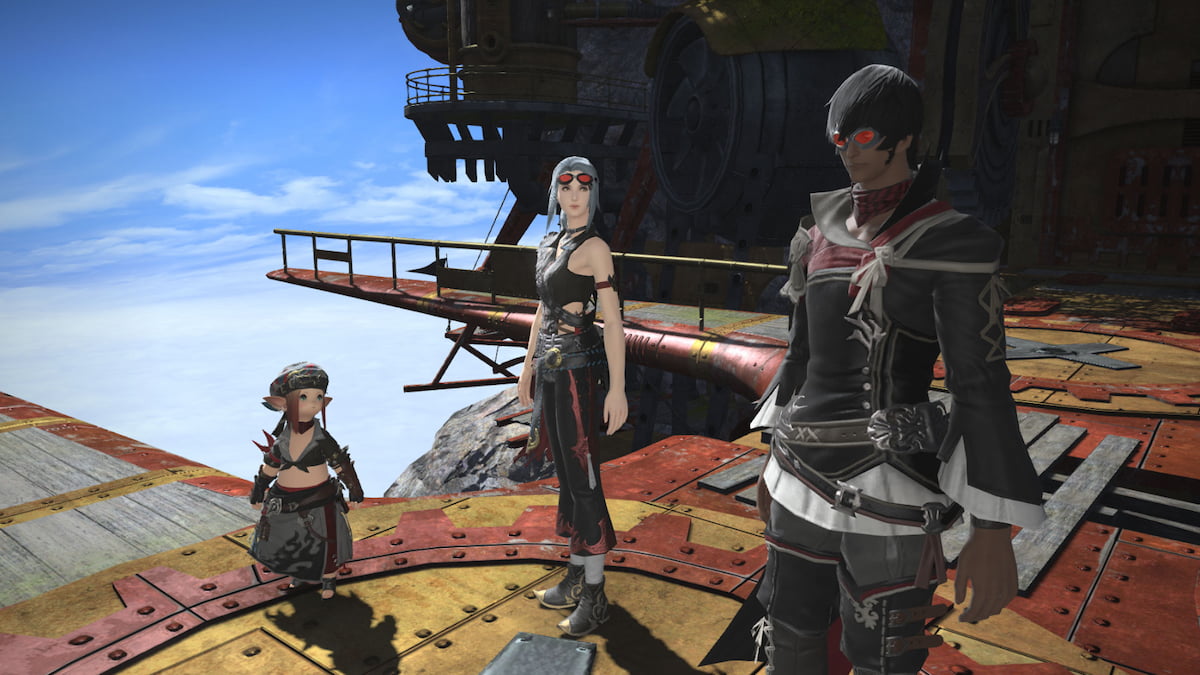
We’ll break down each of the fight’s mechanics in order. Our character in the screenshots is off-tanking as gunbreaker, but we’ll be sure to explain the mechanics for all roles: healers, tanks, and DPS. With some preparation and practice, you’ll be well on your way to clearing the normal version of Eden’s Promise: Umbra.
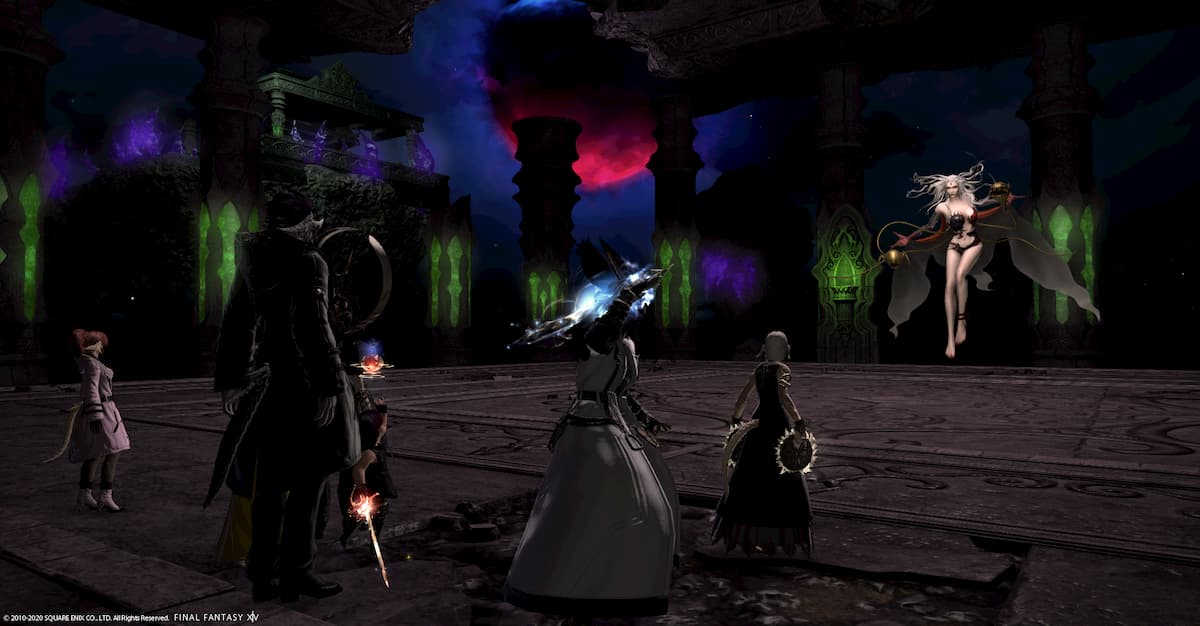
The Cloud of Darkness
Ground-Razing Particle Beam: Room-wide AoE damage. Heal up.
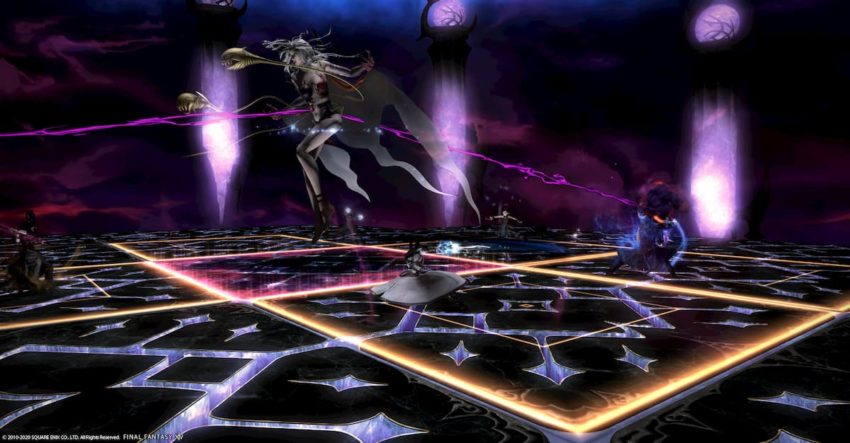
The Art of Darkness: An orb on one side of the boss will glow red and white. The boss will fire out a large 180-degree attack on that glowing side. Move to her other side to avoid the attack.
Wide-Angle Particle Beam: The boss will turn to a random player and fire off a large conal attack. Move away from this cone to dodge.
Zero-Form Particle Beam: Tank buster on the primary target. Use your defensive cooldowns.
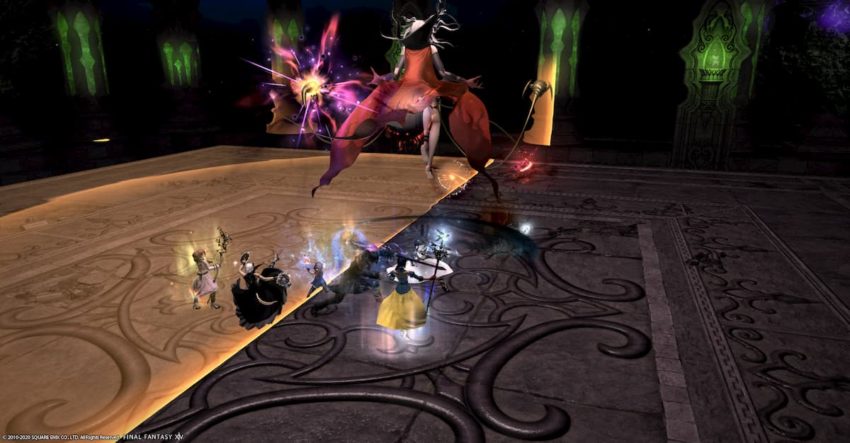
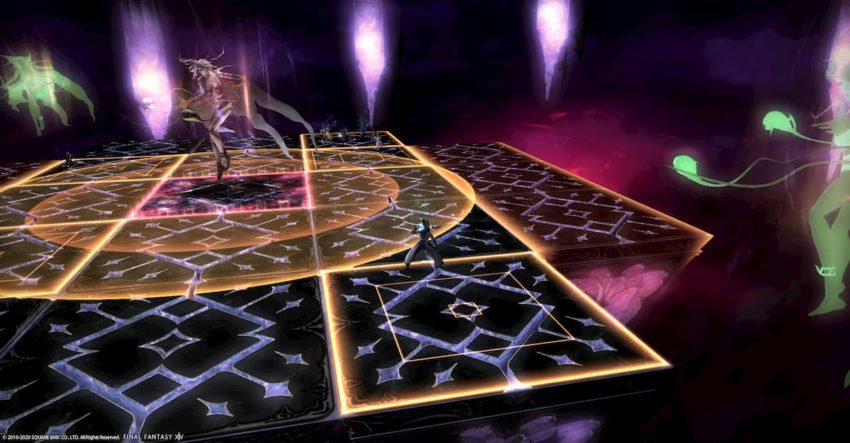
Empty Plane: More room-wide AoE damage. Heal up. The boss also changes the platform’s appearance at this time, shifting the ground to a series of tiles.
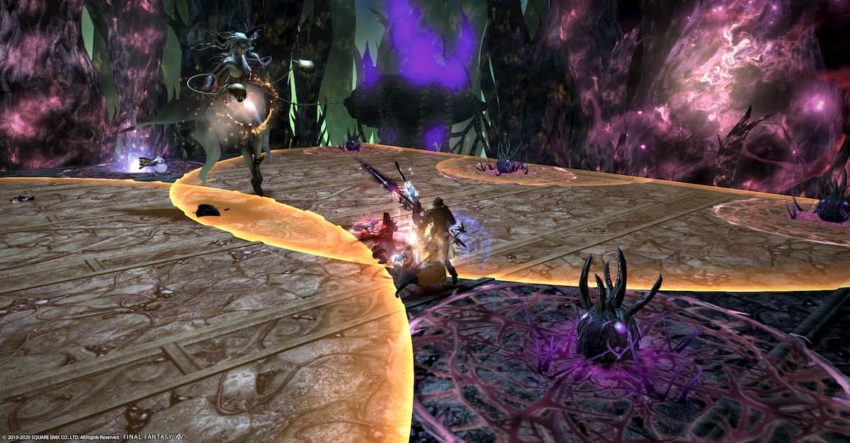
Flood of Emptiness: The boss will destroy the tiles lit up in orange, so don’t stand in these locations during or after the attack. Everyone receives a Cloying Condensation debuff. This debuff causes the tiles underneath you to eventually become dangerous. While standing on a tile, it’s safe to remain there if it’s lit up normally. Once the tile turns purple, move away from it to reset the timer. Make space for your party members and avoid standing on one tile for too long.
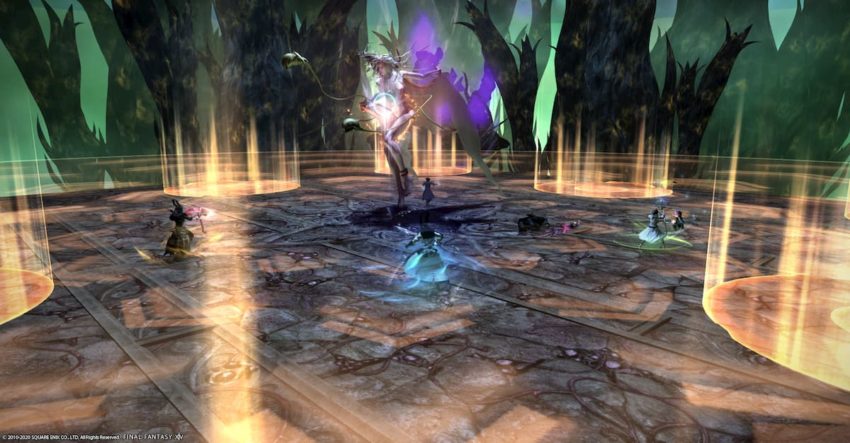
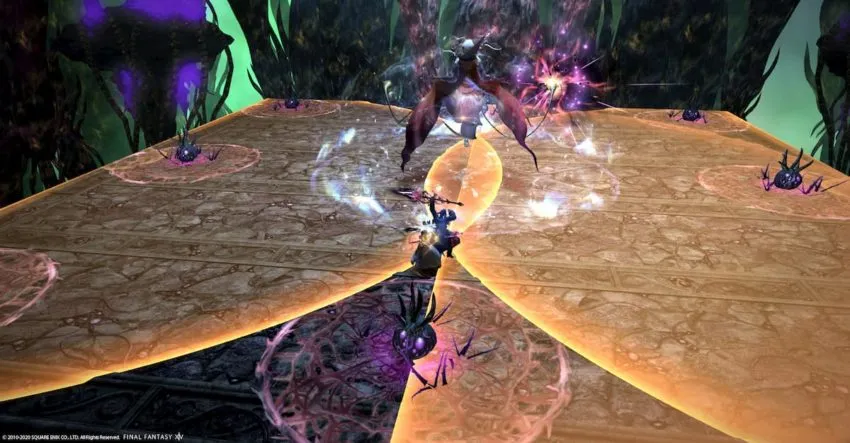
Obscure Woods: More room-wide AoE damage. The boss will again change the arena, this time to the obscure woods.
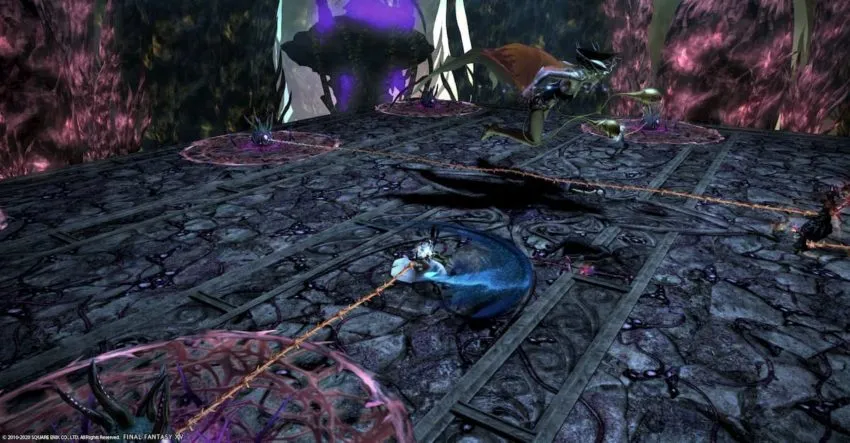
Flood of Obscurity: Knockback effect from the boss. At the same time, eight AoE circles will appear along the edges of the platform. Use your knockback immunity (Surecast or Arm’s Length) or avoid getting knocked back into the circle. It is possible to fall off the platform completely, so be careful.
Following the last attack, the eight AoE circles will turn into bramble patches, and tether to the player standing nearest to them. After a short time, the tethers will turn into thorny vines you need to break. Break the vines by running away from your bramble patch. The break occurs only with distance traveled, not by how close or how far you are from your bramble patch. It’s a good idea to stay near your patch as the vines form, just to stay organized.
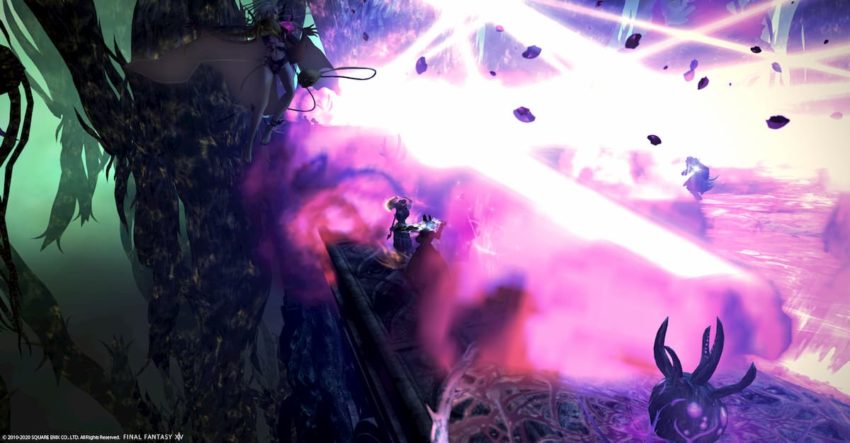
Wide-Angle Phaser: The boss attaches her tentacles to one side of the arena. Follow the tentacles to the edge of the platform, off to the sides. The boss will then teleport closer to that side, shooting out a huge frontal blast at anyone not already along the sides of the platform. Move back in once the blast goes off.
Rejuvenating Balm: The boss will send out two purple tethers to two sides of the arena. After a short time, two large point-blank AoEs will appear from the tethered sides. Move north or south relative to the tether sides, and squeeze between the bramble patches on the ground for your safe spots.
Deluge of Darkness: High raid-wide damage. Pre-shield and heal up.
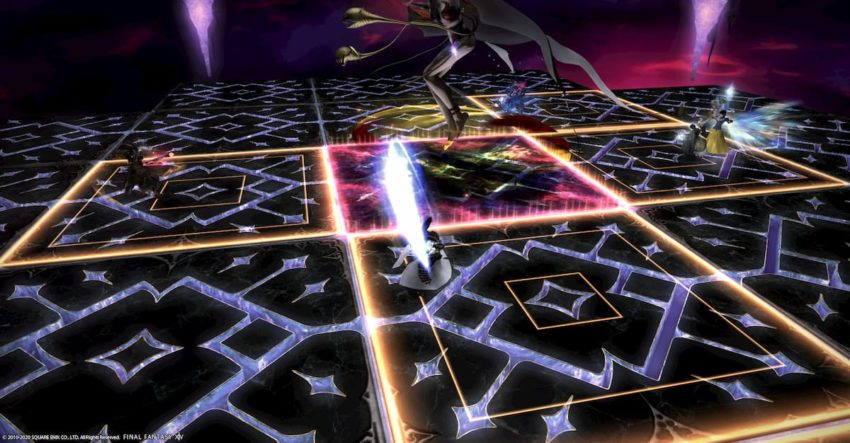
Particle Concentration: Four meteor circles appear on the platform around the boss. Have at least one player stand in each circle to soak the meteors. Any unattended circles will explode for severe damage.
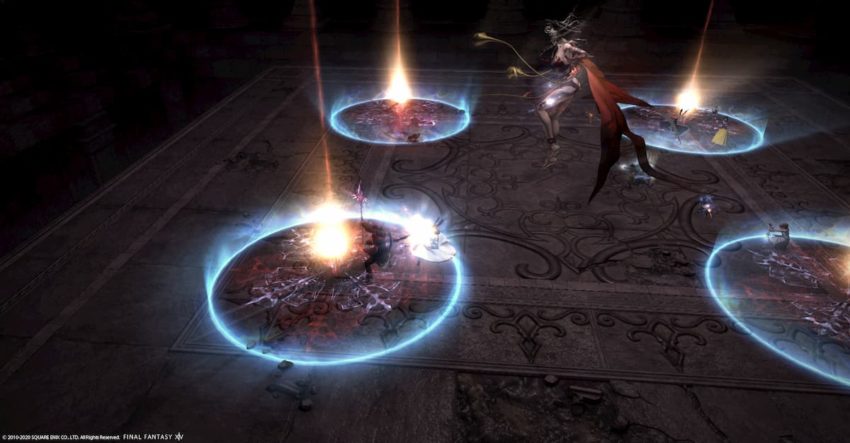
The Art of Darkness: As the meteors resolve, an orb on one side of the boss will glow. Handle the same as before. If you’re standing in a meteor circle, soak that damage first, and then dodge this mechanic as needed. You can simply run through the boss to avoid the wide cleave.
Empty Plane: Like before, more room-wide AoE damage. Heal up. The tiles will reappear on the ground. Handle them the same way.
Hypercharged Condensation: Two dark clouds will appear on the ends of the platform, tethered to the boss. The clouds will slowly travel toward the boss, giving her a buff if they reach her. Standing on top of a cloud will apply a heavy debuff, slowing it down. Players will need to carefully watch their footing on tiles while killing the clouds.
Summon: Two green, not targettable Cloud of Darkness adds will appear around the platform. These adds will shoot out a line AoE attack in the direction they’re facing.
Anti-Air Particle Beam: While the Cloud of Darkness adds shoot out their line AoEs, the boss will create a large point-blank AoE around her. Watch your step on the tiles while dodging the line AoEs from both adds, along with the gigantic circle from the boss.
Obscure Woods: Deal with the room-wide AoE damage again as the platform returns to the woods. Follow the same pattern of handling the knockback, breaking your tethers, and dodging the wide-angle phaser attack.
Rejuvenating Balm: Like before, the boss will send out two purple tethers to two sides of the arena. After a short time, two large point-blank AoEs will appear from the tethered sides. But this time, she will combine this move with The Art of Darkness. Move north or south relative to the tether sides, and squeeze even more between the bramble patches and the safe side for the large half-room attack.
There’s no enrage timer as a DPS check on normal mode, so do your best to stay alive and keep at it. All mechanics will repeat until you defeat the boss. Open the treasure chests and roll on your rewards.


Published: Dec 14, 2020 04:24 pm