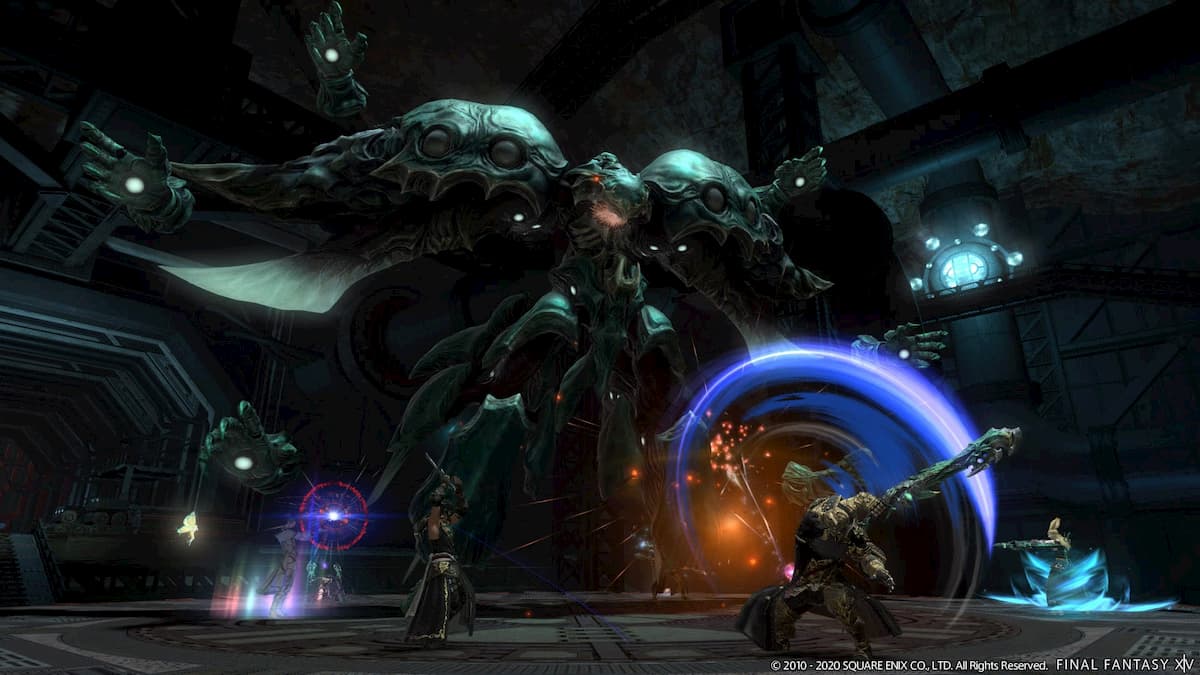
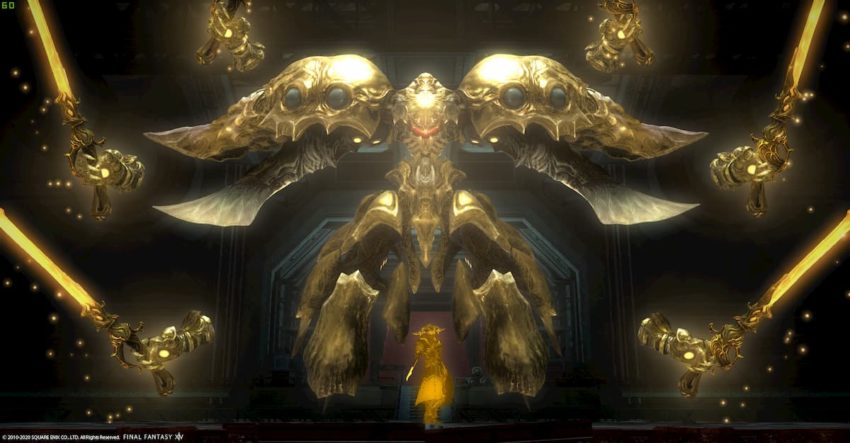
Patch 5.4 brings the normal and extreme versions of the Emerald Weapon fight, originally from Final Fantasy VII, and adapts and modernizes it for Final Fantasy XIV. After unlocking Castrum Marinum for the Duty Finder, you’ll face off against Emerald Weapon in this dynamic trial.
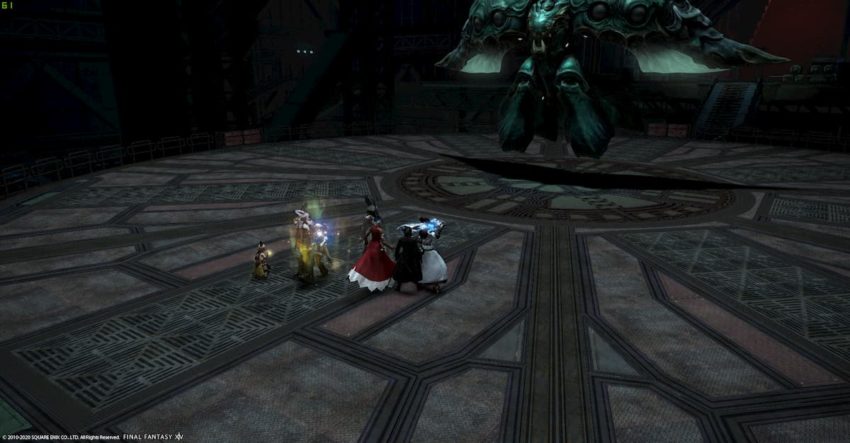
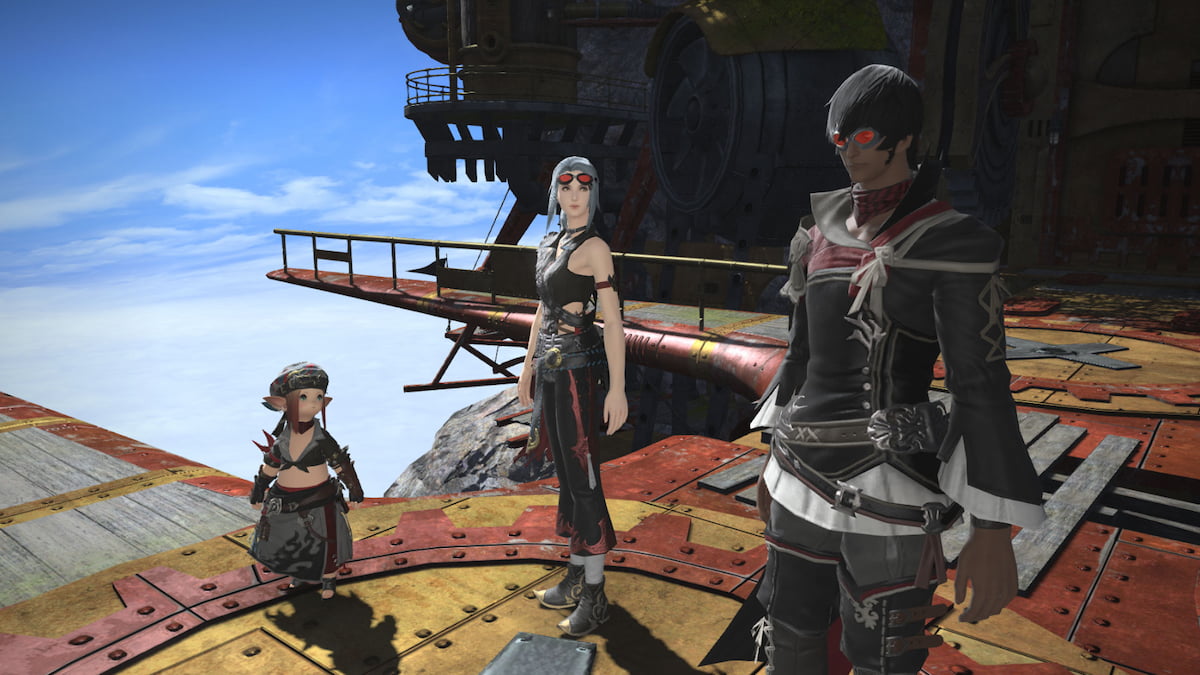
We’ll break down each of the fight’s mechanics in order with text and screenshots. Our character in the screenshots is main tanking as gunbreaker, but we’ll be sure to explain the mechanics for all roles: healers, tanks, and DPS. With some preparation and practice, you’ll be well on your way to clearing the normal version of Emerald Weapon within Castrum Marinum.
Phase One: Merry-Go-Rounds and Magnets
Emerald Shot: Heavy tank buster on the primary target. This happens right at the beginning, so be sure to use your defensive cooldowns immediately before or after pulling the boss. Healers can pre-shield for some extra mitigation.
Emerald Beam: Rotating conal attack from the front and back of the boss. Stay near the middle away from the cones, following them as they shoot out, rotating either clockwise or counterclockwise. Similar to a merry-go-round, you’ll want to keep up this rhythm while also dodging the point-blank AoEs from the center.
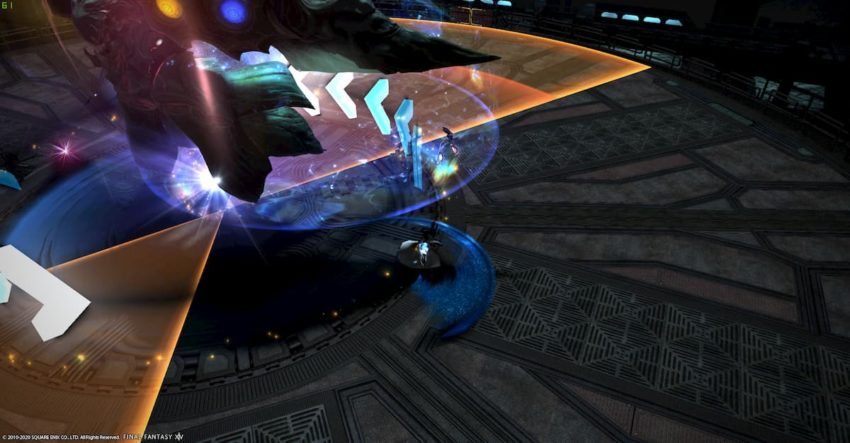
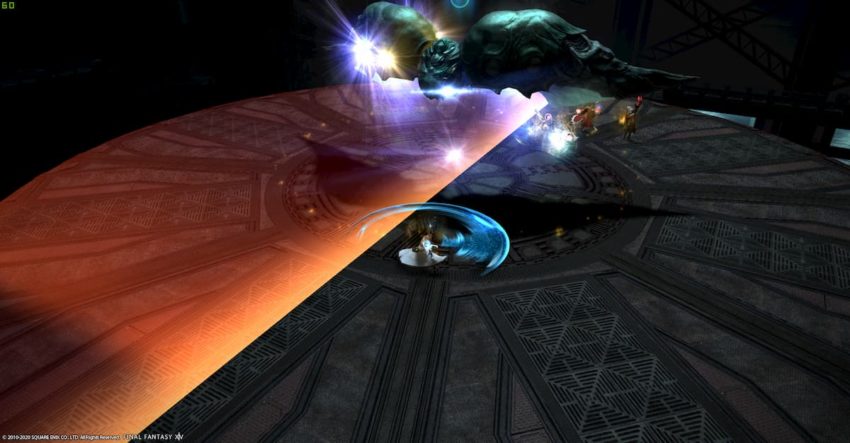
Magitek Magnetism: Three bombs spawn in set formations. Two will be next to each other with orange plus signs overhead, while a third will spawn somewhere else nearby. These plus signs signal the direction the bombs will move after a short time. Magnetism rules to remember: likes repel, opposites attract. These signs are the same, or likes, so the bombs will repel from one another, creating a safe spot where our gunbreaker in white is currently standing below.
Optimized Ultima: Heavy raid-wide AoE. Pre-shield and heal up.
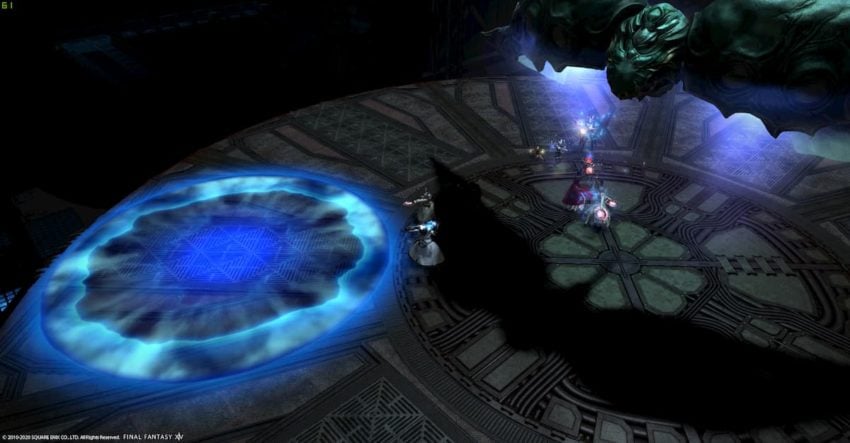
Sidescathe: Large 180-degree AoE along half the field. Get to the other side to avoid.
(Knockback effect): This blue AoE circle will spawn on the ground following directly after Sidescathe. Stand near the circle and position yourself to have your character knocked back to the far side of the arena. Alternatively, use your knockback immunity skill (Surecast or Arm’s Length) to avoid the effect altogether.
The next Emerald Beam follows the same merry-go-round logic as the first one. However, when it’s over, this second beam will cause part of the outer platform to collapse, leaving your party with less space to work with.
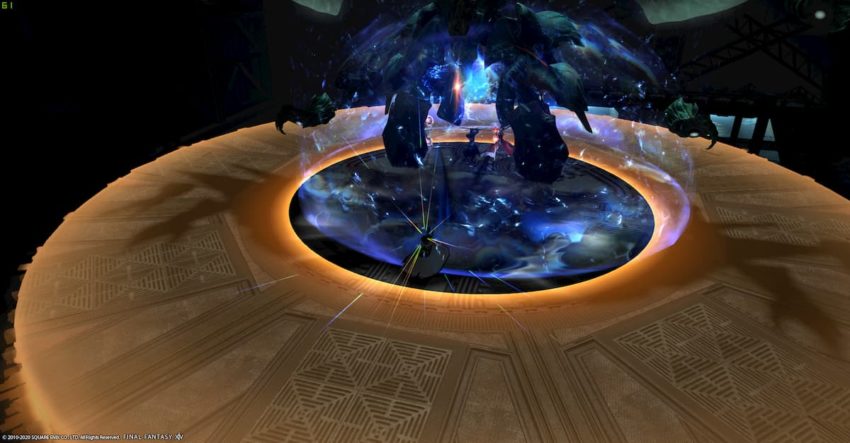
Soon afterward, several gloved hands will spawn around Emerald Weapon’s form. When this happens, immediately move inside the boss’s hitbox. A quick donut AoE will spawn with no cast indicator. If you have any vulnerability stacks from failing previous mechanics, this donut attack will likely kill you.
Divide Et Impera: Another heavy tank buster on the primary target. Main tanks should use their defensive cooldowns. Healers pre-shield and heal up. The rest of the party must spread out to avoid the conal AoEs from around the boss.
Pulse Laser: Line attacks will target players at random. Dodge a few of these in a row.
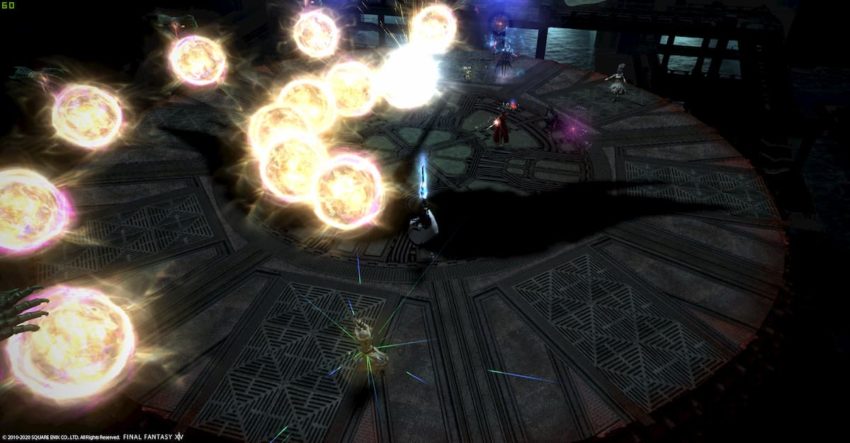
During the next Sidescathe, several light orbs will spawn on one end of the platform. They will steadily move to the center of the field, and then back out again to the opposite side. If any orbs hit you, they will explode for some damage, applying a vulnerability up stack. To avoid excess movement, stand next to the free half of the approaching orbs, then step to the side as they pass you by. Or, you can try fitting yourself in between the orb spaces if needed.
When the orbs are gone, another blue knockback AoE circle will appear on the field. Deal with it the same as before.
These mechanics will repeat until you bring the boss down to 0.1% health.
Phase Two: Arrows, Swords, and Soldiers
Following a cutscene, phase two will begin. Should your party wipe from this point on, you will resume at the beginning of this phase, without needing to repeat phase one of the fight. If you need to reset here, take care to not have everyone just run to the flaming walls to die. Make sure to hit the boss at least once to “save” your progress first.
Divide Et Impera: Handle the same as before — tank buster and conal AoEs.
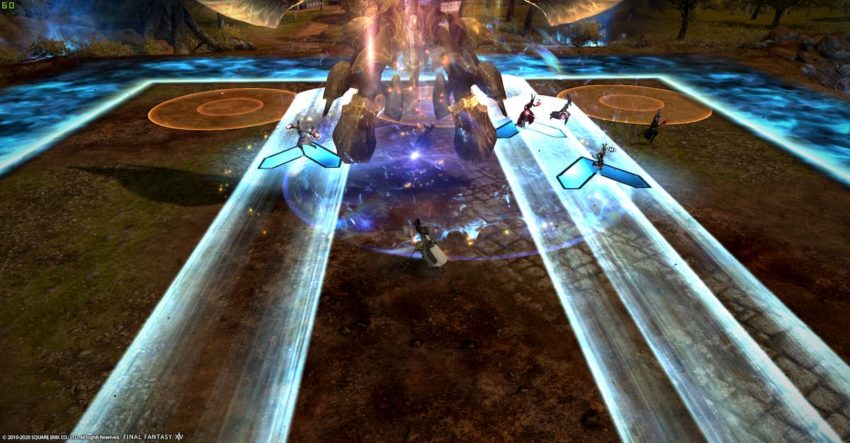
Primus Terminus Est: Blue arrow telegraphs will spawn beneath three players. At the same time, three AoE danger circles will appear on the ground on one side of the arena. Marked players will need to move themselves to the one wall (without touching the fiery blue flames of death) so that their arrow points them to the opposite wall. You should also keep your lane away from those AoE circles, as you will shoot out in the direction you’re pointing. Take care to not collide with other unmarked players in your path as well.
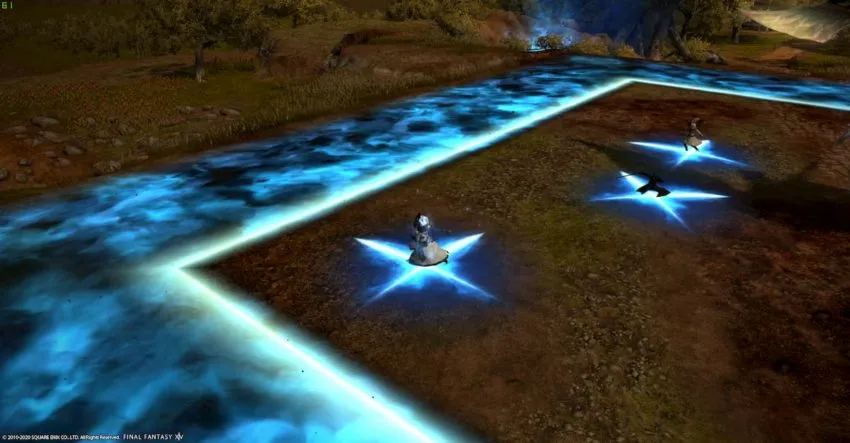
Secundus Terminus Est: Blue cross or plus markers will spawn beneath players. Where you drop these markers will determine how and where dangerous AoE formations spawn. If possible, place cross markers at the north, south, west, or east cardinal positions on the field. Place plus markers at the northwest or northeast, or southwest or southeast intercardinal positions. If everyone does this correctly, these positions will create a wide safe spot right in the middle, free from any resulting explosions.
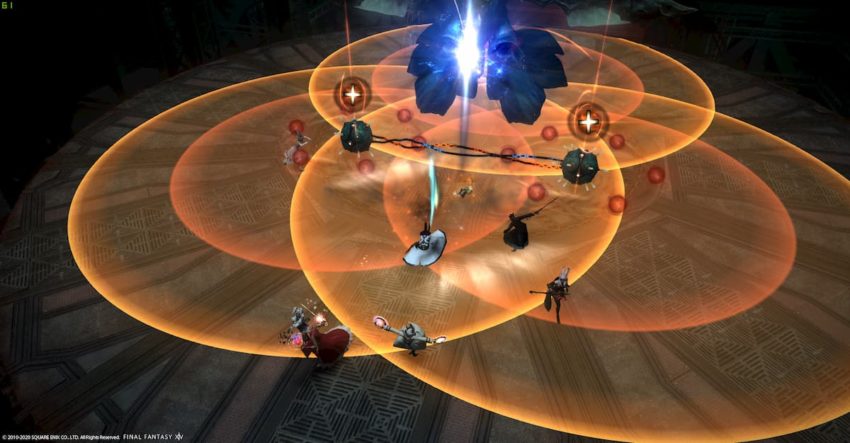
Tertius Terminus Est: Three pairs of AoE swords will drop one after another. Wait for the third AoE to drop, then move into the location where the circle was as a temporary safe zone. As the first and second blasts explode, move into the safe spots they create, just before your previous zone detonates. Just below, you can see us waiting for the third AoE circle to go off before moving in as a temporary safe spot.

Legio Phantasmatis: Emerald Weapon will exit the battlefield, and a Black Wolf’s Image add will spawn in its place. The main tank should be ready to pick this up; then, pull the add close to the north wall. A series of Imperial soldiers will move to their formations along this wall. They will fire upon the Black Wolf Image’s command, creating three sets of firing line AoEs with one safe lane rotating between them. Whichever row does not have a soldier right at the front will be your first safe spot.
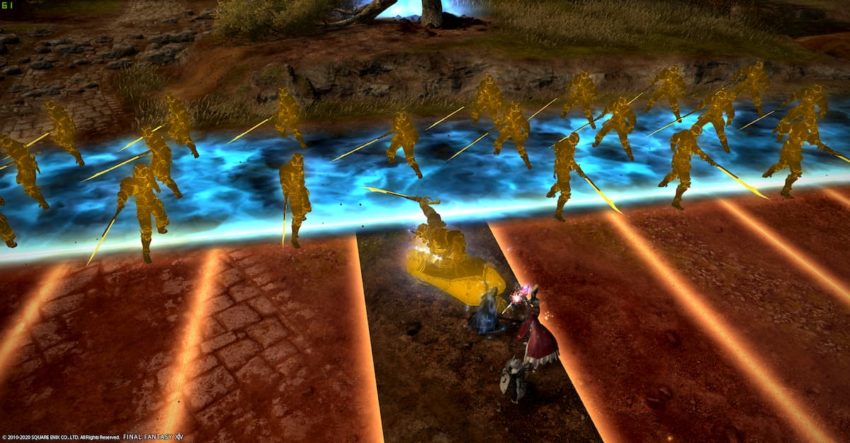
Soldiers will disappear in sequence as they fire one after another. Alternate between the other rows that are missing a soldier directly in the front. You must handle this while burning down the add. Using the above screenshot as reference, the lane directly on our left will be the next safe spot, as it is missing a soldier in the center, which will become the “front” for the second firing line. Our current lane will become safe again for the third firing line, as it will have no soldiers left to fire at us. This sequence will repeat along another wall before the add disappears, and Emerald Weapon returns to the battlefield.
There’s no enrage timer as a DPS check on normal mode, so do your best to stay alive and keep at it. All mechanics will repeat until you defeat the boss.


Published: Dec 12, 2020 06:41 pm