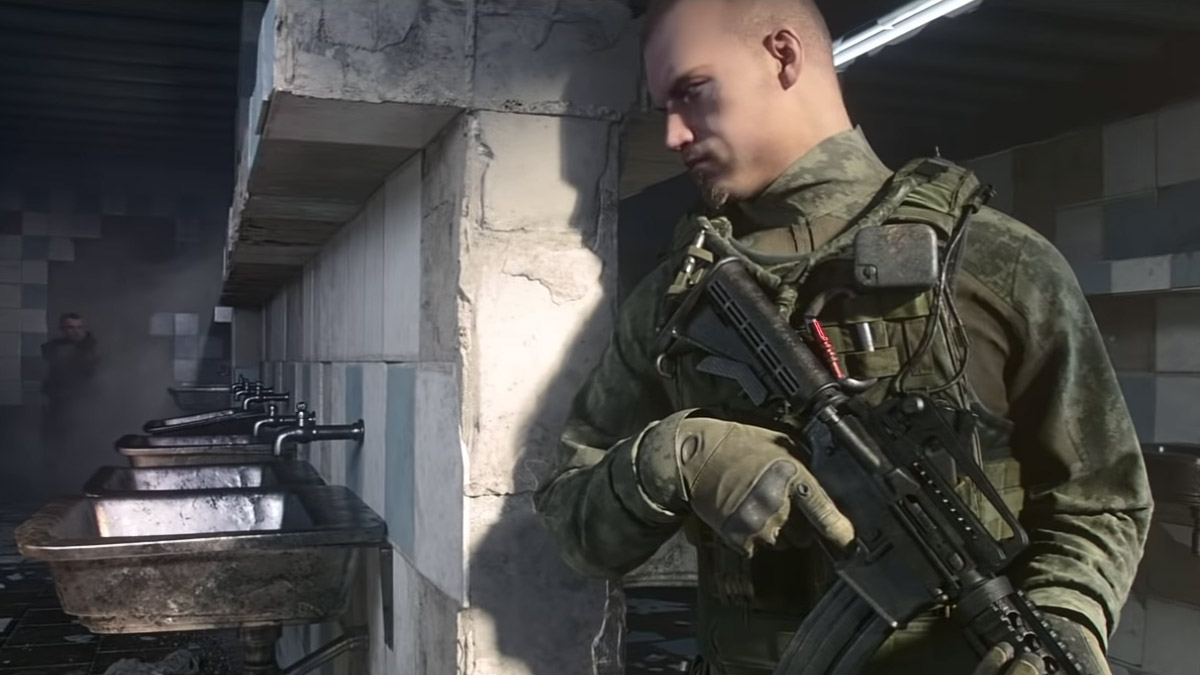
As players progress through Escape from Tarkov, they will begin receiving various quests from Traders which offer currencies, weaponry, and other sundries for completion. One of the first received quests from the Mechanic is Gunsmith – Part 1. This quest asks for a specifically-built MP-133, which matches or exceeds the set guidelines from Mechanic. Here’s how to complete this task for a simple 20k Roubles.
How to complete Gunsmith – Part 1
The Mechanic requests a specific MP-133 build, containing the following characteristics:
- 47 Ergonomics or higher
- Below 850 total Recoil
- 1 Laser Designator
- Extended Mag
- Takes four inventory slots at most
By far, the easiest means of completing this Gunsmith quest is by raising Jaeger up to level 2, then purchasing all necessary equipment from the traders. This route makes the Gunsmith completion possible prior to level 15, which will give players a boost in their own leveling, along with additional quest unlocks.
Related: How to complete Gunsmith Part 2 in Escape from Tarkov
What parts are needed MP-133 for Gunsmith Part 1
There are ultimately multiple ways to complete this build for the Mechanic, thanks to the comprehensive weapon-building system within Escape from Tarkov. While the listed configuration is one cheap suggestion, there are multiple ways for all Gunsmith quests to be completed. For completing Tarkov’s Gunsmith Part 1, we recommend purchasing the following pieces through in-game traders:
- Zenit RK-6 tactical foregrip (Skier level 1)
- NcSTAR Tactical blue laser LAM-module (Skier level 1)
- GK-02 12ga muzzle brake (Jaeger level 2)
- MP-133 custom plastic pistol grip (Jaeger level 2)
- MP-133/153 plastic pistol grip (Jaeger level 1)
- ME Cylinder 12ga muzzle adapter (Jaeger level 1)
These six pieces are all necessary to complete this custom shotgun. Note that they can also be purchased from the flea market.
How to assemble the shotgun for Gunsmith Part 1
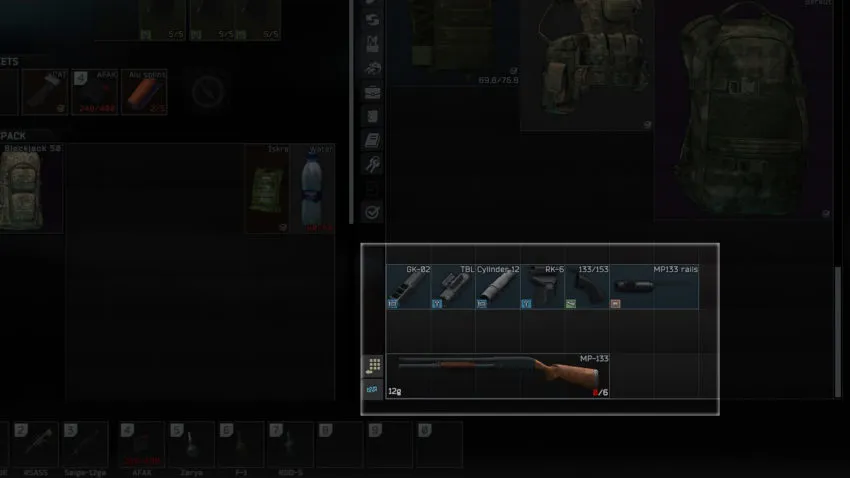
The MP-133 itself can be bartered from the Mechanic with two Elite Pliers and a single Screwdriver, found from Scavs in-raid or purchased on the flea market. Assembling the MP-133 is straightforward once the six pieces have been purchased. All players will need to do for this build is to grab one of the six items purchased, inspect the MP-133 in their stash, and drag and drop the pieces into the build.

Once all six pieces have been added to the weapon, you’re good to turn it into the Mechanic. This quest will ultimately cost players a couple thousand Roubles, as only 20,000 is offered by completion along with a mediocre rifle, but the economy in Escape from Tarkov is in shambles. Take the pittance and move on to Gunsmith – Part 2.


Published: Oct 13, 2022 01:54 pm