Persona 5 Tactica has multiple quests players can choose to complete, netting them extra rewards like Personas and Growth Points. One of those quests is Operation Boom, and to help you get this quest done, we have a step-by-step guide on how to complete it in Persona 5 Tactica.
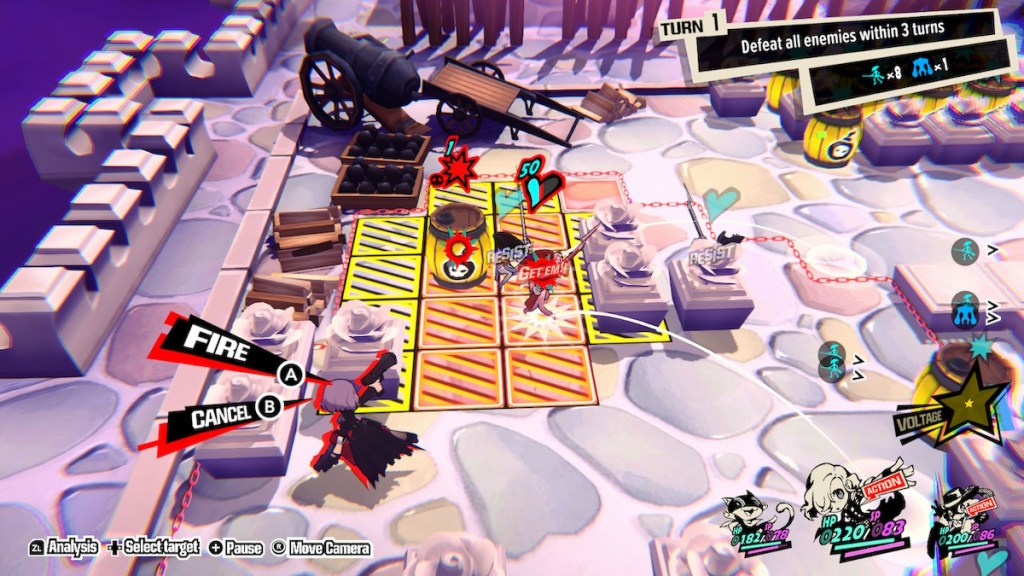
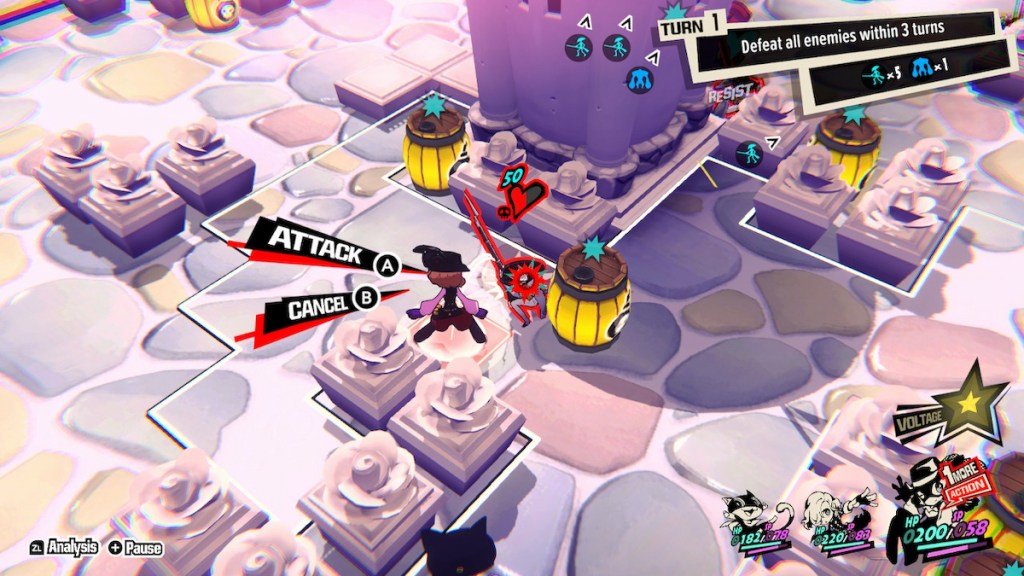
Like some of the other quests you’ll have seen in Persona 5 Tactica, Operation Boom involves defeating every enemy on the map; only with this mission, you get three turns instead of the usual one you will have seen quite a bit up to this point.
Related: P5T – Should You Go With Makoto’s or Yusuke’s Group in the Labor Camp
How to Complete the Operation Boom Quest
The tricky part with Operation Boom quest, and all these styles of quest for that matter, is finding the correct order and position to pull off the most effective moves, and trust me, I had to restart quite a few times to get it right.
Below, I’ve outlined how I completed Operation Boom quest, along with multiple images, so you have a clear sense of how to approach each step. If I mention a move you do not have, don’t worry; you can refund your Growth Points and tweak your Skill Tree with no issue, so tweak them before taking on the quest.
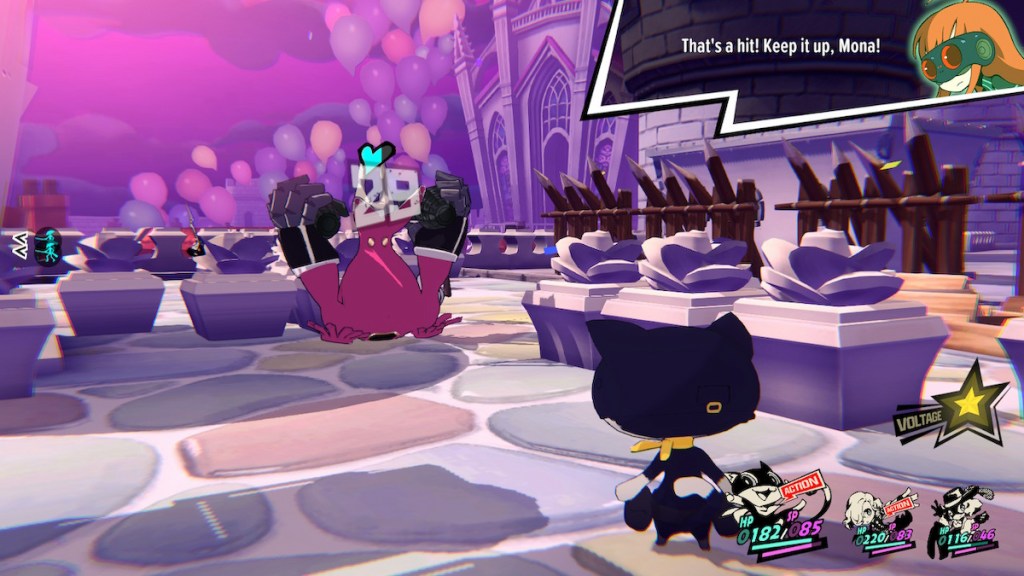
For Operation Boom mission, you should use Erina, Mona, and Haru.
| Image | Description |
|---|---|
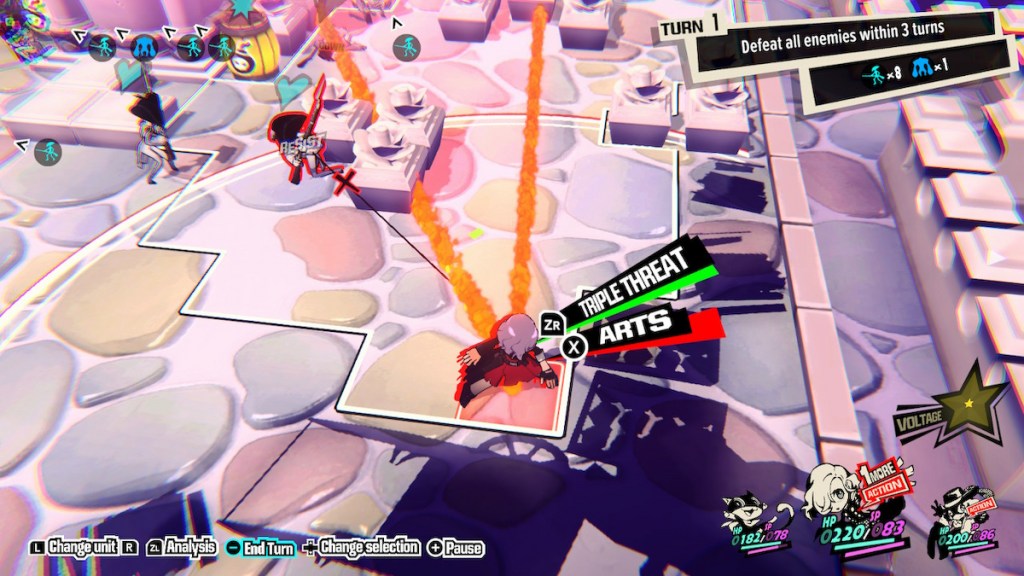
 | Move Morgana up to the wall and use a wind move to push the enemy behind the wall up toward the barrel farthest away. |
 | Then, swap to Erina, move up to the L-shaped cover, and shoot the enemy, which will both trigger a One More and blow up the barrel, hitting them and the enemy hiding behind it. This will blow the other enemy away, but we will bring them back, so don’t worry. |
 | Now, move Erina right up into the corner of the map, and you should be able to get the downed enemy you sent flying inside your Triple Threat, but don’t use it yet. |
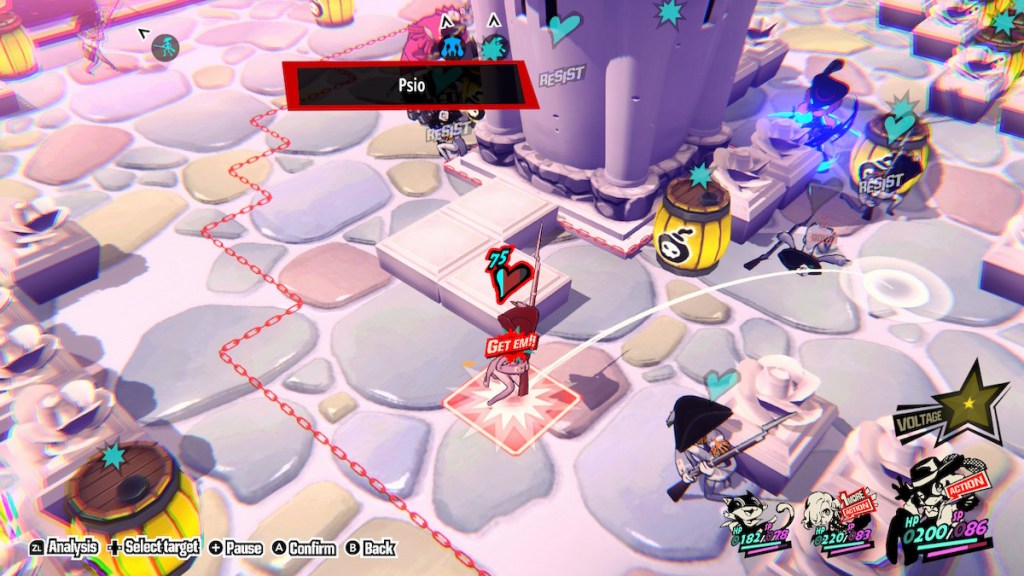 | Have Haru use Psio while behind the cover next to the right barrel near the spawn to make the enemy move into the Triple Threat area. This will also get you a One More. |
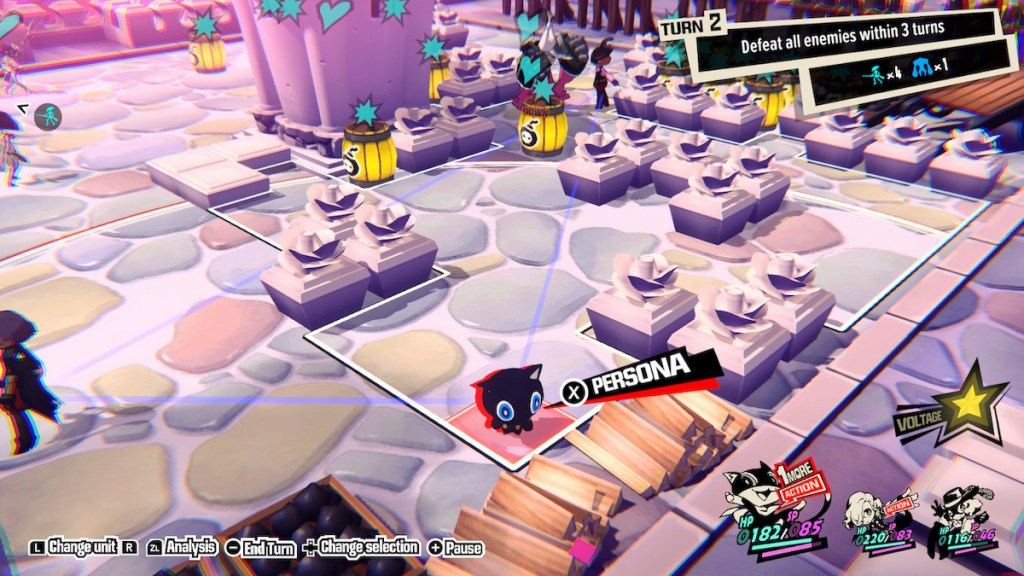
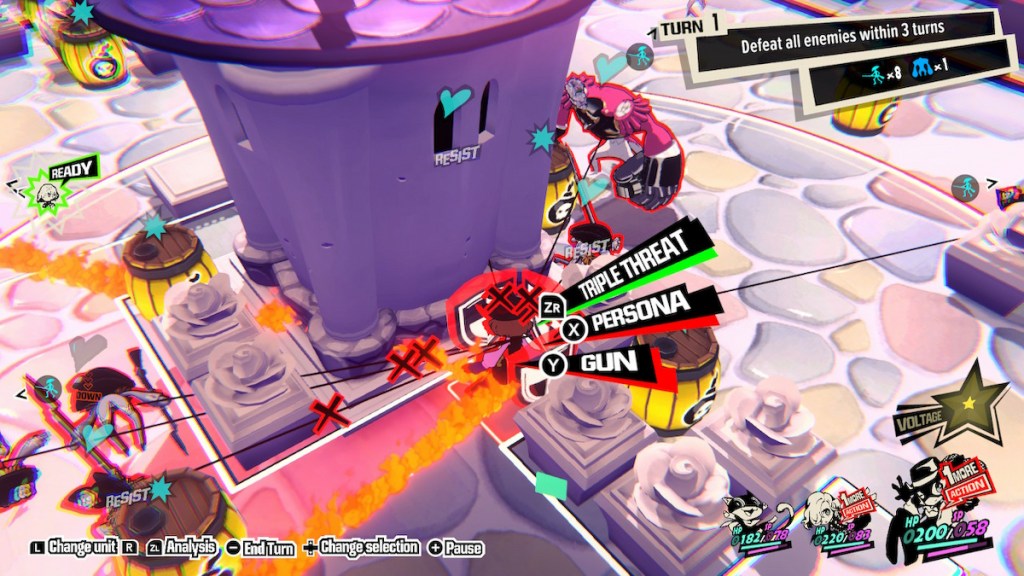 | Put Haru right into the cover on all sides to maximize the Triple Threat range. |
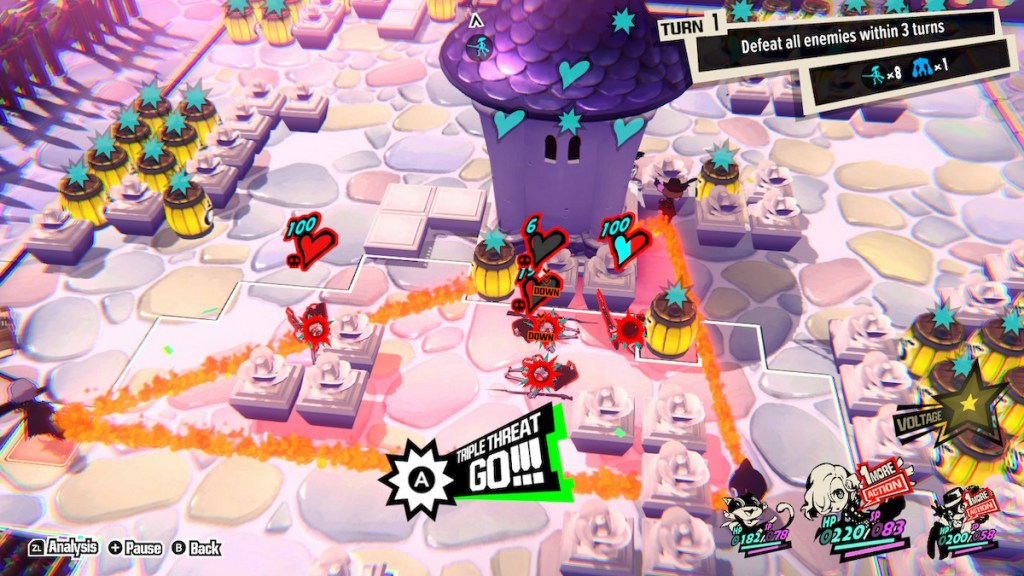 | Now use it on Erina; you will hit everyone here and kill most of them. |
 | The last one hiding behind a barrel, you can use Haru, who has her One More, and melee them, and they should die. This will end the first turn. |
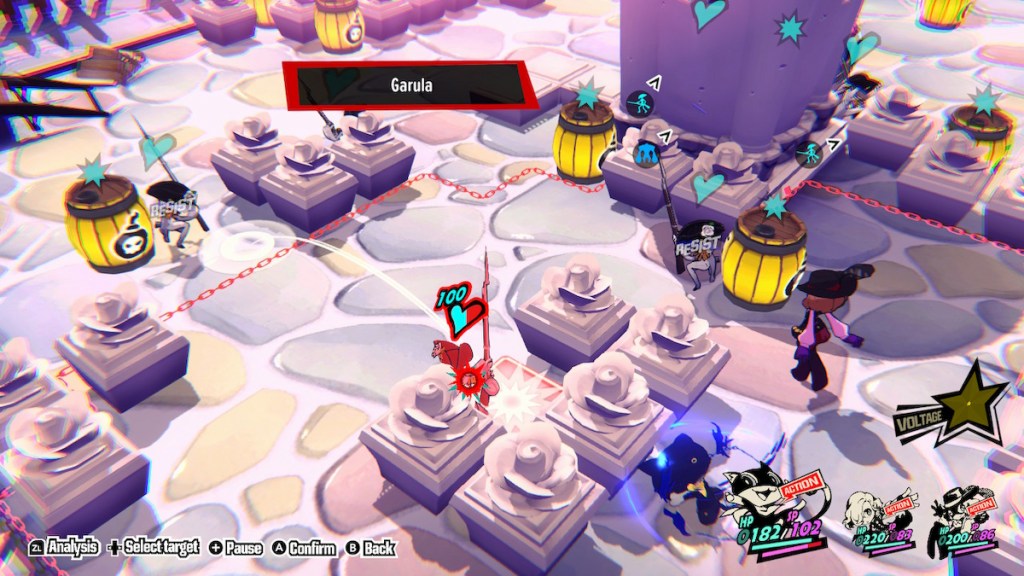
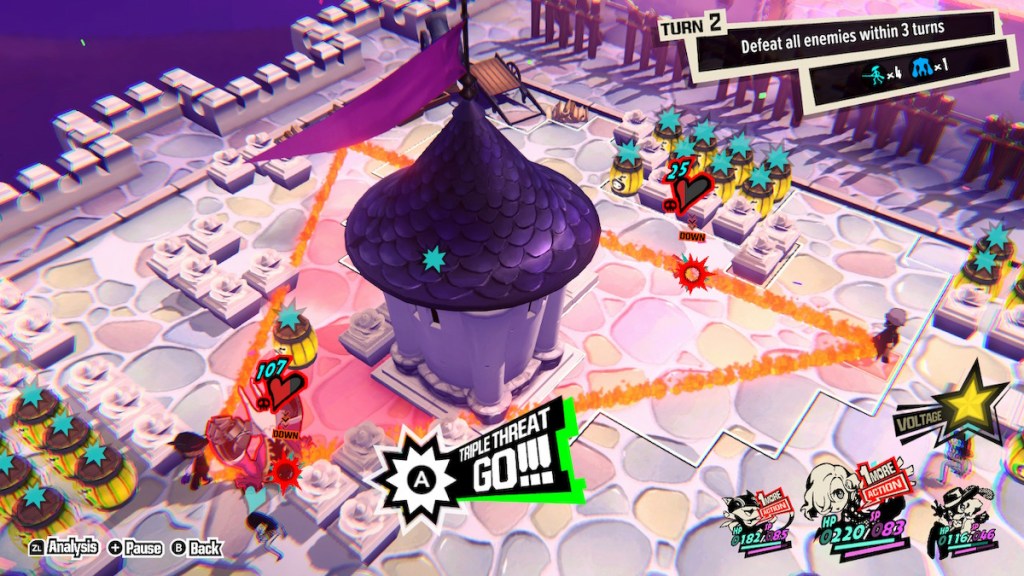
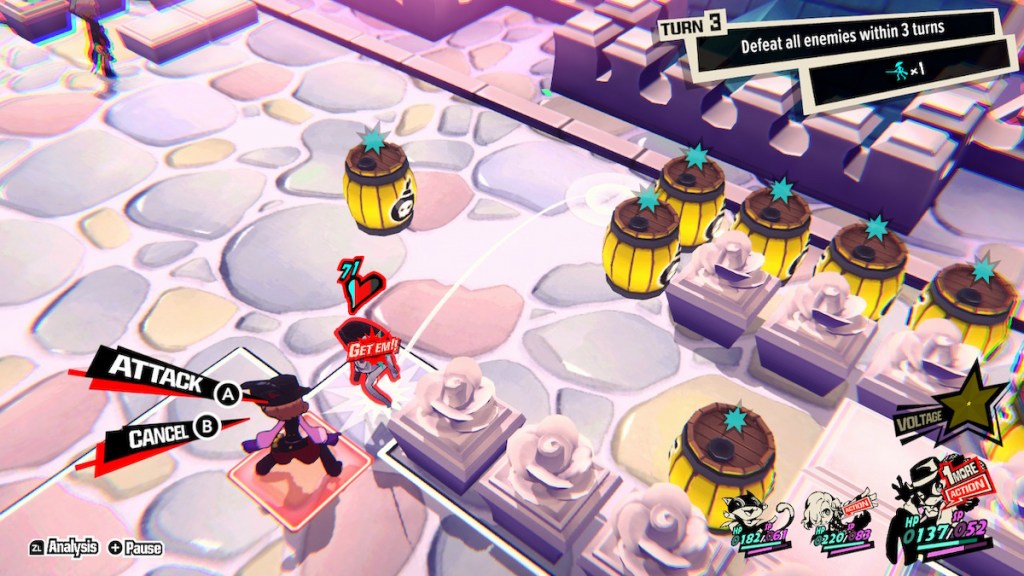
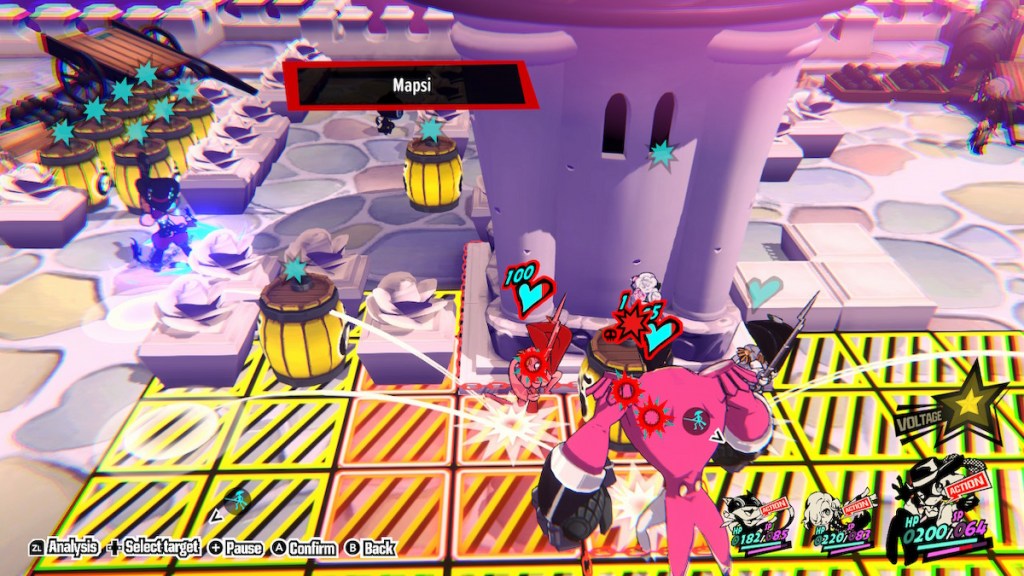 | Next turn, have Haru use Mapsi to target the enemy closer to you of the enemies surrounding the barrel by the center tower. This will blow up the barrel, blow several enemies away, and set you up for some One Mores. Bear in mind the pink brute enemy will likely make a slam attack since you will pull them in range, but don’t worry. |
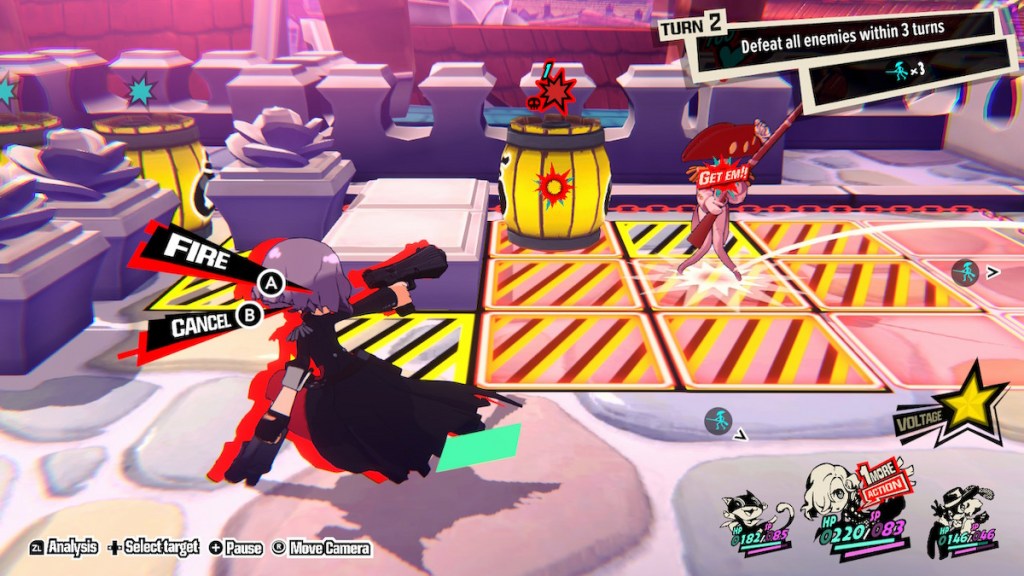
 | Next, swap to Morgana, have them stay where they are, and shoot the big pink brute enemy that has blown/Hypnod over by you to get a One More. Use that to run right up to the corner, like in the image shown, since they have a lot of movement. |
 | Swap to Erina, and you should have an enemy now in front of you from the barrel explosion earlier. Shot them for a One More. |
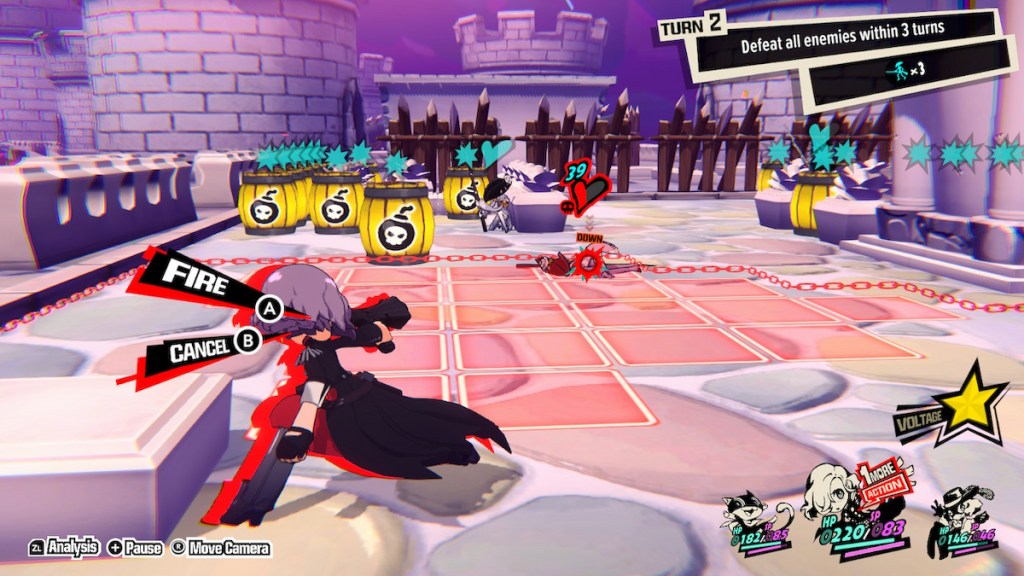
 | Then move further out to the corner, and you should have a wide Triple Threat area that gets both the big pink enemy and the enemy Erina just downed. Use Morgana, who will have a One More and be able to do a Triple threat thanks to our actions earlier. |
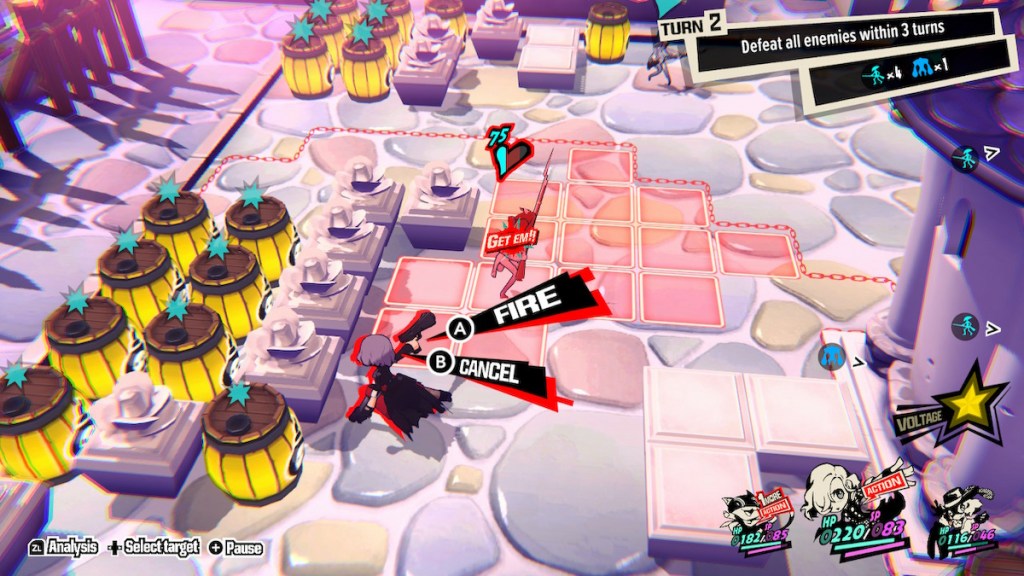
 | Next, you will be back on Erina. You should have another enemy just to your side next to a barrel, who you blasted there with Haru. Shot them and the barrel for another One More. |
 | Finish them off with a normal attack while against the cover in front of you. End the turn. |
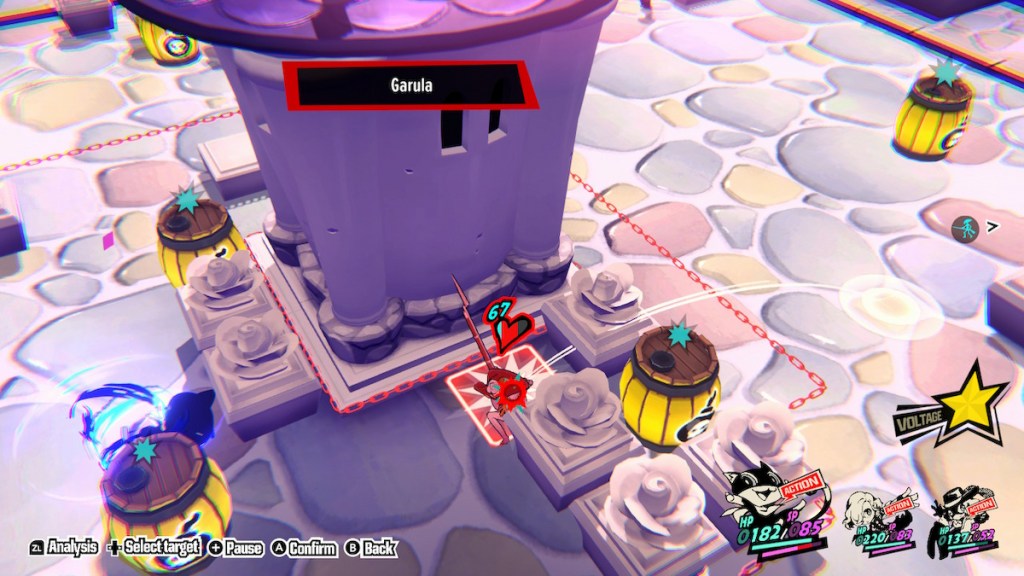 | There should now be two enemies left, and the one you hit with a Hypno effect will likely move into cover, which will be into the cervas near the tower you used early. If not, it shouldn’t be an issue since they should be in range for your next move. Use a Morgana wind move, in my case Garula, to move that enemy closer to the other enemy behind cover. |
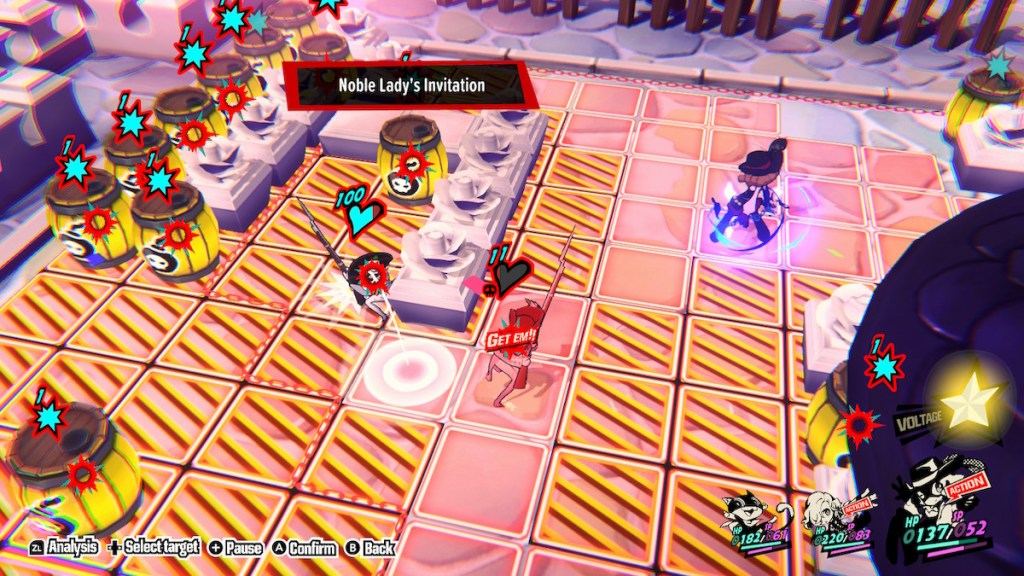 | Haru will now be able to use their Voltage move, Noble Lady’s Invitation, which will now kill the enemy Morgana hit, and Hypno the enemy behind cover out, and thanks to Morgana, this will give Haru a One More. |
 | Now, have Haru march up to the last enemy out of cover and whack them, giving another One More. Do this again, and you will kill them and be done with the quest. |


Published: Nov 17, 2023 02:13 am