how-to-defeat-the-dreadnought-lacerator-and-dradnought-arbalest-in-deep-rock-galactic
Screenshot by Gamepur

How to defeat the Dreadnought Lacerator and Dreadnought Arbalest in Deep Rock Galactic

Keep them both in your sights.

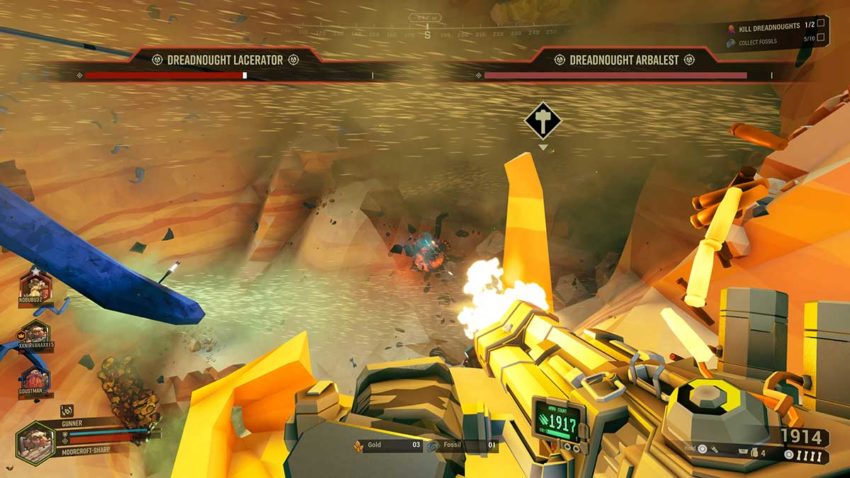
In one particular mission type in Deep Rock Galactic, you’ll need to defeat two bosses in one battle — the Dreadnought Lacerator and the Dreadnought Arbalest. While these bosses are arguably the easier out of the two encounters in the mission — with the hardest being the Dreadnought Hiveguard — this encounter is still far from simple. This guide explains how to defeat these bosses, so you don’t end up with an entire team failing.

Recommended Videos

Manage each enemy

manage-each-enemy-deep-rock-galactic
Screenshot by Gamepur

There aren’t any phases to this battle. Instead, both bosses spawn simultaneously, and you and your crew need to handle them or quit. The two bosses work independently, meaning you can draw them away from each other and attack them without a second boss to worry about. However, when the health pool of one gets close to zero, the second boss will jump in to help it. So try to keep your distance and attack from afar, avoiding taking too much damage while dealing loads of it.

Watch your feet

watch-your-feet-deep-rock-galactic
Screenshot by Gamepur

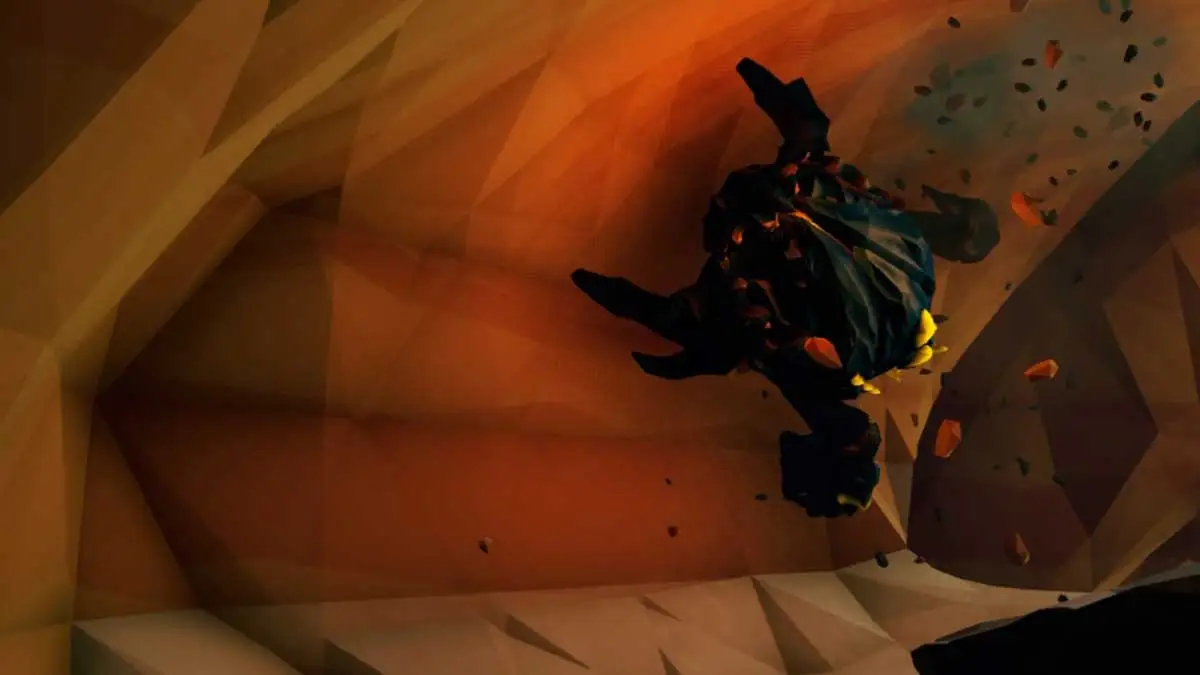
Both of these bosses have the unique ability to disappear after they’ve taken enough damage. However, they don’t stay hidden for long. The ground beneath your feet will rumble, and the bosses will jump out and blast you with a physical or fiery attack. This is the hardest thing to manage about this boss fight because the enemies can appear anywhere. Try to stay in areas of the arena where you have space to run away when the ground starts to shake. If you don’t, you’ll be putting your teammates at risk when they try to come and rescue you.

In our experience, it was easier to defeat the Dreadnought Arbalest first and then deal with the Dreadnought Lacerator. The latter has a few fire-based attacks that are hard to deal with on your own, so tackling this boss as a group is the best way to take them both down without your team being wiped out.


Gamepur is supported by our audience. When you purchase through links on our site, we may earn a small affiliate commission. Learn more
related content
Read Article How To Unlock All Classes And Characters in Deep Rock Galactic: Survivor
Deep Rock Galactic Survivor How to Unlock all Classes
Read Article Best Weapons to Use Early in Deep Rock Galactic Survivor
Best Weapons to Use Early in Deep Rock Galactic Survivor
Read Article How to Play the Deep Rock Galactic: Survivor Early Access
Deep Rock Galactic Survivor Early Access
Read Article How to Get Error Cubes and What They Do in Deep Rock Galactic
Deep Rock Galactic
Read Article The five best Scout builds in Deep Rock Galactic
Related Content
Read Article How To Unlock All Classes And Characters in Deep Rock Galactic: Survivor
Deep Rock Galactic Survivor How to Unlock all Classes
Read Article Best Weapons to Use Early in Deep Rock Galactic Survivor
Best Weapons to Use Early in Deep Rock Galactic Survivor
Read Article How to Play the Deep Rock Galactic: Survivor Early Access
Deep Rock Galactic Survivor Early Access
Read Article How to Get Error Cubes and What They Do in Deep Rock Galactic
Deep Rock Galactic
Read Article The five best Scout builds in Deep Rock Galactic
Author
Jamie Moorcroft-Sharp
Jamie Moorcroft-Sharp is a Staff Writer at Gamepur. He's been writing about games for ten years and has been featured in Switch Player Magazine, Lock-On, and For Gamers Magazine. He's particularly keen on working out when he isn't playing games or writing or trying to be the best dad in the world.