Call of Duty: Vanguard’s Zombies offering has been a little rough for longtime fans, to say the least, but Treyarch is still offering a finale of sorts with The Archon, which is a map that takes Terra Maledicta and repurposes it into a round-based map. As always, the main Easter egg quest is one of the biggest draws for people to these maps, so here is how you can complete this one.
Related: How to reforge and unlock the Pack-a-Punch machine in The Archon in Call of Duty: Vanguard Zombies
Before you begin The Archon
Before you hop into a game, use any weapon you like, but keep in mind that the final fight will be much better done with a gun that has decent range and lower recoil. We also recommend running either Aether Shroud or Ring of Fire.
Activate the Pack-a-Punch machine
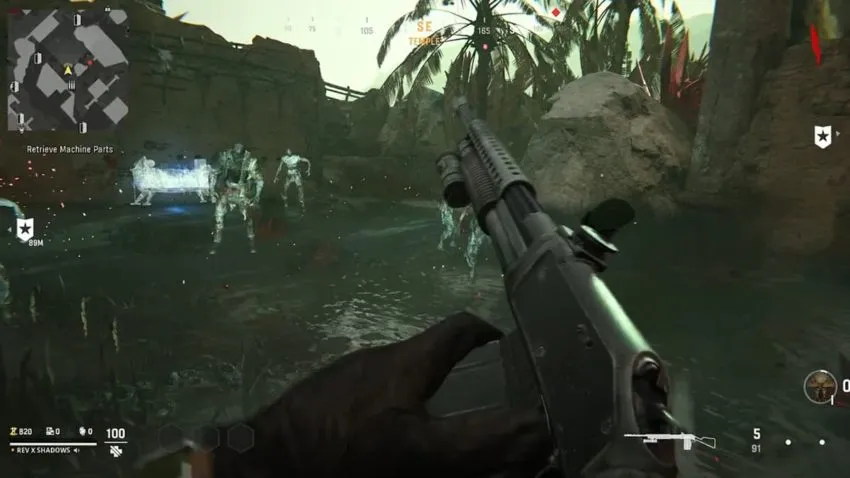
Your first step is to activate the Pack-a-Punch machine. At the beginning of the game, you will find the machine’s site in the starting Temple area, but you need to grab two parts on separate sides of the map. When you return and connect them, you will have to kill some zombies.
Place the mirror on the pedestal and enter the Dark Aether
When the Pack-a-Punch is active, a pedestal will appear in front of it. Interact with it to place the mirror from the Shi No Numa quest, and Kortifex will separate from Von List. After some lengthy dialogue, a red portal will open near the pedestal. Take it to enter the Dark Aether. Inside, you will have to kill some enemies, but there are not many. After they are all gone, you will be downed for story reasons and teleported back to the main map.
Complete the trials
There are three trials that you have to complete to go back and fight Kortifex. You can do these in any order. If you fail any of the trials, you will need to wait for a round for the orb to allow you to try again.
Trial of Resilience
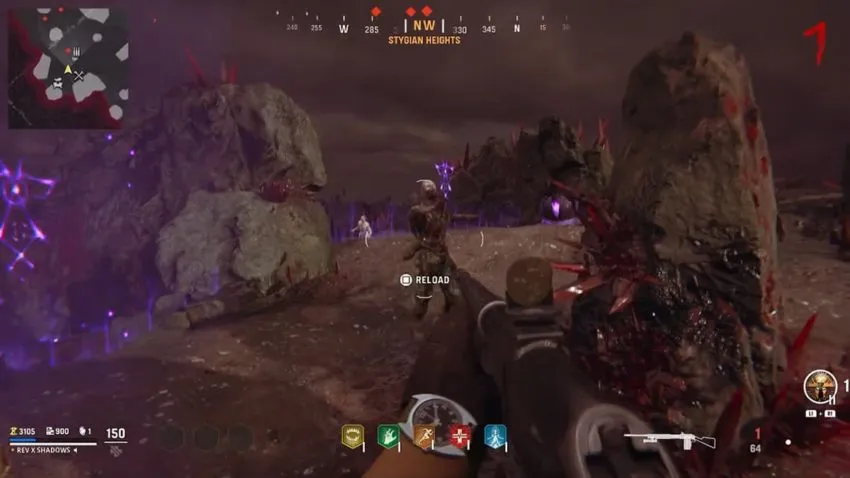
The Trial of Resilience is in the Debris Field (where the blue perk fountain is). Around the walls of the area, there are small clusters of crystals with runes popping up from them. Shoot them until a red orb flies out.
Three items will appear around the map. You need to pick them up and deliver them to the orb. However, when you are holding these items, you will not be able to sprint and there will be a modifier on you.
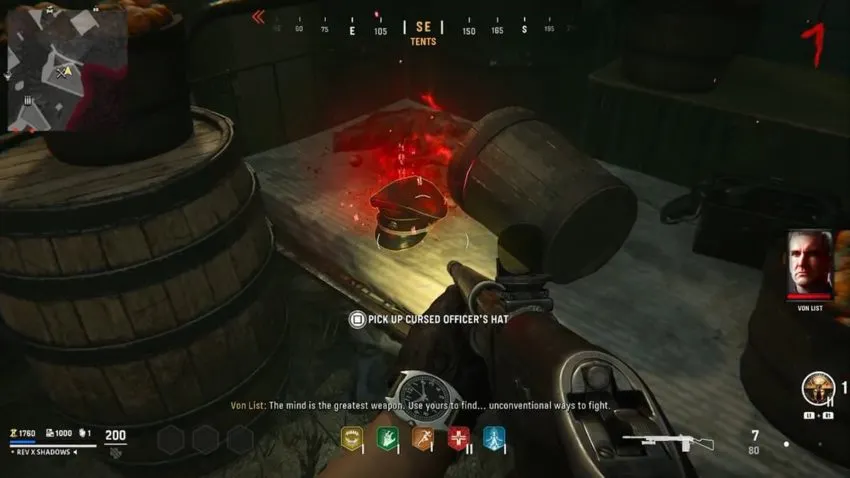
The first item is the Cursed Captain’s Hat in Tents. Pick it up and your health will not regenerate after you take damage.
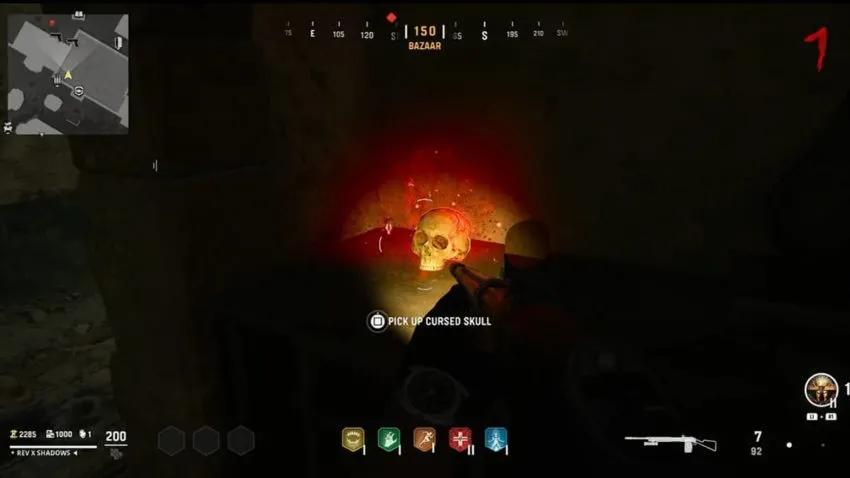
The second item is the Cursed Skull in Bazaar next to the yellow perk fountain. Picking this one up will make you take damage when you damage enemies.
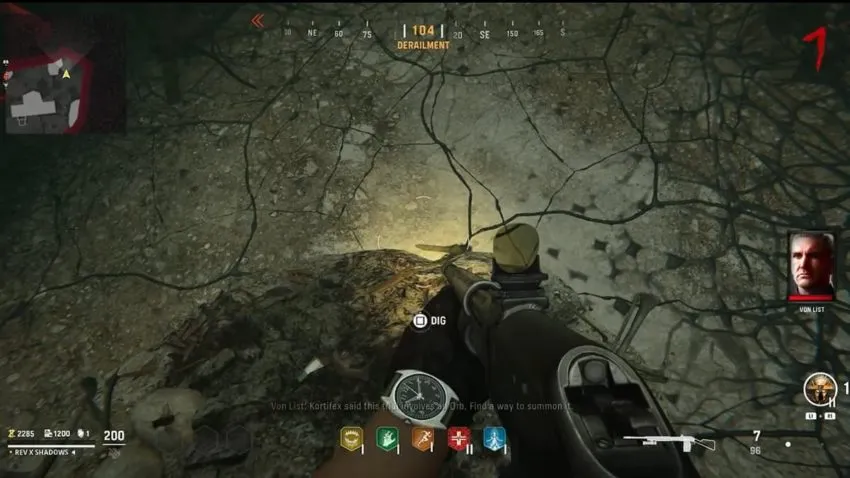
The final item is in Derailment. First, grab the shovel from the train cart in the middle and go to the corner to dig up the Cursed Femur. You will not be able to reload while holding this.
When all three items are delivered to the orb, the Decimator Shield wonder weapon will drop from the giant cluster of crystals. This is a handy weapon to have on you, so keep it for the rest of the game.
When you have the shield, interact with the obelisk and three Syphoncores will appear. One is in front of the blue fountain, one to the left of the red fountain, and one to the left of the obelisk. Whoever has the Decimator Shield needs to go to each location and use the ground slam attack near it to destroy the towers.

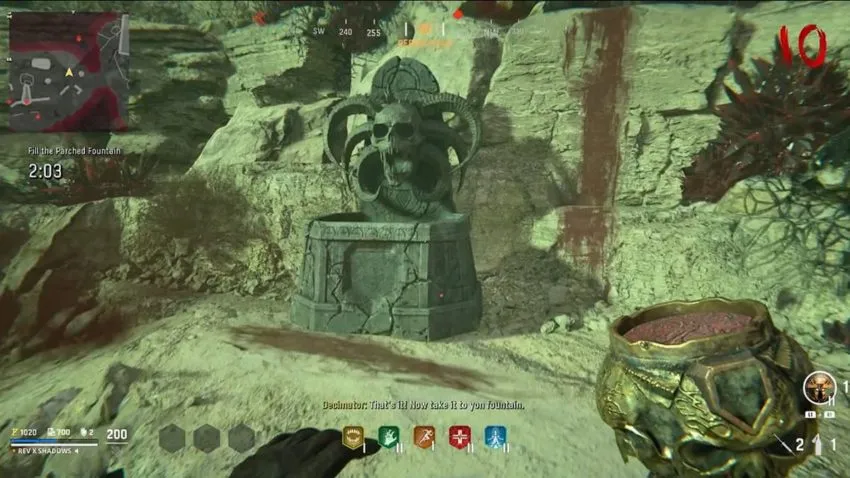
Interact with them after, and you will fill your chalice with blood. To the right of the obelisk is an empty fountain. Deliver blood from each Syphoncore to that fountain to fill it up and complete the objective.
Trial of Mindfulness
The Trial of Mindfulness is located on Merchant Road next to the vehicle. With your shovel, dig up nearby dig sites to have an orb fly to the wall nearby. Interacting with this orb will show you some symbols you need to remember in that order. After it shows it, runes will appear on the ground. You need to stand on each symbol in the order you saw them on the wall. Try to keep one zombie alive during this because more do not spawn in.
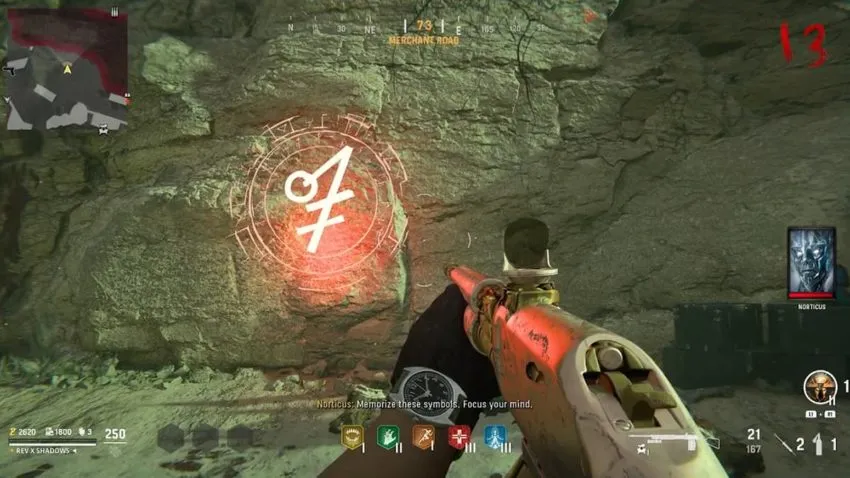

There are three rounds of this, starting with three symbols to remember, then four, then finally five. After completing each round, you will have to survive a continuous wave of zombies with a random modifier. Possible modifiers include taking damage if you move, headshots only, and more. You also can not leave the area. Just survive until the timer is up, and you will complete the round.
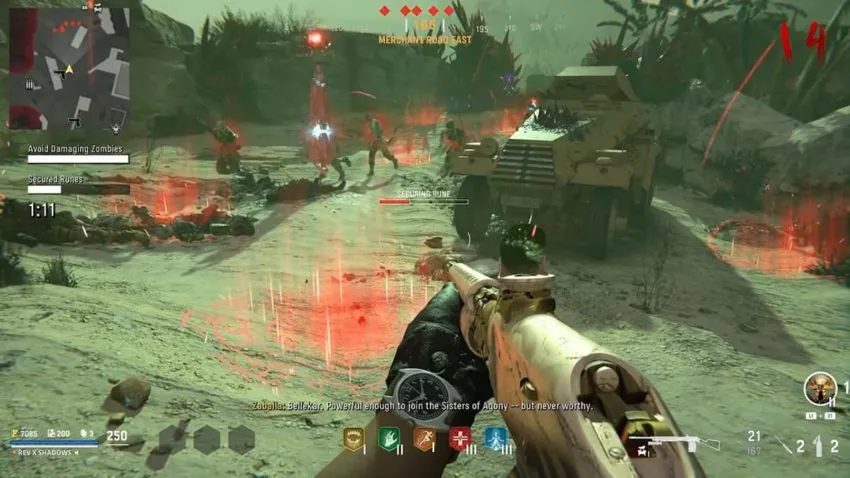
After going through all three rounds to secure runes, you can try the trial. When you activate this, new zombies will spawn in, as well as Zaballa. Now a lot of runes will appear on the ground and you just need to secure enough within the time limit. This is pretty simple. Just train them going from one end to the other. Don’t secure runes right next to each other. You don’t even need to shoot any of the enemies. If you have Decoys, that will also take the heat off of you.
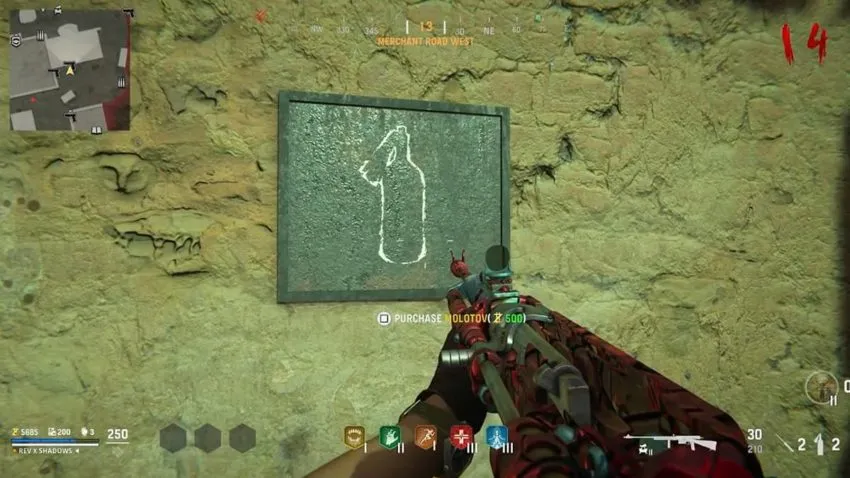
Trial of Sacrifice
The Trial of Sacrifice is located in Derailment. Before going there, acquire three Molotovs. You can buy them from the wall buy in Merchant Road West for 500 points each.
With those Molotovs, you need to light up three torches around the Derailment area. There is a time limit before they go out, so make sure you don’t miss your throws.
The first is in the train cart that you go through to access the area.
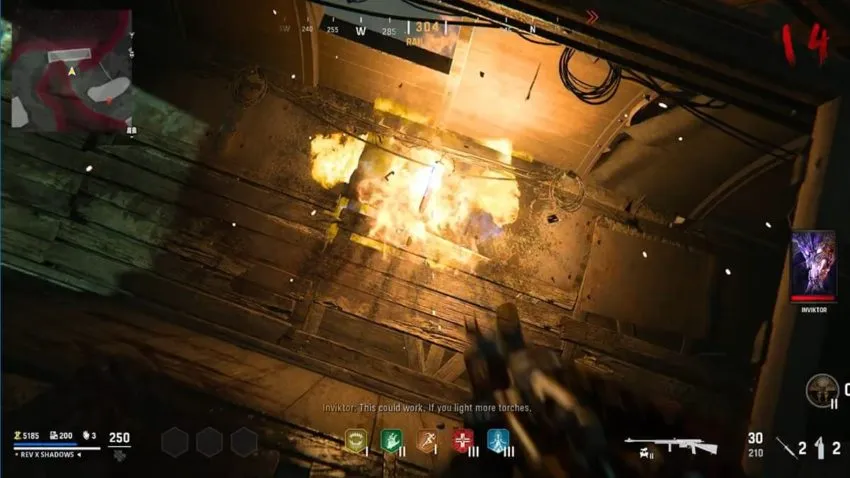
The second is on this pile of clusters and wreckage.
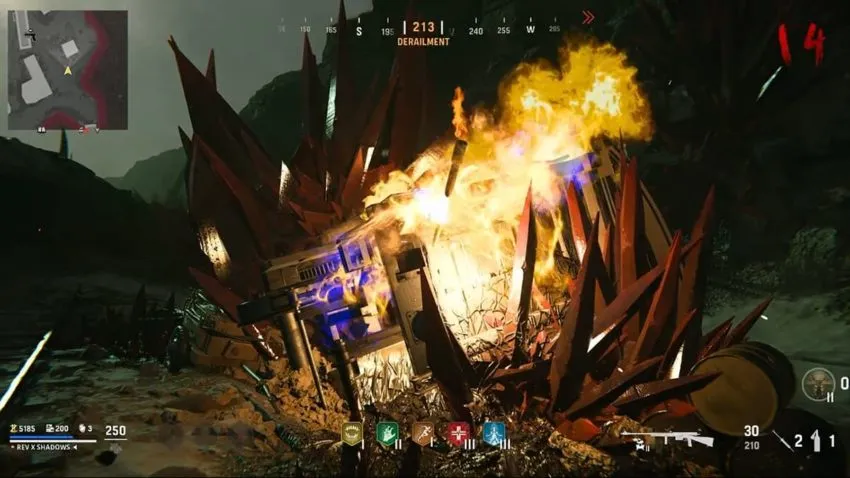
The third is just behind the previous one.
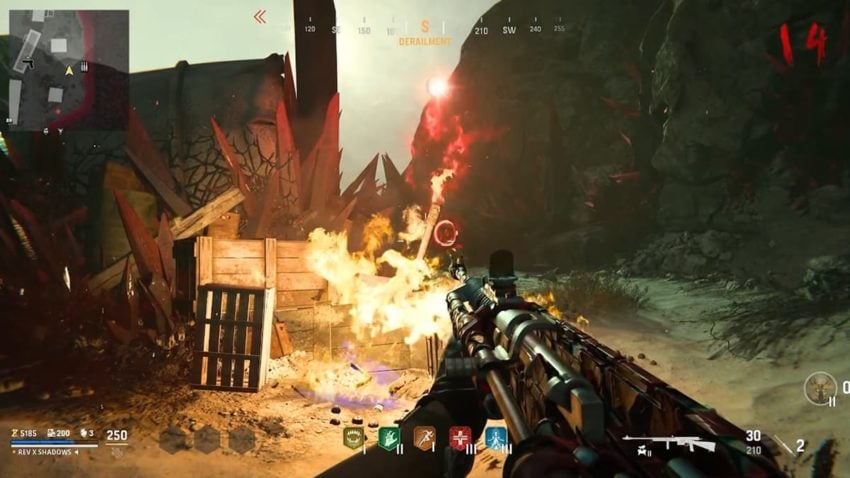
The orb will appear when all three torches are lit but requires you to sacrifice a Pack-a-Punched weapon. If you don’t want to give up one of the weapons you own now, go to the Mystery Box and spin it for 950 points. As you get into the teen rounds, you have an almost guaranteed chance to get a Pack-a-Punched gun that will be much cheaper than buying one off the wall.
When you sacrifice your weapon, zombies will spawn endlessly as well as a powerful Sturmkrieger. While killing any normal enemies that get in your face, use the train wreckage for cover and chip away at the Sturmkrieger’s health. Once it dies, you can interact with the obelisk.

At this point, at least someone in the game needs to have Ring of Fire equipped. If you don’t have it, there is a rune near the third torch we lit earlier you can interact with to change to that ability.

There are four obelisks that spawn in separate corners of the Derailment area. Whoever has Ring of Fire equipped needs to go to each obelisk, activate the artifact, and kill zombies until the obelisk they are standing by provides a steady line of energy to the central obelisk. Enemies are constantly spawning, so you should be able to activate the ability one time at each location.

To build up your Ring of Fire ability fast, stand next to the central obelisk when it is down and kill enemies. A Full Power power-up will appear quickly here, letting you run to your next location.

Prepare
After all three trials are completed, it is time to prepare for the final boss fight. This is your point of no return. Make sure to get all of your perks, armor, Pack-a-Punch upgrades, and whatever else you need before jumping into the red portal and starting the fight sequence.
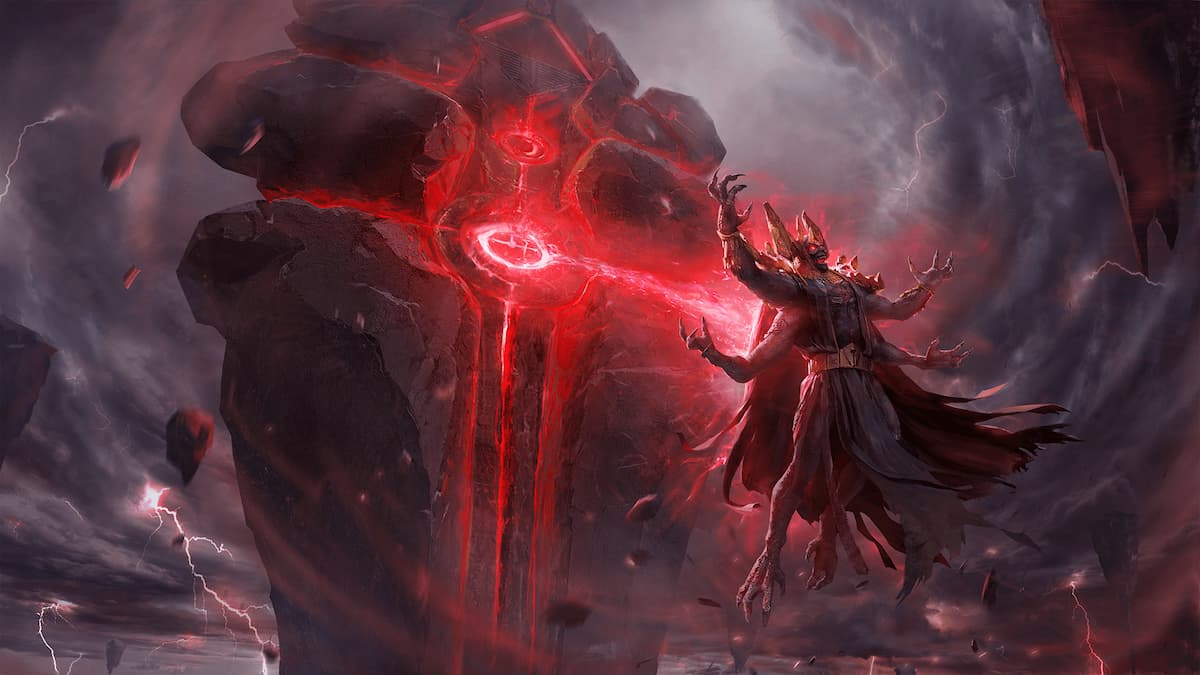
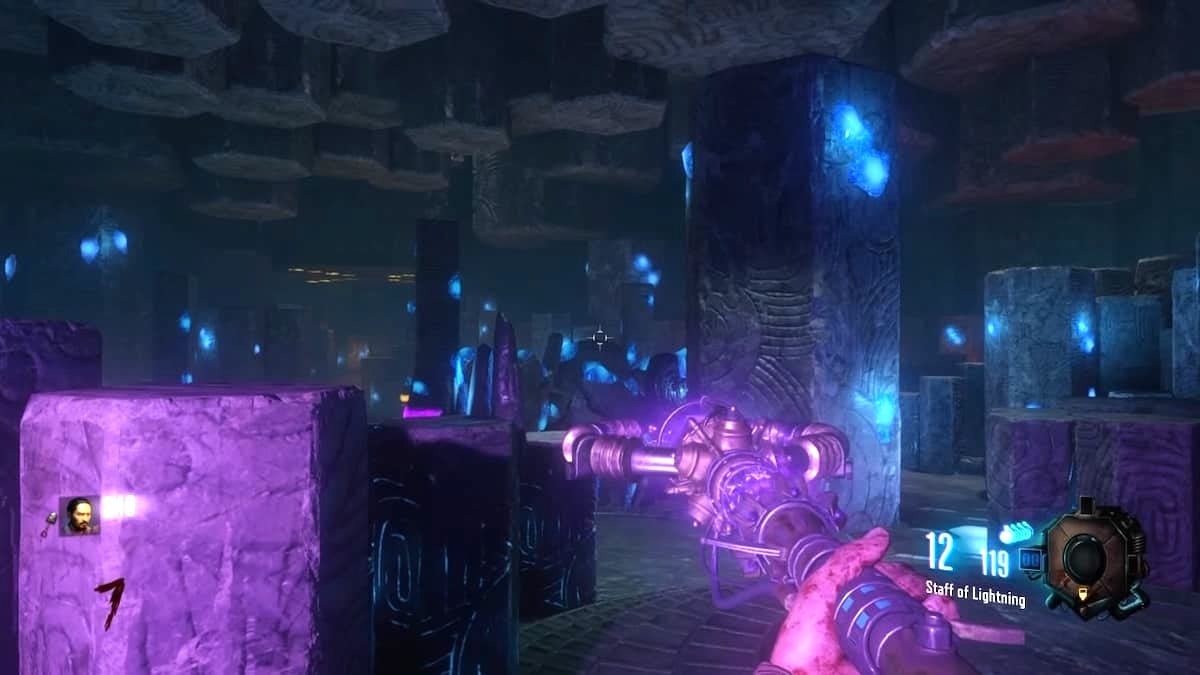
Fighting The Archon
When you arrive back in the Dark Aether, Kortifex will grow to a massive size. Your main objective is to shoot out his glowing red eyes to kill him. Ring of Fire is a great artifact to have on when you are dealing damage to his eyes.

In the first phase, look for clusters of crystals and shoot them to pick up a Crystal Shard. Throw these into the nearby purple plants, and after a bit, they will spit out a Corrupted Crystal Shard that you will want to hold on to for later phases.

Kortifex’s attacks here are only summoning zombies and putting out Energy Mines that damage you when you are too close to them. Kill the enemies when they appear and when there is a giant energy ball, pull out the Decimator Shield and do the ground slam attack to destroy it. Chip away at his health, and he will eventually go away. Before phase two, be sure to hit the Workbench to replenish your armor and hit the Pack-a-Punch machine if you can.
During the second phase, several floating triangular structures will be around the area. Throw your Corrupted Crystal Shards at them to make them fly towards the big guy to destroy his shield, and Kortifex will fall to the ground where you can lay damage into his other eyes. When you run out, grab more crystals and throw them into the purple plants to make more.
The third phase is more of the same. You will be in a new area, but you need to get Corrupted Crystal Shards and throw them at the floating pillars to break his shield and shoot his eye. Sturmkriegers will spawn in with the other zombies now, so be sure to take them out when you see them. Focus on your survival above all else, and as you slowly chip away at his health Kortifex will die.
There is no ending cutscene, but you do get a Wunderwaffe DG-2 that drops on the ground, some power-ups, and your perks go up a level for the rest of the match.


Published: Aug 24, 2022 06:38 pm