With the launch of Call of Duty: Black Ops Cold War’s second season, some of the guns from last season’s battle pass are now entering the normal gun pool and are giving players a little bit of a challenge to unlock.
Along with the MAC-10 SMG, the Groza assault rifle is now available to unlock in the game’s multiplayer. To unlock it, you have to kill 3 or more enemies, without dying, in 15 different matches. What sets this challenge apart from some of the other ones we have had to complete to unlock weapons is that this isn’t one you have to rush to get.
Whereas the MAC-10 needed you to kill enemies in rapid succession, this one allows for more patience and planning, utilizing a slower pace to make sure you do what you need to do. It’s a little easier than others, in our opinion, but that doesn’t mean you can’t do some things to help your experience.
Use the Krig 6
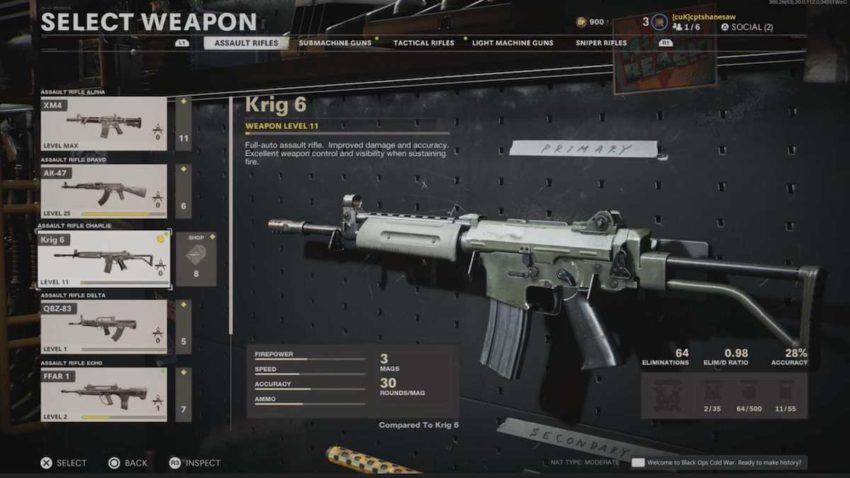
The Krig 6 is probably the most balanced assault rifle in the game, and while it doesn’t pack as much of a punch in terms of damage, it absolutely makes up for it in its accuracy and low recoil. When leveled up and kitted out properly, the recoil is pretty much taken out of the equation as well.
It works from any distance in the game, which means that there won’t be a situation you can’t get out of alive with this gun; you can pick people off from a safe distance or swoop in close for the kill. The Krig 6 is one of the top options for the game’s competitive scene. It’s going to be the best gun for you to use during this challenge.
Utilize camping
We know how hard it is to hear, but in the case of getting these three kills, camping is going to be a safe bet to keep yourself alive. We all love to hate on campers, but they have a good reason for doing it: camping allows you to keep an area locked down and, when done successfully, can let you rack up a lot of kills in one life.
Just be aware of how enemies are countering your camping. Sometimes they may not pay enough attention, and you can get your three kills before they catch on, but if they start trying to target you, you may want to move around after each kill. Find positions that you can get a good view of the map and move between these.
Play on Nuketown ’87
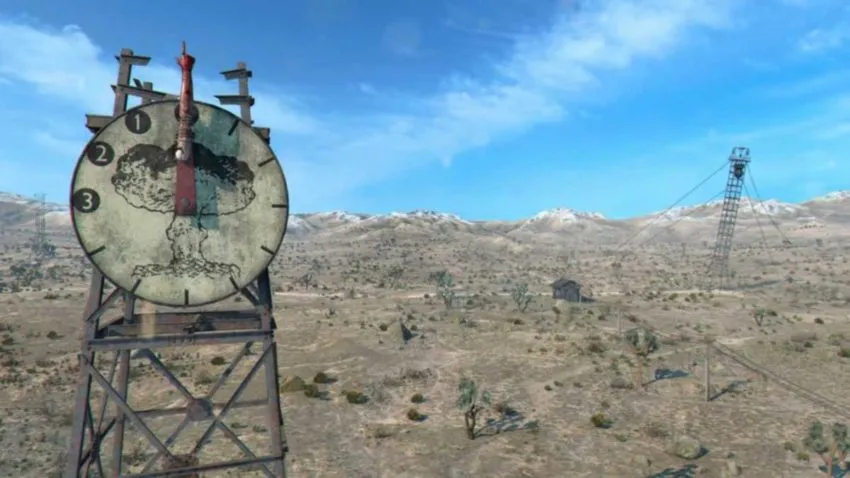
Nuketown is a map full of spots where enemies will group up for easy kills and also where there are plenty of sight-lines for you to snipe an enemy from afar. Both of the upstairs bedrooms are great spots, and when you play Hardpoint on the map, one of the points will be by the broken down car, right outside the window. However, these rooms are well-known places for campers, so always keep an ear open for enemies coming up behind you.
Use the Stimshot tactical
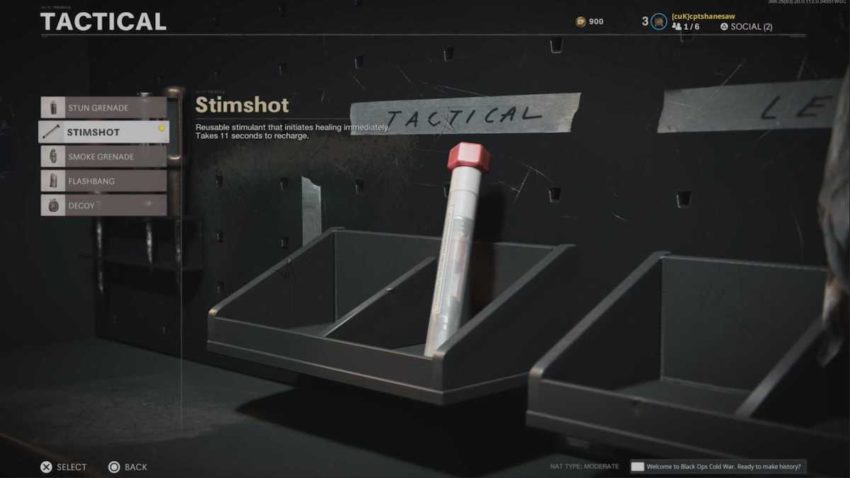
You need health to stay alive, and if you are in the middle of an intense firefight, you likely won’t find a moment to stop and let your health come back. This is where the Stimshot comes in. With the press of a button, you can quickly get your health bar back in mere seconds and jump back into the fray.
This tactical has saved our lives countless times in the game, and it is well worth sacrificing the use of smoke or flash grenades to have in your pocket.
Equip the Trophy System
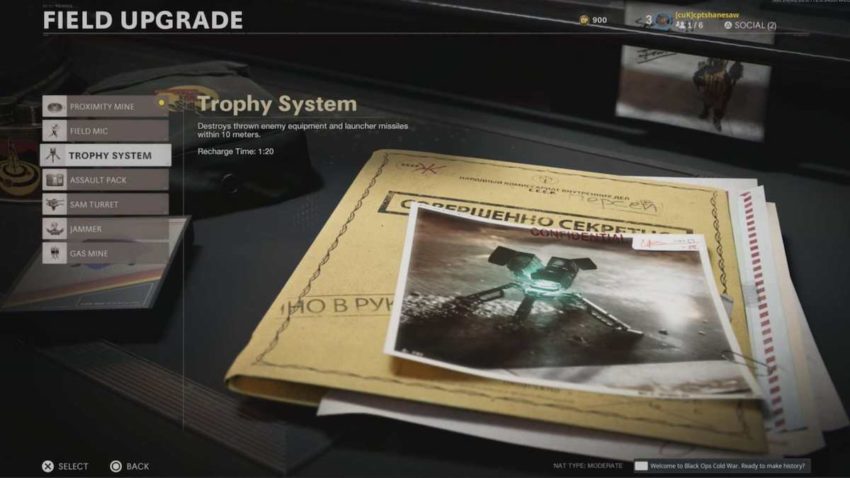
The Trophy System is one of the game’s Field Upgrades that you can use in a match. It’s a device that you can plant on the ground, and it will destroy any enemy equipment or missiles within 10 meters of its position. If you’re going to be camping to get this challenge, then the Trophy System is necessary. A popular counter to camping is cooking a grenade and throwing it at a camper’s position, causing them to either be blown up or scramble to get away, opening themselves up to attacks. This will do away with that for a short time and allow you to focus on the enemies in front of you rather than what grenades are coming your way.
Use the right perks
Equipping the right perks to your character is a key part of getting this challenge done quickly:
Paranoia
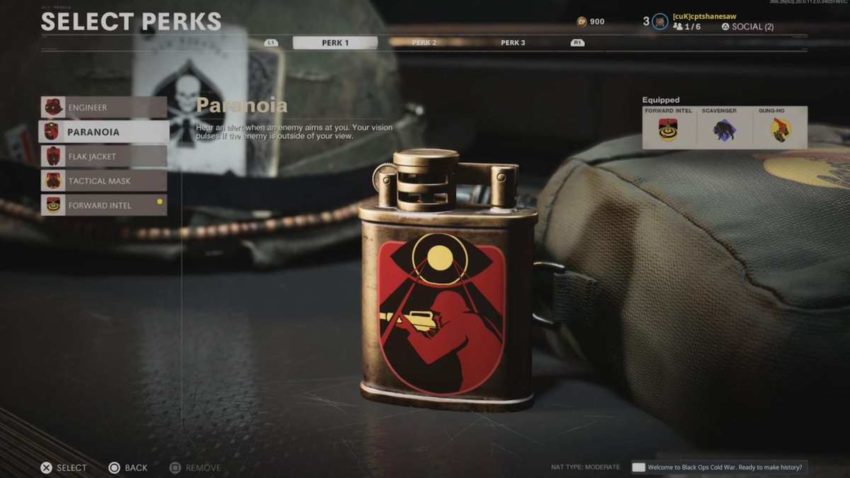
Paranoia will cause you to be alerted when an enemy is aiming at you. The alert will be auditory if they are on your screen, and there will also be a flash if they are off-screen. This will help you stay aware of how much danger you’re in and allow you to focus on the biggest threat to your life at any given moment.
Paranoia is in the Perk 1 category.
Gearhead
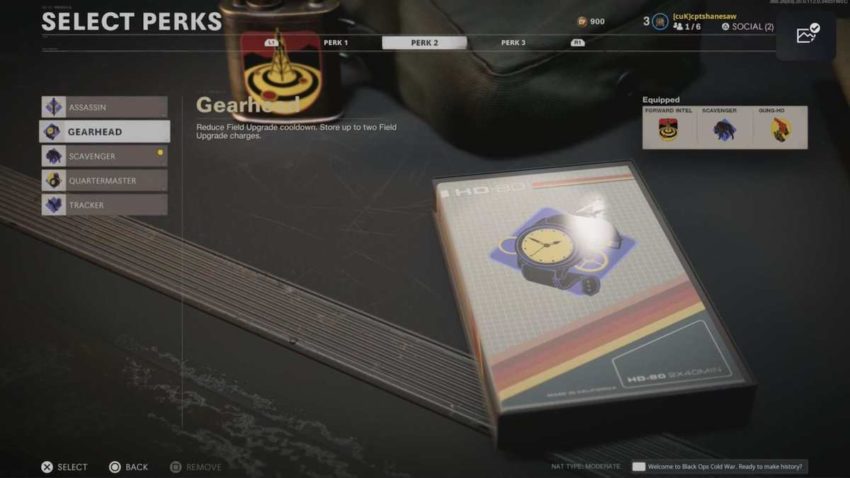
Gearhead is all about the Field Upgrades. It reduces the cooldown time between uses and gives you the ability to store up to two charges. That means that you will have Trophy Systems available for you far more frequently and help keep yourself alive.
It’s tempting to replace this perk with Scavenger, so you don’t have to worry about having enough ammo, but with just three kills, ammo shouldn’t be an issue.
Gearhead is in the Perk 2 category.
Gung-Ho
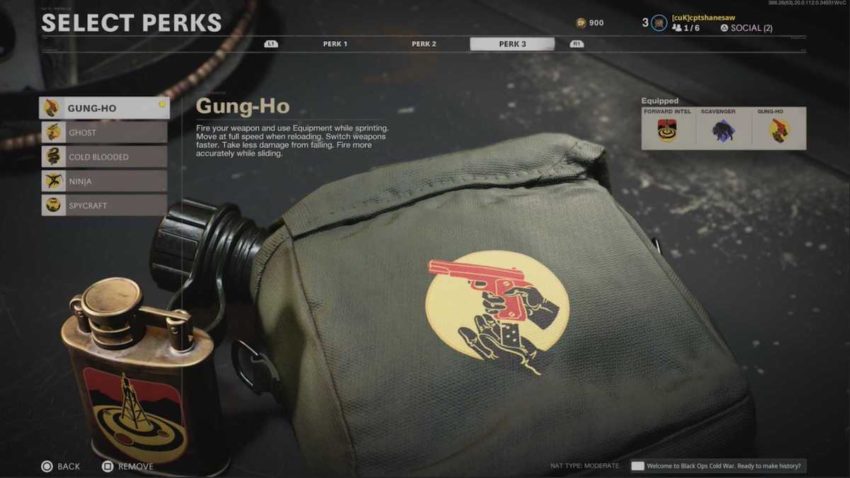
This perk will allow you to sprint while firing your gun and reloading, allowing for a more mobile play-style when things get hairy. Even the best of campers can get taken by surprise, and when that enemy pops in, this perk can save your life by helping you become a moving target. Not the most important of the perks to use here, but still, one that we feel is worth having equipped.
Gung-Ho is in the Perk 3 category.
Be patient
Even more than the other challenges, this one requires patience. If you get ahead of yourself and try to go for a kill prematurely, you open yourself up to mistakes and getting killed. It is incredibly frustrating to have two kills down, and get too aggressive for that third one, only to be gunned down and have to reset. Let the enemies come to you, make sure to keep your eyes and ears open to everything around you, and make every shot count.


Published: Feb 26, 2021 01:46 pm