
The Xenophage quest has arrived in Destiny 2. In this guide, we will show you how to start it!
Sometimes starting Exotic quests in Destiny 2 is very easy. Sometimes, like the Xenophage quest, there is a lot of work done by the community to figure out what to do. The Xenophage quest arrived in the game today, and in this guide, we will show you how to start it.
Destiny 2 – The Xenophage Quest – The Journey
How To Start The Quest
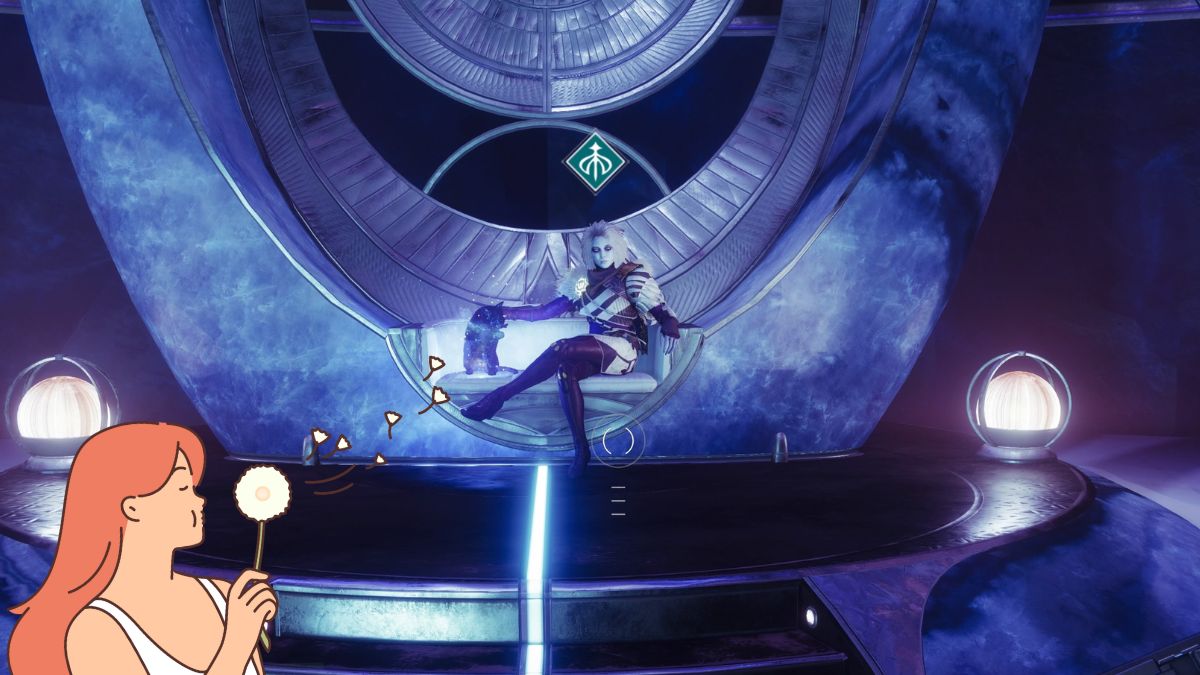
To start this quest, you will need to make your way to Eris’ occasional hang-out spot, inside the Crimson Keep and overlooking the Darkness ship that lies at the center of Shadowkeep’s story. The easy way is to spawn in at Eris and see if there is an open portal there. If not, then it’s off to Sorrow’s Harbor!
Spawn in at the Sorrow’s Harbor and make your way to the entrance of the keep. Head inside, then take the door on the left. Follow this until you see the words Enduring Abyss appear on the screen. Now, slow down a little and keep an eye on the wall to the right as you move along. You will see a tunnel joining the one you are walking through. Jump up into it, then stay going forward to get to the part of the Keep that Eris likes to visit.
Interact with the four statues there, as shown in the header image, and you will see a message on the screen about the darkness. You will now be able to loot the chest there and will get a new Exotic quest called The Journey.
I will update this guide with further steps in the quest as soon as I figure out what they are. To say this one is a little ambiguous is a bit of an understatement!
Step 2 – Emergence
For the next step, you need to head to the Anchor of Light, and light six lecterns in a specific order. The above video will show you where to go and what order to light the lecterns in. If you need help finding the exact spot, you can find a map and a more detail guide for this portion of the quest here.
Step 3 – Pathfinder
This quest wants you to find Fragments, which are contained in the four Lost Sectors on the Moon. You need to play through each of the Lost Sectors, and at the end, will be a puzzle in Hive Glyphs on the wall. A Glyph at the top shows what you need to turn all the other symbols into. To change a glyph, shoot it, but this will also change other glyphs as well. The solutions for each Lost Sector are below. Make sure you use a Hand Cannon or Scout to do this, to avoid accidentally shooting the wrong glyph. Just shoot them in the order as written below. If you want a video to help you out, the one embedded below will show you the order in which to shoot.
K1 Logistics
- Top Left
- Bottom Left
- Center
- Middle Right
K1 Crew
- Middle Left
- Top Right
- Bottom Right
- Bottom Right
- Top Middle
- Top Middle
- Middle Middle
- Middle Middle
- Middle Middle
- All 9
- All 9
K1 Communion
- Bottom Left
- Bottom Right
- Top Mid
- Top Mid
K1 Revelation
- Left Middle
- Center
- Center
- Left Middle
- Top Middle
- Bottom Middle
- Center
- Right Middle
Step 4
For step 4, you will need to head to the new Pit of Heresy Dungeon. You will need to work through the dungeon until the encounter with three Hive runes and minibosses. After that, you will find a room filled with doors. Head for the one on the upper-left of the rows (it will have no runes over it), head inside, and activate the rune in there to progress the quest.
Step 5
Still, in the Pit of Heresy Dungeon, you need to reach the room with Hive Ogres that precedes the Hive Totem encounter. There will be hallways to the left and right as you enter the room. You need to grab an Orb from the left side and bring it over to the right side to light more Lanterns, just like the start of the quest.
Go left, drop down all the way. Interact with a plate that has runes on it to cause more platforms to appear that you can use to get to the Orb. Then head to the hallway on the right where you will find a locked red door. Light the two lanterns outside to open it.
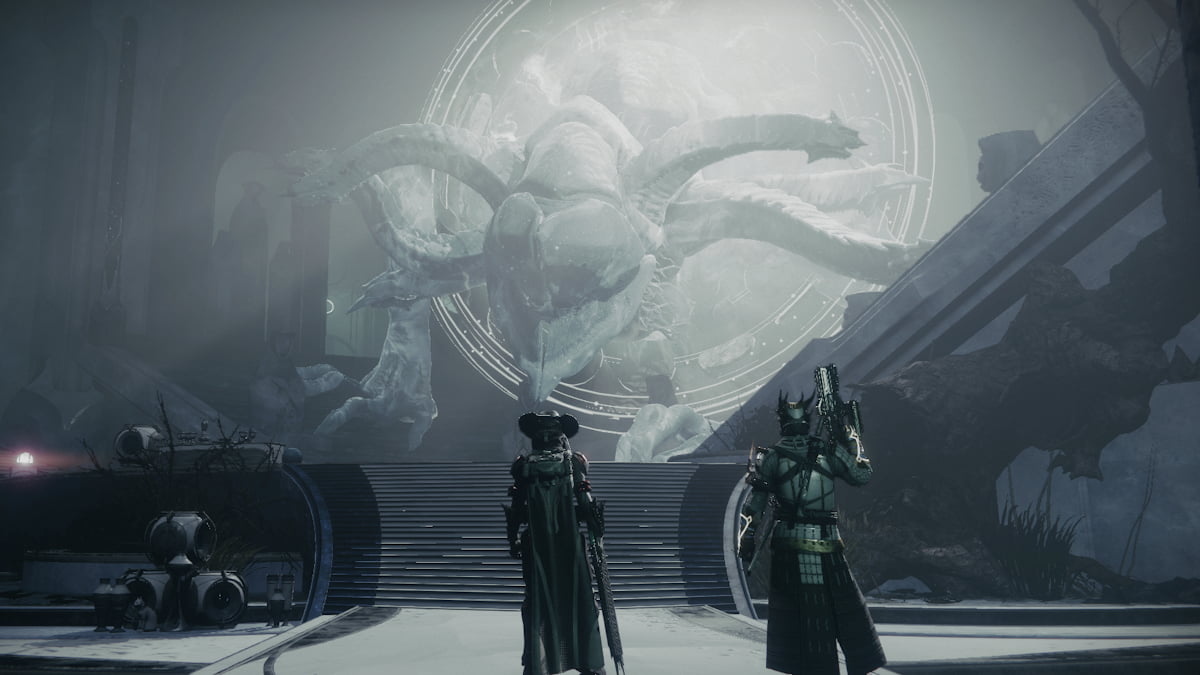
Step 6
Follow the pathway you just opened to a boss fight! This fight is 970 Power, so best of luck with it!


Published: Oct 29, 2019 10:09 pm