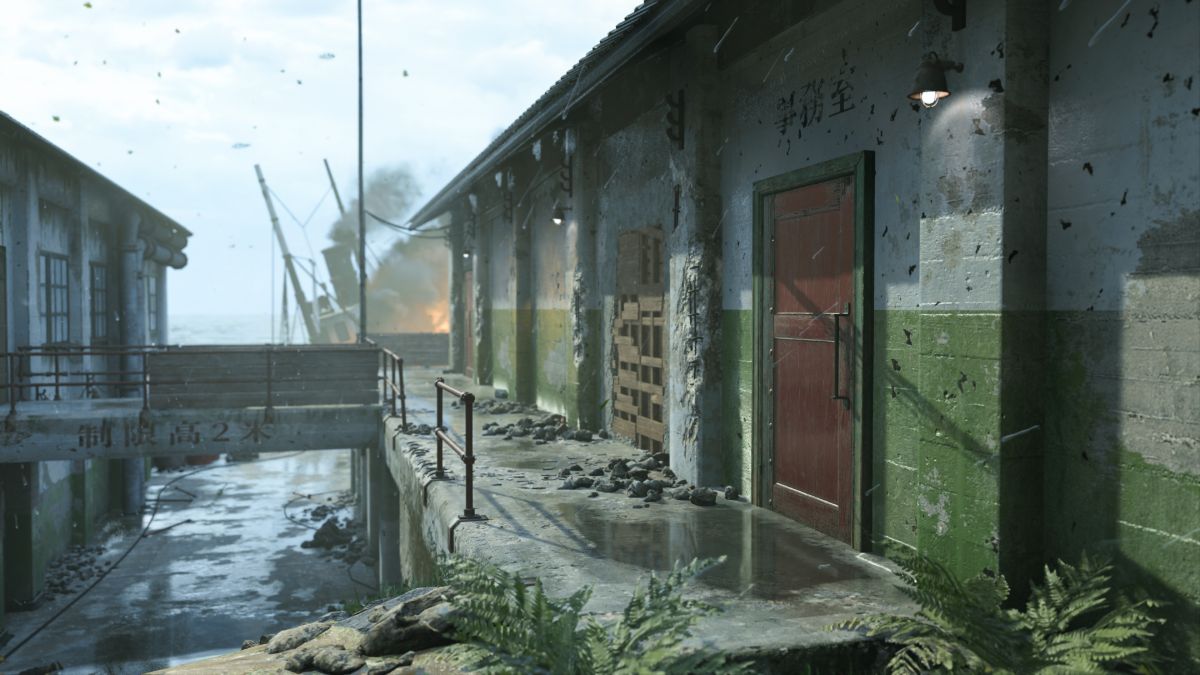
Gavutu is an exciting map filled with twists and turns around the corner. It’s dynamic and can appeal to any kind of player. We’ll explain the best spots on the map, in order for you to succeed in Call of Duty: Vanguard’s Gavutu.
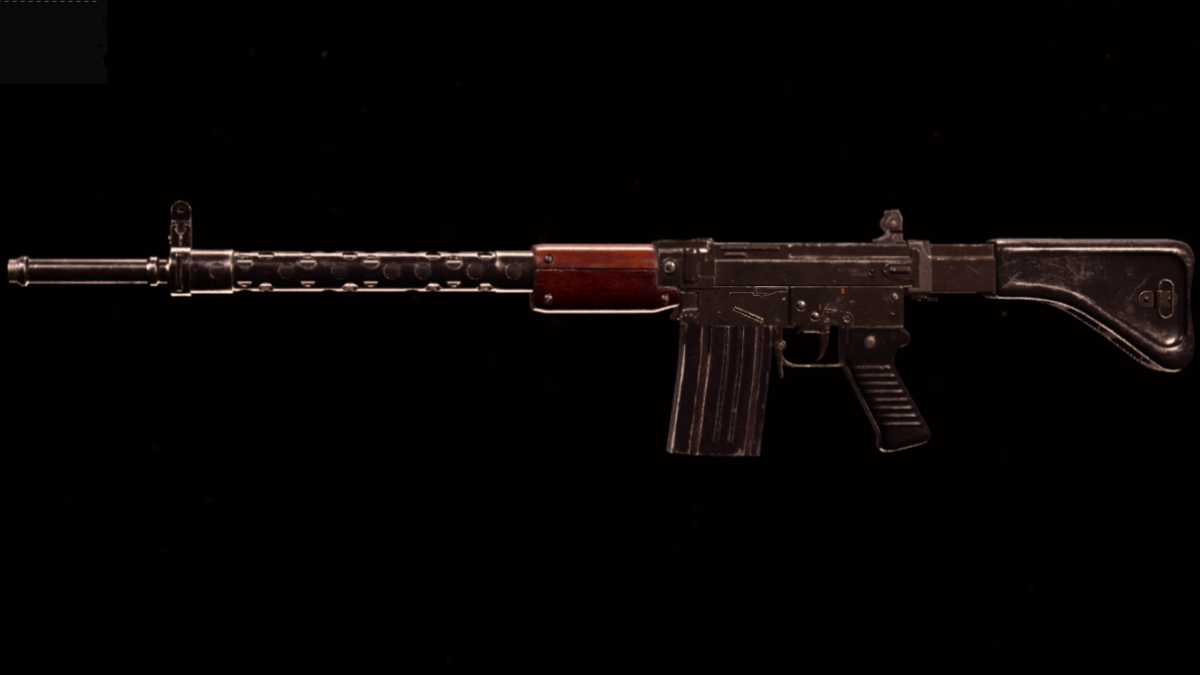
On this island stands three different directions on the map. The left has you scaling around a wrecked battleship, the middle is overhung by two sniping spots, and on the right is a beach with rocks and tanks acting as cover in the area. All of that is complemented by a mountainous section on both sides. The middle section and the beach are prime areas for long-ranged weapons while the shipwreck is more for short-ranged to mid-ranged fights. We particularly enjoy and would recommend using a balanced assault rifle like the STG44, 3-Line Rifle, and the M1 Garand for this map as they’re effective in mid to long-ranged combat. The STG44 is adaptable to most situations, and the 3-Line Rifle takes out opponents in one shot while the M1 does it in two.
Let’s start talking about strategy. On the beach, there are multiple ways to protect a point or find cover. One of our favorite spots is at the planked wall that acts as cover. It is breakable, but while mounting the gun on top, you can slip left to right with ease. Like aiming a ball to hit the hole in a game like pool or snooker, you can precisely aim your shot. As the wall is destructible, however, be wary of running into it by accident with the sprint button.
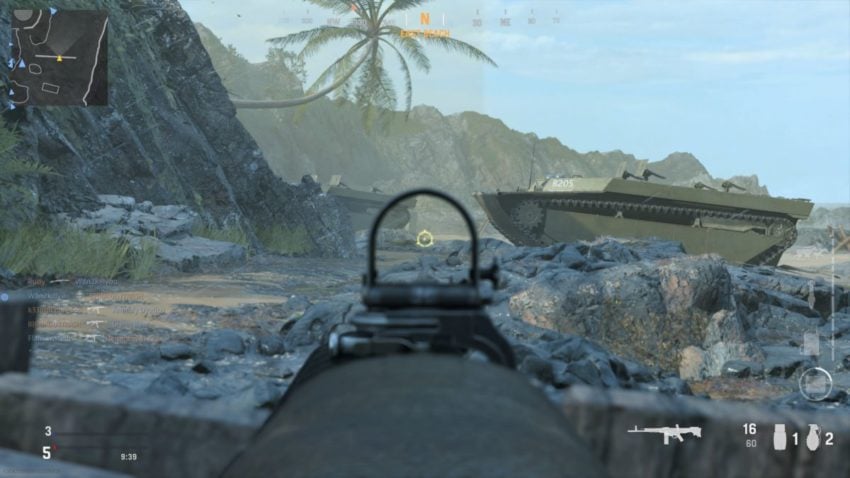
Many players opt to use the anti-air gun as cover, but we found it to be too open to enemy attacks as there are three entryways to keep track of. We wouldn’t recommend going up there unless it’s necessary. Instead, to cross over the beach, we recommend using the tanks and the rocks as cover, moving from place to place. We also found hiding behind or under the grass is effective at obscuring your character.
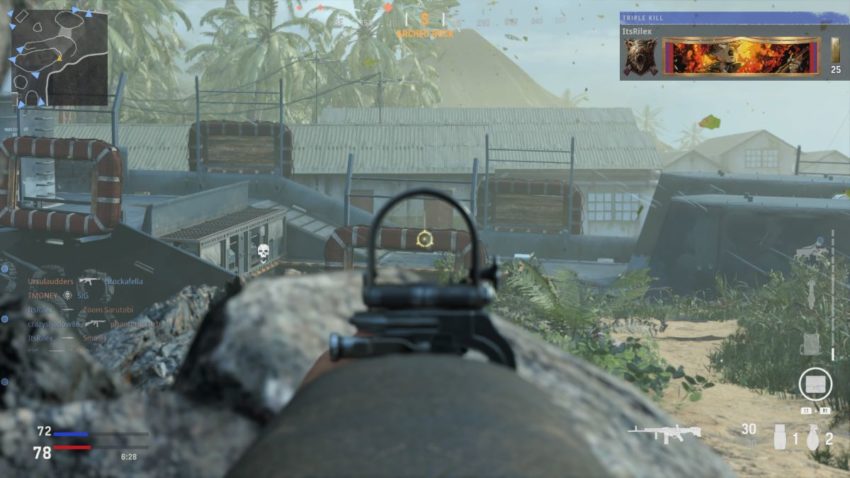
In the middle runway, there is a long path that is overlooked by two sniping spots: the radar station and the office. Be wary whenever you cross over from one side to the other as you can be an easy target. Look out for flashing lights as you move around. If you’re overlooking the scene from the Radar Station, there are three spots to be wary of. The office is on the right side with a red windowsill, the grassy spot underneath the tower, and the left passage that goes to the busy anti-air gun section. Your main pickings will arrive from the anti-air gun location as they’re the closest to you in proximity. But, as you’re doing that, keep an eye on those other two areas as they can snipe you very quickly. Place an ammo box in the area, go prone in dangerous situations, and then strike when you feel comfortable.
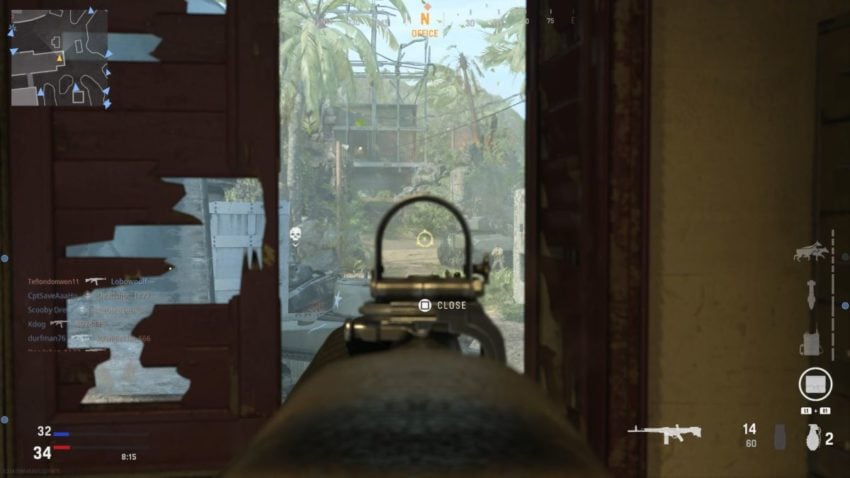
For the office side, you are at a lower angle so you can get an easier target on those traveling to and from the anti-air gun area. Be wary, however, as there are two entry points beside you. Equip a field mic and place it near you so you can see nearby enemy movement on the minimap. Every once in a while, check it to remain safe. The positive is that from the office, you can help defend the B point as you can snipe opponents who are on the battleship. There are some meddlesome foes that like to hang at the mast of the battleship, shooting allies below. Take them out to help your team.
Lastly, the battleship is prone to more close-courters combat. If you are looking for a mid-ranged spot, however, and you’re spawning from the north side, there is a great spot on the run-up to the battleship from the spawn point. Find a rock to the left side that is about knee height and squat down. Mount your weapon on top, and you’ll have a great view of the action ensuing on the ship. This will give your team some great backup for the battle of the B point.
Another pointer to keep in mind is that the B point can be lowered and heightened by pressing the square button next to it. The platform carrying the tank and the flag will be moved. It can be a great way to throw off the opposing team.
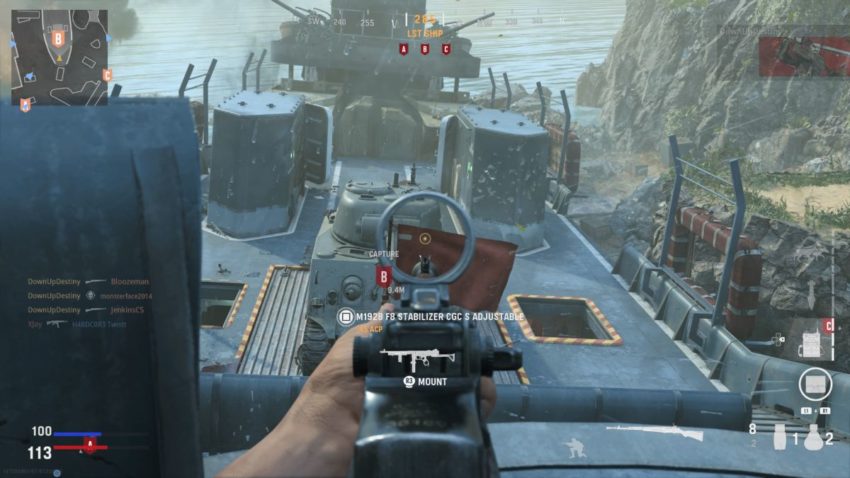
You also want to watch out for the mast on top. A lot of players tend to climb up to it to get the drop on their rivals, and for good reason. If your enemies aren’t informed, you can easily get a three to four-kill combo if they’re focused solely on capturing an objective. There are snipers from the office, so crouch down to become less of a target.


Published: Sep 12, 2021 03:29 pm