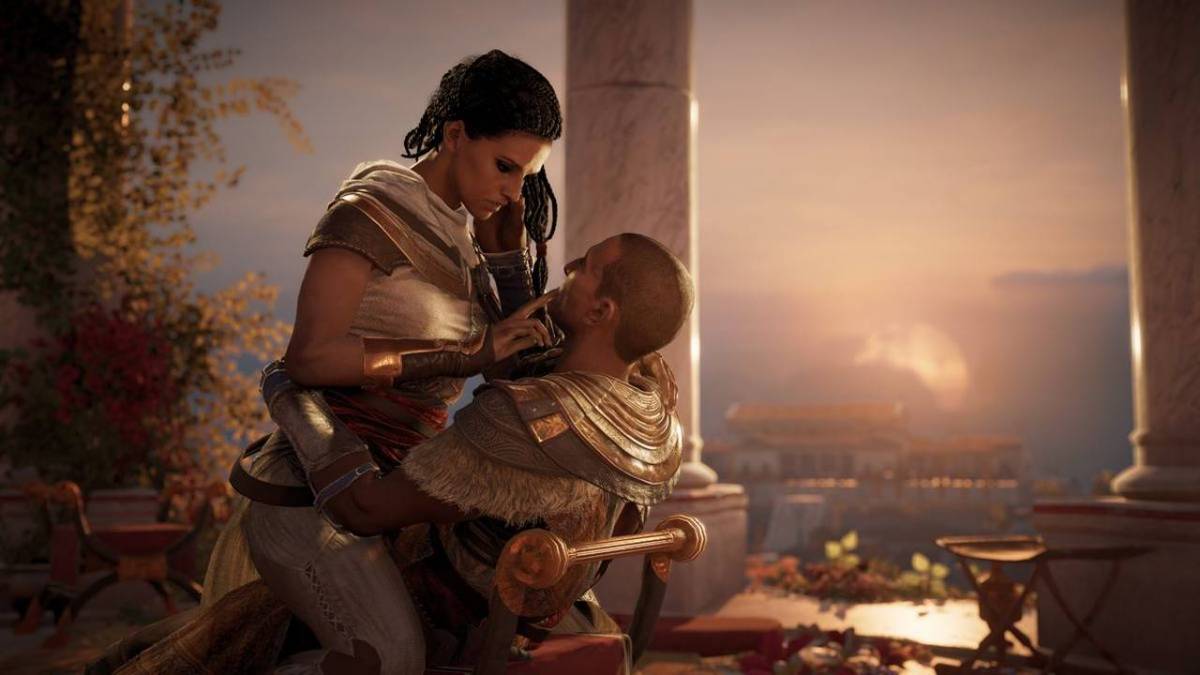
This is Assassin’s Creed Origins – The Hidden Ones Walkthrough. The Hidden Ones DLC unlocks new story in Assassin’s Creed Origins where Bayek in on a mission to free the land of Sinai from Roman rules.
The Hidden One is a new DLC for Assassin’s Creed Origins, once you had downloaded the DLC you will have to go to your journal to begin the main quest. There will be two unlocked first. The first quest The Hidden Ones requires a Level 38 cap, without which you cannot progress. Once you are ready for the same track down to begin the story of new DLC.
The Hidden Ones Quest Walkthrough
Reach the Ferry to the Sinai:
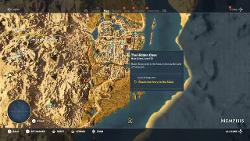
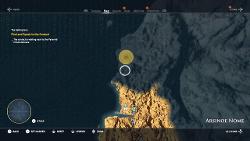
After picking the quest you will have to travel to the new Sinai region, go to the marked location. Try to use the nearest fast travel point if you are too far from the new location. You will reach a dock area there you will have to talk to the man standing on the dock. It will trigger a cut-scene which is actually the beginning intro of this new DLC.
The Land of Turquoise Quest Walkthrough
After the cut scene ends, the main quest Land of Turquoise begins, at the beginning, you have to reach the marker to locate the Hidden One’s Bureau. A new Hidden One outfit is also unlocked at the start of the quest. Just follow the marker and you will reach a mountain area, that will lead to a new location Hidden One’s Bureau at Klysma Quarry.
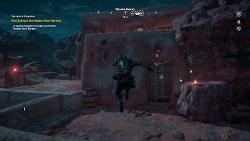
The entrance to the bureau is closed, you have to find the secret entrance. Now go on the right side of the mountains from the bureau entrance and you will spot a small cave on the ground just after a tree. This is the secret entrance to the bureau. If you are unable to locate it then use Senu vision, look on the right end side of the locked room.
Speak with Tahira:
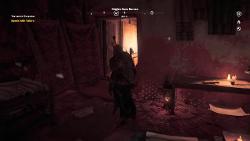
Examine the place, there are scrolls, letters on the table. On the right you can see a narrow passage between the walls, go through that and take a door on your left. This will trigger a cut scene. In this short scene, you will see Bayek plans to take out three lieutenants and this completes the quest. Two more quests will unlock after that. They are The Walls of the Ruler Quest and The Setting Sun.
The Walls of the Ruler Quest Walkthrough
Reach Maqwat at the old Watchtower:
For this quest, you will have to reach Maqwat at the old Watchtower. Just travel through the mountains towards the next marked location, it will lead you to a watchtower high on the top of the hills. Go to the top of the tower to talk to Maqwat. She will give your next target: Ampelius The Administrator. He handles all commerce on the peninsula.
Find & Assassinate Ampelius:
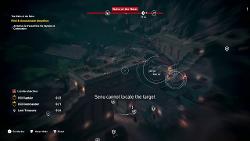
After the cut scene head to the next marker. You will be in a restricted area, so it is good to use Senu first and track down all the enemies around. You can quietly assassinate the guards near the walls so that there won’t be any alert. Once you had tracked all the soldiers in the area, try to go slowly towards the captains. The target dress like one of this captains, so Senu won’t be able to give you extract target location. Once you are near to the area where you can spot two captains use Senu once again to locate your target. Quietly try to reach near to the target, who is guarded by two soldiers inside a room. Try to kill those who are outside, and then you can enter and fight with the target. This will be an easy task. Completing the objective will reward you 15000XP. Escape the place.
Where the Slaves Die Quest Walkthrough
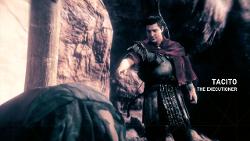
After completing the above one you can go with the next one, this is a Level 39 quest with Reward point of 22500 XP. You have to go back to Tahira. Once you reach the quarry you will see Roman soldiers, you will have to climb on top to find her. Once you reach there will be a cut scene. She will give you info on your next target Tacito The Executioner.
Find & Assassinate Tacito:
Use Senu to spot down all the soldiers in the area first. Tacito in the center area, you can make your way from the right end side. Without getting much engage with captains you can try killing the targets quietly from the right end side. You can also try out your own path, your objective is to reach Tacito and kill him. Fighting with Level 40 captains will be tough. One of the fastest ways to kill Tacito is slowly climbing up on the huge rock where he is standing and attacking him in stealth mode. After killing him go and talk to Tahira.
Kill all Romans in Tacito’ Camp:
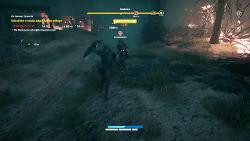
After talking to her she will tell you to kill all the Romans in the camp. There are prisoners in the area, you have to free them and they can help you in the fight. So keep killing all the soldiers you find in your way. Break the wooden prisons around, this will be a long fight, try to take time if you get high damage. You can draw out the enemies at one place and through firebomb to target multiple enemies at one time. Once done talk to the Rebel Captain. This completes the quest.
The Setting Sun Quest Walkthrough
This one is a Level 43 quest that will reward you 15000XP. After tracking the quest head to the marker to find and speak to the contact. You will reach a restricted area, use Senu to locate the contact near the pyramid. You will find Gamilat here, after reaching him there will be a cut scene that will reveal your next target, Ptahmose The Mason.
Infiltrate the Pyramid of Amenmesse:
Take the wooden stairs behind Gamilat, go up and cross the pyramid rocks. Walk straight and you will reach a camp on your right. Go near the wooden barricades, don’t go right, you will see an entrance guarded by a Level 44 soldiers. Kill the enemy and go inside, this is the path to your target. As you reach in there will be a cut scene. Follow Gamilat as he falls down. Push the block to pass through the crack where Gamilat is standing. You will reach on the other side a room with lot of wooden platforms.
Escape the Pyramid with Gamilat:
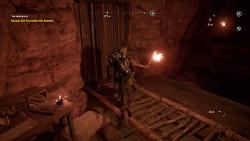
You have to help Gamilat to climb up with you, as you reach the end, you have to jump on the hanging wooden platform. It will go down. There is another, before going on that pick a weight a wooden object with ropes rolled on it and then go on the wooden platform so that the other one can go up. There is one more in the same area, you have to take that weight, go down and climb all the way up towards the wooden platform. The last one on the ground, carry that and keep on the wooden platform. Keep the weight and stay on it till Gamilat reaches the top. Go the marker then, move the rocks and glide ahead.
Break the wall and you will reach into another huge room. Climb up. Once again you will have to help Gamilat. First, move the rocks from the platform where he is standing. Next go towards the second platform on your right you will see a bamboo wall, break it and pull the rocks towards the wooden platform. Follow Gamilat and he will tell you about a scroll. Follow him and exit the place.
Kill All the Bandits:
Outside the cave there will be bandits, you will have to kill them all. There are the wooden platforms at the edges of a mountain. You will also have to protect Gamilat from the bandit’s attacks. This will be a short fight. Kill them all and then talk to Gamilat.
Find and Assassinate Ptahmose:
Follow the marker on the map, you will reach a guarded area. Use Senu first to track locations of all the enemies in the area. Don’t bump in, you will reach a guarded fortress. You can quietly move to the area where Ptahmose is standing. There is grass around, you can hide in it to avoid the enemies. Escape the area.
No Chains Too Thick Quest Walkthrough
This quest unlocks after completing the above one. You can earn 10000 XP in this short quest. Return to the Hidden One’s Bureau. You can enter the room from the top at Klysma Quarry. There will be a cut-scene. After the scene, your next objective is to help your allies.
Find and Rescue Tahira and Kashta:
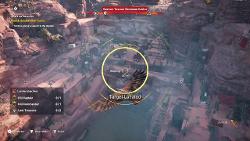
Use the eagle vision to scan the area around and you will get two location. This is Fort Clostra. There will be objectives in each you will have to rescue one of your allies and escort them to the meeting point. If you start from the one on the right, go quietly through the grasses and take cover behind the tents. Look in the wooden prisons, break them and you will find Kashta. The second is on the left end, reach the point and you will find injured Tahira. Carry her to the meeting point. It is not possible to run with them, you have to clear the path by killing the soldiers or walk quietly in shadows. There will be two separate points for each one. It is best to start with Kashta as he will also assist you in battle, and then go for Tahira.
Bring Tahira to Amunet’s Camp:
Once you are out with both, take Tahira to the Amunet’s camp. Follow Amunet, take a horse with you, Amunet will be on foot at the start, you have to follow her till she founds a horse in the camp. Follow Amunet towards the camp. There will be a cutscene next.
Sic Semper Tyrannis Quest Walkthrough
Talk to Amunet after Tahira death and this new quest will begin. The next cutscene will reveal your next target The Leader Rufio. The reward for this quest is 15000XP. After the cutscene is over follow Amunet. The quest requires level cap of 45, if you are low on that then try completing another pending quest first. Next, kill the Romans who are attacking the village. There will be 2 captains who will give you a tough fight. Once done you will see the marked enemies around. Find them and kill them all. Most of them will be Level 45 enemies.
The above task will take time, you can use the Eagle vision to mark down all the enemies around. Try to find and kill the one who is isolated and not in groups. If you have the lower level than them, you will lose your health very fast. You can reduce their health through arrows at the start and then attack them. There are chances that you will die fast in this part. You have to replay the mission multiple time. The best way to kill them is playing defensive. If you are attacked don’t hesitate to run and find a safe spot. After health recovery attack them back.
Find and Assassinate Rufio:
After killing them all you will see Rufio’s location ahead. You have to take a boat and reach the location. Use Senu to scan the ships ahead. You will spot Rufio on one of the ships on the right side. This new region is the Red Sea. One of the easiest ways to kill him is by jumping in the water and swimming below his ship. You will find him on the deck. Use the firebomb on Rufio, in this way he will lose health fast. You can simply avoid all the other soldiers around, you can simply reach Rufio and target him. As he is heavily guarded it won’t be easy for you to kill him so fast. Use the eagle vision first to mark down all the enemies location. You can climb on the edges of a ship, call the enemies and pull them into the water. In this way you can clear some of them.
If you are low on your level, then try to go into stealth mode, so that you won’t be spotted and attacked. Clear the areas around first, this is the long way where you have to kill the enemies who on the ship around you. And then going to the one where Rufio is standing. In case you are unable to win the fight, jump into the water. There is an arrow firing machine in one of the ships around you can sue that to kill a lot of enemies. Take your time to kill Rufio, don’t engage with a group of enemies, try to maintain your stealth mode. After he dies there will be a cut scene. This completes the quest.
The Greater Good Quest Walkthrough
After killing Rufio go and talk to Amunet. There will be another cut scene. Once the cut-scene is over follow Amunet to the rebel camp. Once you reach the camp explore the area to find Gamilat’s whereabouts. There will be on rebel standing near tent as you cross the stairs. Look on your right. Talk to him and he will tell about Gamilat’s location.
Find & Speak to Gamilat in the Sunken Quarry:
Once you have the location, follow the marker, and use the eagle vision to track down Gamilat. You will find him standing on a platform on the water, there are stairs around you can climb up from there to talk to him. Next, as your final fight, you will have to fight with Gamilat who is more like the final boss of the game. You can see his health bar on the top of the screen. His attacks are very strong, so you have to watch out. Gamilat will try to block your attacks with a shield. He can also throw you in the water and he will go back to the top. To cause max damage throw firebomb on his path. Try to dodge his attacks at all cost. And if you are very low on health then jump in the water for a while. You will have to try a number of time. He can also attack with fire arrows that will draw out your health really fast, so for escaping jump into the water. His fires-words are the most lethal ones.
This completes Assassin’s Creed Origins The Hidden One DLC story. For more tips on the game you can read our Assassin’s Creed Origins Wiki Guide.




Published: Jan 24, 2018 01:21 pm