In Chapter 17 and Chapter 18 Walkthrough of Metal Gear Survive, you will have to Rescue Charon Survivor and Investigate Sahelanthropus (the powerful weapon).
After trying to escape from previous Chapter 15 Captain and his team find themselves in a new and more dangerous location. Starting back from scratch Goodluck wants Captain to meet a survivor who knows about a weapon that can destroy Lord of the Dust. In Chapter 16 once again you have to secure a memory board so that you can activate the wormhole transporter. In the next chapter as the info shared by Goodluck, you will be heading towards rescuing a survivor and later investigating the powerful weapon Sahelanthropus.
Secure The Memory Board Walkthrough – Chapter 16
You will be now on a new base with a new mission. In Chapter 16 to activate the Wormhole Transporter first, you will have to secure the memory board then find a Charon corpse survivor who will further help you in the mission. At the start AI Virgil will give you a memory board location, look into the map and follow the marker. You will reach an open area with a lot of Wanderers and insects Grabber. As usual, you will have to kill them first, scan out the area for containers and supplies and finally take the board and return to the base. Interact with AI, and this completes the current chapter.
Charon Survivor Location Walkthrough – Chapter 17
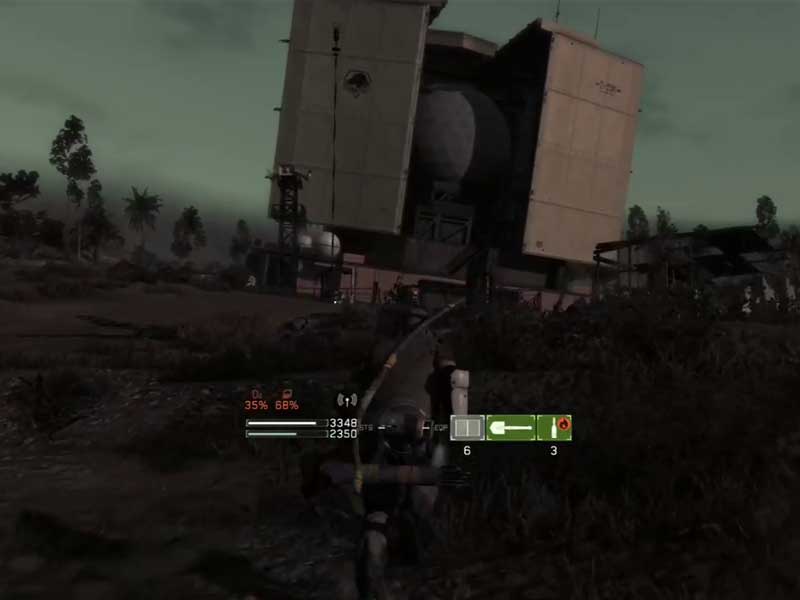
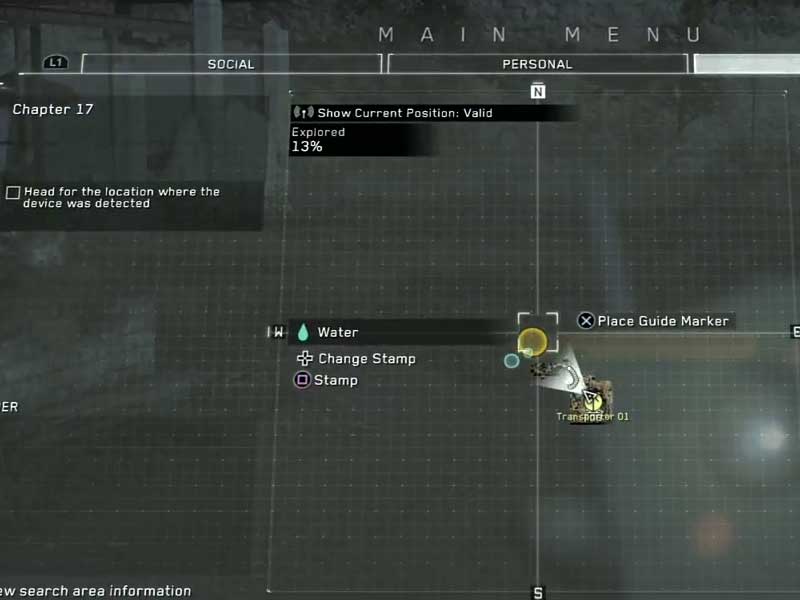
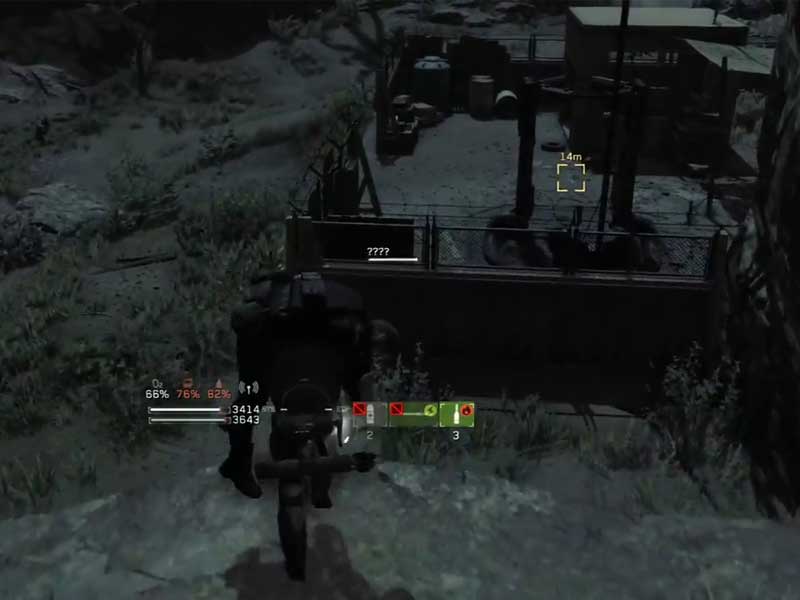
AI Virgil will you about a location where you can find Charon Survivor. Before heading navigate through the base and have a look at all the facilities. This is similar to previous one. You can use the different workbench to upgrade your gears and weapons. As you reach near the building, you will have to fight with a few Wanderer’s around. Unlock the fence, but before do ensure all the Wanderer’s around must be killed or else they will follow you inside. Pick up the survivor and take him to the base camp using the nearby wormhole transporter.
AI Virgil will give you the location, you have to activate it first. After activating you will have to defend the Wormhole Transporter. Drop the survivor somewhere inside the cabin on the right side of the transporter for safety. There is a single entrance into the facility, you can add a good defensive unit to avoid the Wanderer’s destroying the transporter. Once done activate it and defend it for 59 seconds. Once you return the chapter is completed.
Investigate Sahelanthropus (Weapon) Walkthrough – Chapter 18
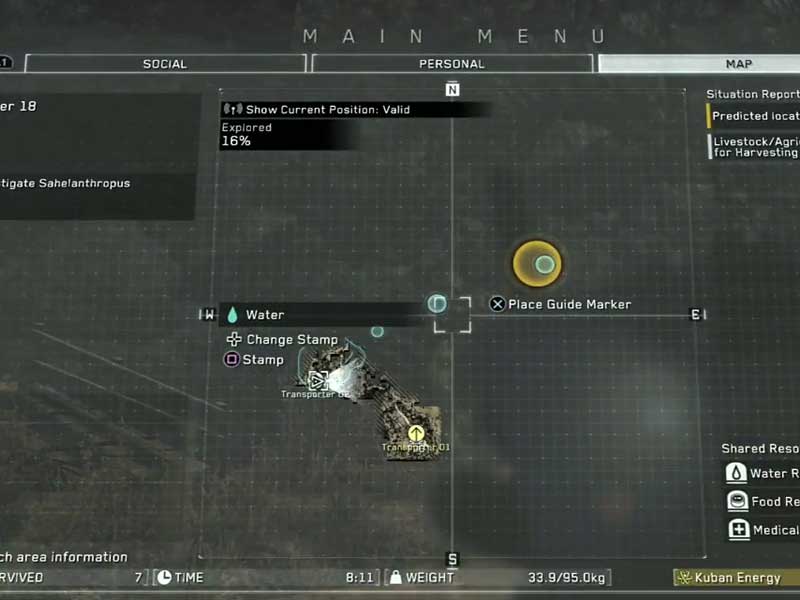
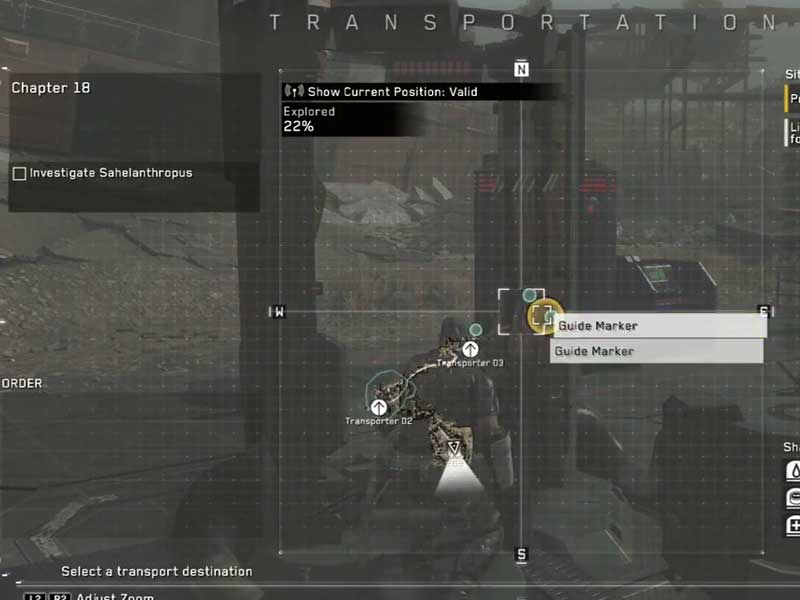
After talking to the survivor you just rescued Seth, he will tell about a weapon that can take on Lord of the Dust. This weapon is called as Sahelanthropus. Follow the marked location, which you can see on the far Northeast side of the map. In your path, you will also see some blue circles that will help you to hunt down a few animals and other things. There are also chances that you might get a walker, that will offer you more speed and powerful infantry to kill Wanderer in your path. You will encounter a new type of enemy Tracker which can shoot you.
As you reach near more and more Wanderer’s will spawn and there will be Bombers also. If you want to skip fighting them you can quietly crouch through the grass in the area and reach your spot. There is a wormhole transporter in the area, that you have to activate for a safe escape. Remember this place has a lot of enemies around, so take your time to plan your attack strategy. You can do one thing, reach the facility where you find the transporter and block the passages with proper defensive units. Also, open the container you will get a Tactical Hood recipe. Activate the transporter, defend it for 2.29 minutes. The most complicated part is to fight with the Trackers, who are pretty fast and can jump high to reach the transporter.
The wanderers can be slowed down by fences but the Wanderers are a tough one, you can only shoot them. Don’t go near a Tracker’s flying kick can throw you far away. Anyhow if you survive until the end of the wave you will get an easy access point to get back to the base and then once again you can reach towards the Sahelanthropus weapon. So activating this warm hole is necessary. Later you can go ahead towards weapon still you will be facing Wanderer’s and Trackers in your path. Once you reach there will be a cutscene. AI Virgil will ask you to investigate it, go near the marker for another cutscene.
This completes the Chapter 18. A new character Dan will appear in the picture who is trying to stop Captain. AI Virgil will tell you to return to the base. Just near the weapon, you will find a Wormhole Transporter. Activate it, you will need that in next mission. In the next Chapter 19 Transport Sahelanthropus. For more info and update on the game, you can also read our Metal Gear Survive Wiki Guide.



Published: Feb 26, 2018 12:57 pm