Destiny 2 Warmind Expansion Walkthrough – In a new campaign story you will be heading to Mars to defeat XOL Worm Boss and his allies to defend an ancient weapon, Rasputin. Warmind is a short story expansion with few missions.
Warmind is the second expansion for Destiny 2 with new ritual activity, co-operative activities, relic weapon, and gears. The expansion takes you to a new story on Mars. To begin the new the new campaign click Mars from Destination and start the story Ice and Shadow. Recommended Power to begin the story is 310.
Warmind Walkthrough
Redezvous with Ana Bray:

After landing in Hellas Basin area, go down and follow your path on the left side of the mountain. Enter the cave after crossing a crash site and you will hear some voices. You will face the new enemy Grasp of Nokris, followers of Xol they will appear by breaking the ground. They will be easy to kill, just maintain distance, they will run towards you and attack with claws. As you move forward more will appear. Ahead you will have to fight with a Vanquisher, who is carrying a shield and sword. Once you reach a large area in the cave you will have to survive the second phase of the attack. An easy way to take down multiple enemies is by throwing up a grenade between the group. After fighting them you will come across another crashed satellite. As you exit the cave you will have to face more enemies outside.

There are a lot of enemies scattered around the open area, also you will get lot of covers, you will be moving on the left side of the bridge. Once you are done clearing enemies in the open area you will have to fight more around the facility. After killing them you will hear a transmission which means the end of this objective.
Mission Pilgrimage
Clear a Path to Clovis Bray:
After the cutscene, walk through the facility by following the marker. Once you are out, you will see a few airplanes which will drop a few enemies in your path.
Secure Bray Tech Futurescape:

You will have to clear this area, and you will be facing stronger enemies this time. There are ample of objects around to take cover. Keep attacking and moving around. Don’t stay at the single place. Enemies with a shield will be a bit hard to tackle, try clearing way the smaller once around and once the enemy withdraws shield to attack you, counter attack to kill them. You can also break their shield by constantly hitting on it. There is a door into the facility towards the right where more enemies are blocking the path. Your objective is to clear this area.
Ascend to Rasputin:

After Dr. Anastasia Bray opens up a new door, walk through that and you will have to explore this area. Follow the marker which will lead you outside. Follow the mini-map on the top left of the screen that will lead you towards the core. This place is infested with enemies. First, kill the enemies from upper platform, go down and take the left lobby. There will be a whole horde waiting for you. Cross it and go to the end, there is a small entrance between the wires. Go right and you will and look for broken wires on the left side you will have to walk over them to reach top.

Kill a few more enemies on the left side and you will spot a Valkyrie that you can use against the enemies ahead. You just have to throw them on the enemies. Keep killing the enemies with this new weapon and advance towards the next Valkyrie. The best way to use it is by jumping in air and throwing them directly on the enemies. There will be a boss blocking your path before you reach the third Valkyrie. The door will open up, follow the marker and there will be a cutscene. Once it is over Hellas Basin Free Roam will be available.
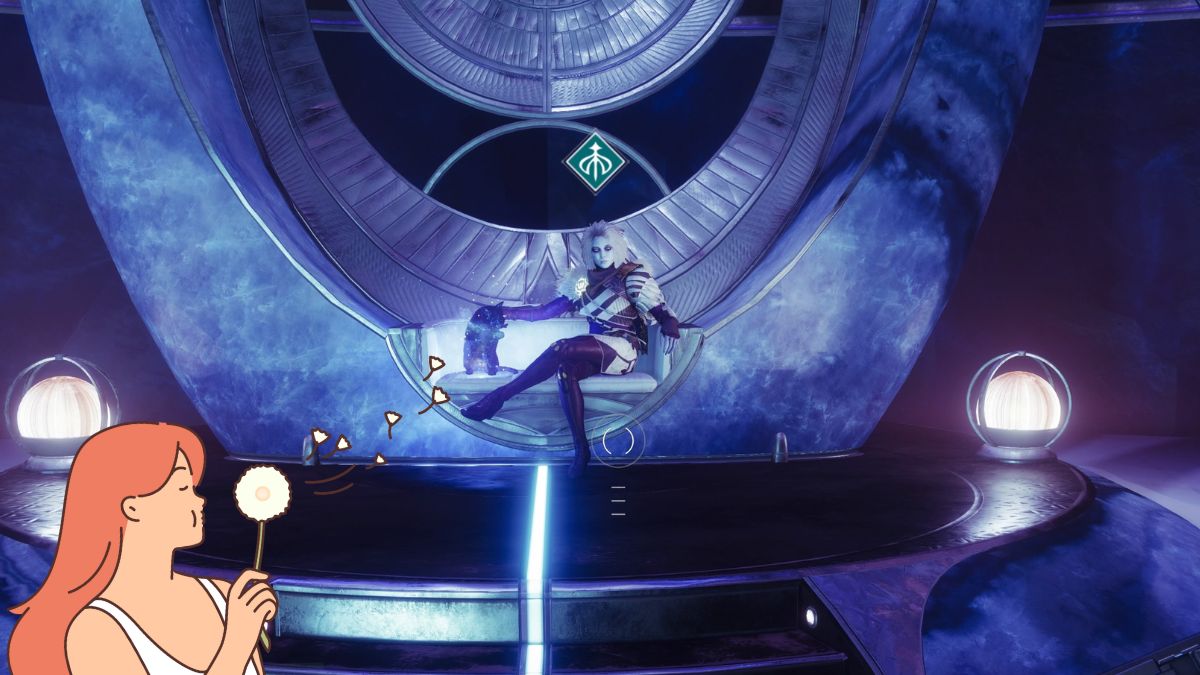
Mission Off-World Recovery

Talk to Ana Bray on the base and get your next mission. For this, you will have to go to EDZ to recover a fragment of Traveler. Summon a vehicle as this area is heavily under attack. Head to the marker location, to start the mission.
Clear out the Taken Blight Interference:

Once you are the objective location, clear up the Taken’s in the area. You will see the progress on the left side of the screen, first you will have to deal with the smaller enemies around and then destroy the interference in the area. There will be 3 of them. The first one is at the entrance in the shed, for the second and third one, go to the backside and search around in the left area.
Recover the Traveler fragment:

Once you are done with that follow the marker to locate the traveler fragment. You will be crossing through a cave that is filled with enemies. Once you are out climb from the left and clear a few more enemies. You will spot the fragment, use the Ghost. Survive the Taken Assault: You will have to survive the Taken Assault before the shield around the fragment is broken. Enemies will appear from all corners, so move around and take cover behind the rocks to avoid a incoming attack. This will be tough, as there will be many of them. This will continue for long time, and end. You will also have to deal with some Taken bosses. After killing the boss, stay away from the fragment. Finally take it and return to marks.
Mission Strange Terrain
This one requires Level 28, you will be entering into the Hive Territory to find Xol’s feeding ground. Head to the location to start the mission. There are side events you can complete as this one is the final one.
Find the Feeding Grounds:

Enter the cave, and keep moving inside. There will be lot of enemies in your path. Follow the white arrow in the mini-map. You will reach a crystal with lot of enemies around. Kill them first, and throw the relic on the crystal which will destroy it. You will reach a tunnel, enemies will spawn from all around. You have to kill them and keep moving ahead till spot some enemies chanting in archaic form. Kill the enemies around the circle first and then move ahead.
Follow Xol’s Trail:

After crossing through caves and killing enemies you will reach a tunnel. Enemies are readying offering for Xol. Kill them all and destroy the crystals by throwing relics on them. After clearing the area, pass through the tunnels to reach the feeding ground. Once again you will spot the circle, with enemies around it. You have to kill them and defeat Nokris.
Defeat Nokris:
You can benefit from the rocks around, clear the smaller one first, and use the rocks to cover yourself from Nokris attack. The priest will throw fire attacks on you and it can also disappear. The smaller enemies are the most annoying one, so try clearing them first. You will have to destroy the crystal by throwing the relic on it. Nokris will appear once again. He will summon more enemies. For a good amount of damage use grenade launcher on him. Once again he will be behind a shield, clear up the enemies and use the relic to destroy the crystal. Attack the priest and then you will be in the third phase of fight. Where for the last time the priest will once again summon a crystal and a lot of enemies. You will have to destroy the crystal first. Kill the priest and then comes Xol. Place the fragment in the center area by deploying the ghost and the worm will appear. There will be a cutscene, after this.
Mission Will of the Thousands
Protect Rasputin:
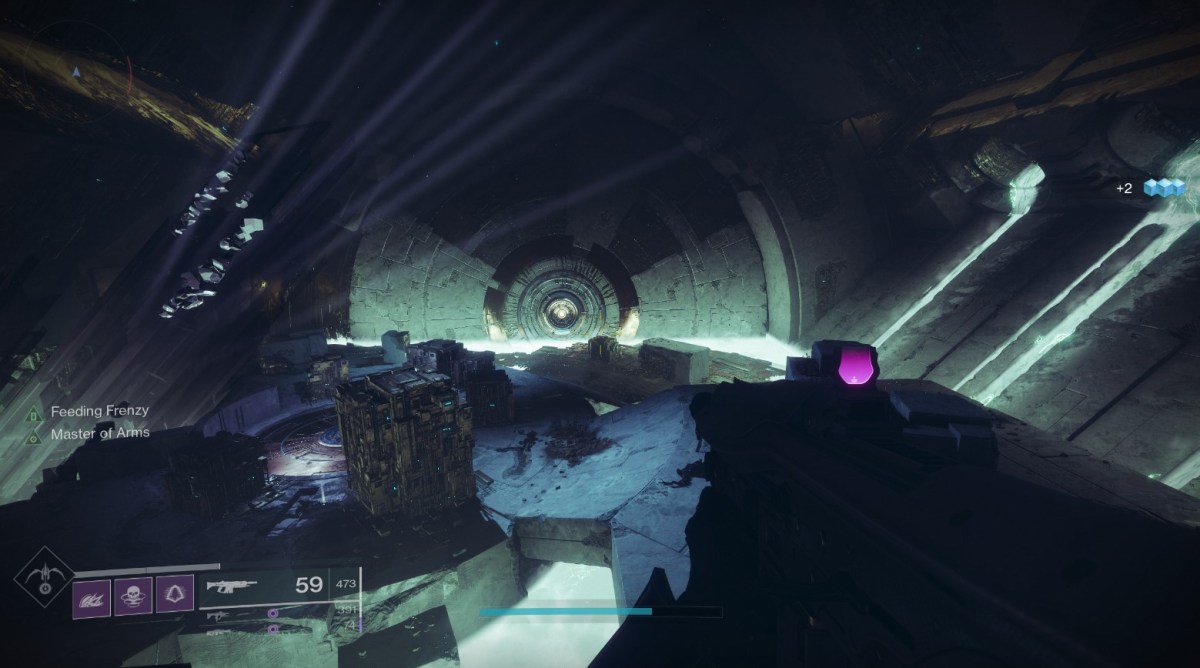
Summon a vehicle and travel towards the next marker. Your path will be blocked by many enemies, kill them all and head to a small cave. Overload the Neural Net:

After crossing the cave, you will spot some enemies on the platform ahead. Before you open the cooling vents on the inhibitors, you will have to take down all the enemies around. Shoot the inhibitor shows in the image above. Go to the backside, cross the stairs and turn left. Once again there will be enemies blocking your path. There is a door on the right corner, cross that fight a few enemies and you get the second inhibitor, use the ghost. Before Neural network gets stable, you have to defend the area. Next shoot the vent. Head towards the third one, the path is on the left corner of the room. Look for doors with blue light. Once you cross the second door on left, a lot of enemies will summon ahead of you. One Vent is on the extreme right. Forge the enhanced Valkyrie: After shooting on the last vent take the door on left corner, cross two more ahead and once again a bunch of enemies will be in your path. There will be wizards and powerful ones. Look for the red glowing spots around, you can use Rasputin power and kill enemies easily. Jump into it and use the power. Next throw Valkyrie in the core. Once done interact to Execute Subroutine Valkyrie. Defend Rasputin: Go out from the door on the left corner, and use the new enhanced power to defend Rasputin. You will have 20 second time to use the power. Outside you can get more just look for the red glowing globe. Keep moving towards the outside and you will encounter the worm.
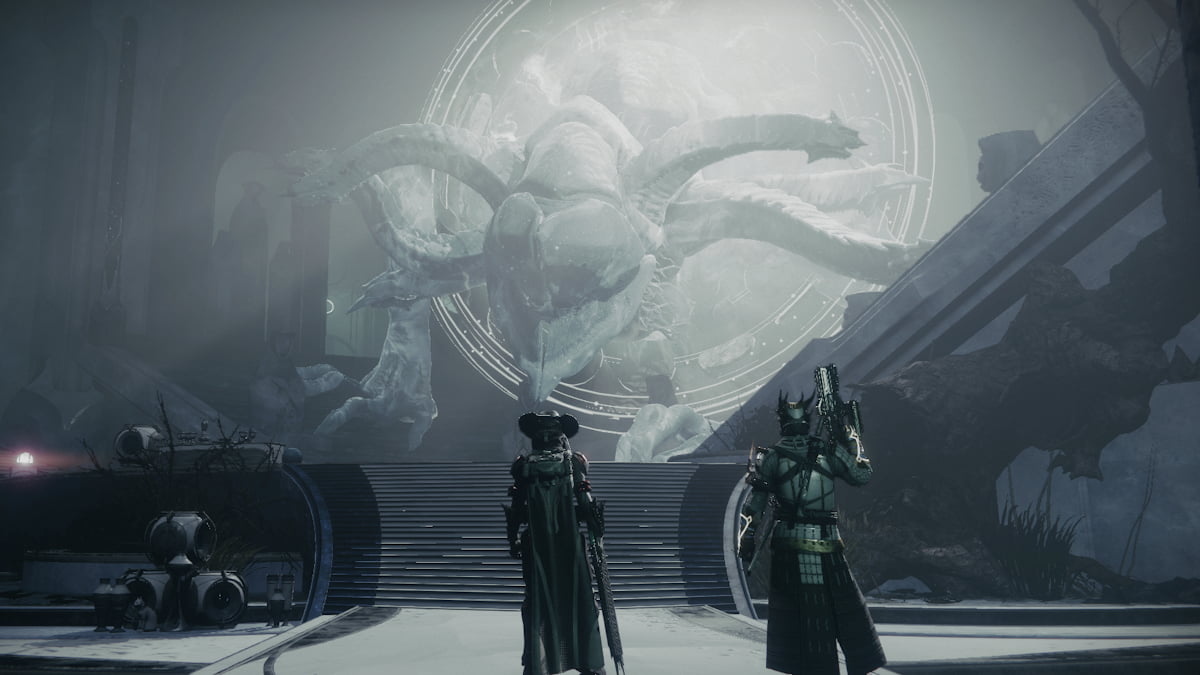
The Hive God: XOL

This is the final boss fight of Warmind. Defending the Worm won’t be easy. Stay in cover, XOL will first attack you with fire projectiles. Guns will work but the health will go down very slow. The worm will continue its attack in the same pattern. Look for green fog, that is the spawn place of the worm. You have to run away from there. You just have to survive for some time, till the Neural Network is online so that you can use the Valkyrie. Once it is active, run into the red globe, and use the power to kill the work. Keep throwing it on the work, it will cause a good damage. But at the same time try staying in cover. Once you deplete 50% of the worm health, you will have to fight with other enemies. They will spawn around you. After a while the screen will turn green, look for the fog, to dodge worms attack. After a while, you will be facing two things together the worm and other enemies. Jump over the platform once you see a purple light from the worm’s mouth. Finally use the power of the javeline, to kill the worm. Don’t stay below when worm dies and fall.
This completes Warmind Expansion story of Destiny 2. There are many other events you can play. For more updates and guides on the game, you can read our Destiny 2 Wiki.


Published: May 9, 2018 01:16 pm