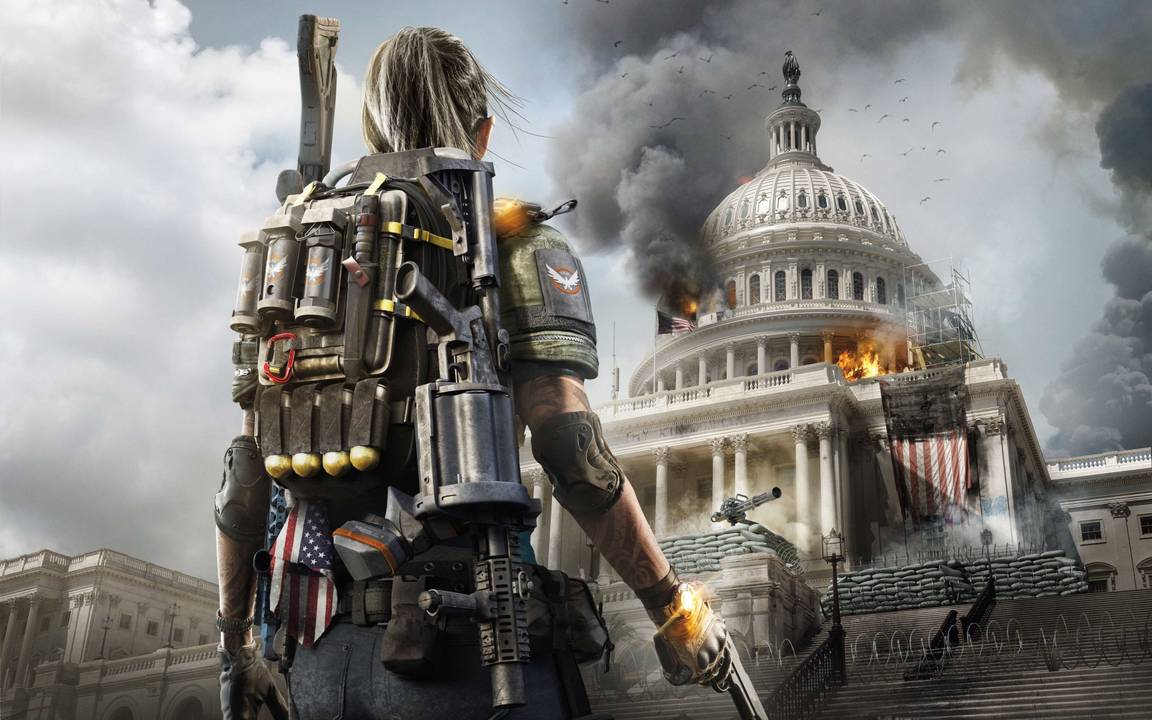
While there’s a massive chunk of Washington D.C. players need to save, there’s also small areas where Division agents take off their badges and engage in PvP combat
The Dark Zone is the PvP area in The Division 2. There are three different districts, each with unique architecture making them stand out from the other locations. In these areas, players face off against fearsome NPCs for the chance to acquire some excellent loot. Every player must remain wary, though, as other players can turn on them to take their possession for themselves. It’s a cutthroat area where the ones with the best weapons and abilities come out on top and make it out with the best items.
The Division 2: The Dark Zone Begginer’sTips
Unlocking the Dark Zone
Players cannot start the game, do a few story missions, and then gain access to the Dark Zone. It takes a bit longer than that for it to unlock. First, you have to upgrade the Theater settlement to its fourth level. You’ll do this by completing projects assigned to you, which you can keep track of at the White House projects table or the one at the Theater. Once you reach the Theater’s fourth level, and you’re at level 10, you should have the chance to speak to Senait Ezera. She’ll join your crew at the White House, and you’ll receive a recon mission to scout out the first Dark Zone area.
You’re going to receive a new mission for each Dark Zone area you unlock, so prepare for those. They’re relatively simple as they provide you a brief tour of the new zone, fighting against numerous NPCs. The next time you enter, though, you’re going to face off against NPCs and other players.
Dark Zone Landmarks
You’ll notice several landmarks highlighted when you enter the Dark Zone. These locations are where you’re going to find well-trained enemy NPCs, and they have high-quality loot on them. You’re going to see normal landmarks and hard landmarks. The normal landmarks have a handful of elite units stationed at them difficult, but not challenging, for a single person to conquer them. The hard landmarks, on the other hand, usually require a team of two or three Division agents to tackle. You don’t want to take these locations on alone, but it’s possible if you have the right gear and plan out your attack.
Gear and Extraction Points
After you’ve taken down the NPCs, you’ll find they left plenty of useful gear behind. You’ll have the chance to equip most of the things you pick up. However, there are contaminated items you can’t put on yet, and you’ll need to get out of the Dark Zone through an extraction point. You can find these locations on your map, similar to when you called the helicopter during your tutorial mission for the Dark Zone. You can carry up to 10 contaminated items before you need to call for an extraction.
When you extract, everyone in the Dark Zone instance knows you’re calling for backup. If a rogue Division agent decides to go after you, it’s best to hole up somewhere inside the extraction zone and try to prepare for whatever’s coming. When you call for an extraction, it takes 1 minute and 30 seconds for the helicopter to arrive, so the rogue agents have plenty of time to get to your location.
Going Rogue
To decide you want to go after other Division agents, you need to go rogue. There are two ways to go rogue, which we’ve already covered in a previous guide when the game held its Open Beta. These methods have not changed.
While rogue, you can freely attack and loot other agents. You don’t want to do this forever, though. If you continue to do this long enough, you’ll receive the Disavowed from the Division standing. When this happens, you receive a red marker on yourself, so other players automatically know this, and a bounty. If another player kills you, they can claim this bounty. The amount of the bounty increases based on how many enemies you’ve killed. Kill enough, and you’ll receive the Manhunt status, which places your icon on the world map, so everyone in the Dark Zone instance knows your location. This status means you need to get out, immediately, because everyone is going to go after you.
You can remove this status and get away clean with any stolen loot by visiting the Thieves’ Den. Doing so removes your rogue status, and cleans up any gear you stolen. You’ll have the option to exit the Dark Zone at this location, too.
The Division 2 Dark Zone Tips
Surviving in the Dark Zone is tough. It takes wits, firepower, and the willingness to play dirty. Here are some quick tips you can remember the next time you enter one of the three The Division 2 Dark Zones:
- Use abilities to tank NPCs. They’re going to be tough in these zones, but you also receive a damage increase. If your foes are distracted long enough, you can finish them off quickly. Even the elites
- If you’re rogue and want to steal another player’s extraction loot, wait for them to start placing it on the helicopter. They have to perform a quick animation, and this takes a few seconds, making them vulnerable
- Go in with a party. You don’t need to enter with them, but try to team up with someone you meet along the way. Chances are, the two of you can get away with far more loot than if you played alone
- Equip the new gear you find off NPCs, because chances are it’s going to be better than what you’re already using
- Do not wait until your contaminated bag is full to call an extraction. Review the gear, and call it when you find something you do not want to part with. If you wait, you increase the chances of dying and having it go to a rogue agent


Published: Mar 18, 2019 04:09 am