A new week in Destiny 2 means that it is once again time to return to the Shattered Realm to save a techeun, discover more secrets, and help expel some of Xivu Arath’s taken forces. Since we are several weeks deep into the season, your Wayfinder’s Compass should be complete, allowing us to discover even more hidden away secrets and loot than before.
One of those secrets happens to be Data Caches, balls of decrypted information that Petra Venj and Queen Mara Sov analyze once we find them. From these, we help them learn more about the curse of the Dreaming City, Xivu Arath’s intentions, past memories of lost techeuns, and more. Here is how to find all three caches in the Forest of Echoes Shattered Realm. Be sure to have the “Frequency Echos” perk unlocked on your Wayfinder’s Compass before you begin.
Data Cache 1
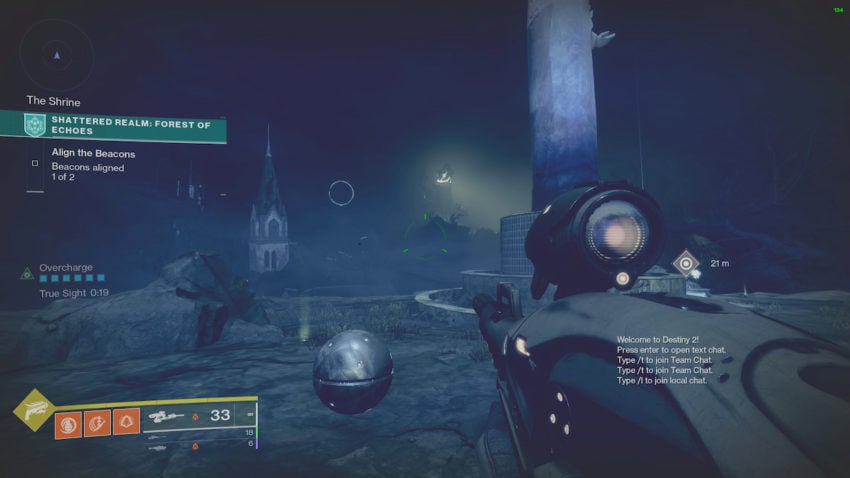
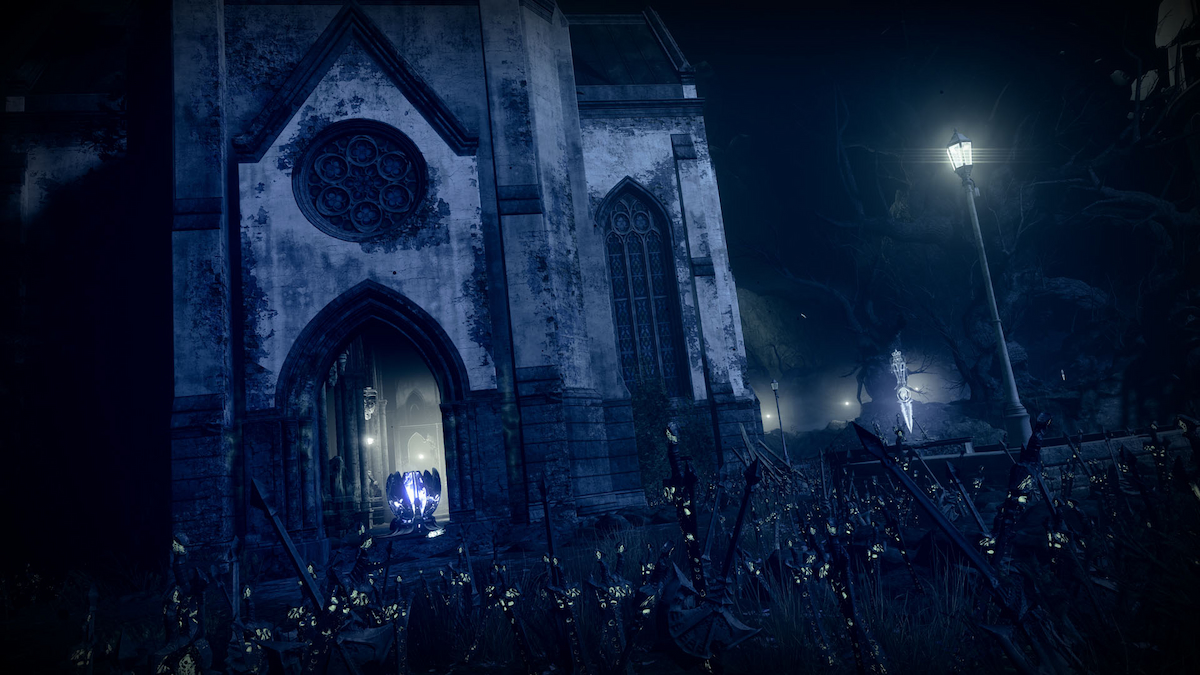
Before getting this data cache, be sure to complete the first beacon within the ruined church. After doing this, head back to where you spawn in the mission. From here, hang left until you see a crooked tree with a true sight anchor beneath it. You’ll know it’s the right tree when you see a platform with a Dreaming City statue straight ahead of you. Activate the true sight anchor and climb the steps that appear up to the platform. When you reach the platform, head to the rear of it and you’ll see your first data cache overlooking the church.
Data Cache 2
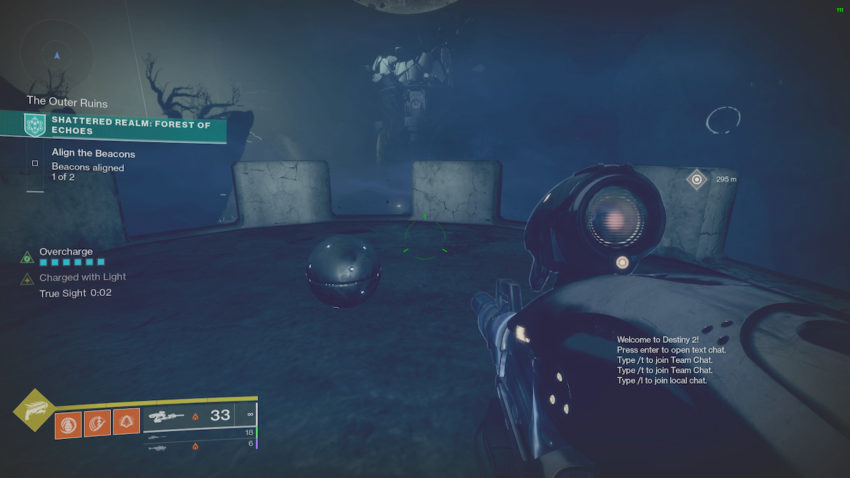
Before you leave the platform, activate a true sight anchor and head down the steps facing the ruined church. Stick to the side with the spire on the church until you reach a rock climb with an ascendent anchor in the middle. Once at the top of the climb, enter the small ruins and head to the back where you will find a true sight anchor. Activate the anchor and follow the steps all the way up to the castle tower. You might have to be a little quick with this one so your true sight doesn’t run out. Once at the castle tower, you should see the data cache directly in the middle.
Data Cache 3
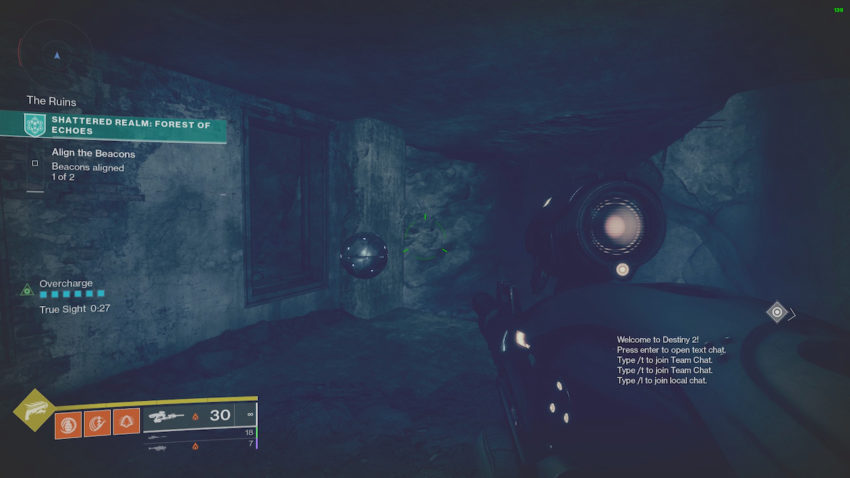
Fall down from the castle tower and progress the mission like normal until you reach the second set of building ruins. Instead of entering the ruins, look to the right of the entrance and you should see a small alcove in the building with a true sight anchor next to it. Jump over to the alcove and activate the true sight anchor; once you do, the data cache will be located just above you in the hollowed-out room next to a window.




Published: Oct 5, 2021 02:04 pm