
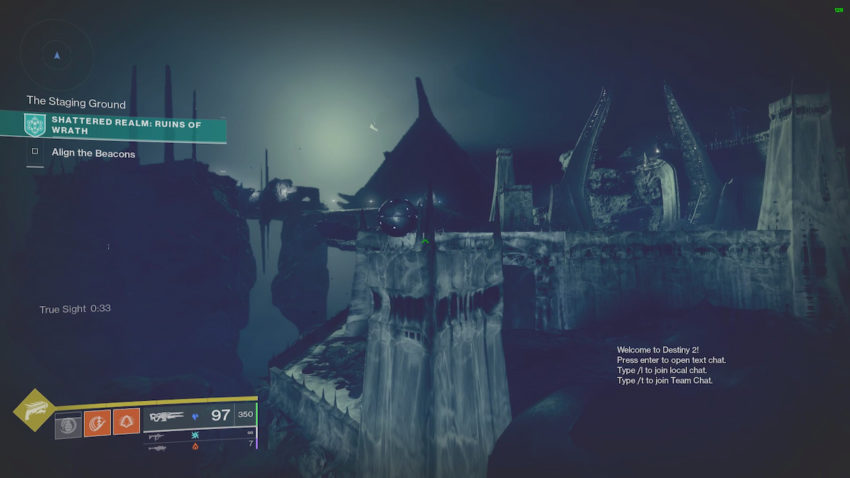
For the past several weeks we guardians have been infiltrating the Shattered Realm to save Mara Sov’s lost techeuns to help Savathûn expel her worm. While in these deep worlds, we have also noticed some hidden pathways that we have progressively been able to explore more and more of. Now that our Wayfinder’s Compass is fully upgraded, we can get into those deep nooks and crannies to uncover more secrets and lore.
One of those secrets happens to be Data Caches, balls of decrypted information that Petra Venj analyzes once we find them. From these, we help her learn more about the curse of the Dreaming City, Xivu Arath’s intentions, and more. Here is how to find all three caches in the Ruins of Wrath Shattered Realm. Be sure to have the “Frequency Echos” perk unlocked on your Wayfinder’s Compass before you begin.
Data Cache 1 Location
The first data cache is a very easy one to find, but can easily be missed if you aren’t looking. After completing the first beacon, backtrack a couple of steps until you can see the Hive ascendent portal. From there, look directly to your left and find the True Sight anchor and activate it. After doing that, you will see a floating ball on a small pillar.
Data Cache 2 Location
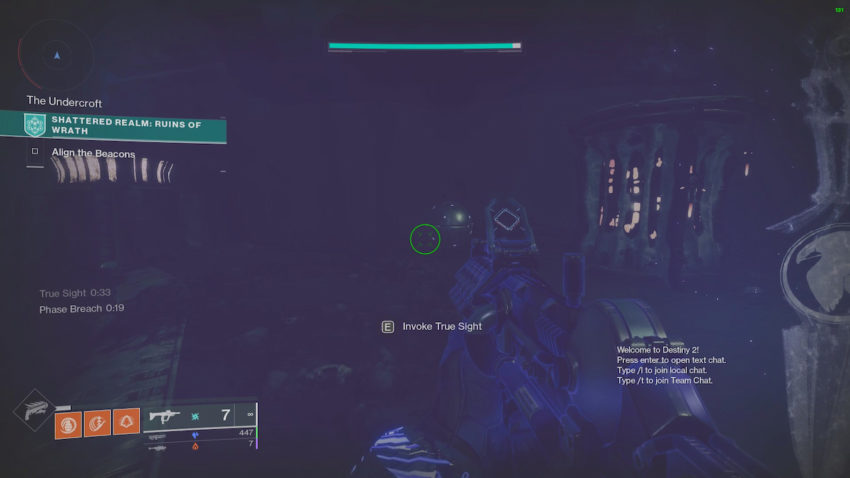
The second data cache is a bit trickier to get to, but if you are following the weekly story during the week of September 27, it’s on the same path. You’ll want to find the Hive platform and stand on it for a few seconds to gain access to the Hive prison name the Undercroft. You’ll know you have found the right place when you hear a small bit of dialogue from Mara Sov letting you know what you have found. Once in, fall all the way to the bottom and immediately look to your left. You will once again spot a True Sight anchor and upon activation, the data cache ball will be right next to it.
Data Cache 3 Location
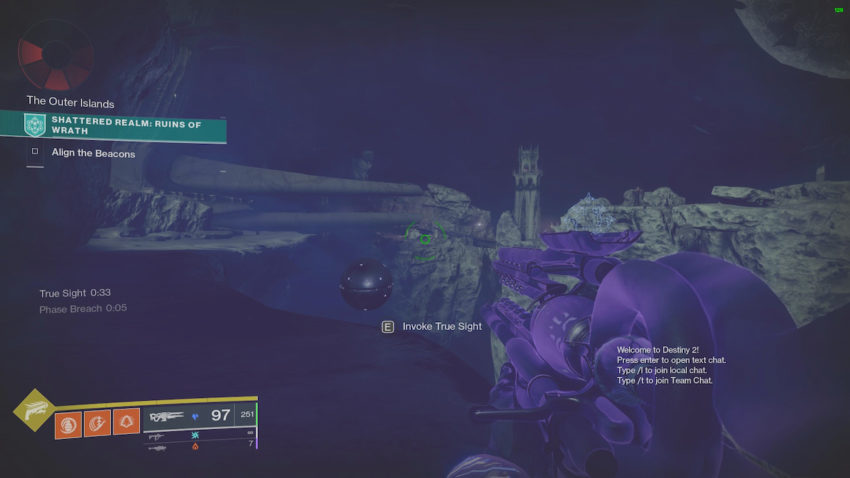
The last Data Cache is out of the way from everything else but is pretty obvious once you spot it. Upon reaching the Dreadnought ship, look to your left and you should see a small cliff with a True Sight anchor. Navigate your way over to the cliff, but be wary of the flying rocks that might knock you off your path on your way over. Once on the cliff, activate the True Sight anchor and the final data cache ball will be directly in front of you.


Published: Sep 29, 2021 04:06 pm