Combat in Blue Reflection: Second Light is one of the most challenging aspects to get your head around. The game doles out information across a series of tutorials, so that much of what you learn is lost by the time you come to use it. In this guide, we’ve covered everything you need to know about combat in the game so you can master your emotions and use them to kill demons.
The combat timeline
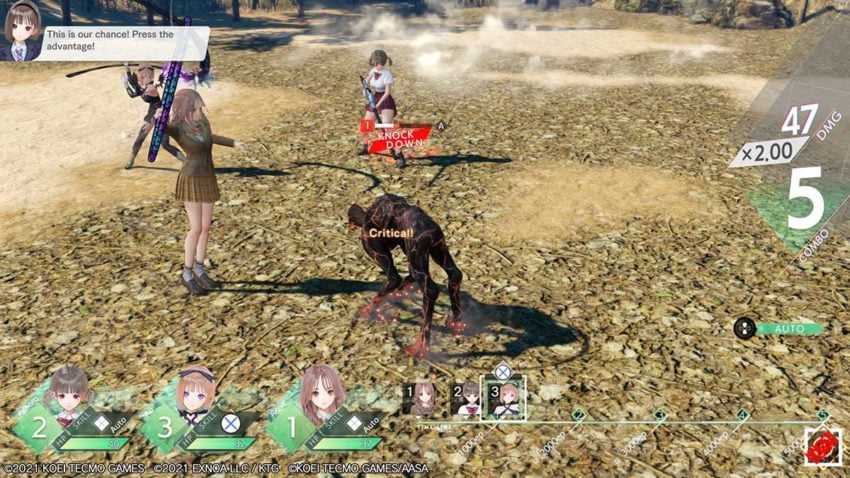
Each battle in Blue Reflection: Second Light is based on a timeline. You can see this in the screen’s bottom-right. Characters move from left to right up to the number on the timeline corresponding to their current Gear, first, second, or third. Enemies move from right to left. The numbers on the timeline equate to Ether, with 1 being 1000 Ether and so on. You can trigger an attack when a character reaches 1 on the timeline to get them to attack. If a character is in second or third Gear, you can wait until they hit position 2 or 3 to use bigger attacks or perform multiple attacks, depending on how much Ether each attack costs. The timeline repeats until the enemy is dead.
Gears

When characters have hit an enemy enough times and built up enough skill, they will move to the next Gear. Every battle sees characters start in first Gear. They quickly move up to second Gear, but reaching third Gear usually only happens against more formidable opponents. At this point, a character will transform into their Reflector costume and have incredibly powerful attacks. If you’re struggling against an enemy, try to get at least one character into third Gear as fast as possible.
Combo protection
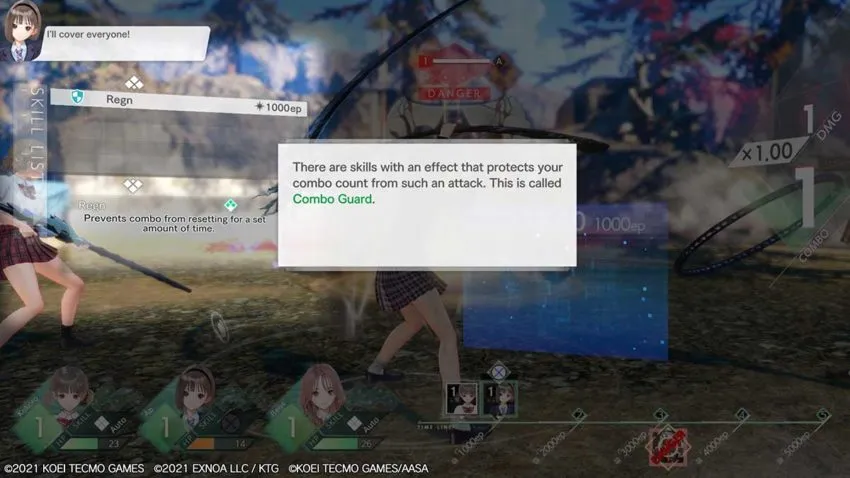
Some enemies, usually bosses, have attacks that they charge up and use to destroy your combo. This will harm your efforts to reach third Gear and decrease your damage, so it’s important to protect your combos from these attacks. When you see an enemy charging an attack, use a move that has the Combo Guard effect to ensure that your efforts aren’t in vain.
Weaknesses and resistance are automatically displayed
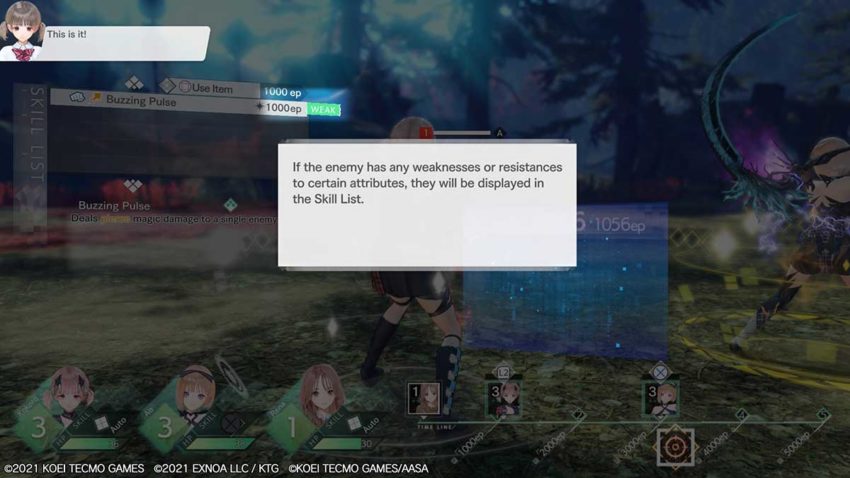
If an enemy is weak against a specific attack or resistant, it will be displayed in the skills screen. Keep an eye out for these markers because you’ll do less damage if an enemy is resistant to an attack. Likewise, you’ll deal more damage and get an enemy closer to the Knockdown state if you use moves it’s weak against. You should also use these moves once it’s down because they deal far more damage.
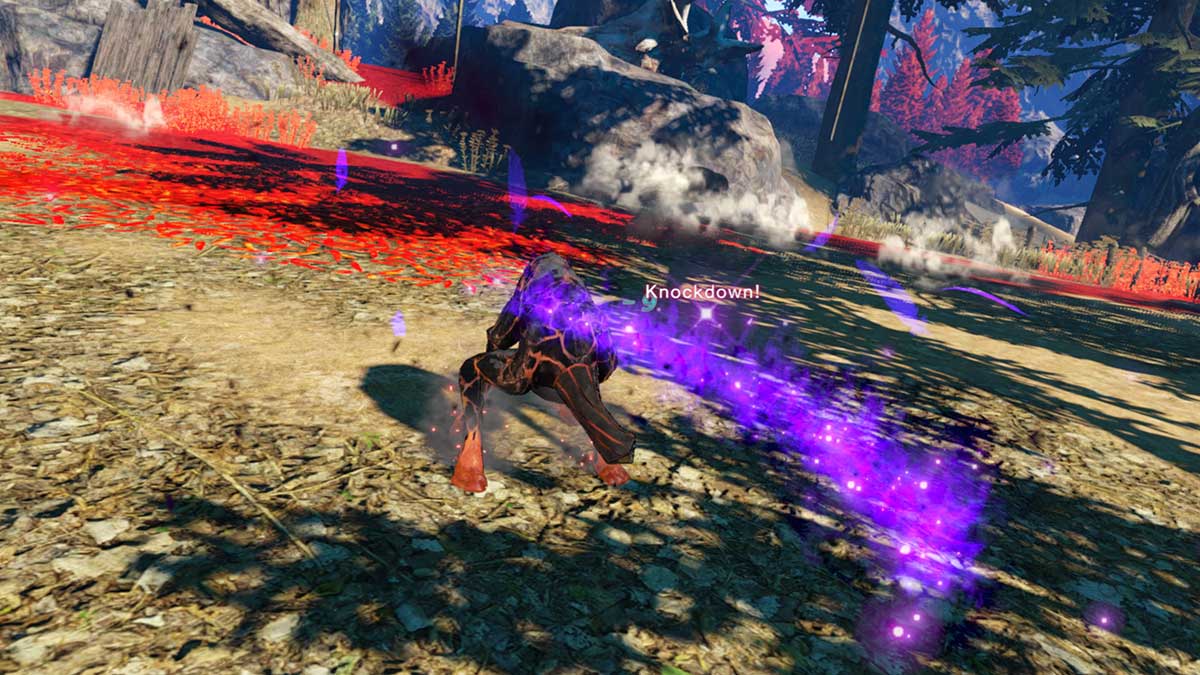
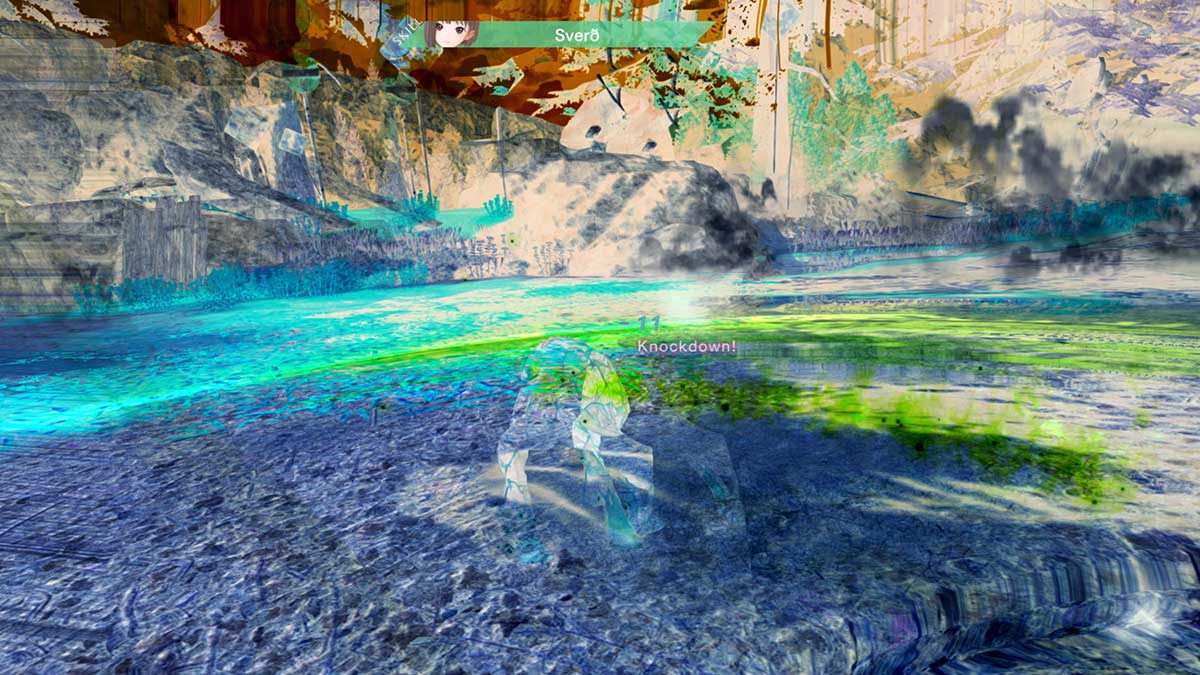
Knockdown state

The goal of every battle, even against bosses, is to get the enemy into the Knockdown state. This is a state in which their defenses are down, and they can’t charge Ether, meaning they can’t attack for two or three moves. They’re also far more vulnerable to attacks in this state, meaning you could whittle away a boss until they’re in this state and then kill them quickly once they enter it. Attacks have arrows that show how much impact they have. The more impact they have, the quicker you’ll get an enemy into the Knockdown state.
Don’t forget to heal
Healing is an important part of any battle, should a character’s health get low enough. Always be prepared by making loads of food before you enter a dungeon, but make sure you use that food when your characters need it. You need to open the item menu from the skills menu to use an item. This is the best way to heal a character and keep them in the battle outside of specific healing moves and equipment.


Published: Nov 9, 2021 11:52 am